How to Create Sections in Google Slides?


Organize your Google Slides presentation effectively by creating visual sections for better clarity and navigation
How to Create Sections in Google Slides
Organizing your presentation into sections makes it easier to navigate, present, and collaborate with others.
Although Google Slides doesn’t offer “sections” like PowerPoint, you can still group slides in a structured and easy-to-understand format using a few creative methods.
Let’s explore how to do that step-by-step!
Step-by-Step Guide to Create Sections in Google Slides
Step 1: Plan Your Presentation Structure
Before diving into the slides, take a moment to outline your main topics or sections. For example:
- Introduction
- Problem Statement
- Solution
- Results
- Conclusion
Having a clear outline will guide how you label and organize your slide groups.
Step 2: Insert Section Divider Slides
To mimic sections, create divider slides between slide groups:
- Go to the slide before a new section.
- Click on “+ New Slide” or press Ctrl + M (Cmd + M on Mac).
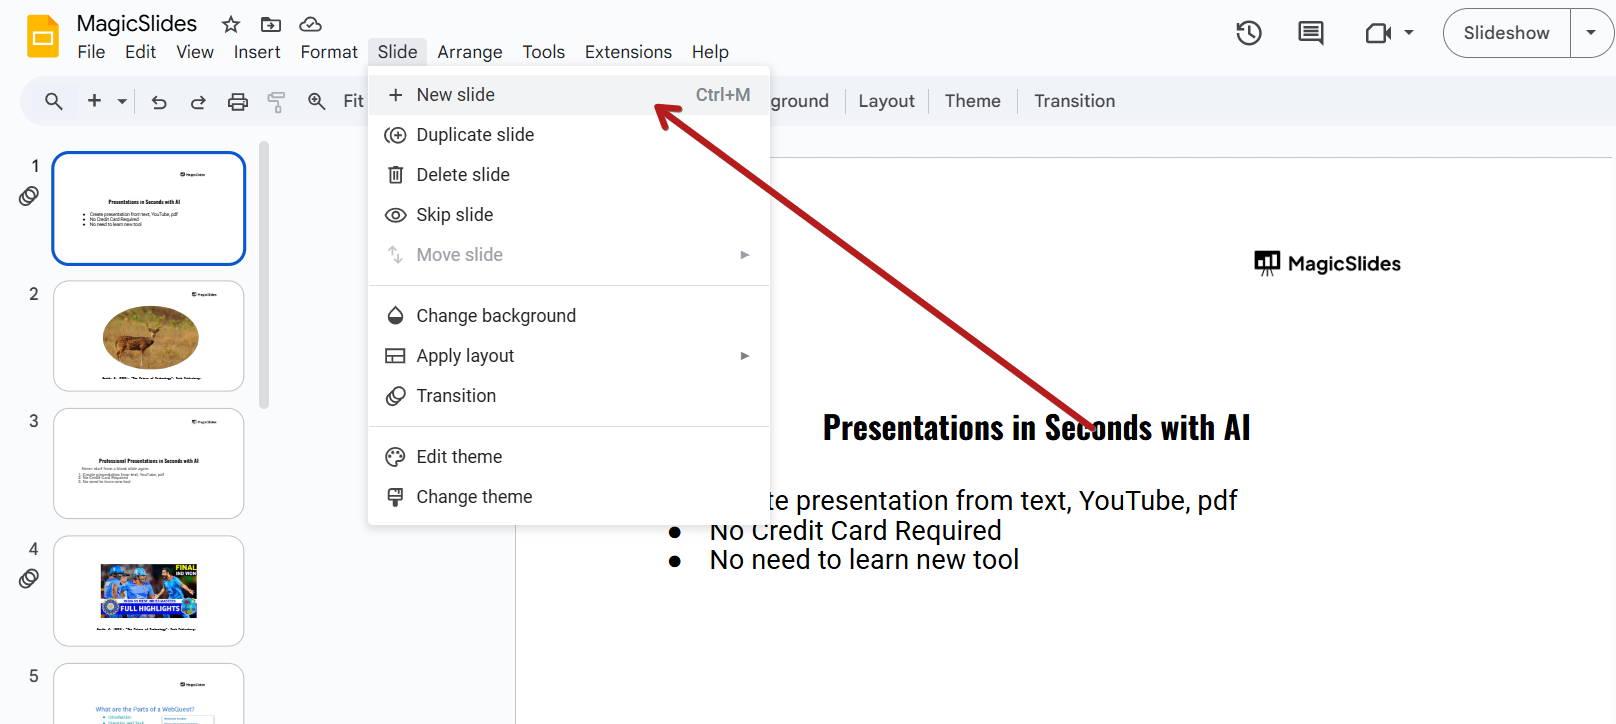
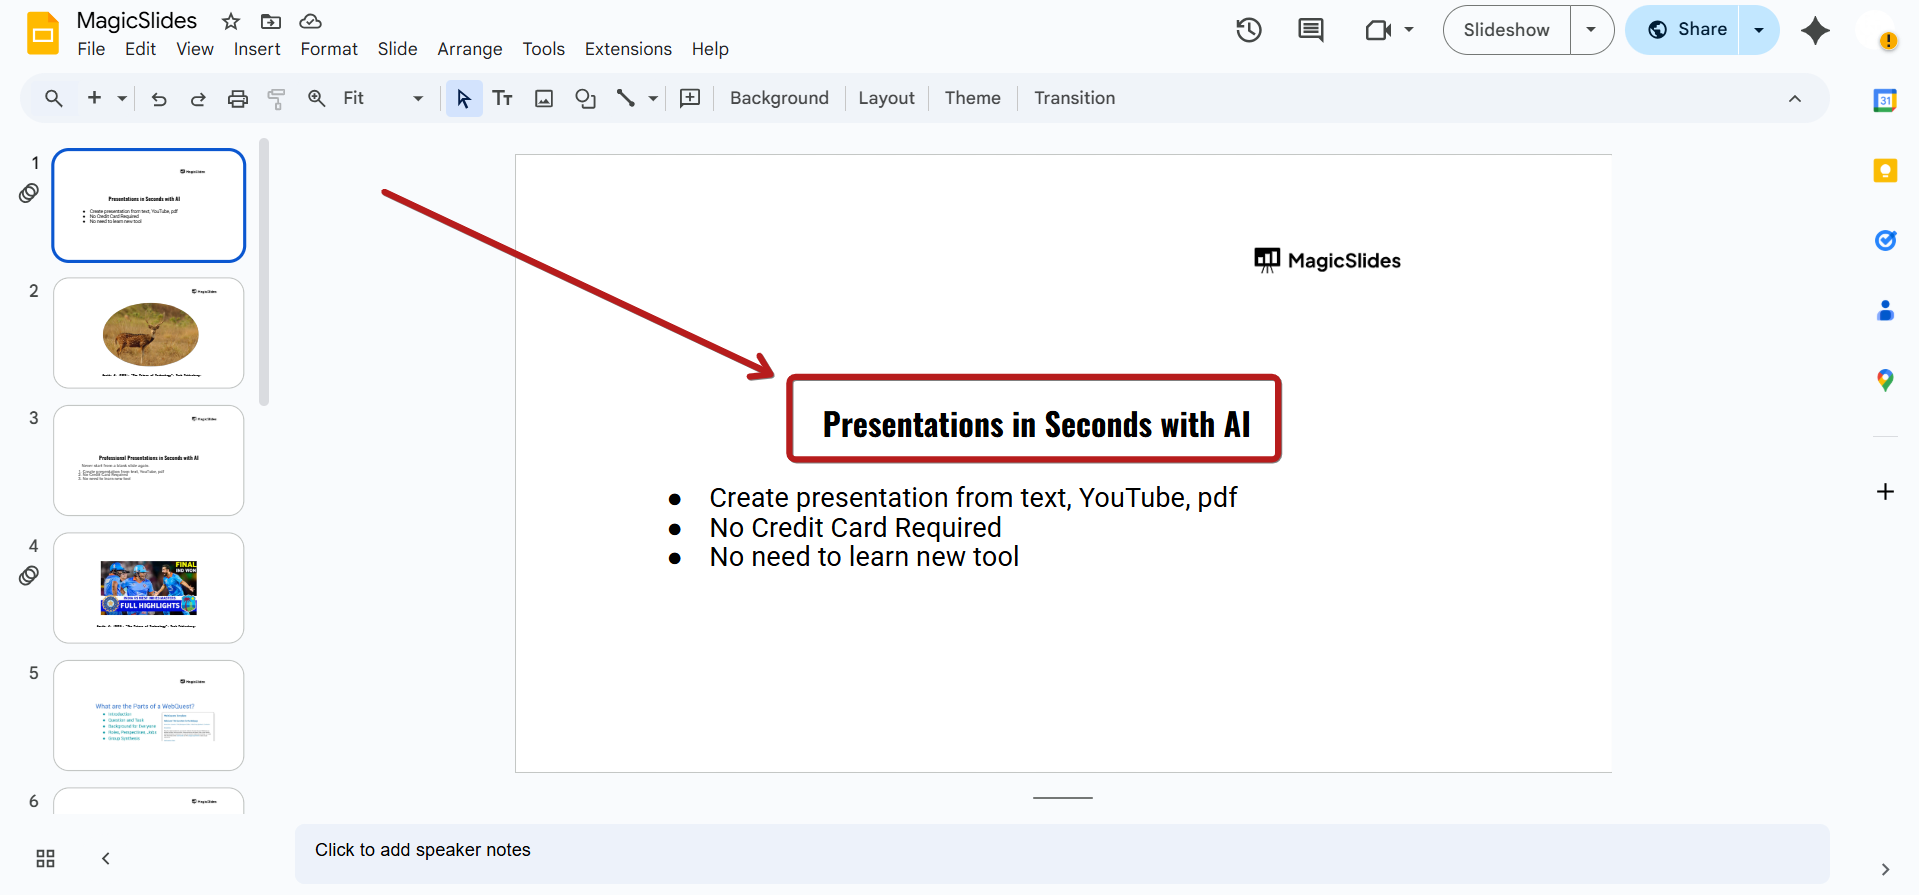
- Use bold text like “Section 1: Introduction” or “Results Overview.”
- Customize the design using background color, shapes, or icons for visual distinction.
Step 3: Use Slide Titles Consistently
Apply consistent formatting to your slide titles to indicate section relationships:
- Prefix with section names (e.g., “1.1 About the Company,” “1.2 Our Mission”).
- Use a large bold font or color to distinguish headers.
Step 4: Color Code Your Sections
To visually differentiate between sections:
- Click on each slide thumbnail.
- Change background or use colored design elements specific to that section.
- Maintain consistency for each section to help the audience follow the flow.
Step 5: Add a Clickable Table of Contents (Optional)
To make navigation easier:
- Create a new slide at the beginning.
- Add links to each section’s first slide:
Sections help organize your slides better, but if you want to skip structuring manually, try MagicSlides.app AI-built slide decks that are automatically organized and presentation-ready in seconds!
Conclusion
While Google Slides doesn’t support official section grouping like PowerPoint, you can still structure your slides creatively with divider slides, color codes, and consistent formatting.
This approach helps you and your audience navigate through your presentation smoothly and with clarity.
FAQs are here to help!
Can I collapse sections in Google Slides like PowerPoint?
No, Google Slides doesn’t offer a collapsible section feature. Use divider slides for better organization.
How can I quickly jump to a section in Google Slides?
Create a clickable table of contents at the beginning of your presentation using internal slide links.
Are there add-ons to create sections in Google Slides?
As of now, Google Slides doesn’t have a direct add-on for sections. You can use visual design techniques and linked navigation for organization.


