How to create a dos and donts Slide in PowerPoint


Create a clear and effective “Dos and Don’ts” slide in PowerPoint with these easy steps.
Creating a "Dos and Don'ts" slide in PowerPoint is an effective way to communicate guidelines, best practices, or key points to your audience. This type of slide can help clarify expectations and provide a clear contrast between positive actions and behaviors to avoid.
Whether you're presenting in a corporate setting, educational environment, or any other context, a well-designed "Dos and Don'ts" slide can enhance understanding and retention.
In this blog post, we'll guide you through the process of creating a professional and impactful "Dos and Don'ts" slide in PowerPoint.
Step-by-Step Guide to Creating a "Dos and Don'ts" Slide in PowerPoint
Step 1: Open PowerPoint and Create a New Slide
Begin by opening PowerPoint on your computer. You can start with a new presentation or open an existing one.
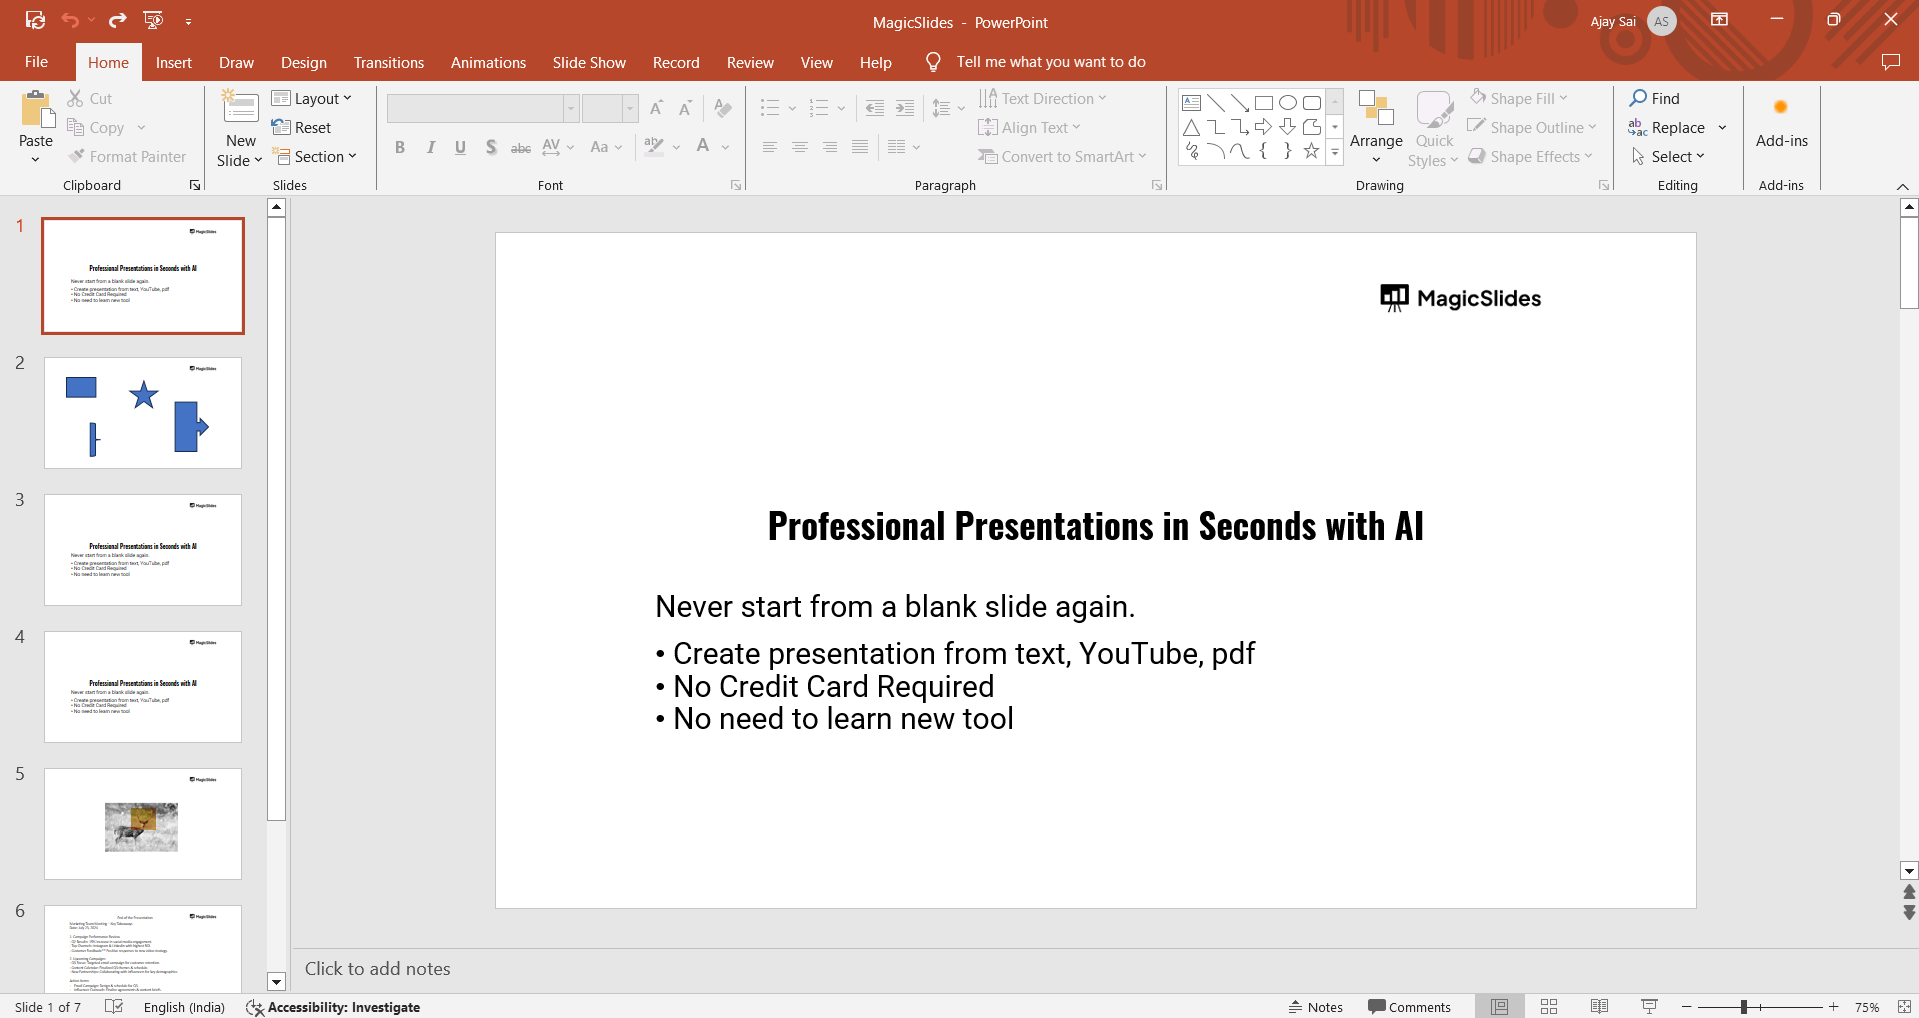
To add a new slide specifically for the "Dos and Don'ts" content, click on "New Slide" in the "Home" tab and choose a layout that suits your needs, such as "Title and Content" or "Two Content."
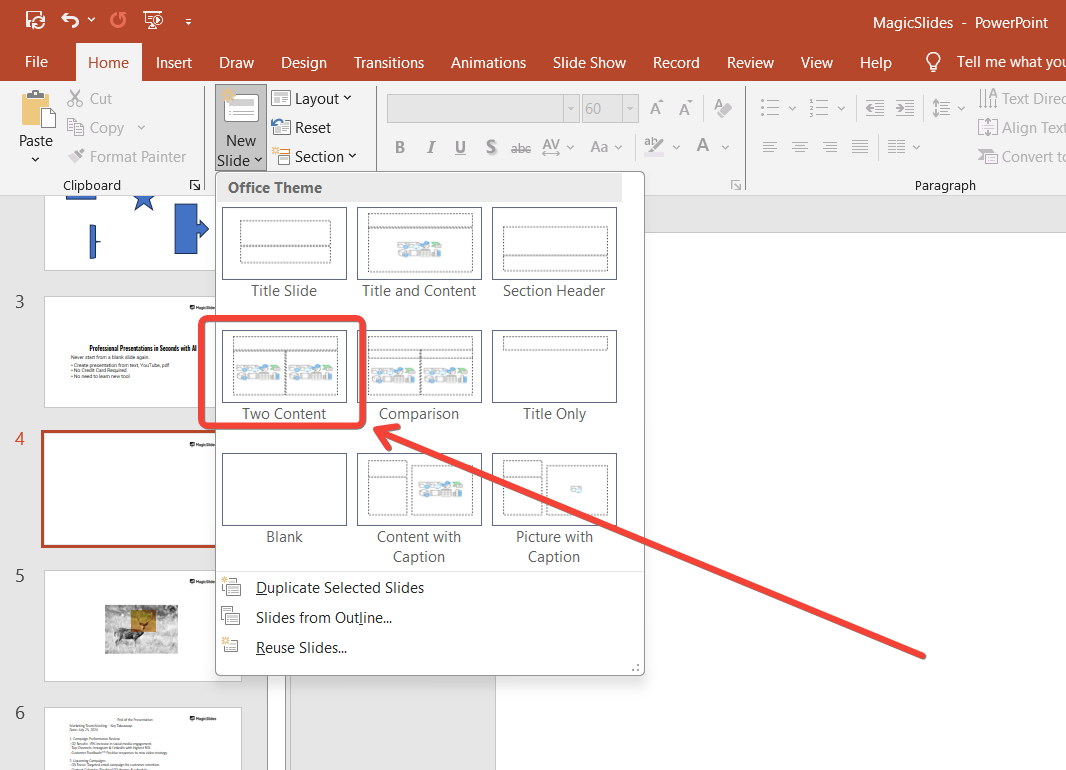
Step 2: Set Up the Slide Layout
For a "Dos and Don'ts" slide, a split layout works best. You can either use the "Two Content" layout or manually create two columns by inserting a table or using text boxes.
One column will be for the "Dos," and the other for the "Don'ts."
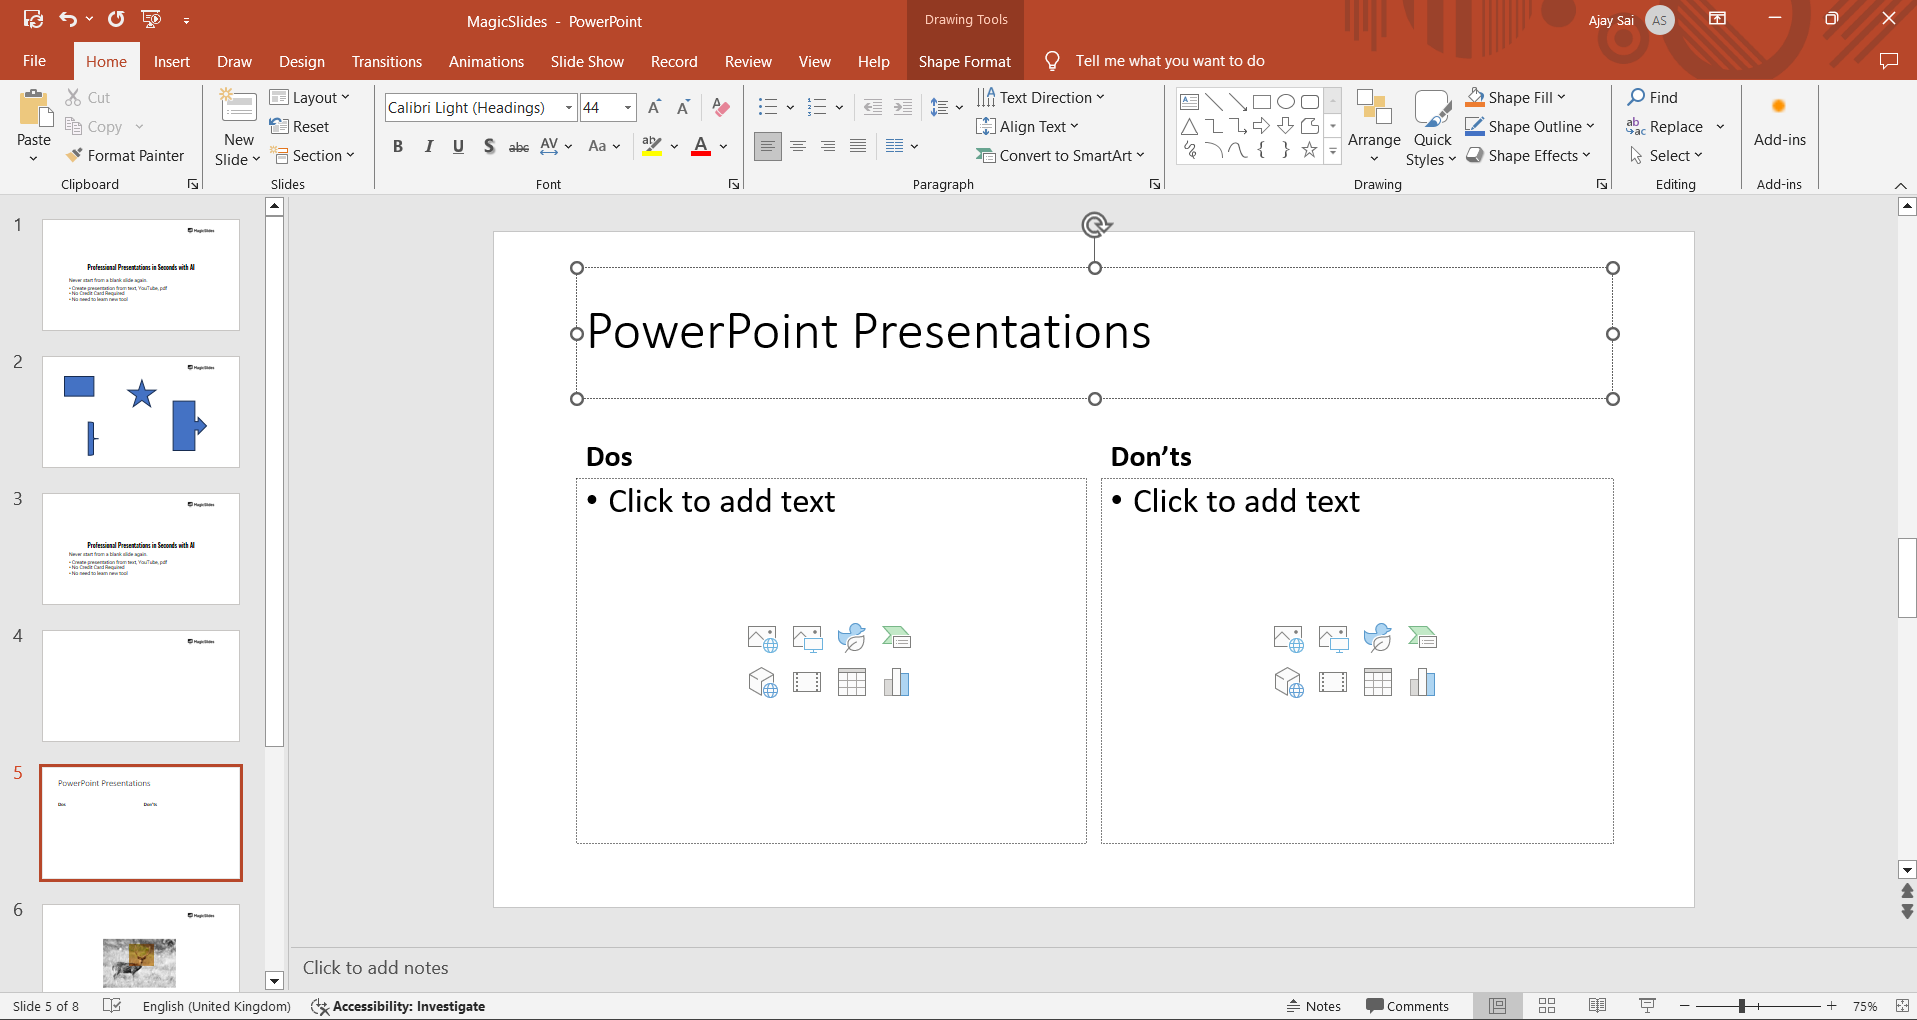
Step 3: Add a Title and Subtitle
At the top of your slide, add a title that clearly indicates the content, such as "Dos and Don'ts."
You can also include a subtitle to provide more context or specify the topic, such as "Effective Communication" or "Project Management Best Practices."
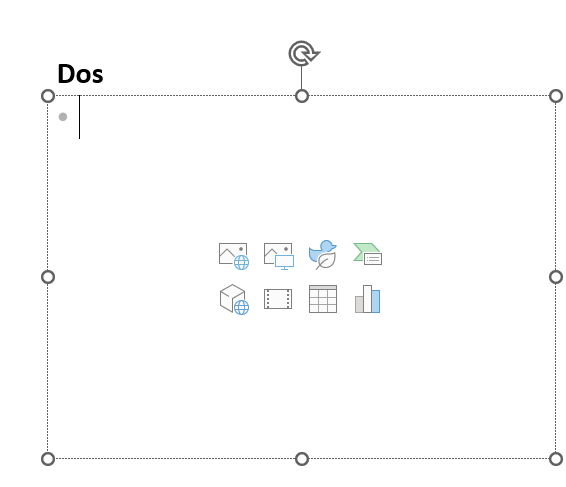
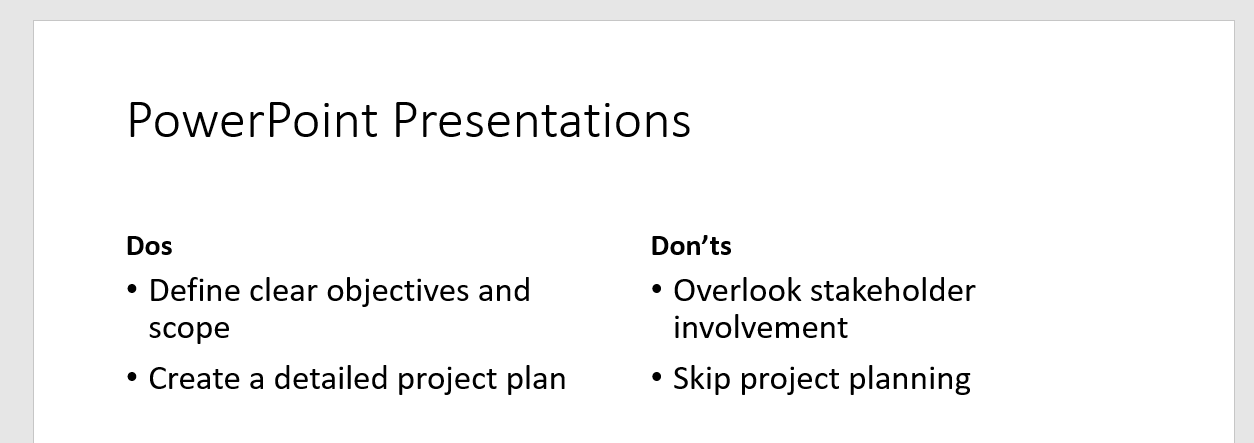
Step 4: Insert Content for the "Dos" Column
In the left column, list the positive actions or recommendations you want to highlight. Keep the text concise and straightforward.
Use bullet points to organize the content, making it easy for your audience to read and understand. For example:
Dos:
- Be punctual for meetings
- Prepare thoroughly in advance
- Communicate clearly and concisely
Step 5: Insert Content for the "Don'ts" Column
In the right column, list the actions or behaviors to avoid. Again, use bullet points and concise language. Ensure that each "Don't" directly contrasts with a corresponding "Do" when possible. For example:
Don'ts:
- Avoid being late or unprepared
- Don't skip the preparation phase
- Avoid using jargon or unclear language
Step 6: Use Visuals and Icons
To enhance the slide's visual appeal and clarity, consider adding icons or images that represent the "Dos" and "Don'ts."
For instance, you can use a green checkmark icon for the "Dos" and a red cross icon for the "Don'ts." This visual differentiation helps in quickly communicating the message.
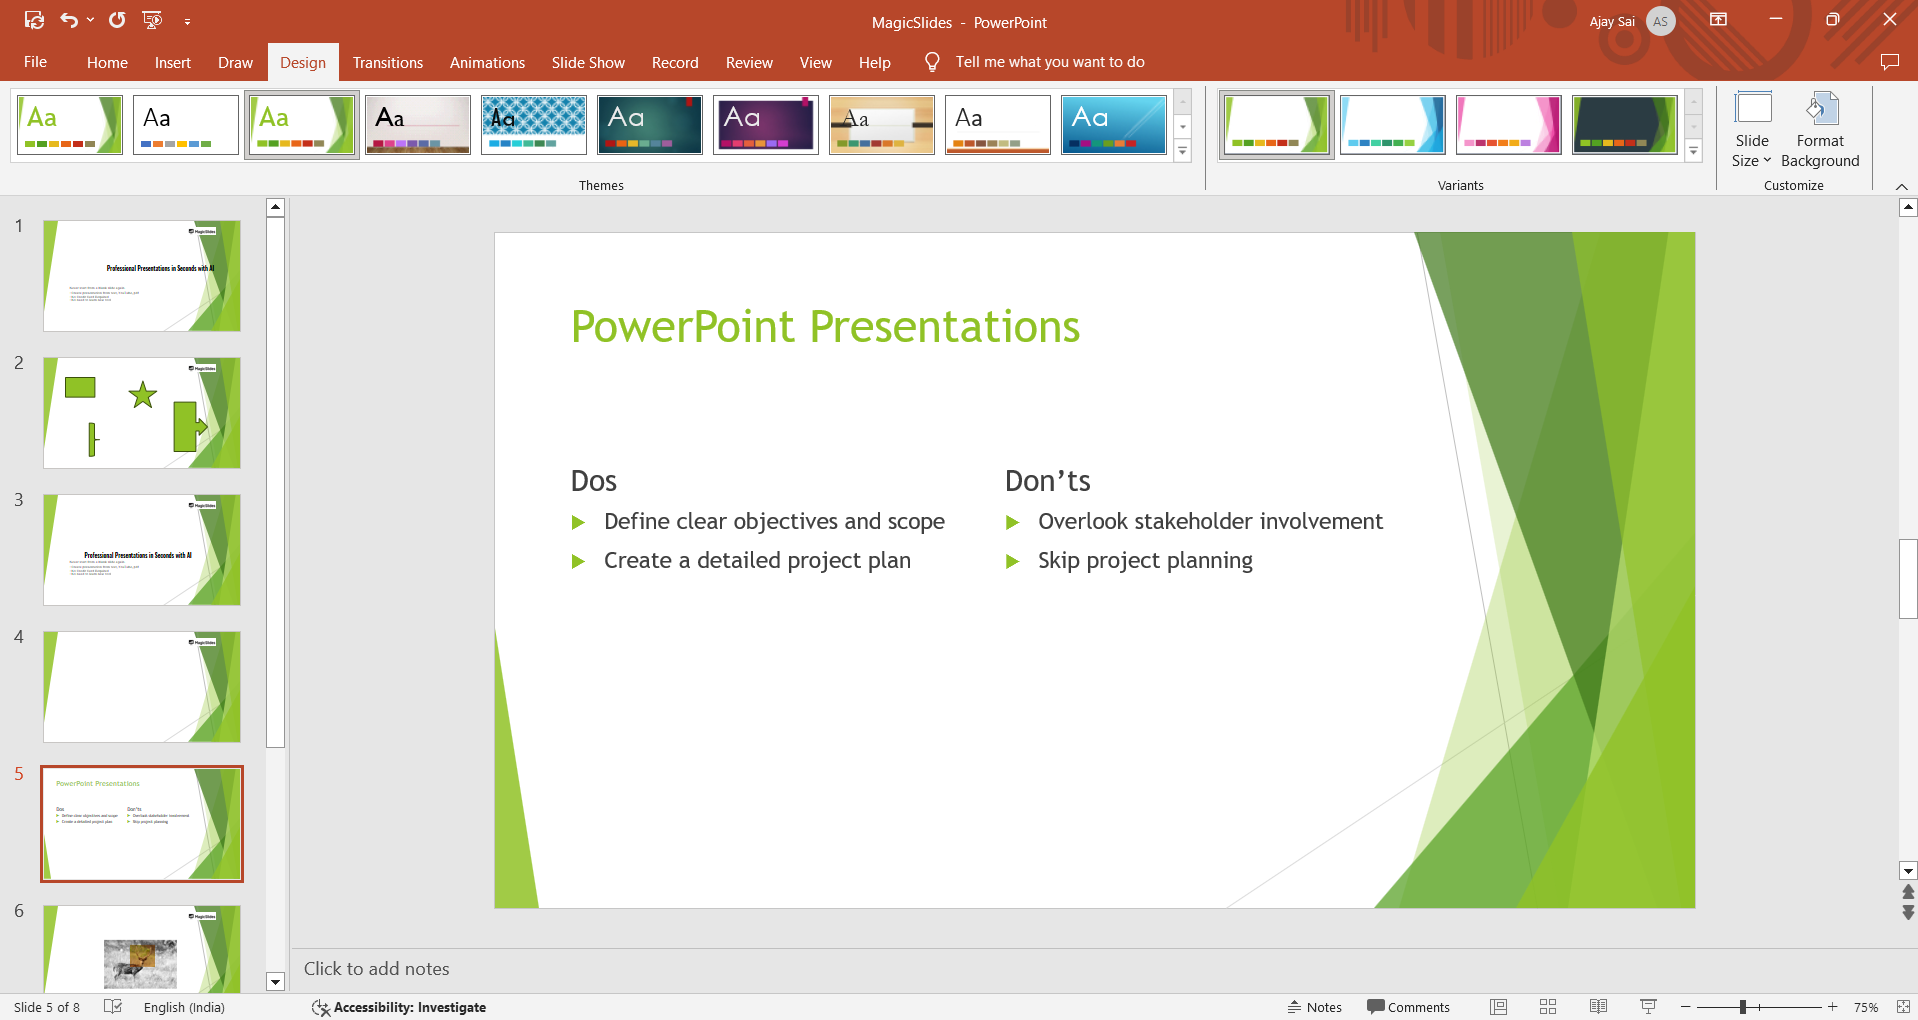
Step 7: Customize the Design
Use PowerPoint's design tools to customize the look of your slide. You can change the colors, fonts, and overall theme to match your presentation's style.
Consider using contrasting colors for the "Dos" and "Don'ts" sections to make them visually distinct. Ensure the design is clean and professional, with enough white space to avoid clutter.
Step 8: Review and Finalize
Before finalizing your slide, review the content for clarity and accuracy. Ensure that the "Dos" and "Don'ts" are relevant, balanced, and easy to understand.
You may also want to get feedback from a colleague or peer to ensure your message is clear and effectively communicated.
Conclusion
Creating a "Dos and Don'ts" slide in PowerPoint is a straightforward yet powerful way to present key guidelines or best practices.
By following these steps, you can create a slide that is not only informative but also visually appealing and easy to understand. A well-crafted "Dos and Don'ts" slide can make a significant impact in your presentation, helping your audience grasp important concepts quickly and effectively.
Whether you're educating, training, or simply sharing best practices, this type of slide is a valuable addition to your presentation toolkit.
FAQs that might be helpful!
What layout is best for a "Dos and Don'ts" slide?
A split layout, such as the "Two Content" layout, works best. This allows you to clearly separate the "Dos" and "Don'ts" into distinct columns, making it easy for your audience to differentiate between positive actions and behaviors to avoid.
How can I make my "Dos and Don'ts" slide visually appealing?
Use icons or images to represent the "Dos" and "Don'ts," such as a green checkmark for "Dos" and a red cross for "Don'ts."
Additionally, use contrasting colors for each column and keep the design clean with enough white space to avoid clutter.
What type of content should be included in a "Dos and Don'ts" slide?
Include clear, concise bullet points that outline positive actions in the "Dos" column and behaviors to avoid in the "Don'ts" column.
Each "Don't" should ideally contrast directly with a corresponding "Do" for clarity.


