How to Create a Presentation in Canva in Less Than 5 Steps


How to create a presentation in Canva without hassle. Follow my practical, step-by-step guide to create and design a professional PPT in Canva.
How to Create a Presentation in Canva Quickly and Professionally
I have made more than 100+ presentations with it, so I know how to create a presentation in Canva quickly and effortlessly.
Today, I’ll show you how you do so step by step. By the end of this discussion, you’ll be able to create polished slides in the expected time. Plus, I’ll share a powerful AI-powered solution that can make your presentation process even faster and smarter. So, let’s begin our discussion!
Why Make a Presentation in Canva?
Canva is a robust solution for making presentations as it offers professional templates with intuitive design tools. Not only this, but there are numerous benefits of this, such as:
- Thousands of free and premium templates
- Real-time collaboration with teammates
- Built-in access to icons, photos, and videos
- Cloud-based solution, no need to be downloaded
- Easy export to PowerPoint or PDF
These features make Canva perfect for both beginners and professionals. Next, I’ll share a step-by-step guide to creating a polished presentation from scratch.
How to Create a Presentation in Canva Step by Step
Creating a presentation in Canva is straightforward, even if you’re new to design. By following the set of instructions, you’ll be able to produce professional and visually appealing presentations, i.e.
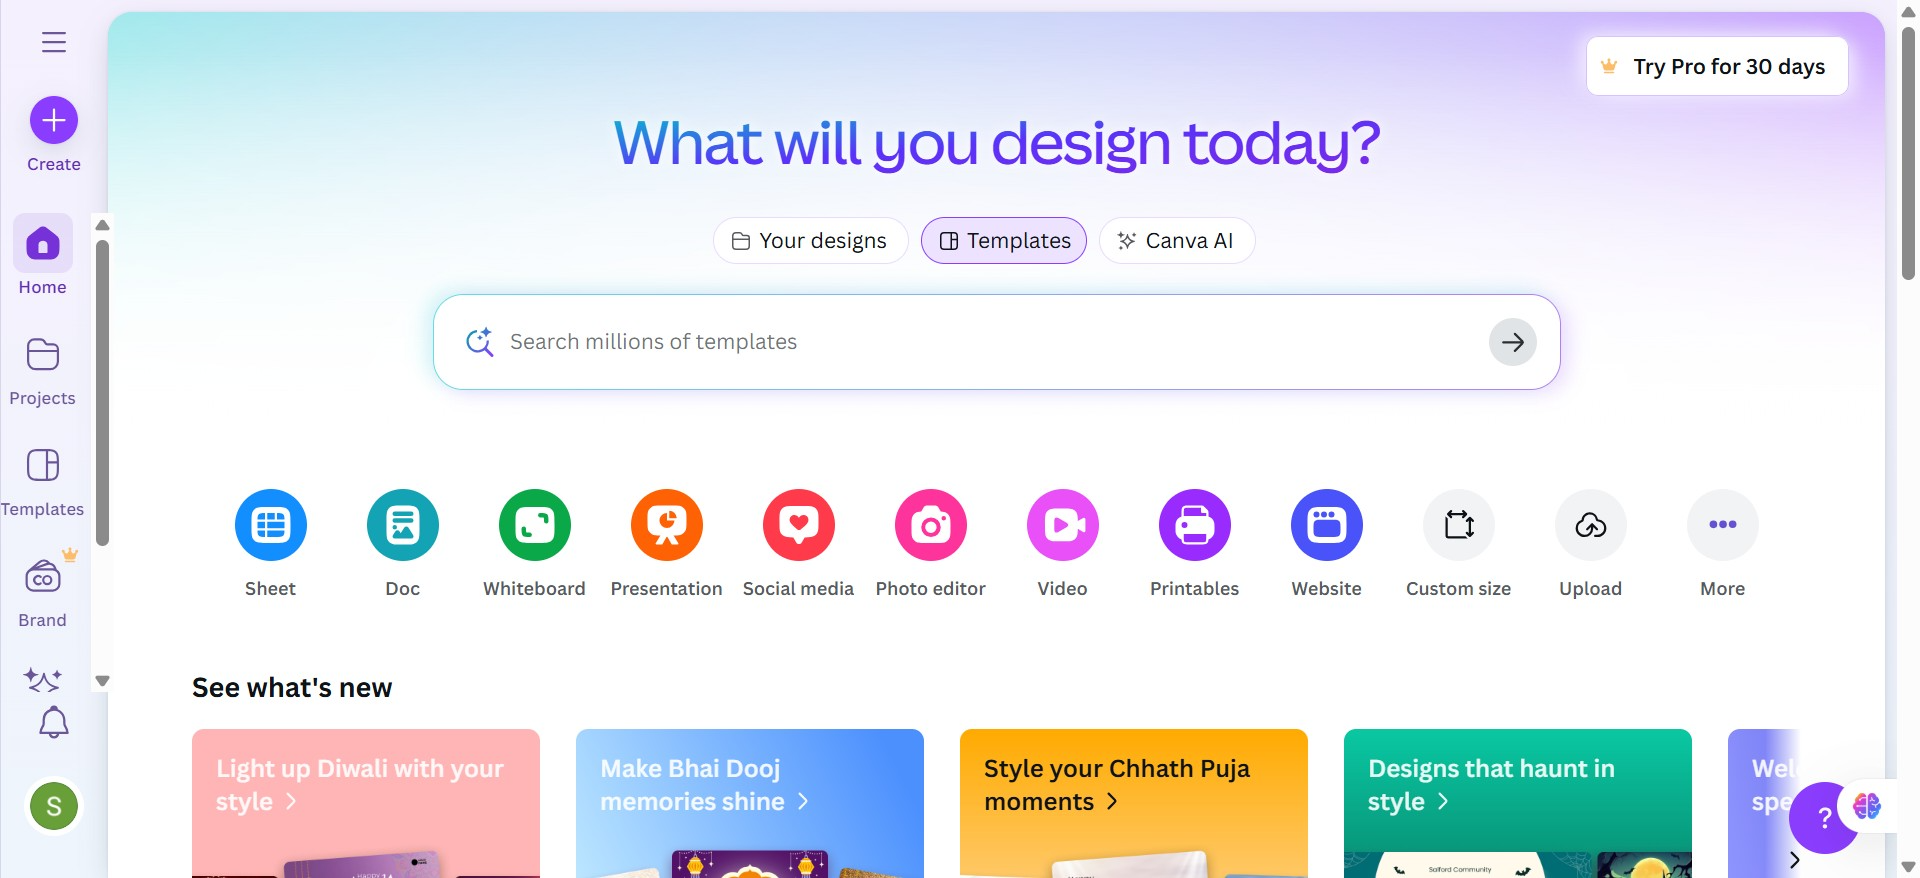
#Step 1. Sign In or Create a Canva Account
First, open Canva.com in any browser and log in. If you’re new, sign up using your Google, Microsoft, or email account.
Canva’s free version is great. However, if you want access to premium templates and content scheduling, I recommend trying Canva Pro. This will be helpful for professionals who create presentations regularly.
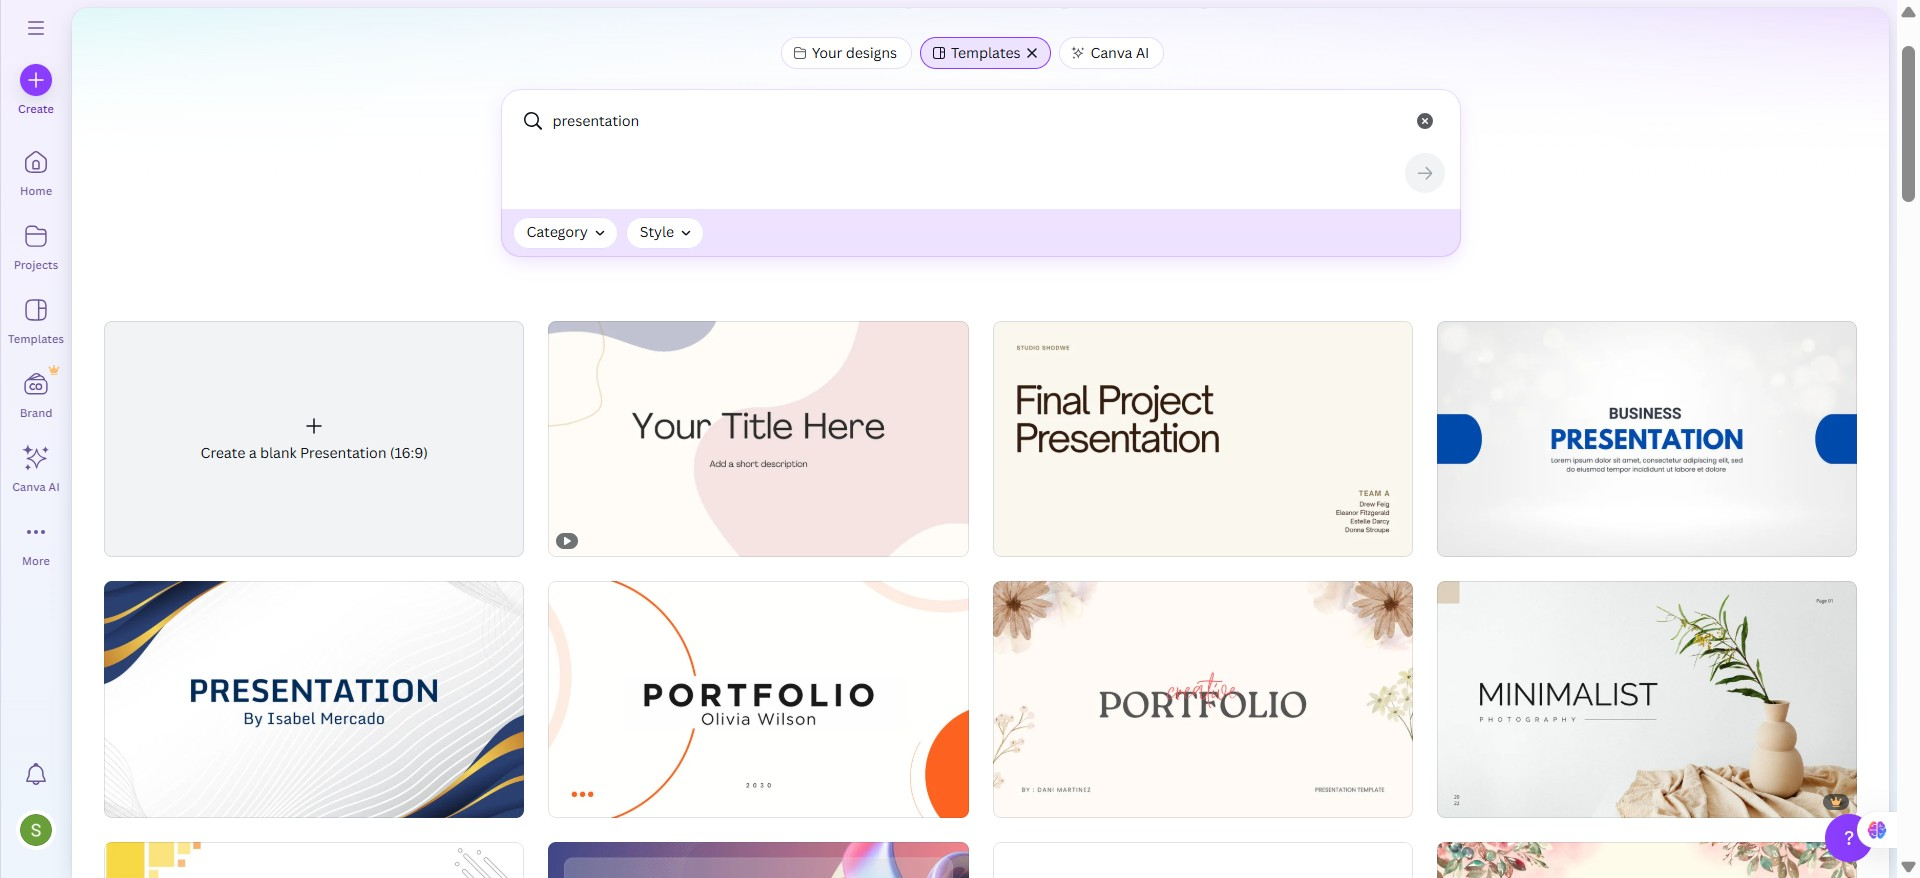
#Step 2. Choose Presentation as the Design Type
After signing in, type Presentation in the Canva search bar. You’ll see different presentation formats to choose from, a crucial step in learning how to create a presentation in Canva, such as:
- 16:9 Presentation
- Talking Presentation
- Mobile Presentation
Most of the users choose the 16:9 format, as it is ideal for PowerPoint, Zoom, or Google Meet presentations, and fits all the screens simply.
#Step 3. Pick a Template
Canva offers thousands of presentation templates. You can opt for any, according to your requirements:
- Business
- Marketing
- Education
- Minimalist or Modern themes
It is recommended to choose a clean and professional template to customise it effectively later.
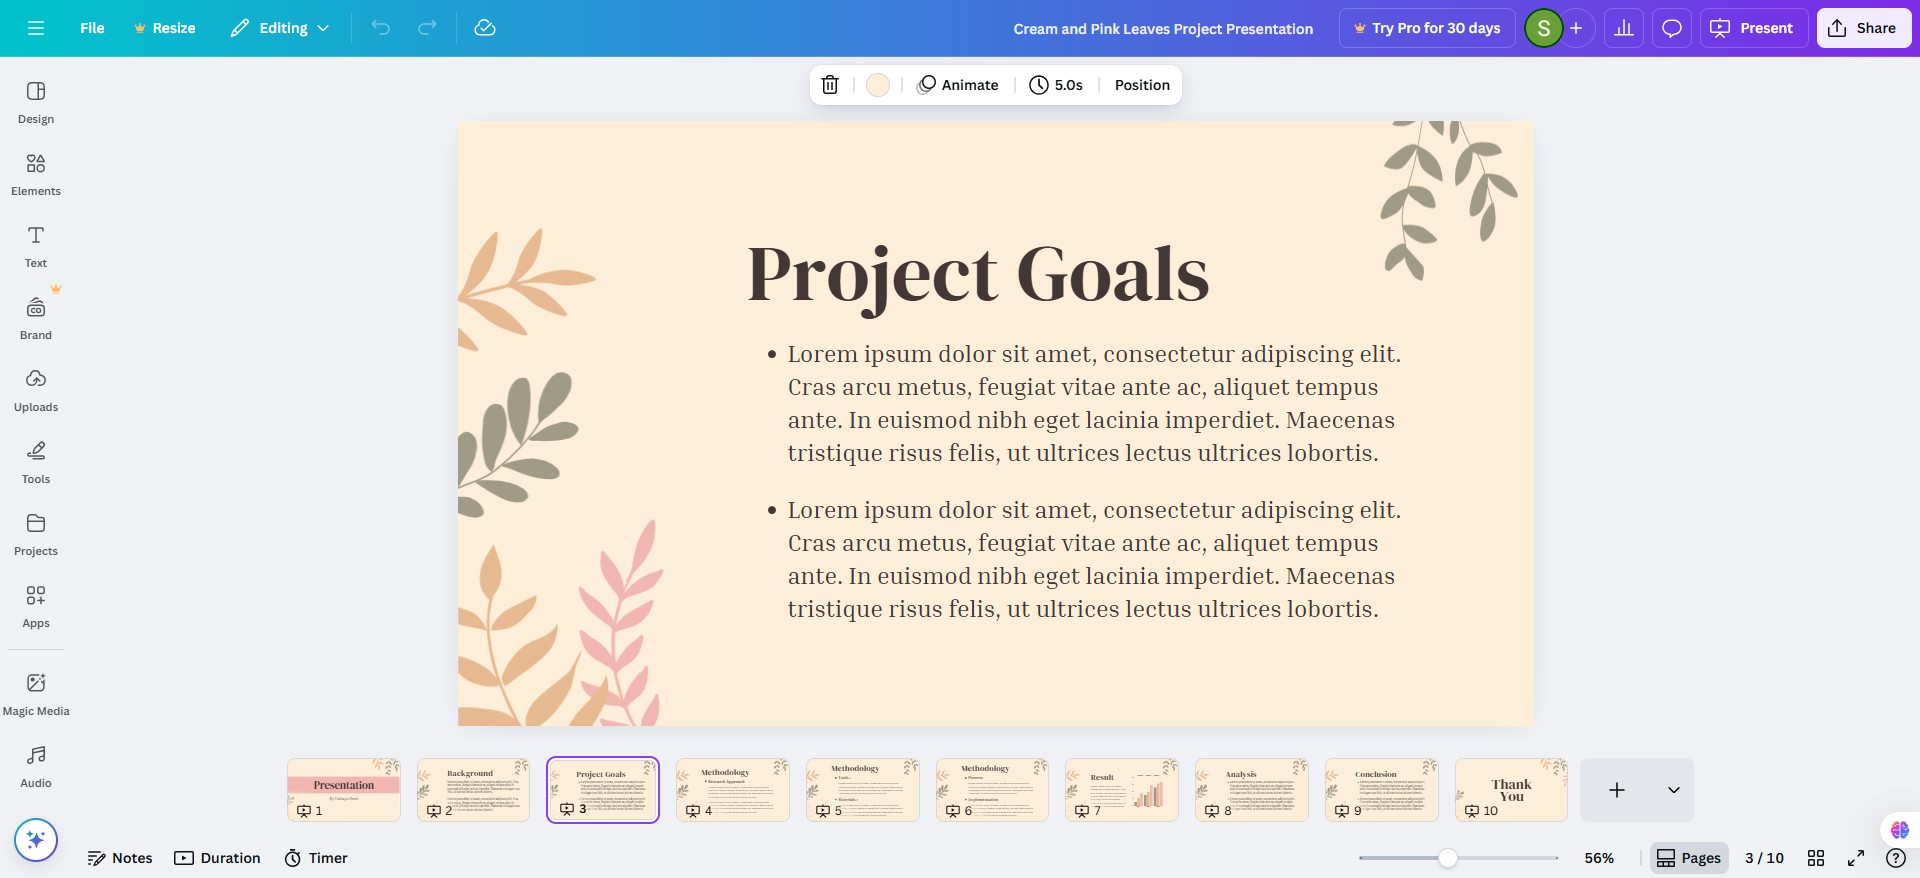
#Step 4. Customise Slides
Once you’ve selected a template, Canva’s editor lets you edit every element. Here’s how:
- Edit text by clicking any text box and start typing.
- Change fonts according to your choice, like Montserrat, Open Sans, or Lato.
- Adjust colors by selecting the color picker.
- Add or duplicate slides by using the left panel to duplicate or rearrange slides easily.
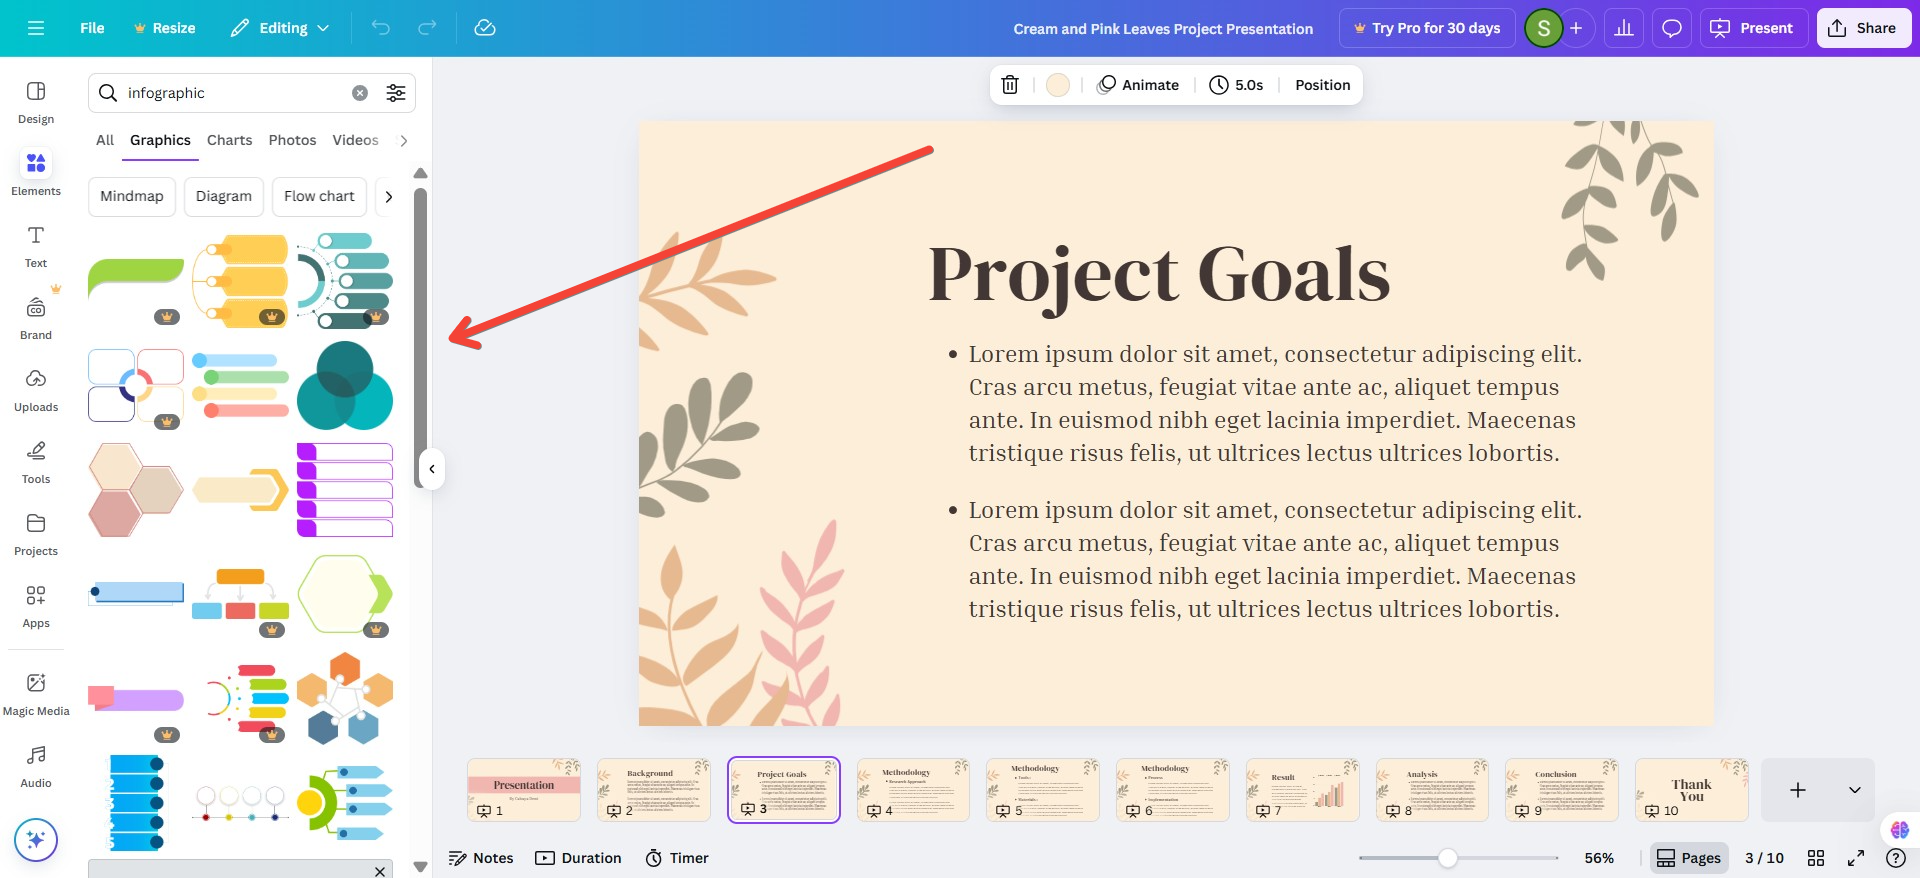
#Step 5. Add Images, Icons, and Elements
An essential part of mastering how to create a presentation in Canva is adding relevant images, elements, or icons from Canva’s built-in library:
- Click Elements for icons or shapes
- Select Photos for stock images
- Use Uploads to load your own visuals or logos
#Step 6. Include Charts and Graphs
Canva’s Chart tool helps visualise data or reports:
- Click Elements > Charts.
- Select a chart type.
- Double-click to edit data directly in Canva.
#Step 7. Add Animations and Transitions
Use subtle animations:
- Select a slide or element > Click Animate.
- Choose from effects like Fade, Pop, Pan, or Rise.
- Apply page transitions for smoother flow.
#Step 8. Collaborate with Others
Canva allows you to collaborate with your team in real time:
- Click Share > Copy link > Set access, e.g., View, Edit, or Comment.
#Step 9. Present or Download Presentation
Once everything is done, you’ve completed all the essential steps of how to create a presentation in Canva. Now, it’s time to see, or download, what you have done:
Option 1. Present in Canva
- Click Present.
- Choose Standard, Autoplay, or Presenter View.
Option 2. Download
- Click Share > Download.
- Select File Type: PPTX (PowerPoint) or PDF Standard/Print.
#Step 10. Reuse Presentation
One of the biggest advantages of Canva is content reusability:
- Duplicate old presentations for new projects.
- Export slides as images or short videos for social media.
- Use the same brand theme for reports, proposals, and brochures.
Also Read: How to Add a Link in Canva?
Alternative to How to Create a Presentation in Canva?→
When deadlines are tight and time is minimal, opting for Canva is not a wise choice, as designing every slide manually can be time-consuming, even if you have proper knowledge of how to create a presentation in Canva.
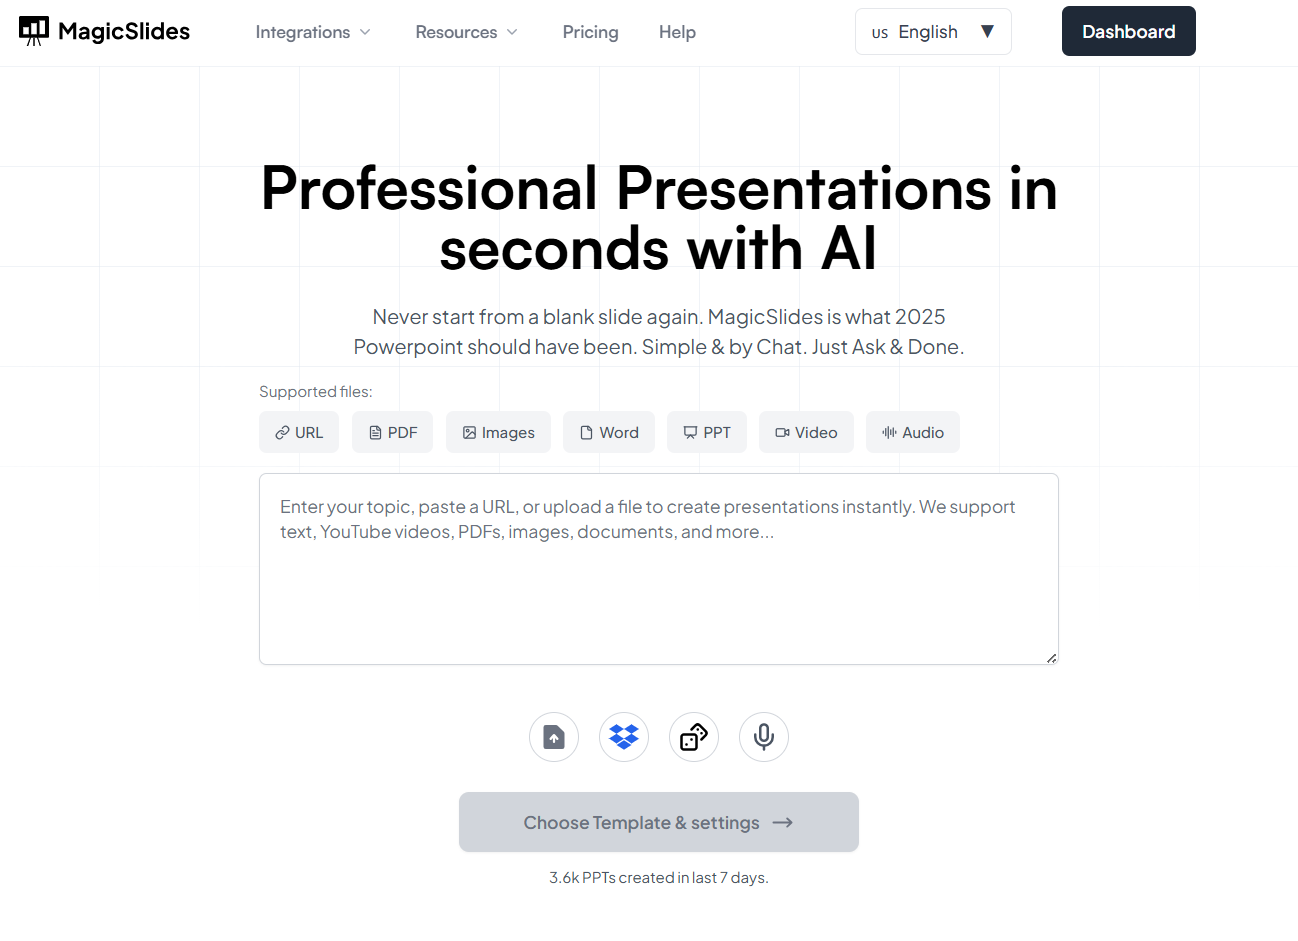
Instead, use MagicSlides, an AI PPT Maker to transform your ideas into a fully polished presentation in seconds automatically. For me, it is perfect when I’m short on time and need a professional presentation without a single mistake.
Here’s why I recommend this:
- Just enter your topic, upload a PDF, Docx, or even a URL, and it generates a complete presentation automatically.
- Supports numerous languages, so you can create presentations in your preferred language.
- Offers multiple templates for business, education, marketing, and personal projects.
- Cloud-based software, meaning you can create, edit, and access your presentations from anywhere.
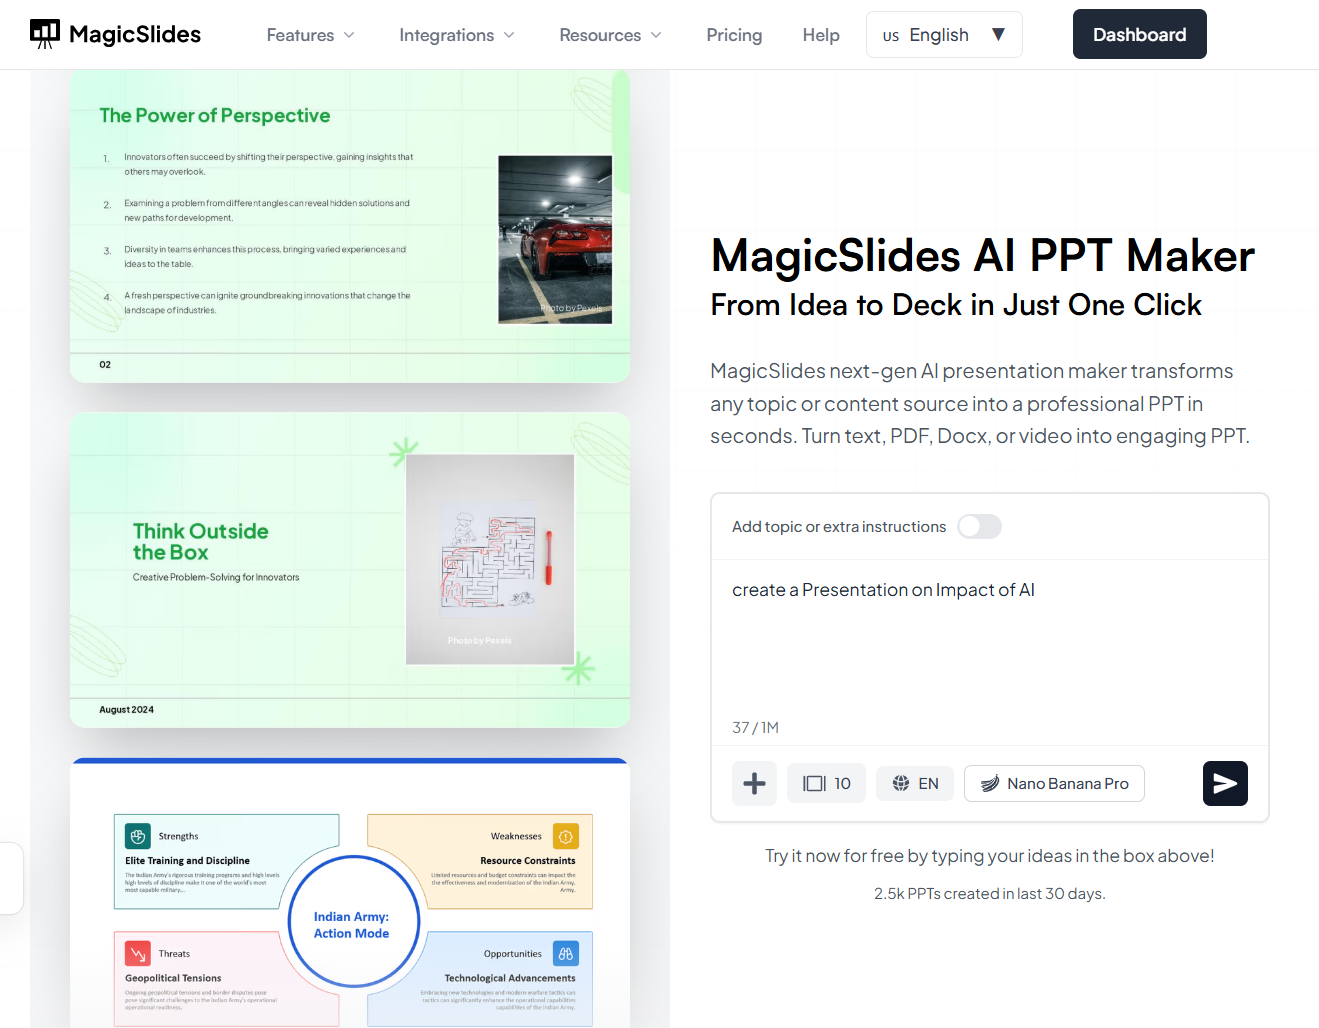
Why MagicSlides Outshines Canva for Faster Presenation Creation?
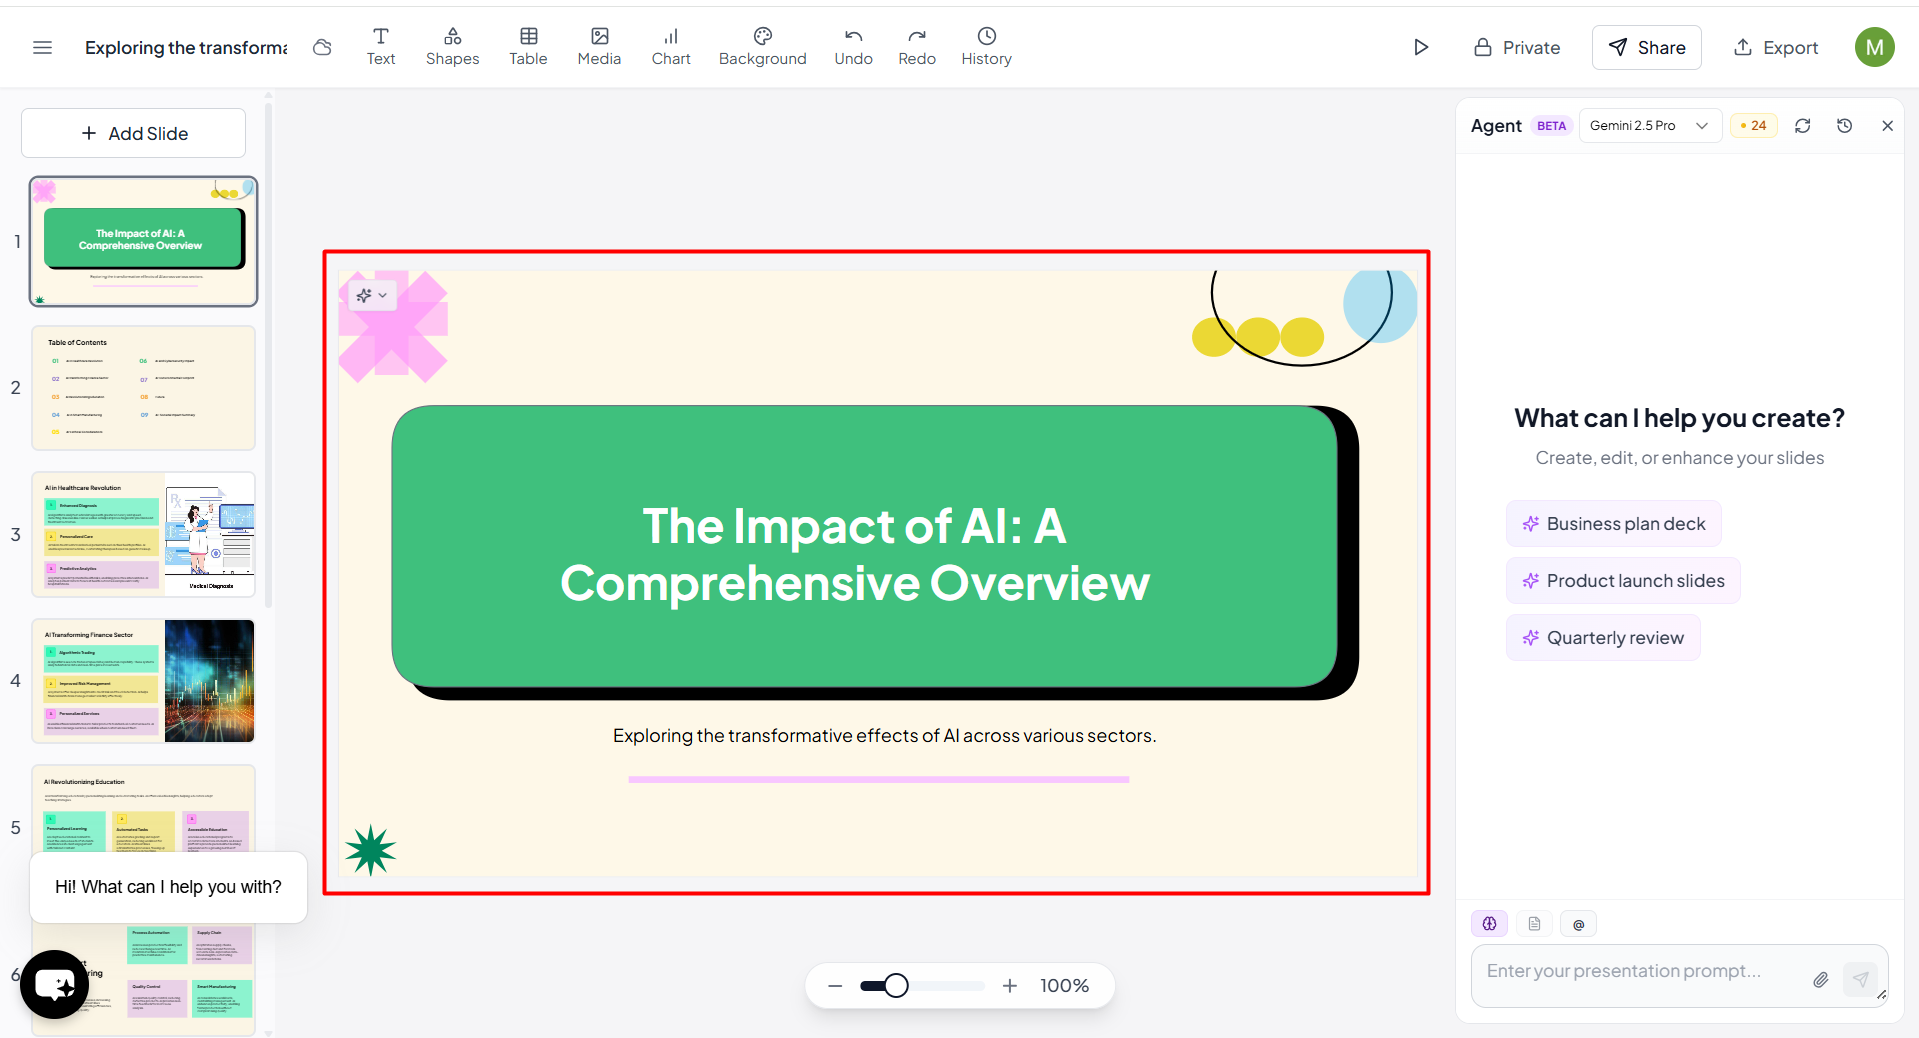
Step 1. Ente a topic or uploading content (PDF, Docx, URL) to automatically generate a presentation. For this time i am entering a topic – Impact of AI.
Step 2. Select the number of slides, language, and theme to match your requirements, click on generate outline.
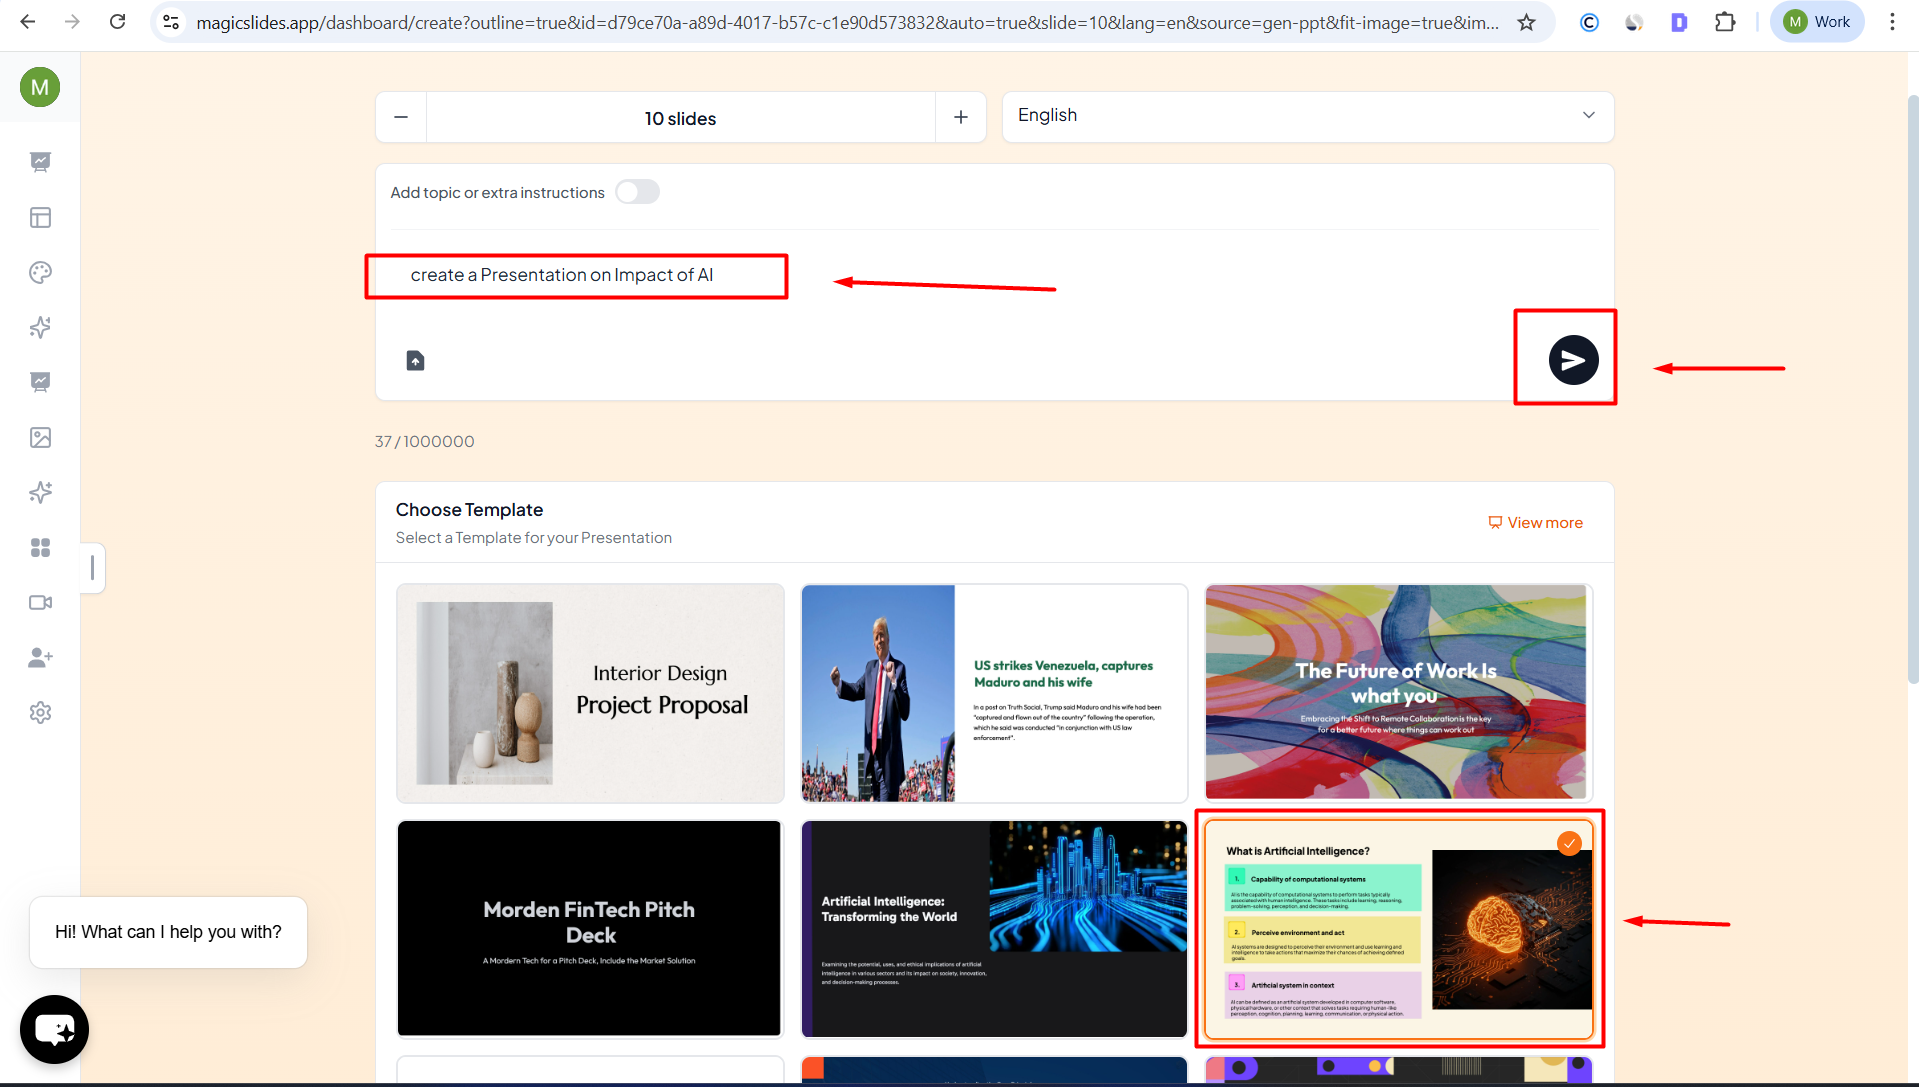
Step 3. Once the outline is generated, give it a chance and click on Generate Presenation.
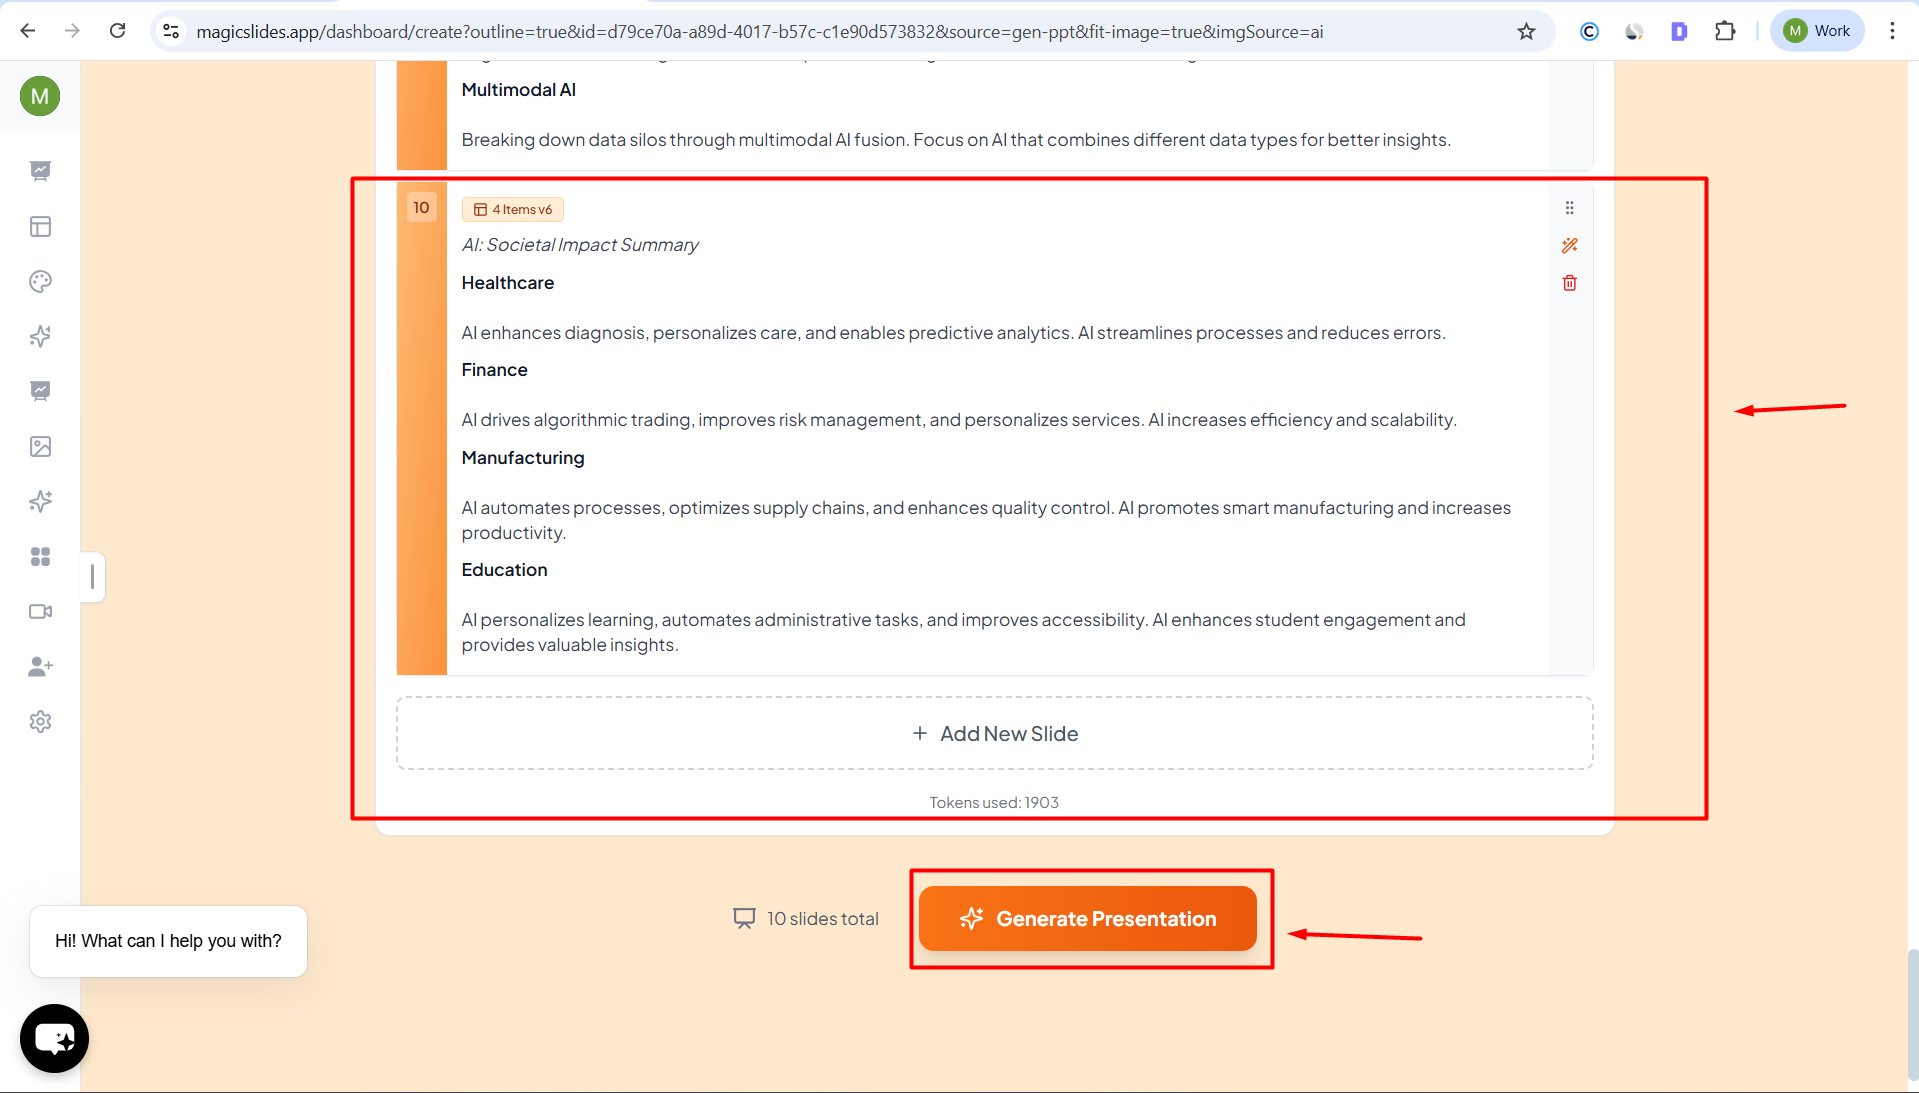
Step 4. Let MagicSlides automatically create a structured, well-designed presentation with relevant headings, content, and visuals.
Step 5. Review the generated slides, make quick edits if needed, and export them to PowerPoint or Google Slides for final use.
Best Practices for Creating Presentations in Canva→
Here are some best practices I follow:
- Keep text short and to the point.
- Use high-quality visuals relevant to the topic.
- Stick to 2–3 core colors.
- Add adequate white space for readability.
- Use consistent typography.
- Preview your slides before presenting.
Also Read: How to create a Watermark in Canva?
Author’s Verdict→
Canva stands out as one of the most versatile and user-friendly tools for crafting stunning presentations. That’s why I explained how to create a presentation in Canva to help users make a professional presentation simply.
However, if you’re ever short on time, the MagicSlides AI-powered tool takes your productivity to the next level, turning ideas into ready-to-present slides within minutes.
Now, you have both options, manual and automated, you can opt for any as per your requirement.
People Also Ask→
Q1. Can I create a presentation in Canva for free?
Yes. Canva’s free plan includes hundreds of templates, fonts, and design tools.
Q2. How do I record a talking presentation in Canva?
Click Present > Talking Presentation to record yourself while presenting.
Q3. How to create a presentation in Canva Offline?
Currently, Canva works best online. However, you can download your design as a PPTX or PDF and edit or present it offline.
Q4. Can I import PowerPoint presentations into Canva?
Yes. Upload your PowerPoint file (.PPTX) to Canva, and it will automatically convert it into editable slides.
Q5. What’s the best file type to download a Canva presentation?
For sharing or editing, download it as PPTX. For printing or emailing, use PDF (Standard).


