How to create a Watermark in Canva


Learn to create and apply custom watermarks in Canva to protect and brand your designs easily
Watermarks are essential for branding and protecting your creative work from unauthorized use.
Canva makes it simple to create professional and customized watermarks for your designs.
This step-by-step guide will walk you through the process of creating and applying a watermark to your Canva projects, ensuring your content stays uniquely yours.
How to Create a Watermark in Canva | Steps to Create a Watermark in Canva
Step 1: Open Canva and Create a New Design
Log in to your Canva account and click on "Create a Design."
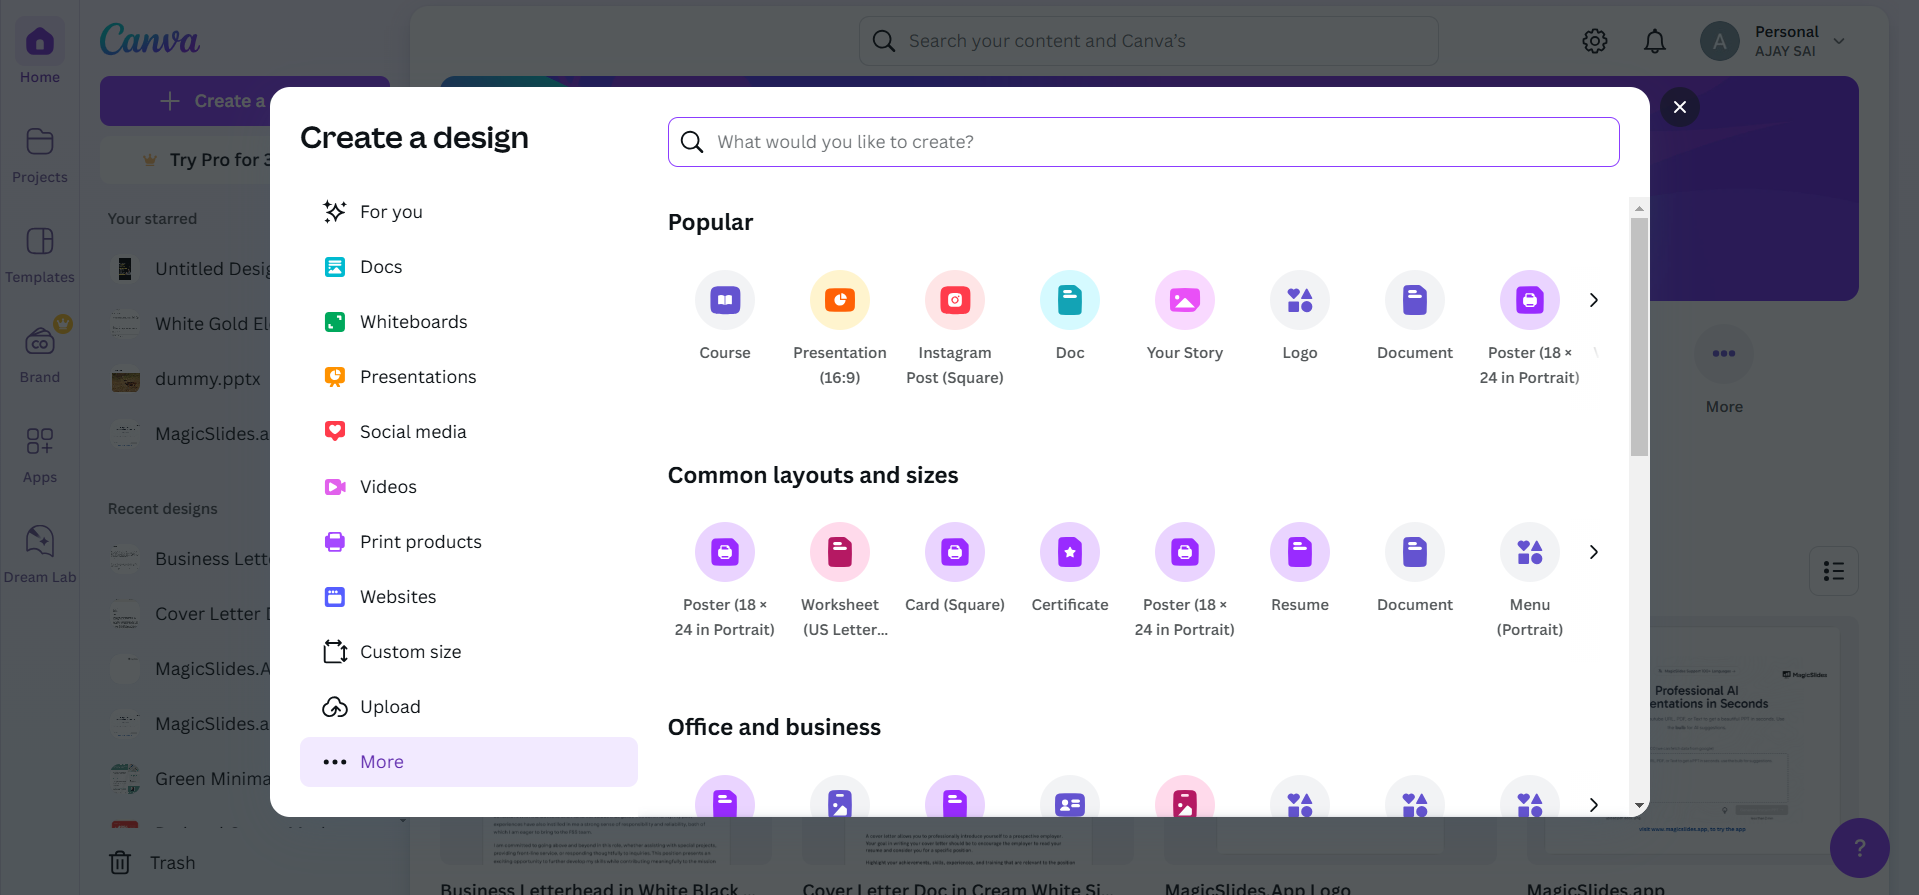
Select the size or template that matches your intended use, such as an Instagram post, flyer, or custom dimensions.
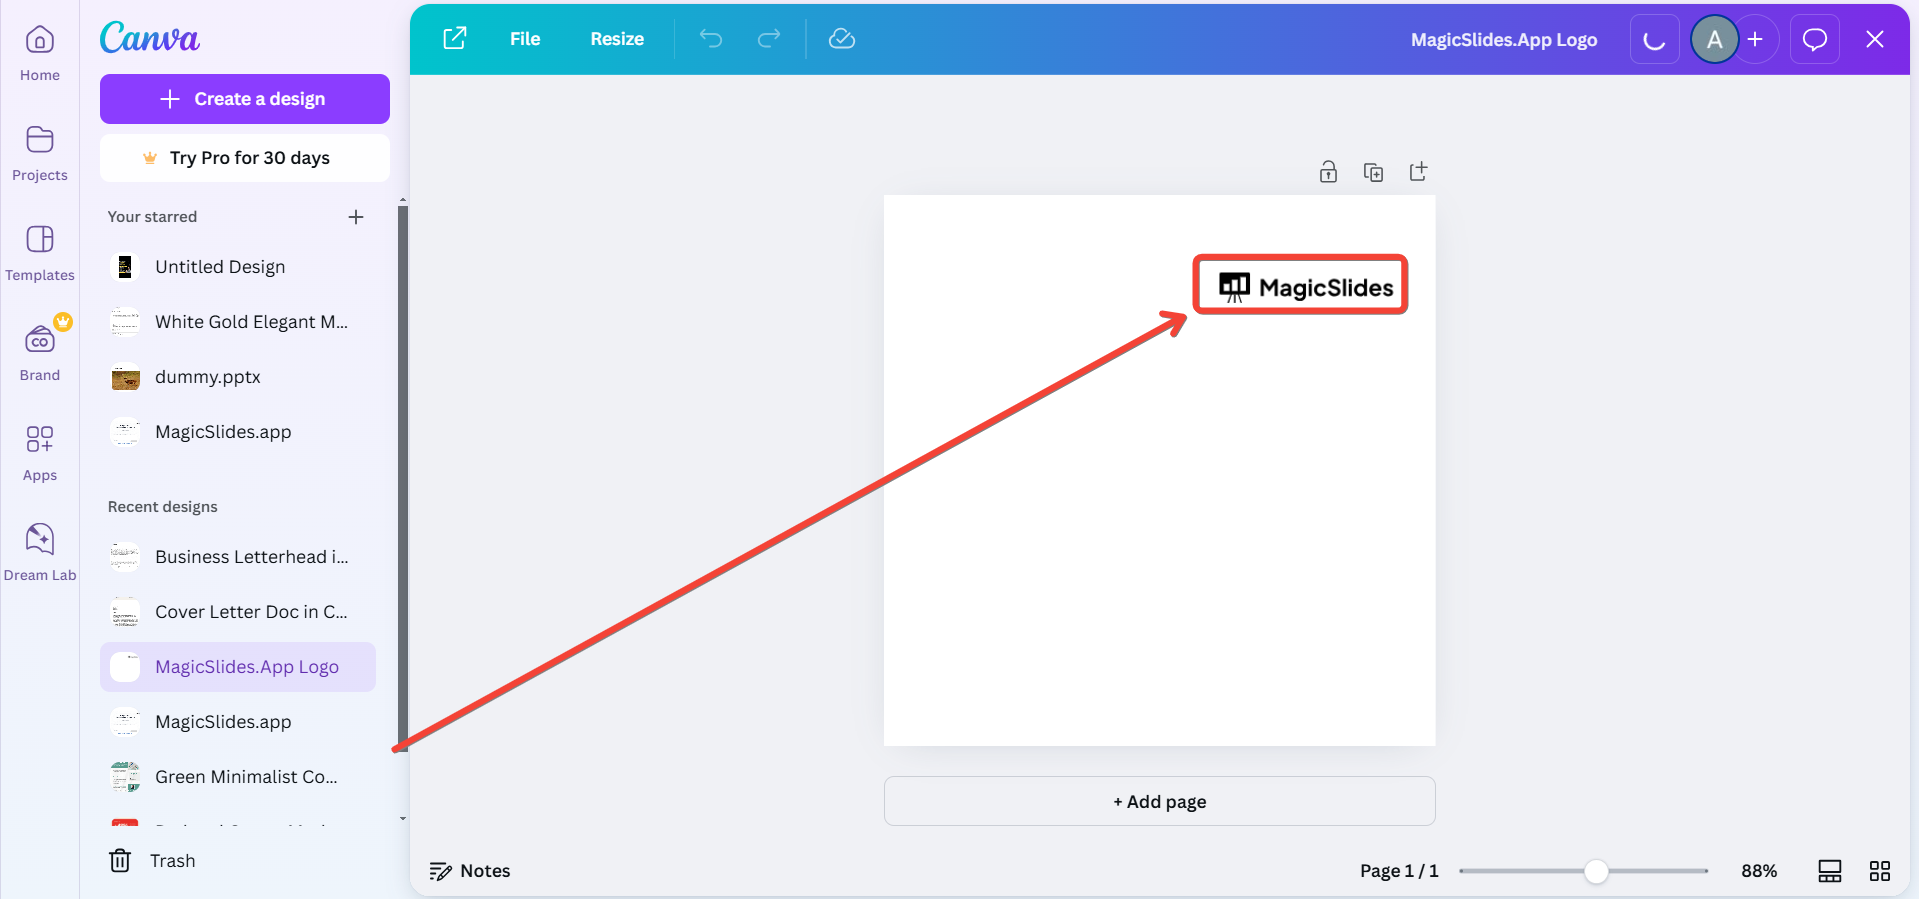
Step 2: Add Your Logo or Text for the Watermark
If you already have a logo, upload it by clicking "Uploads" in the left menu and dragging your file into Canva.
For a text-based watermark, click "Text" in the left menu and select "Add a Heading."
Type the text you want to use, such as your brand name or tagline.
Step 3: Customize the Watermark Design
Use the toolbar at the top to adjust the font style, size, and color for text-based watermarks.
For logo-based watermarks, resize and position the logo on the canvas using the drag handles.
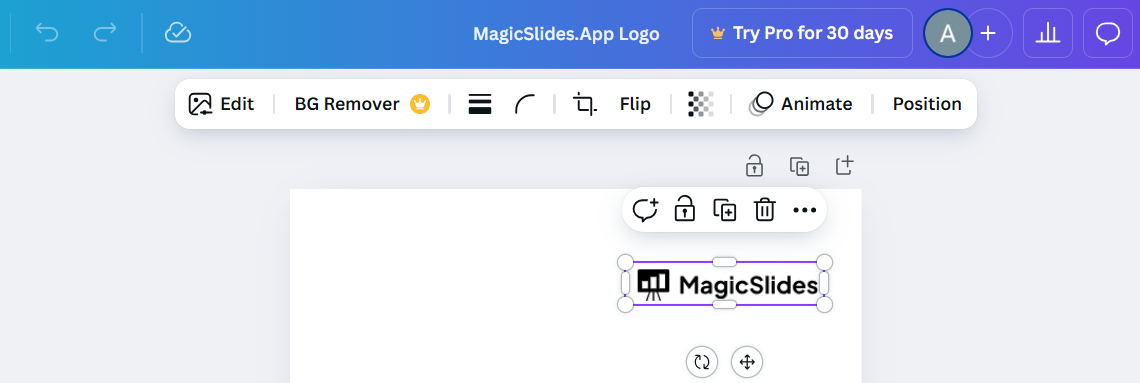
Reduce the transparency to give it a subtle, professional look:
- Select the text or logo.
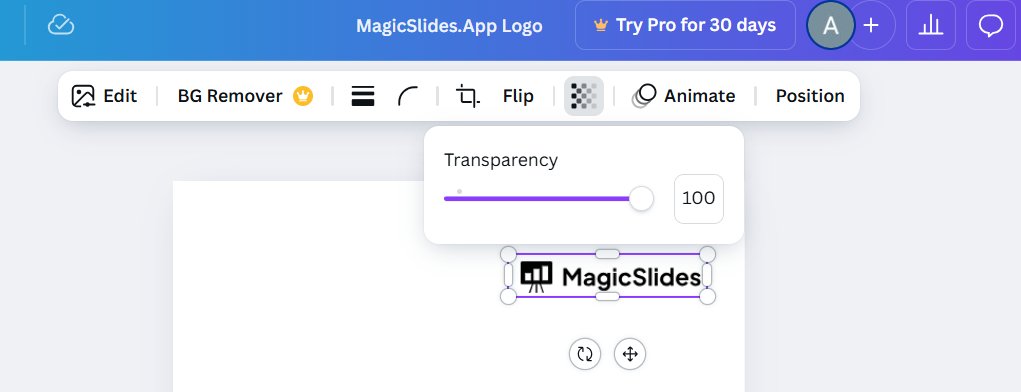
- Click the transparency icon (checkerboard icon) in the top-right corner.
- Adjust the slider to reduce the transparency (typically between 20-50%).
Step 4: Position the Watermark
Place the watermark strategically where it doesn’t obstruct key elements of your design. Common positions include the bottom corner, center, or repeated diagonally across the canvas.

Use Canva’s alignment tools to ensure the watermark is perfectly positioned.
Step 5: Save and Reuse Your Watermark
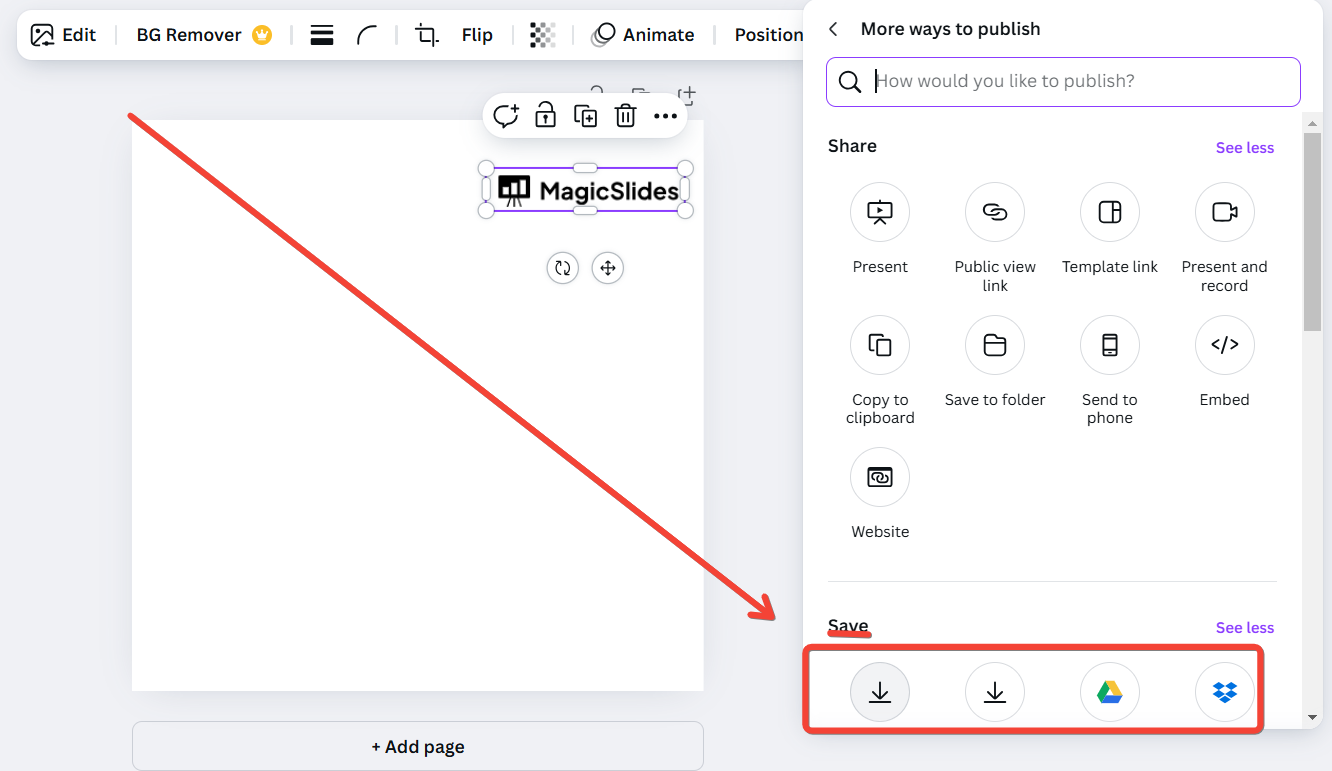
Once you’re satisfied with the design, download it by clicking “Share” > “Download” and selecting a format (PNG is ideal for transparency).
Save the watermark as a separate file for easy reuse in future designs.
Step 6: Apply the Watermark to Your Designs
Open the Canva project where you want to add the watermark.
Upload your saved watermark file if it’s a logo, or copy and paste the watermark design directly into the project.
Resize and position the watermark as needed, ensuring it blends seamlessly with your design.
Conclusion
Creating a watermark in Canva is a quick and effective way to protect your designs while maintaining a professional aesthetic.
By following these steps, you can create a personalized watermark that reflects your brand identity and ensures your work is uniquely yours.
With Canva’s user-friendly tools, you’ll have no trouble adding this essential layer of protection to your creations.
FAQs on Creating a Watermark in Canva
Can I create a transparent watermark in Canva?
Yes, Canva allows you to reduce the transparency of text or logos to create a subtle, transparent watermark.
Is it possible to apply the same watermark to multiple designs?
Absolutely! Save your watermark as a separate file and upload it to any Canva project for easy reuse.
What file format should I use for downloading my watermark?
Download your watermark as a PNG file with a transparent background for maximum versatility.
By mastering watermark creation in Canva, you can protect your creative work and showcase your brand effortlessly.


