How to Create a Timeline in PowerPoint in Less Than 5 Steps?


Learn how to make a timeline in PowerPoint with step-by-step methods. Create professional timeline slides quickly for project planning, business presentations, and visual storytelling.
Microsoft PowerPoint allows its users to simply adjust, restyle or create a timeline in PowerPoint. A timeline is a visual representation of events arranged in chronological order. It is commonly used for project planning, business roadmaps, historical presentations, product launches, and case studies. It is one of the most efficient visual tools that is being used in presentations. This helps audiences to understand the information involved in the presentation in a clearer and more chronological order.
It became beneficial for the project to explain roadmaps, organisational growth, product development, historical events, or marketing campaigns. In short, it is very beneficial in every field of work all around.
Many professionals use Microsoft PowerPoint to create timelines because it allows simple visualization of milestones and progress. In this comprehensive guide, we will discuss every practical way to know how to make a timeline in PowerPoint high-level presentations, including highly automated methods as well. So let’s get started without any further ado.
Create a Timeline in PowerPoint Through Different Methods
If you want to go with the manual method, you need to use PowerPoint’s SmartArt tools that create a basic timeline without designing it from scratch. SmartArt provides built-in visual structures that help you organize timeline events quickly.
There are three main approaches you can take; let’s discuss them.
- SmartArt- This works with PowerPoint’s smart graphics for simple process diagrams or milestone timelines.
- Design templates- use the existing PowerPoint timeline template and adapt it to your needs.
- PowerPoint add-ins- Install a productive add-in that supports the making of powerful Gantt charts and planning timelines.
Now lets see how to perform the steps:
How to Create a Timeline in PowerPoint Through SmartArt?
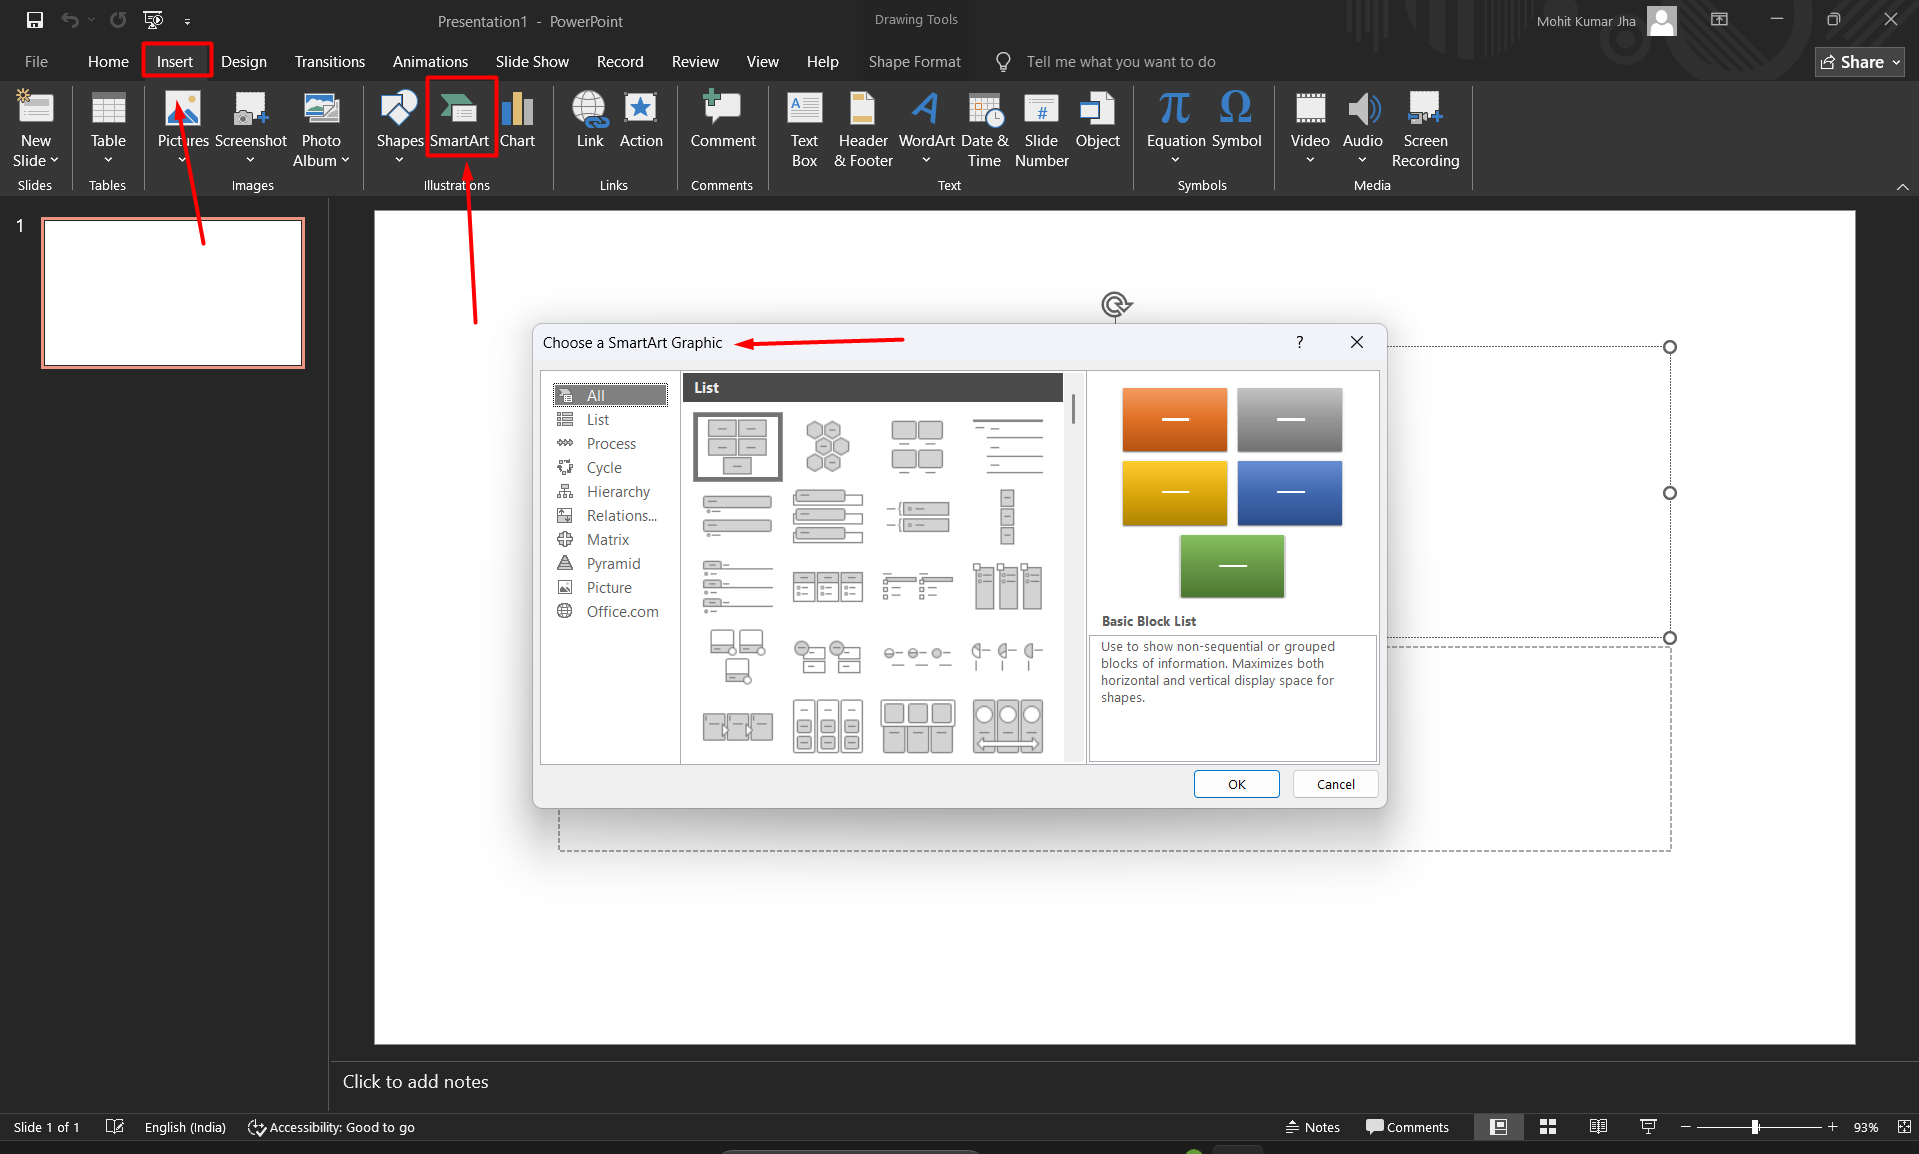
Step 1. Open Microsoft PowerPoint. Go to the Insert tab on the ribbon and click SmartArt in the Illustrations section.
Step 2. Now, click on the process option. This will open a window with several options of graphics.
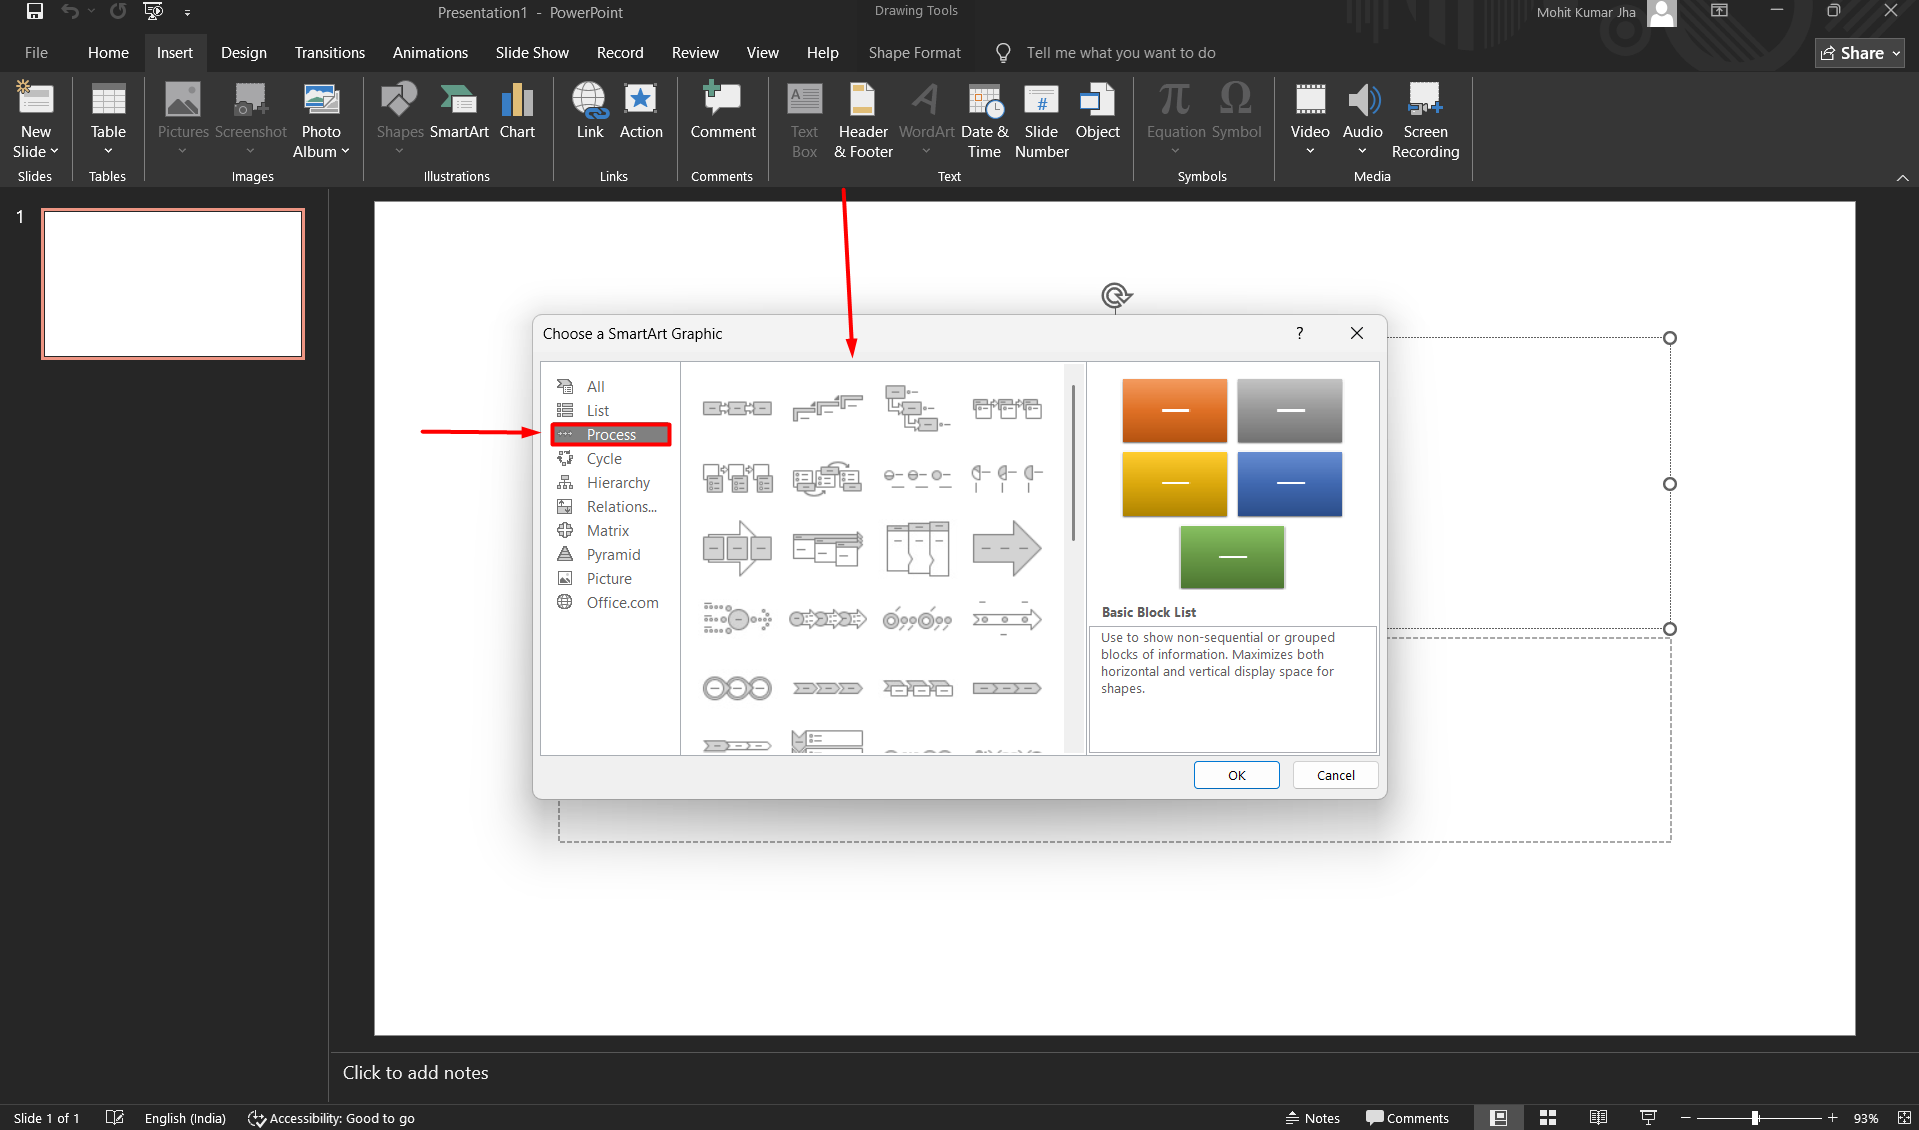
Step 3. Lastly, look for the options called ‘Basic Timeline’ or ‘Circle Accent Timeline’. Choose your preferred style, and that will be automatically populated on all the slides.
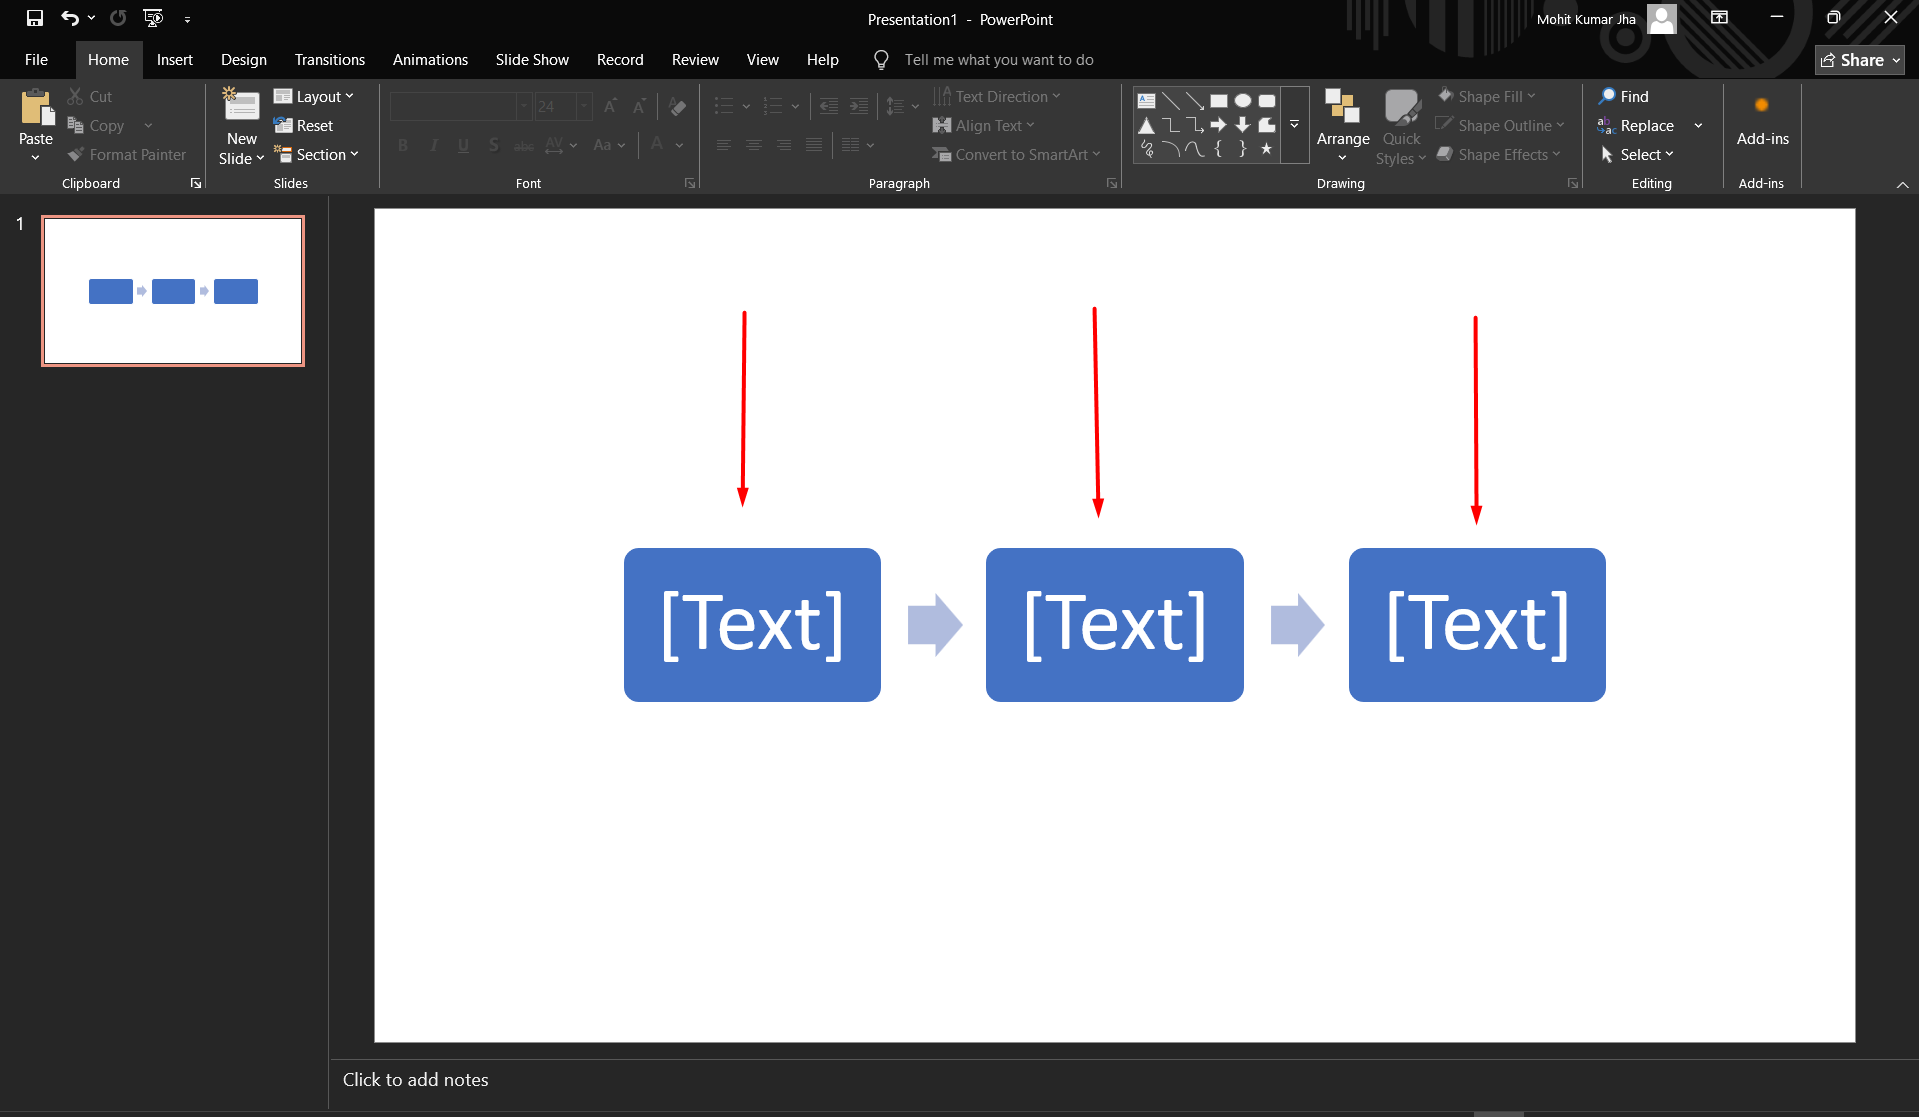
This is the fastest and most beginner-friendly method, which is beneficial in helping the user to create a timeline in PowerPoint. It provides options to pre-design layouts that are easy to customize.
How to Insert a Timeline in PowerPoint Manually?
There is one more method that you can use if you want full design control and a highly customized timeline on your presentation. To perform this, simply follow the steps to add a timeline in PowerPoint.
Step 1. Go to Insert and select Shapes, then choose a Line.
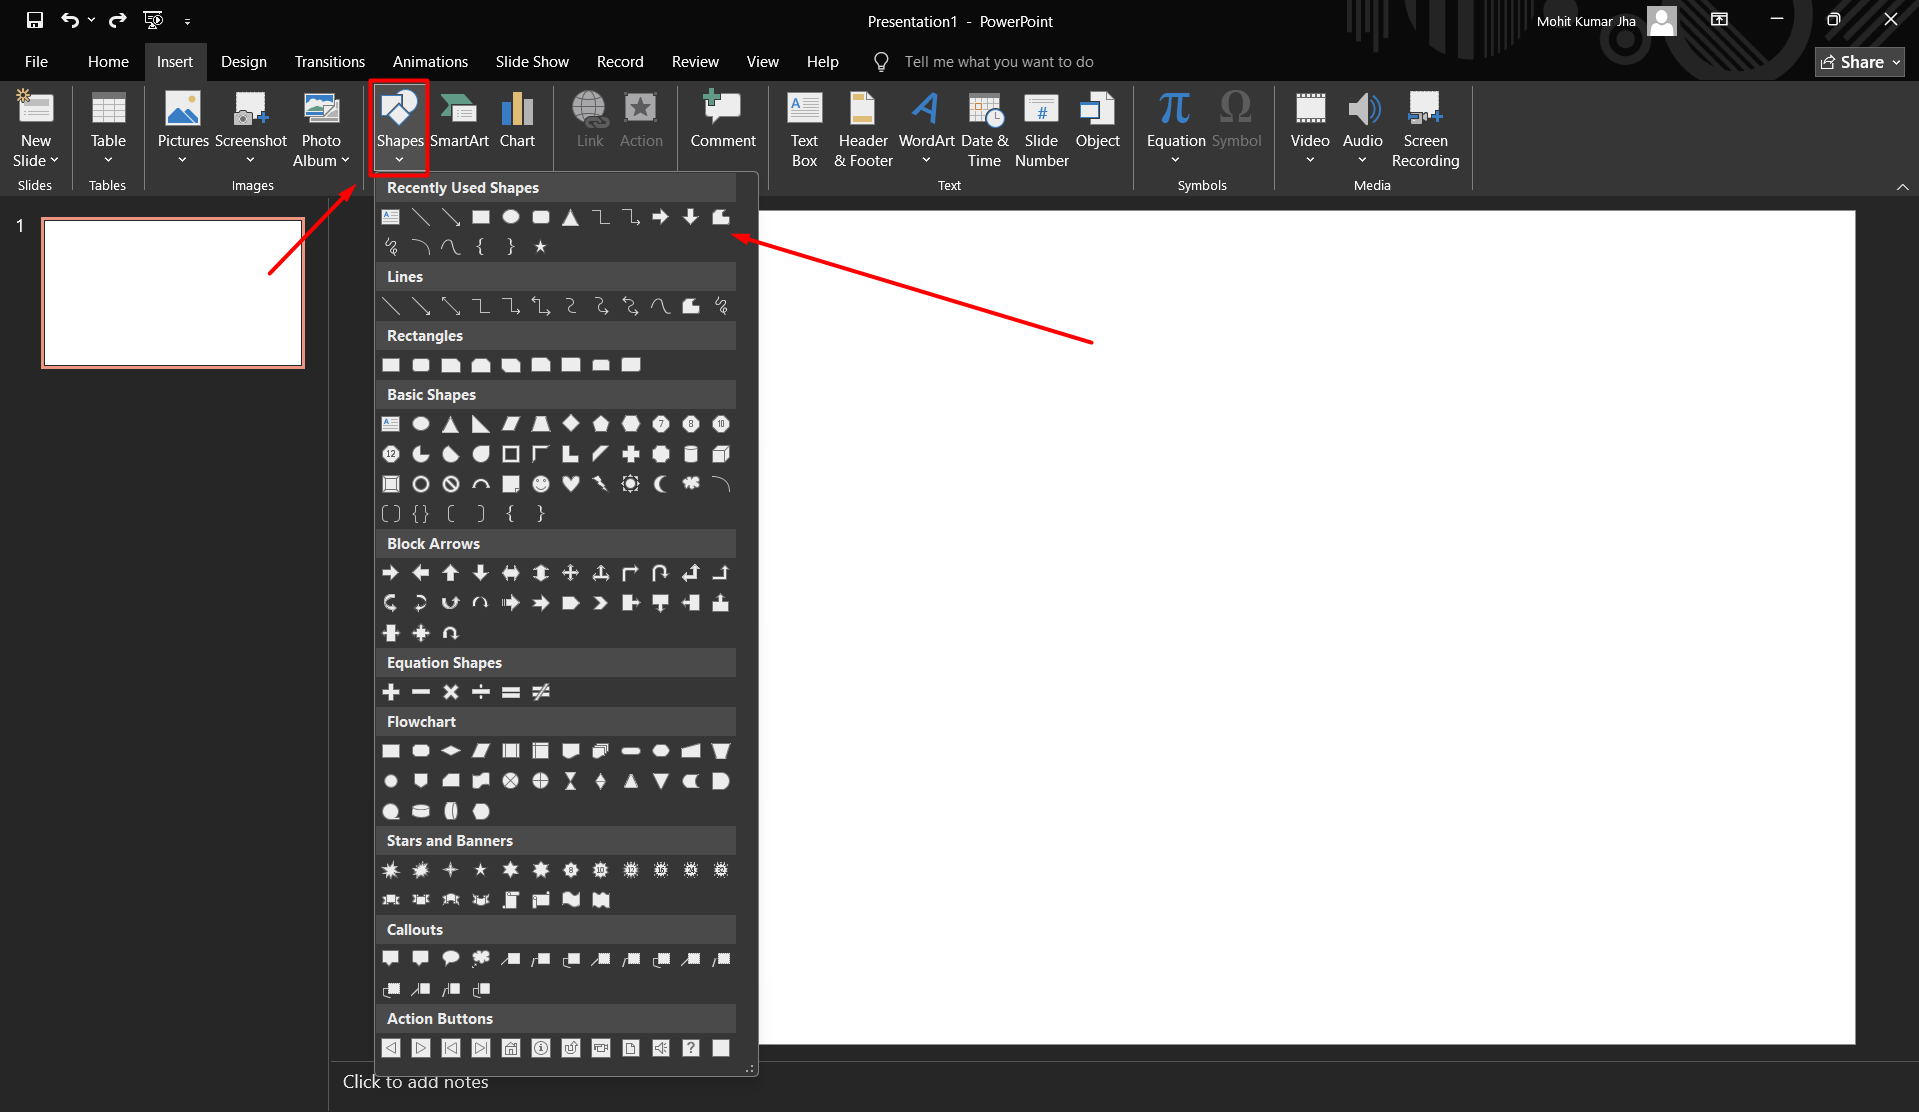
Step 2. Draw a horizontal line across the slide.
Step 3. Add markers using shapes such as circles or rectangles.
Step 4. Insert text boxes for dates and descriptions.
Step 5. Use alignment tools to distribute elements evenly.
Step 6. This approach gives you full design control and allows you to create highly customized timelines.
How to Make a Timeline in PowerPoint Using Design Templates?
PowerPoint provides various built-in templates that can significantly save time. Let’s discuss the steps for the best way to show a timeline in PowerPoint.
Step 1. Click on File and then New.
Step 2. Search for timeline templates.
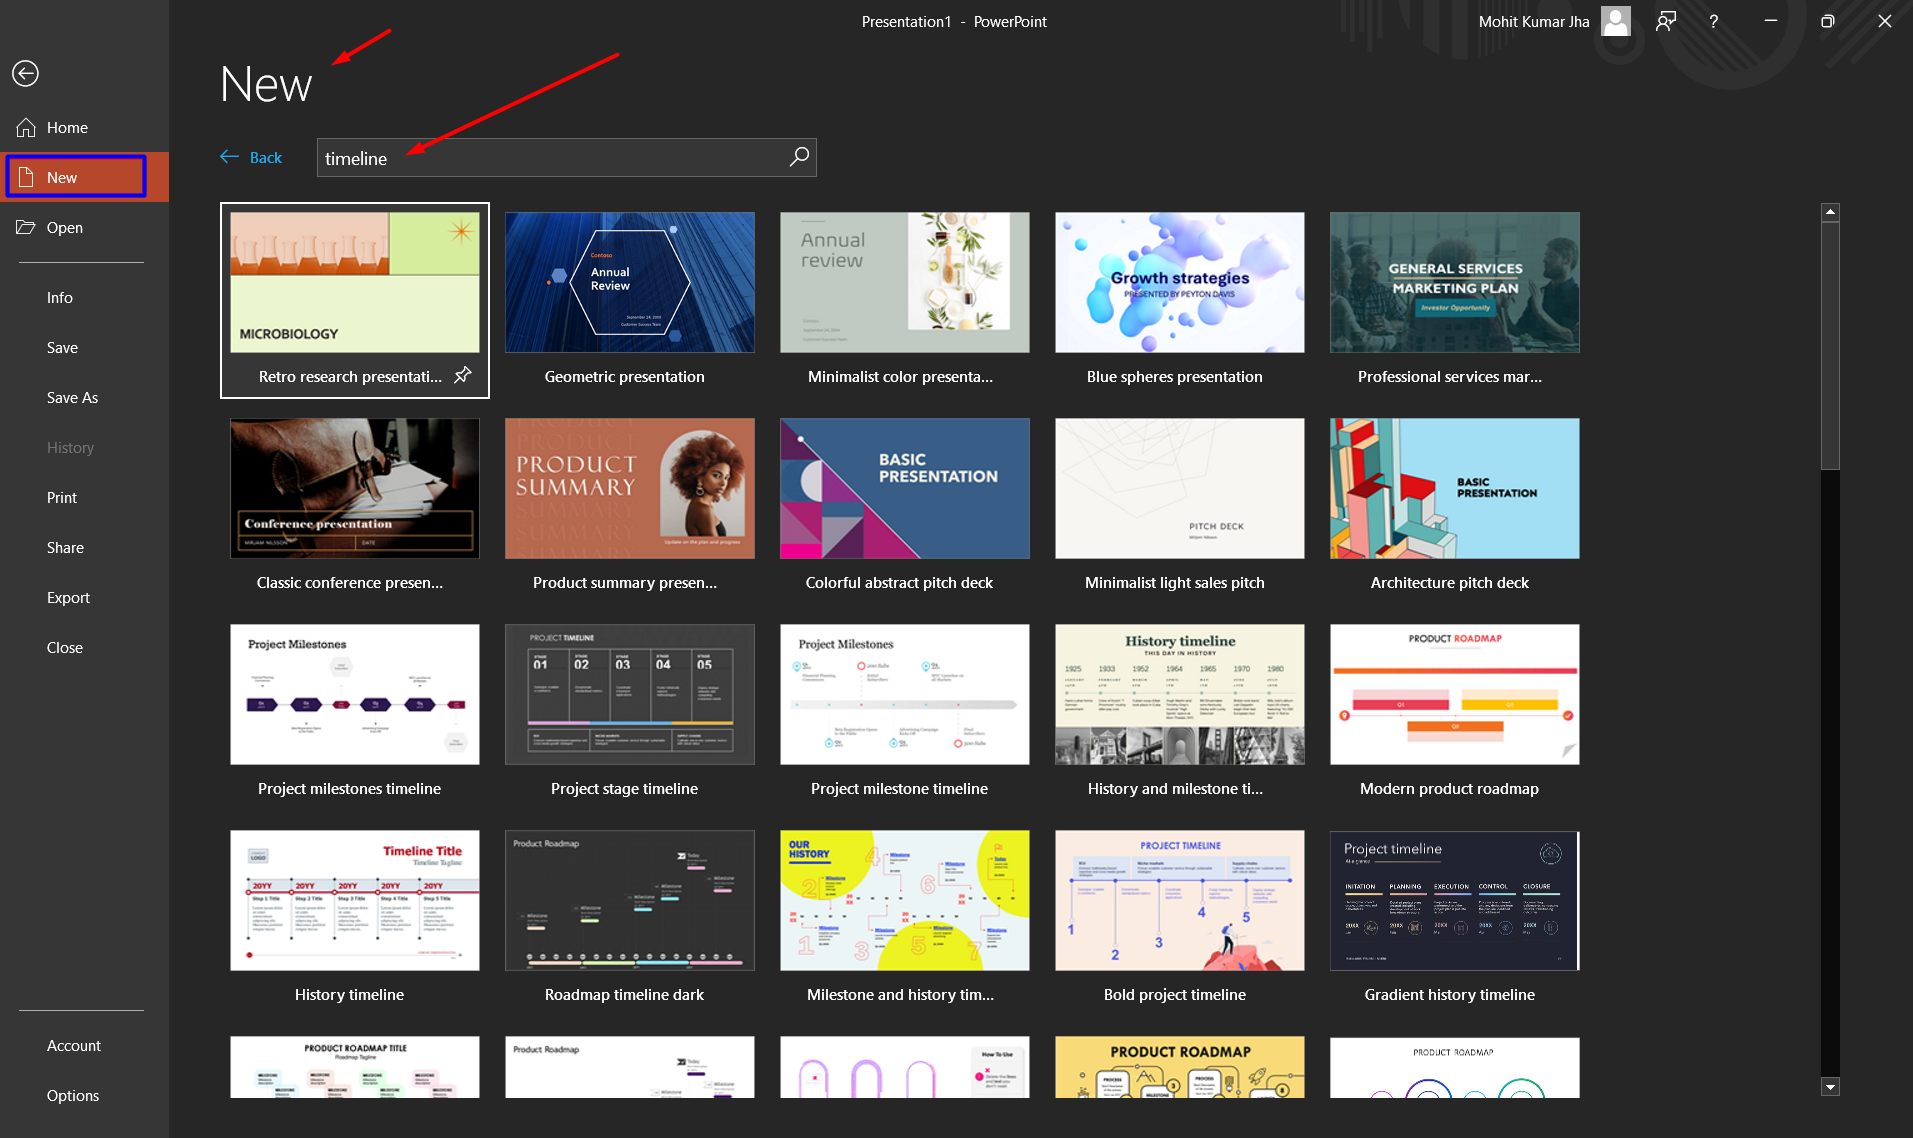
Step 3. Choose a design that fits your needs.
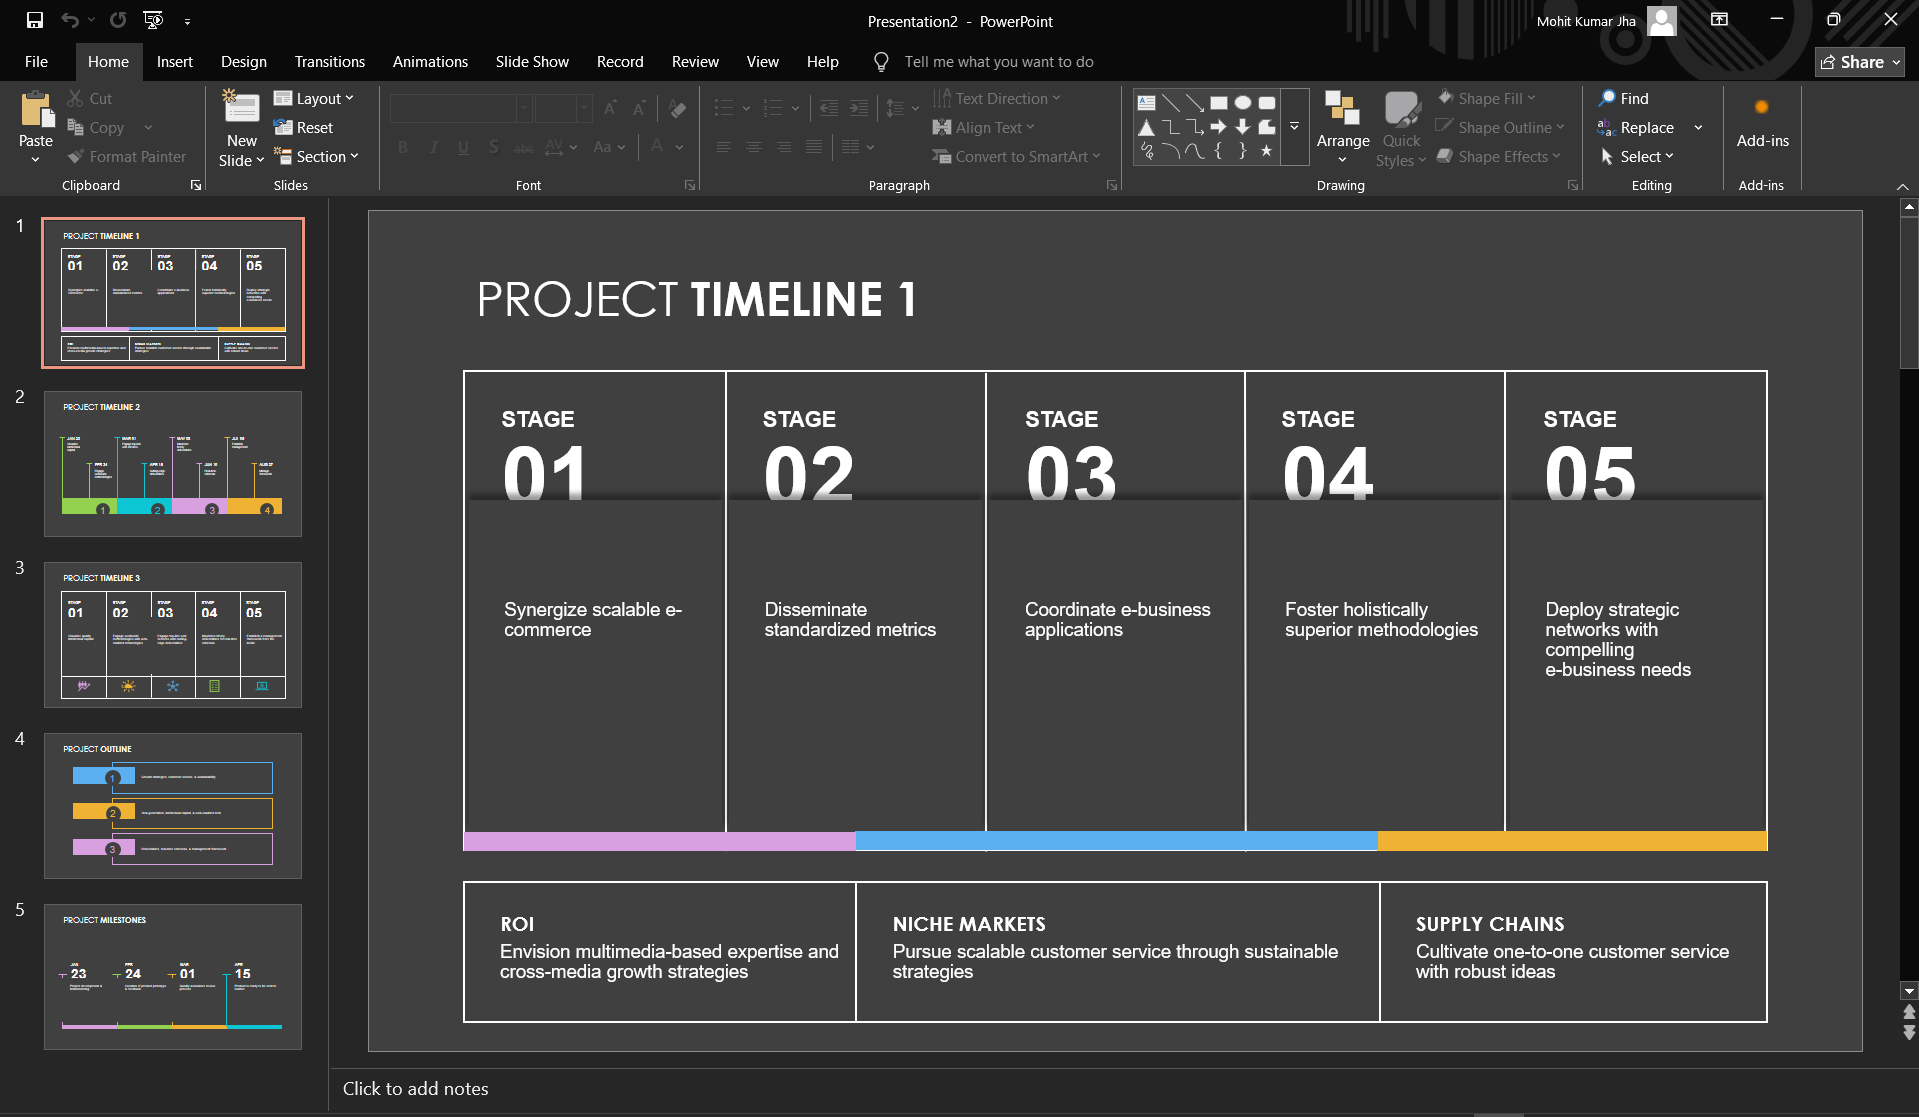
Step 4. Replace the placeholder content with your own information.
Templates are useful when you want a polished design without starting from scratch.
There are Some Disadvantages of Making Timelines with PowerPoint
- Various tasks hamper the process; there are various complex diagrams in PowerPoint. These are linked to spreadsheets that can directly make significant changes in the data.
- The primary disadvantage of making planning timelines with PowerPoint is that they are not connected to the calendar or any other data source. You need to update them manually if you need to perform certain changes.
- Illustrative timelines also face issues, even though these don’t require a need of connecting data sources. Editing an attractive timeline in PowerPoint is very difficult, as they rely on custom shapes or drawings.
How to Make a Timeline Slide with AI?
Yes, you heard it right. It is possible to add a timeline in PowerPoint using AI. This is the fastest and most instant way to perform the task of creating a timeline in any PowerPoint slide. If you want to skip manual methods and for any havoc, simply opt for this method.
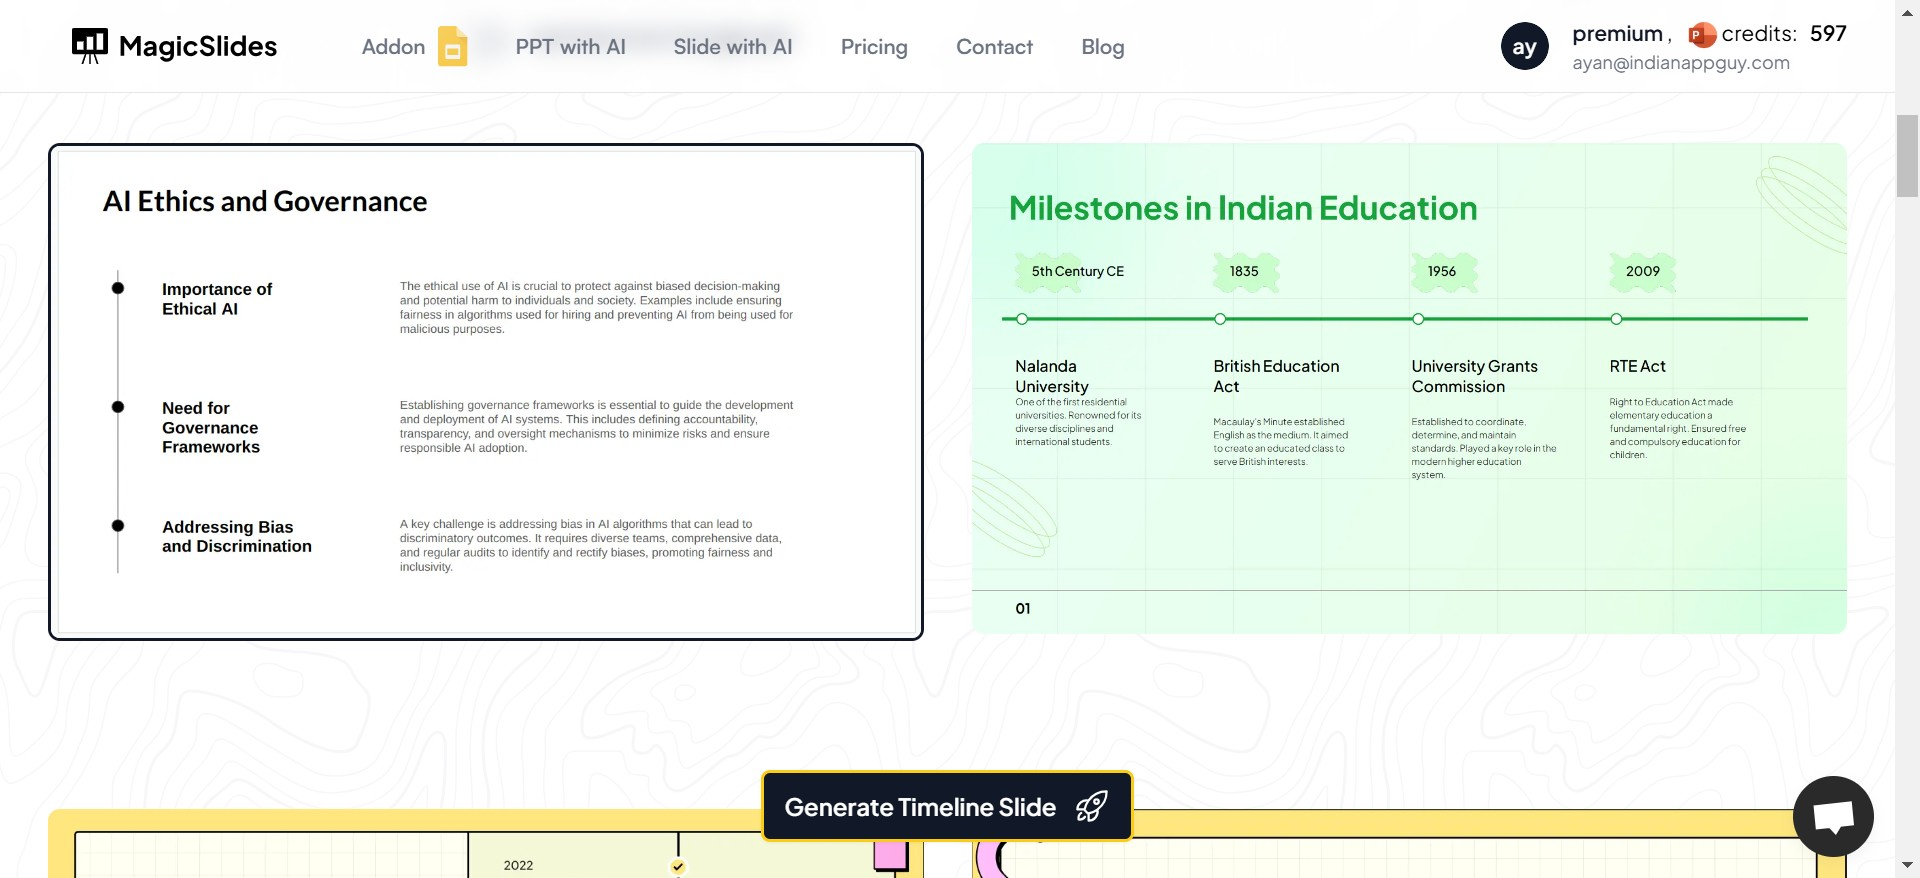
Tools like MagicSlides can help you in the simplest and easiest way to create a timeline slide for presentations with a single click. Not only this, you will be getting various Timeline template options for the slides.
Here are the steps for the same
Step 1: Visit Magicslides.app: Open up your web browser and head over to one of the best AI Presentation Tools. This site is your starting point for creating slides that don’t just convey information but make it stick.

Step 2: Click on Slide With AI
Click on the “Slide with AI” option on the homepage. It’s designed to leverage AI to help tailor your slides to fit your needs perfectly.

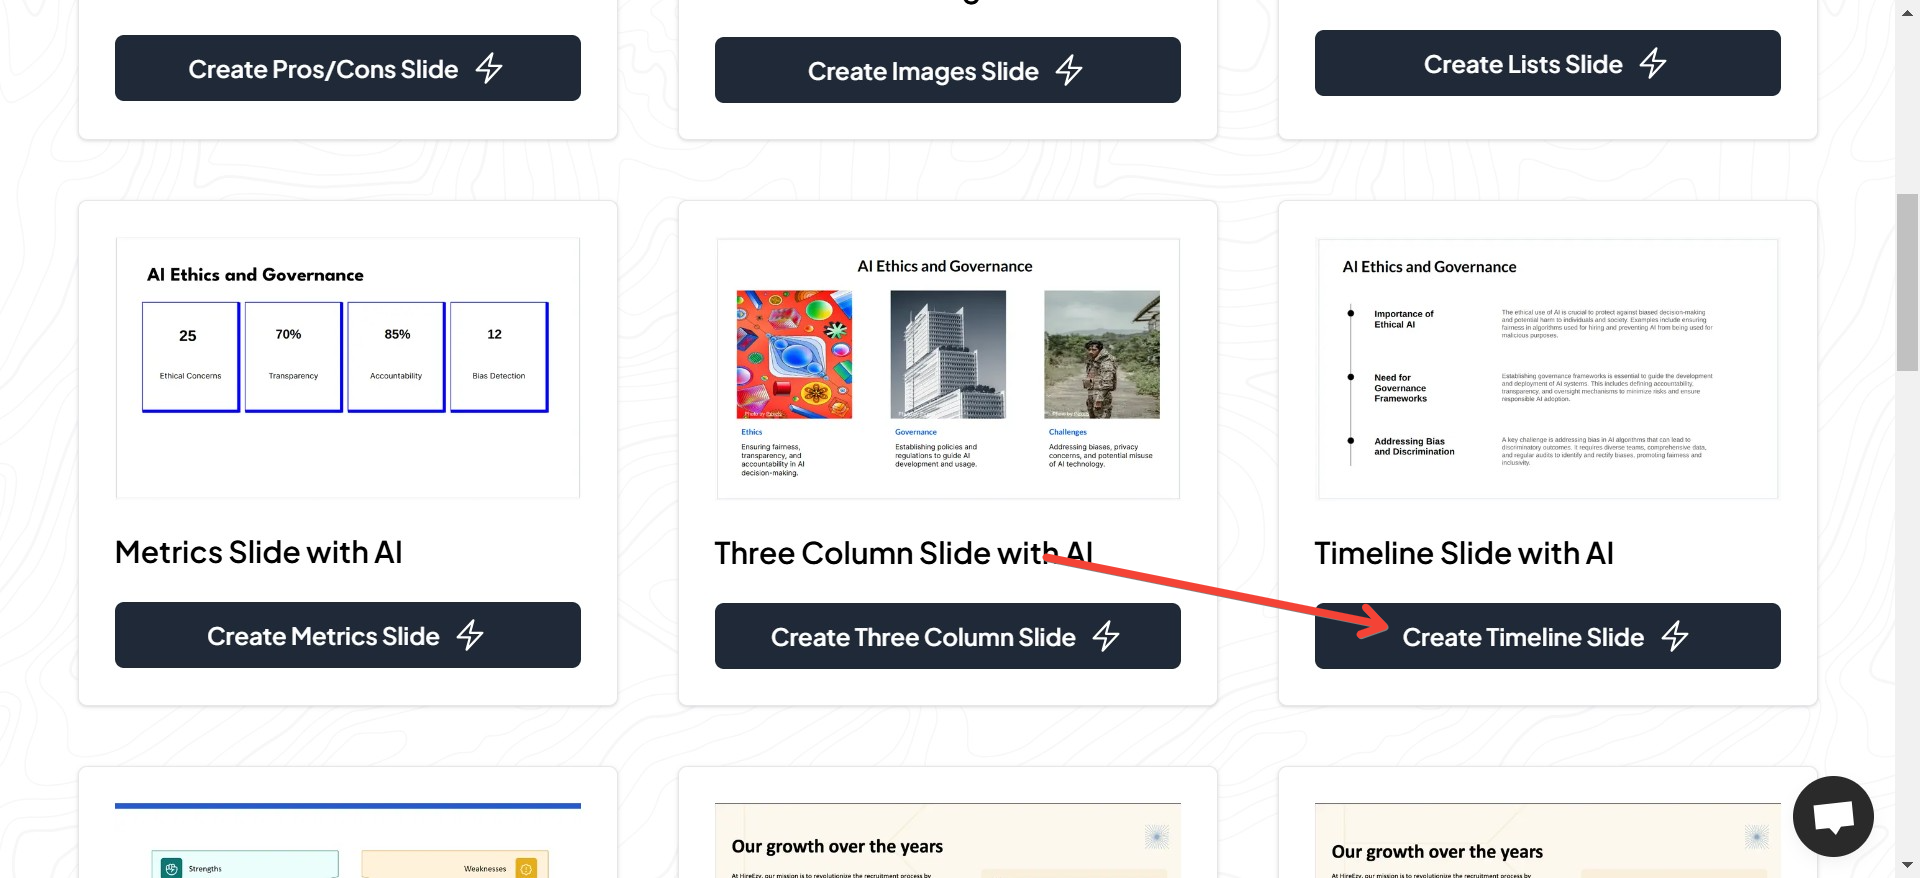
Step 3: Select the Right Tool
As you explore the AI options, look for “Timeline Slide” and click on it. You’re on your way to creating something great.
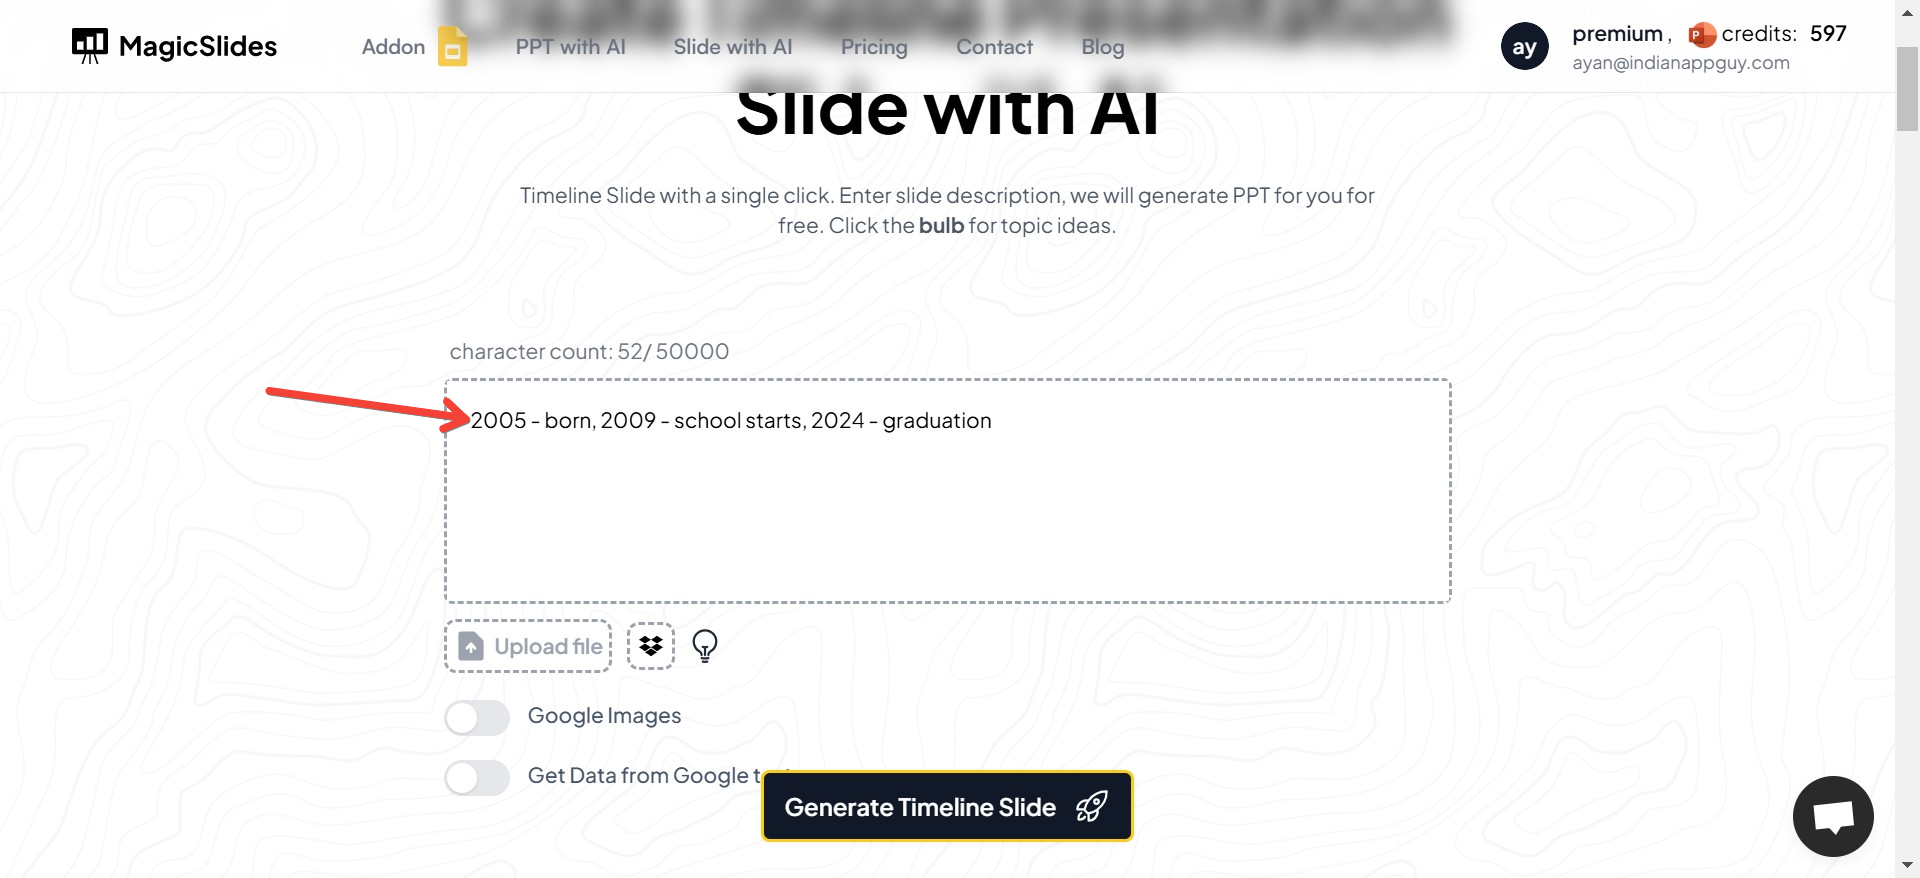
Step 4: Input Your Details
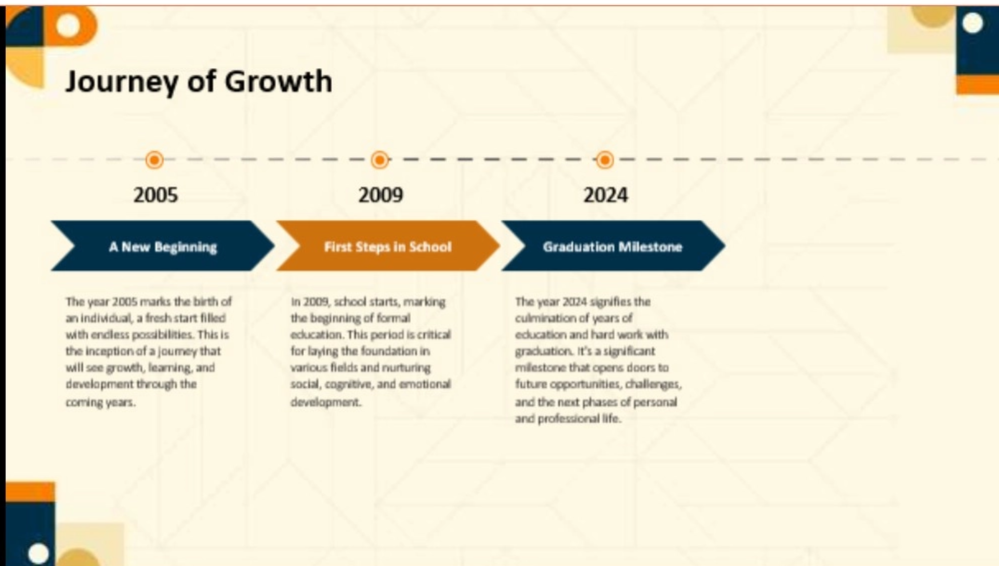
Here’s where you get into the specifics. Enter the dates, events, and any short explanations needed for your timeline. The more precise you are, the clearer your timeline will be.
Step 5: Pick a Style
MagicSlides.app offers a variety of design templates. Choose one that matches the vibe of your presentation and complements your content.
Step 6: Bring it to Life
Hit the “Generate” button and watch as the site assembles your information into a beautifully designed timeline slide. It’s fast and fun to see your ideas take shape!

Step 7: Fine-Tuning
Take a moment to review your new timeline slide. This is your chance to make tweaks and ensure everything looks just right.
Concluding Thoughts
Timeline creation in PowerPoint is an essential skill for professionals, educators, and business teams. Timeline transforms information into clear visual stories that help users understand quickly. It is highly recommended to opt for the professional solution discussed in the article. It efficiently automates solutions that can generate complete presentation decks in seconds.


