How to Add a Text Box in Canva Easily for Better Designs?


Learn how to add a text box in Canva with this step-by-step guide. Customize fonts, spacing, colors, and create better Canva designs easily.
Adding a text box in Canva is an essential skill for creating visually engaging designs with custom text.
Whether you’re designing social media graphics, presentations, or promotional materials, Canva makes it easy to add, format, and position text exactly where you want it.
In this guide, I’ll walk you through the steps to add a text box in Canva and customize it to suit your design needs.
How to Add a Text Box in Canva: A Step-by-Step Guide
Step 1: Open Canva and Select a Design
Log in to your Canva account and click on “Create a design.”
Choose the type of design you want to work on, whether it’s a presentation, poster, social media post, or custom-sized design.
Once your design canvas is ready, you can start adding text.
Step 2: Navigate to the “Text” Option
On the left-hand panel of the Canva dashboard, you’ll see various options. Click on the “Text” tab to access different text tools.
Here, you will find pre-formatted text combinations, or you can add your own text box by choosing one of the three options: “Add a heading,” “Add a subheading,” or “Add a body of text.”
Step 3: Add a Text Box
Click on the type of text box you want to add. Canva will automatically place a text box on your canvas, which you can move around freely.
If you prefer more control, you can simply click on your design canvas where you want the text box to appear, and a text box will be placed there.
Step 4: Customize Your Text
Once the text box is added, click inside the box to start typing your content.
You can customize the text by changing the font style, size, and color using the toolbar at the top.
Canva offers a variety of fonts to choose from, and you can even adjust line spacing, letter spacing, and alignment to suit your design.
Step 5: Position the Text Box
After typing your text, you can drag the text box to reposition it anywhere on your canvas.
Canva’s gridlines will help you align the text box accurately. You can also resize the text box by dragging its corners to fit the desired text content.
Step 6: Save or Export Your Design
Once you’re happy with the placement and appearance of your text, save your design by clicking on the “Download” button in the upper-right corner.
Canva offers multiple formats for downloading your design, including PNG, JPEG, PDF, and more.
Now that you’ve learned how to add a text box in Canva, take your designs to the next level by discovering how to change dimensions on Canva, allowing for better customization.
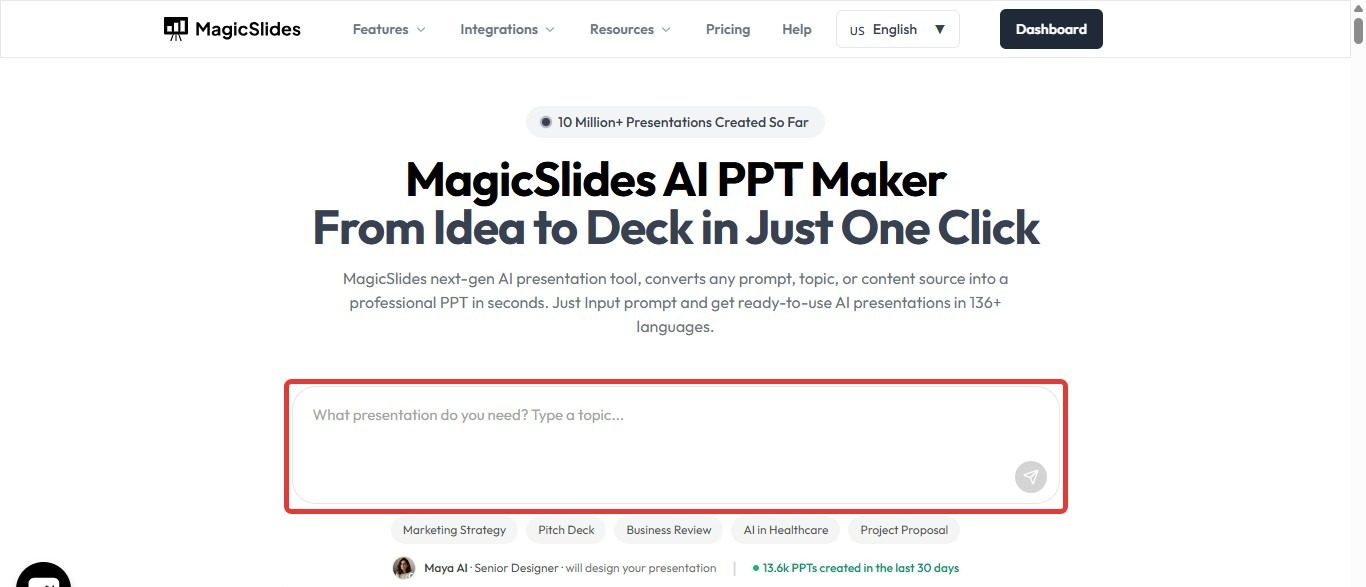
Create Better Presentation Designs Faster with AI
Once you know how to add a text box in Canva, the next step is creating designs that look professional and engaging. Good text placement, clean layouts, and well-structured slides can make your presentations stand out and keep your audience focused.
This is where MagicSlides AI Presentation tool can help save time and improve your workflow.
Instead of designing every slide manually, MagicSlides AI helps you generate complete presentations in minutes. You can create slides from topics, documents, YouTube videos, PDFs, URLs, or even plain text. After generating your presentation, you can easily customize the design further in Canva by adding text boxes, editing layouts, and refining visuals.
Many creators use Canva together with MagicSlides AI to speed up presentation design while still maintaining a polished and creative look.
If you regularly create presentations, social media designs, or educational slides, combining Canva’s design tools with AI-powered slide generation can make the process much faster and more efficient.
Conclusion
Adding a text box in Canva is a simple yet powerful way to enhance your designs with custom text.
Whether you need a headline, subheading, or body text, Canva’s flexible tools allow you to easily insert and style text to fit your creative vision.
Follow these steps to add and customize text boxes in your next Canva project, and take your designs to the next level!
FAQs are here to help!
Can I change the font style in Canva text boxes?
Yes, you can choose from a variety of fonts in Canva’s toolbar.
How do I move a text box in Canva?
Click and drag the text box to your desired position on the design canvas.
Can I adjust text spacing in Canva?
Yes, Canva allows you to adjust both line and letter spacing from the text editing toolbar.


