How to Add Subscript to Text in Google Slides? Explained


Learn how to add subscript in Google Slides step by step. Use shortcuts, formatting tips, and create professional slides faster with ease.
When you need to craft a professional presentation or polished presention, this needs to come down to the smallest details. One such detail is text formatting. Especially when you need to use a subscript. How to add a subscript to Text in Google Slides is one of the most-searched formatting questions, and for good reason. Whether you’re creating a science presentation with formulas like H₂O or adding small annotations in a business slide, subscript formatting helps your content look accurate and professional. The problem? Many users don’t know where the option is or how to use it quickly.
In this guide, you’ll learn exactly how to add subscript to text in Google Slides using simple step-by-step methods, keyboard shortcuts, and smart workarounds. By the end, you’ll be able to apply subscript in seconds without breaking your workflow.
How to Add Subscript to Text in Google Slides.
Open Your Google Slides:
Open the presentation in Google Slides where you want to add subscript text.
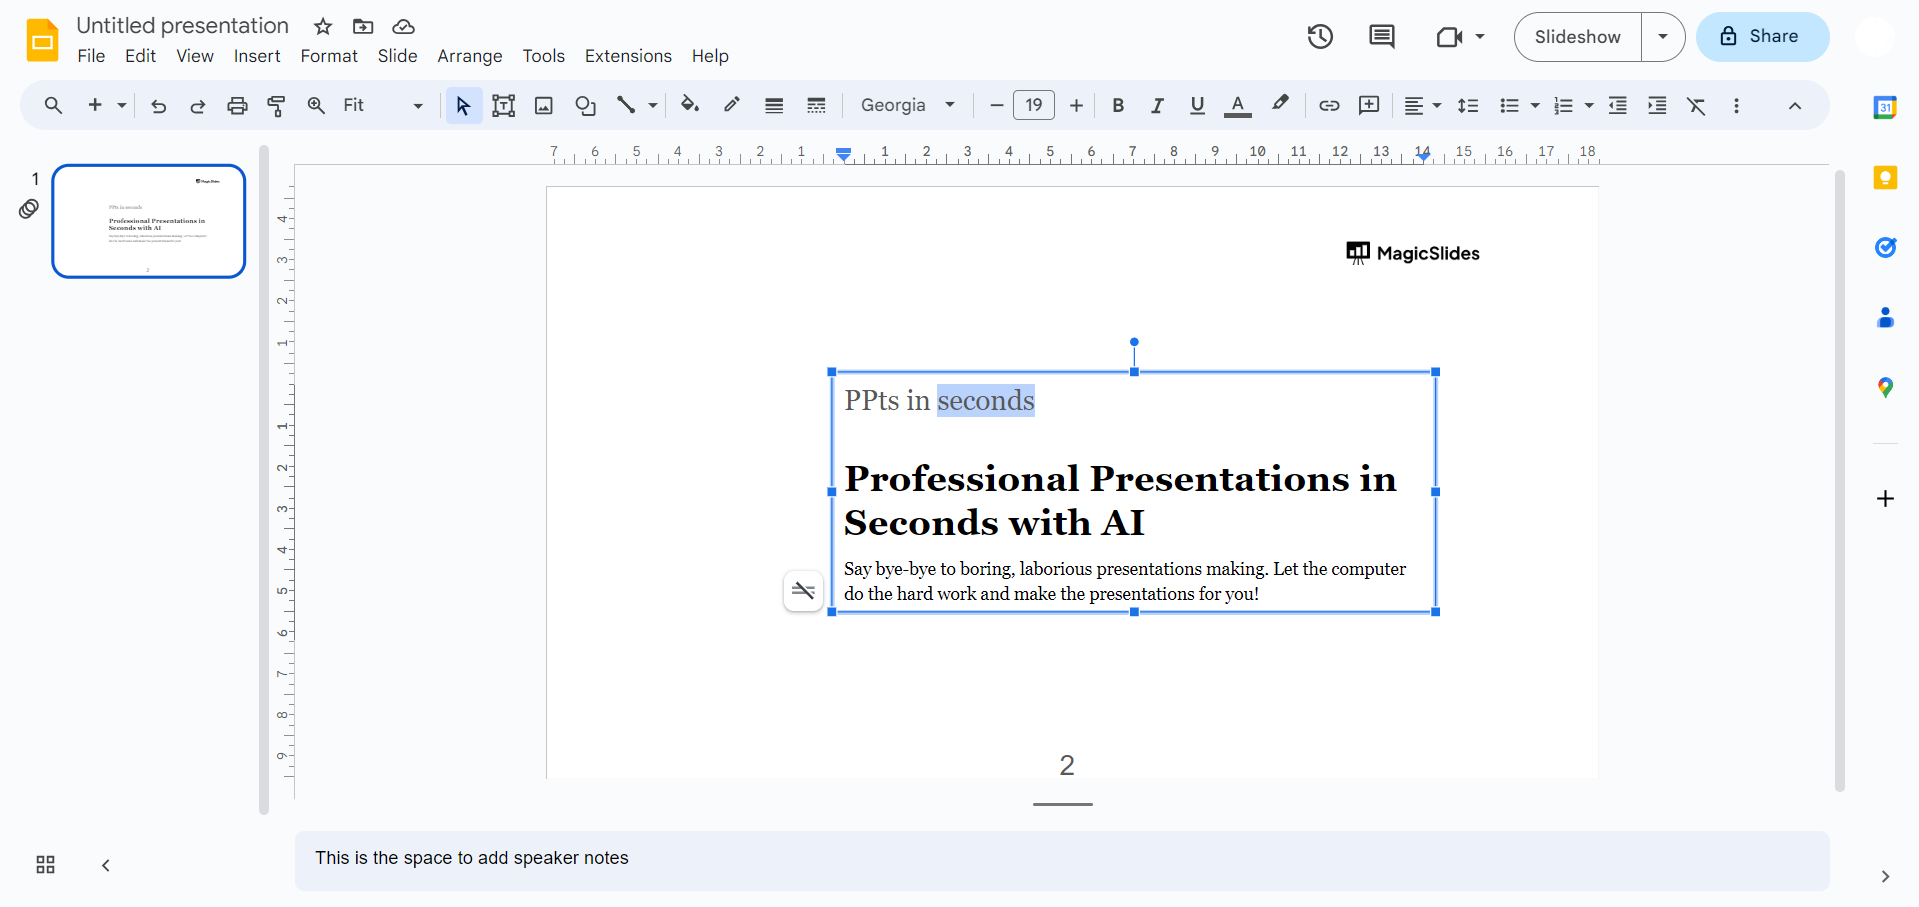
Select the Text:
Click on the text box or highlight the specific text within a text box where you want to apply subscript.
Access the Format Options:
Navigate to the menu bar and click on "Format." From the dropdown menu, select "Text."
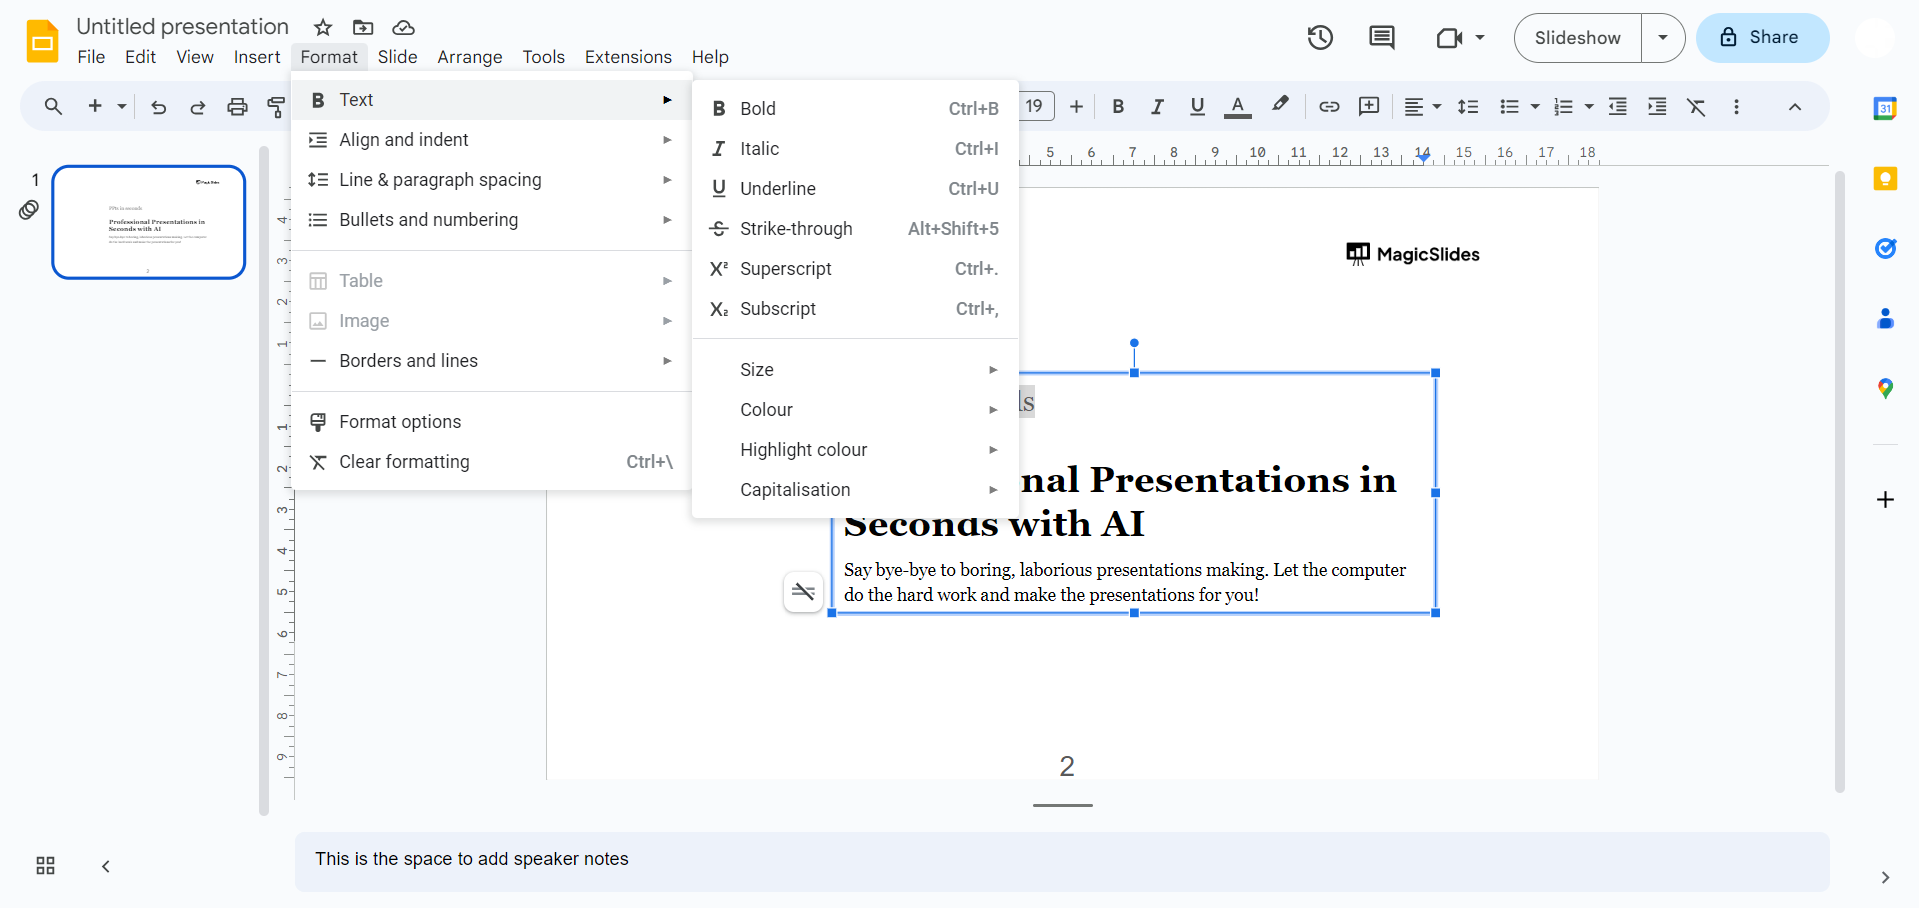
Choose Subscript:
In the "Text" menu, hover over "Baseline" to reveal additional options. Click on "Subscript" to apply the subscript formatting to the selected text.
Power Tip 💡:
Use Keyboard Shortcut:
You can use a keyboard shortcut to quickly add subscript. Select the text, then press Ctrl + , (Windows/Linux) or Command + , (Mac).
How to Add Subscript to Text in Google Slides with Smarter Solution
The process of formatting tricks like subscript help polish slides. On the other hand, creating an entire presentation from scratch is also not an easy task. So here I suggest you to give a trial on MagicSlides advanced next-gen AI presentation tool.
you can instantly turn text, documents, or even articles into fully designed presentations in seconds. Instead of manually adding content slide by slide, the tool helps you:
- Generate complete presentations automatically
- Convert template to PDF, convert blogs or notes into slides
- Save hours of manual formatting and design work
- Focus more on content, less on slide creation
So once you’ve mastered small formatting features like adding subscript in Google Slides, these tools can take your productivity to the next level.
Conclusion
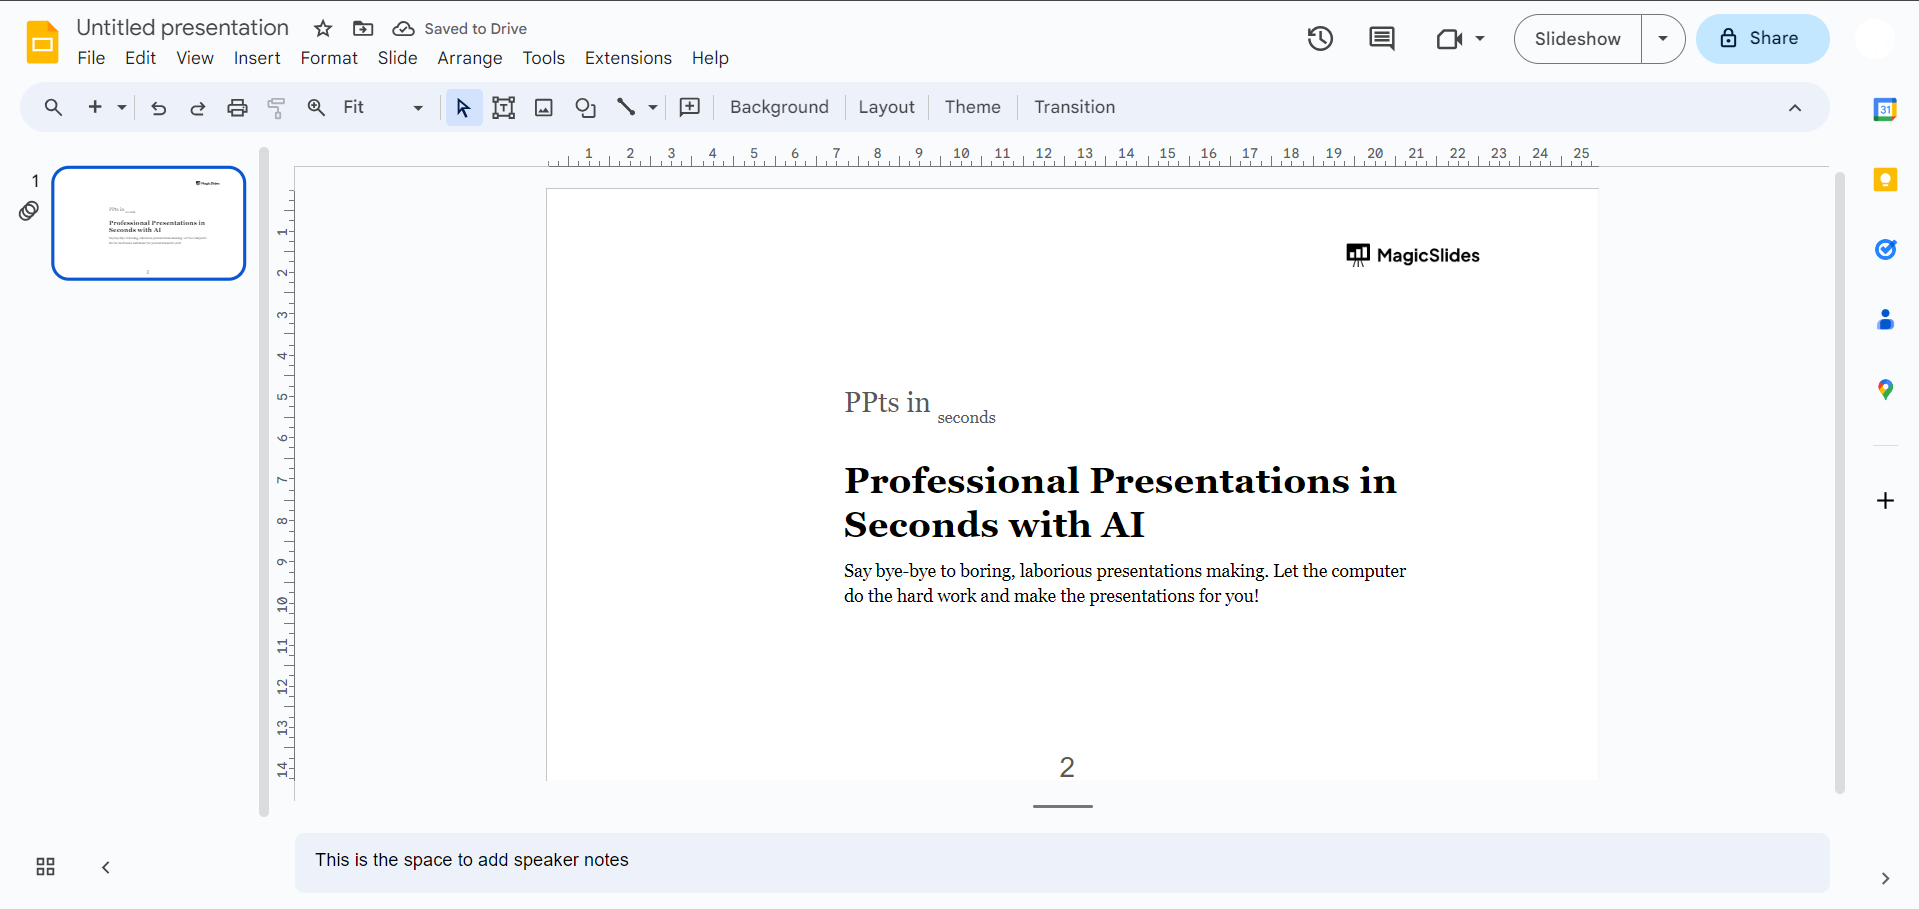
The selected text will now appear in subscript, and you can continue to customize your text as needed. If you want to remove the subscript formatting, follow the same steps and choose "Normal" from the "Baseline" options or use the keyboard shortcut Ctrl + . (Windows/Linux) or Command + . (Mac). Embrace the nuanced world of formatting for presentations that leave a lasting impact.
Learn how To Convert News Articles To PPT Slides.
Frequently Asked Questions:
How do I add subscript to text in Google Slides?
Select text, go to Format > Text > Baseline > Subscript or use shortcuts.
Can I apply subscript to only certain parts of the text?
Absolutely! Select the specific text, and the subscript formatting will apply selectively.
Will subscript formatting be preserved when I present or export my slides?
Yes, subscript formatting will be retained when presenting or exporting your Google Slides presentation.


