How to Use Google Form Autofill Bot? Step-By-Step Guide


Discover how to use Google Form autofill bot tools to automatically fill Google Forms, boost productivity, and handle bulk submissions easily.
Do you want to know how to use Google form autofill bot? Yes, you will get the answer here. This is one of the smartest ways to automate repetitive form submissions, save hours of manual work, and improve accuracy in data entry. A Google Form autofill bot helps you automatically fill Google Forms with speed and precision. It is so, whether you’re testing surveys, running marketing experiments, or handling bulk submissions.
In this step-by-step guide, we’ll explore how to unleash the power of this Chrome extension, making form-filling a breeze.
What is a Google Form Autofill Bot?
A Google Form autofill bot is a tool, script, or automation method that can automatically fill in and use Google Forms to collect data with predefined data and submit it without manual input. Instead of typing responses repeatedly, the bot handles the entire process faster, more accurately, and at scale.
At its core, a Google Form autofill bot works by mimicking human interaction with a form. It identifies each field, such as text boxes, dropdowns, checkboxes, and radio buttons, and inserts pre-configured values into them. Once the form is filled out, the bot can instantly submit it, completing the process in seconds.
How a Google Form Autofill Bot Actually Works?
To understand how to use Google Form autofill bot, it helps to break down what happens behind the scenes:
- The bot accesses the Google Form URL
- It scans and maps all input fields
- Predefined data is assigned to each field
- The bot fills the form automatically
- The form is submitted without user interaction
This entire workflow can be repeated multiple times, which enables Google Forms bulk submission and large-scale automation.
What are the Types of Data a Bot Can Fill?
A Google Form autofill bot can handle almost every type of input field that includes:
- Text inputs (names, emails, responses)
- Multiple-choice questions
- Dropdown selections
- Checkboxes (single or multiple selections)
- Date and time fields
This makes it highly flexible for different use cases, from simple surveys to complex forms.
How to Use Google form Autofill bot? Easy and Simple Steps
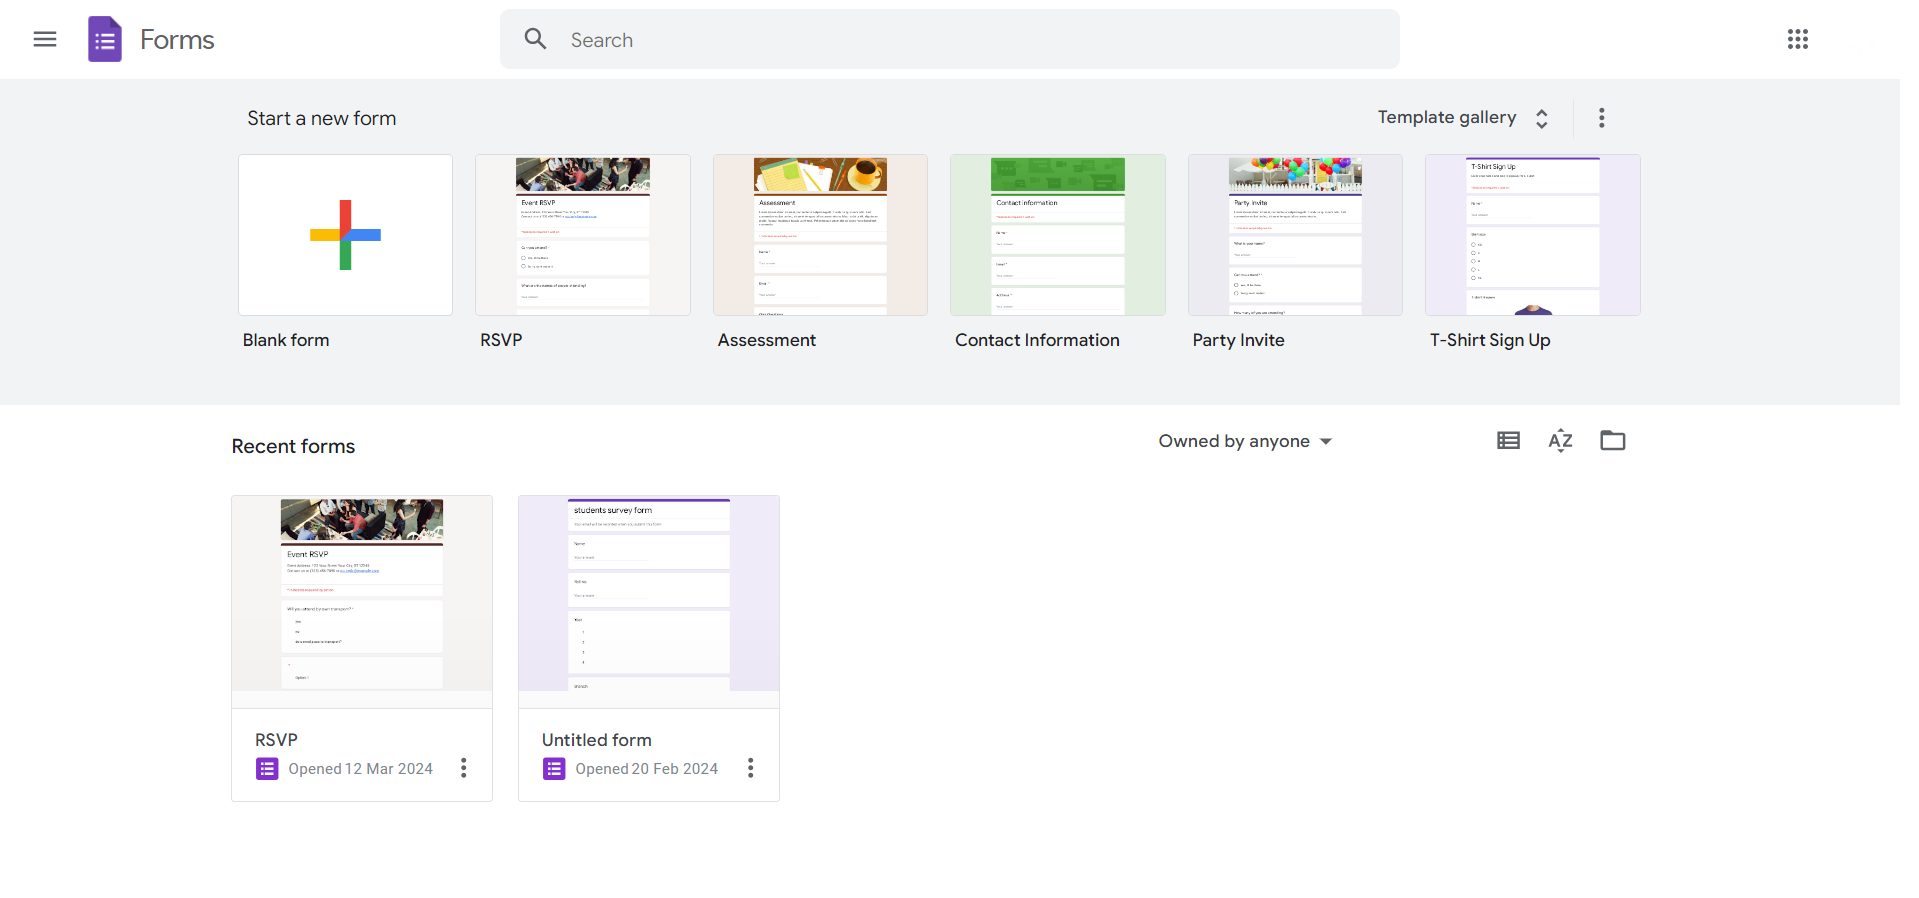
Step 1. Open Google Forms
Begin by accessing Google Forms through your browser. If you don’t have a Google account, sign up to unlock the full potential of form creation.
Learn essential presentation skills and elements to craft speeches that engage, persuade, and leave a lasting impression on your audience.
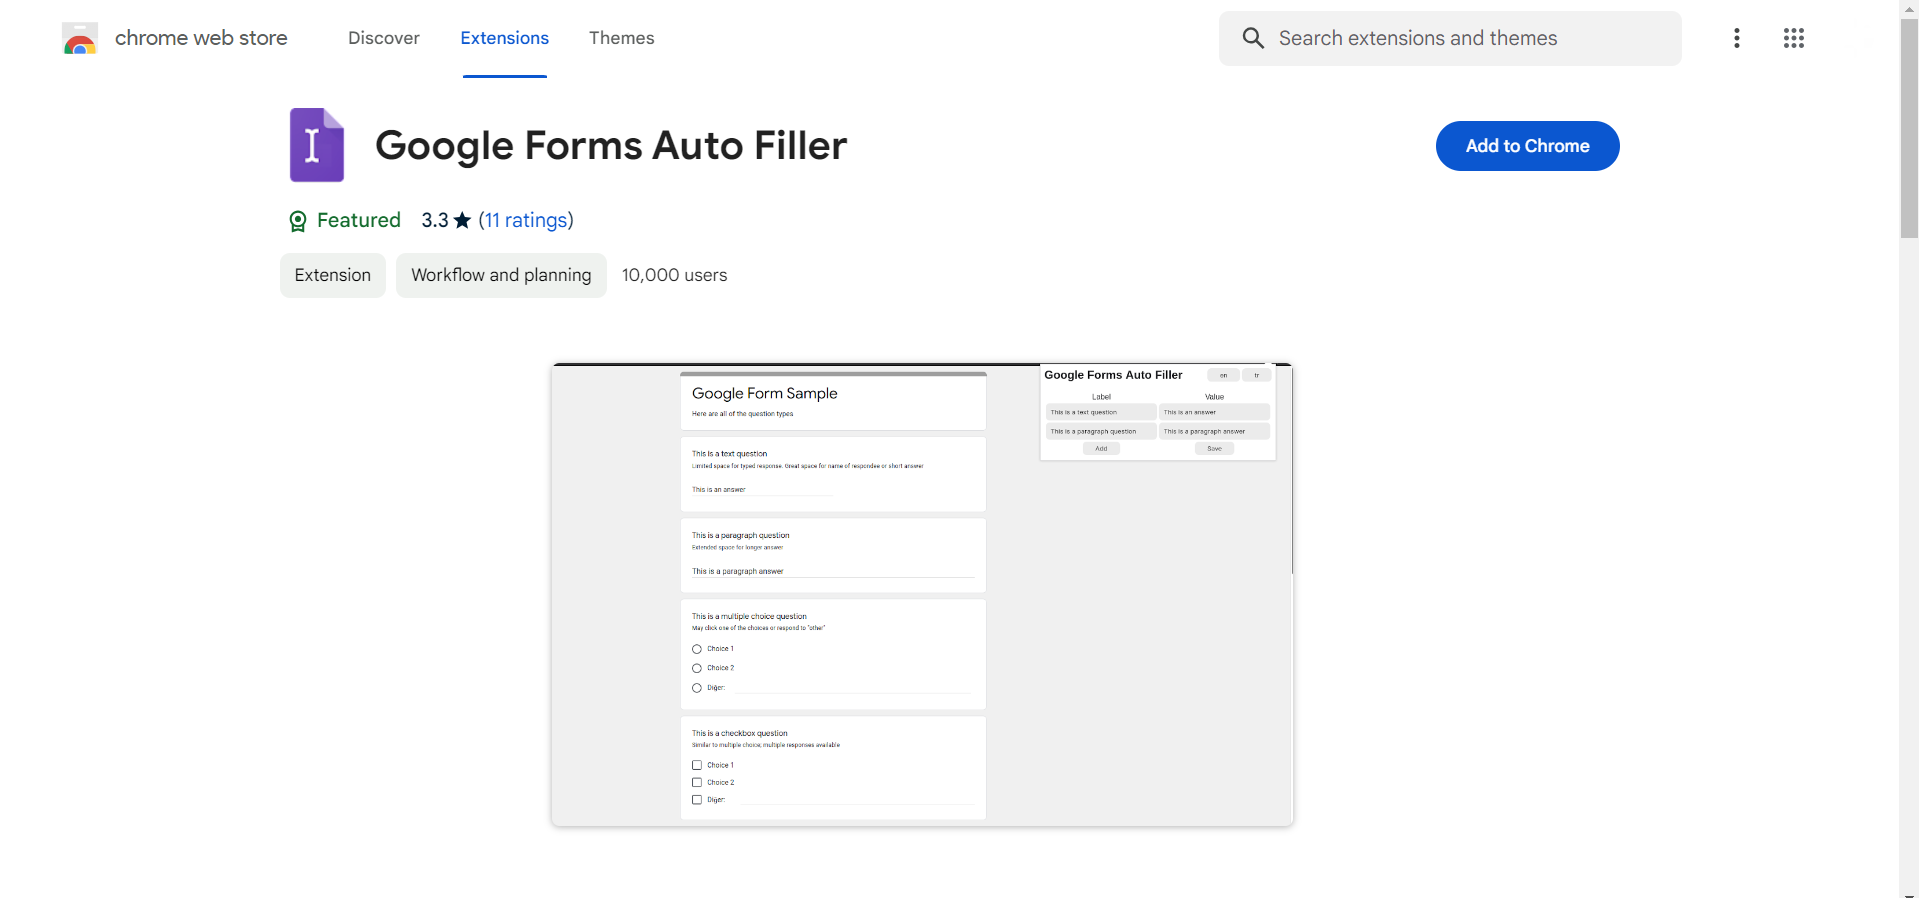
Step 2. Install the Autofill Extension from Chrome Web Extensions Marketplace
Visit the Chrome Web Extensions Marketplace and install the Autofill extension.
This seamless integration is your gateway to a more efficient form-filling experience.
Step 3. Create Forms and Run the Extension
Open your extension and run it.
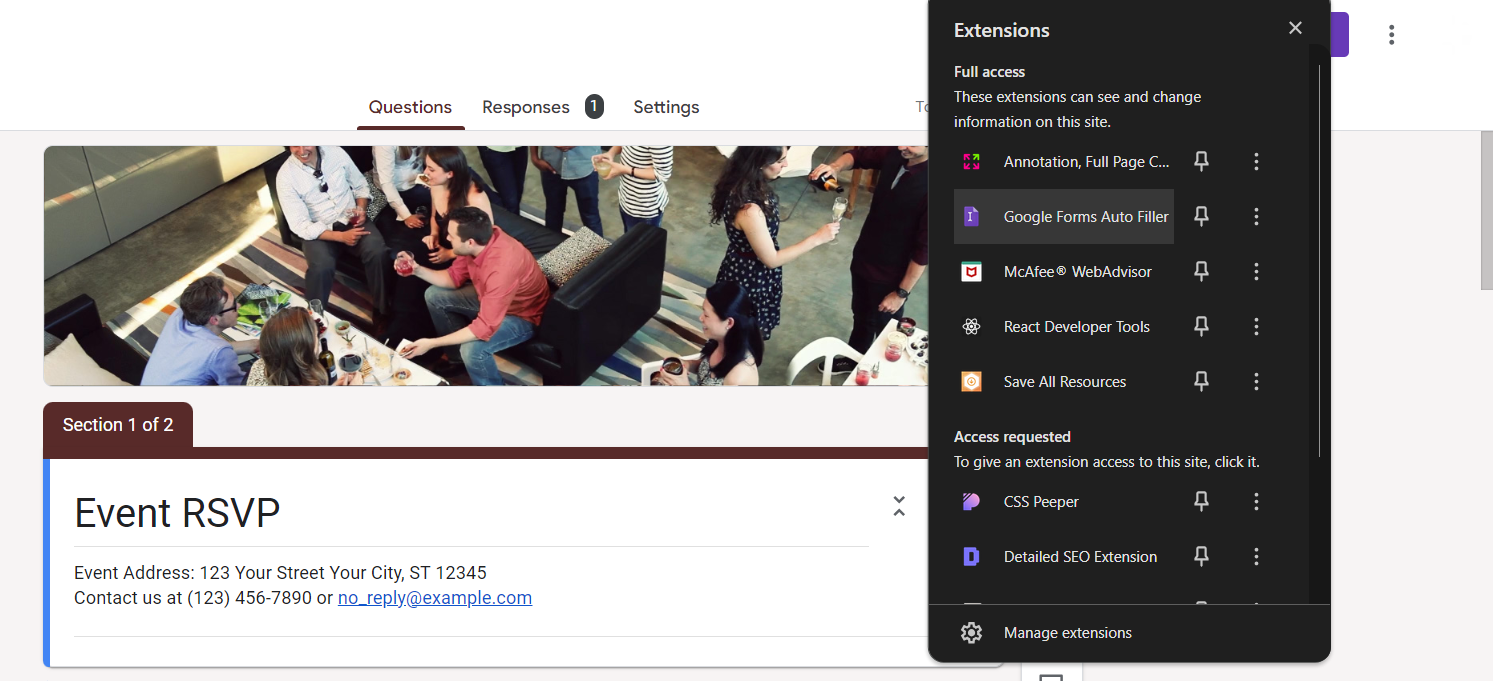
Design your forms within Google Forms, then activate the Autofill extension. This sets the stage for a simplified and automated approach to data entry.
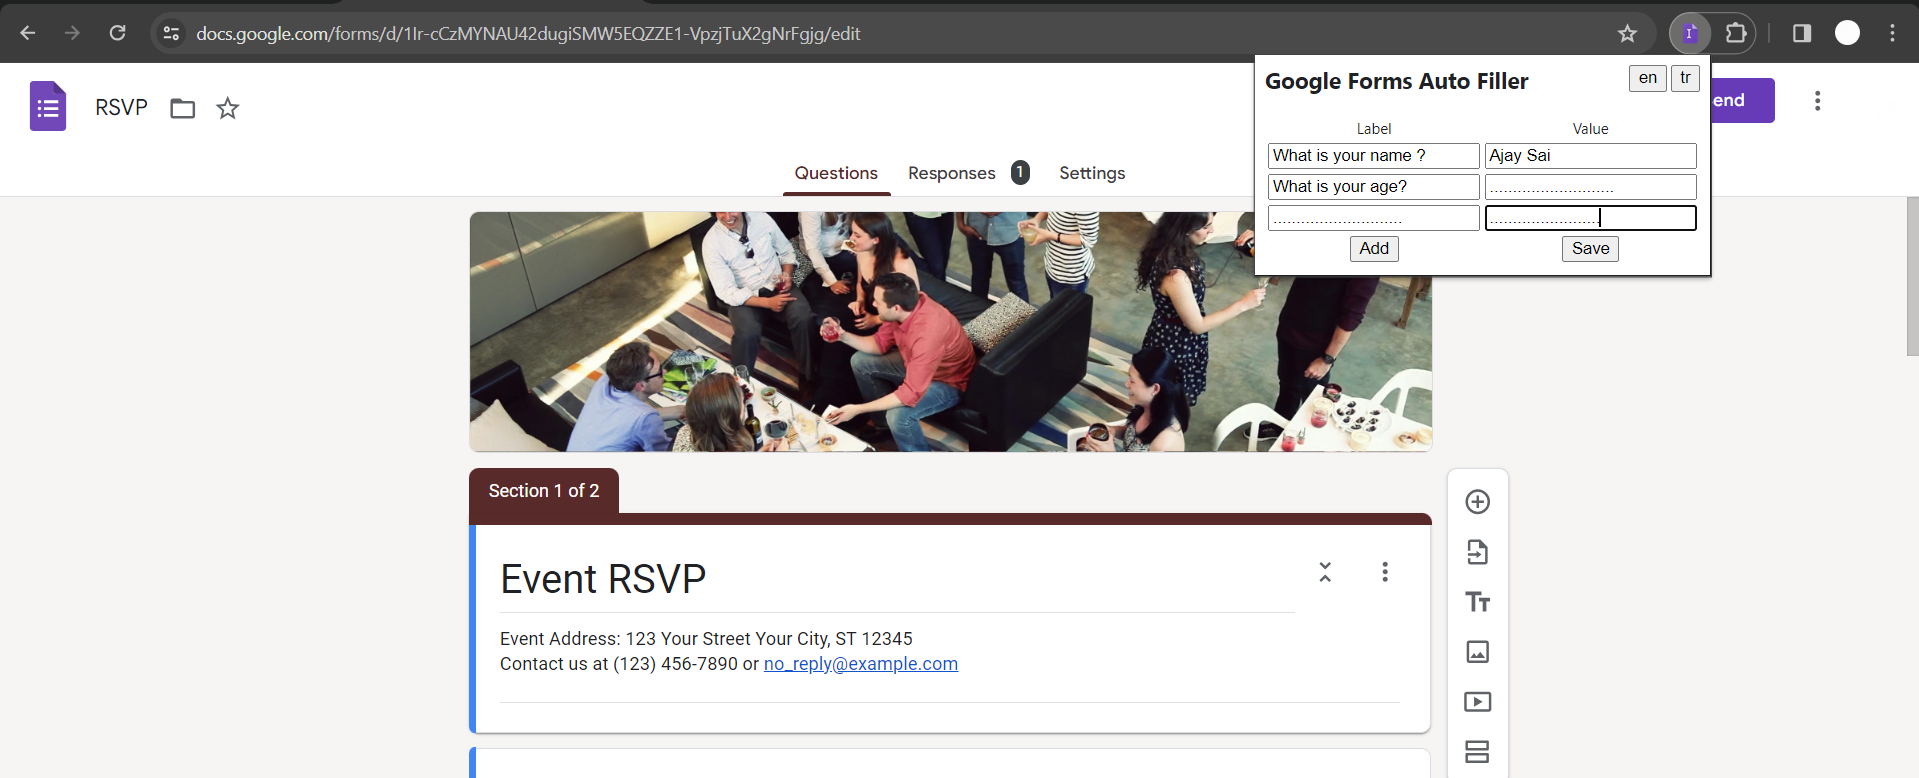
Step 4. Label Questions in the Extension App and Add Answers
Utilize the extension’s app to label questions within your forms and assign corresponding answers.
This personalized touch ensures accurate and targeted autofill responses.
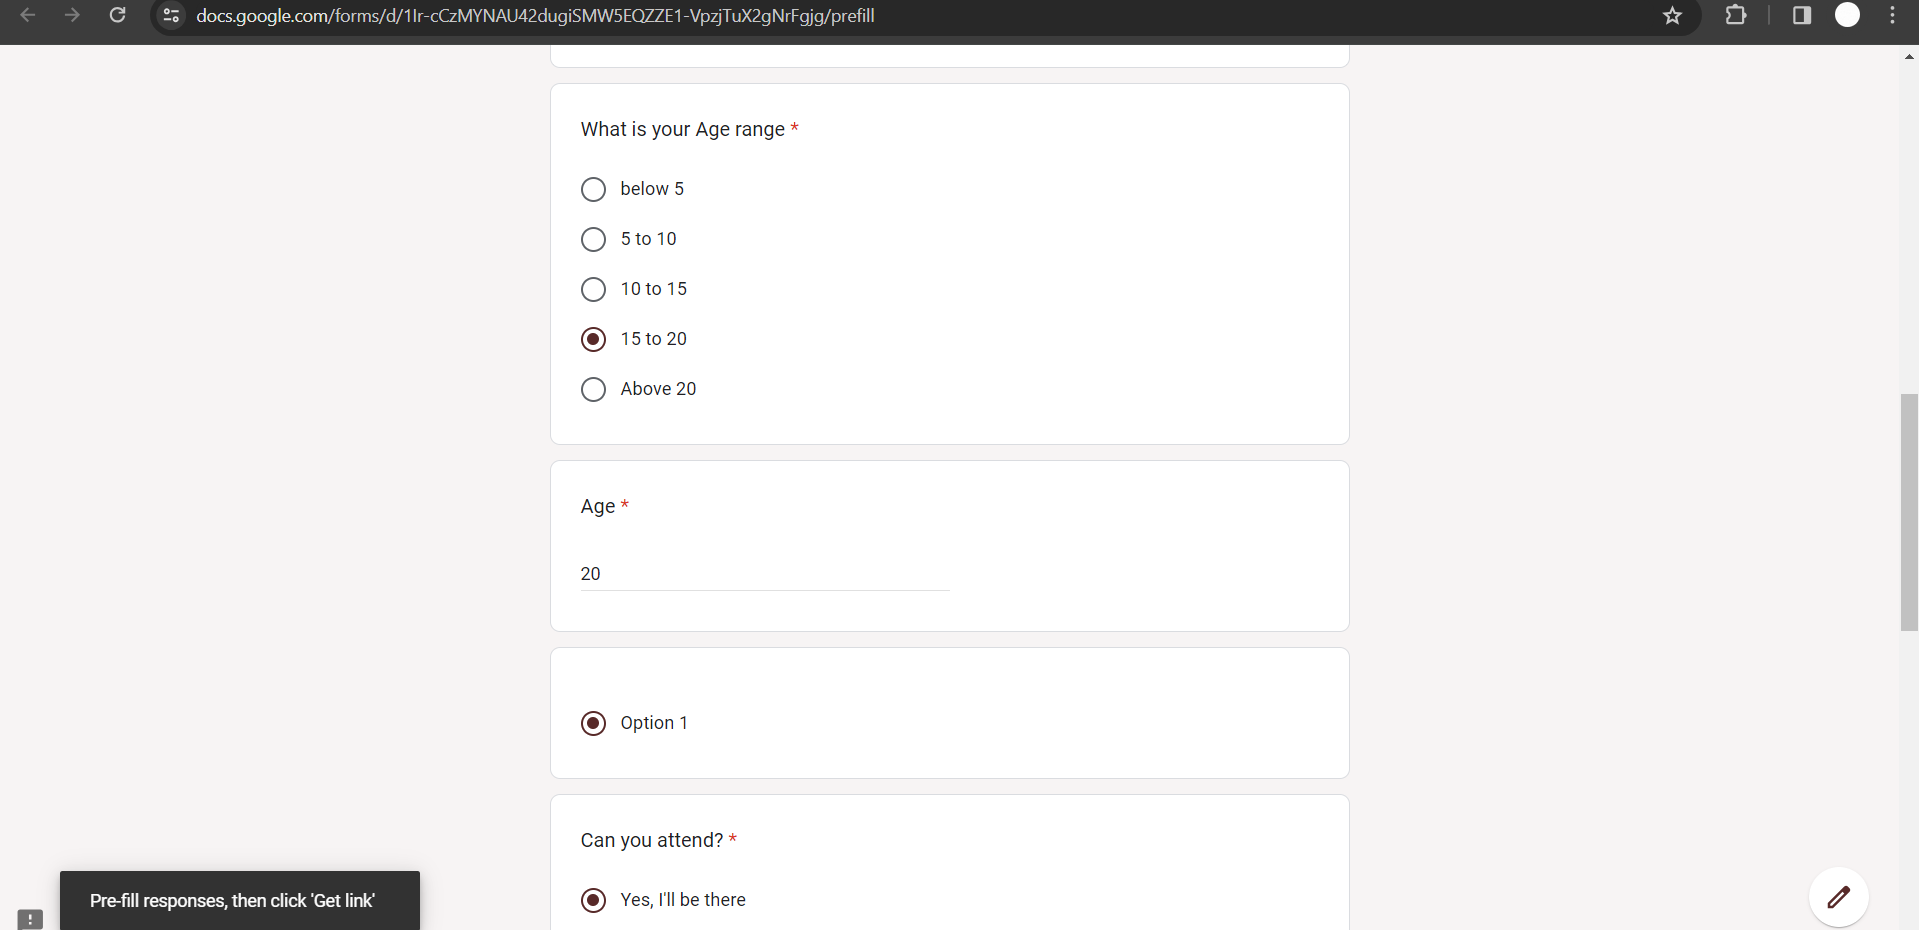
Step 5. Open Any Form and Run the Extension
With your forms ready, open any Google Form and run the Autofill extension.
Witness the magic as the pre-labeled questions are effortlessly filled, saving you time and reducing manual input errors.
Looking for a Faster Way? Try AI Instead of Manual Bots
If you’ve followed the steps above, you’ve probably noticed that using a Google Form autofill bot especially with tools like Python or Google Apps Script can get technical and time-consuming.
This is where modern AI tools completely change the game.
Instead of writing scripts, handling errors, or managing automation workflows, you can now generate structured outputs instantly using AI-powered tools like MagicForm AI Quizz Maker
Conclusion
The Google Forms Autofill bot is a game-changer for anyone seeking increased productivity and accuracy in form creation and responses.
By following these straightforward steps, you’ll unlock the full potential of this Chrome extension, streamlining your workflow and enhancing your overall digital experience.
After automating Google Forms, many users struggle with turning raw data into meaningful insights. A smart way to solve this is by using AI presentation tool that can convert your content, documents, or even links into professional slides instantly. Tired of making presentations? What if we tell you you can make a presentation with just a prompt, convert YouTube videos to PPTs, convert website content to PPTs?
Checkout magicslides.app that does all and enjoy the free credits to make presentations in seconds. These tools can generate structured presentations, add visuals, and even create charts automatically, saving hours of manual work
Frequently Asked Questions
Is the Google Forms Autofill bot secure for sensitive information?
Yes, the Autofill bot operates securely within Chrome extensions, ensuring your data remains private and protected.
Can I use the Autofill extension on different devices?
As long as you’re signed in to the same Chrome account, you can use the extension on multiple devices.
Does the Autofill bot work with all types of questions in Google Forms?
Yes, the bot is versatile, supporting various question types, including multiple-choice, text, and dropdown options.
Can I edit or customize Autofill responses for specific forms?
Absolutely, the extension allows you to edit and customize responses to suit the unique requirements of each form.


