How to Make a Brochure on Google Docs Using Templates and AI Tools


Learn how to make a brochure on Google Docs using templates or from scratch. Discover design tips, formatting steps, and AI tools for fast results.
Making a brochure on Google Docs is super easy and free. You can use a Google Docs brochure template or begin by learning how to add a new page in Google Docs when you need extra space for your design. Start from scratch. Google Docs has all the tools you need to make a brochure for business, school, events or personal projects. It is perfect for creating a looking brochure.
Google Docs brochure templates help you get started quickly. You can also add your text, images and designs to make it look attractive. The platform is very user-friendly so you can focus on designing your brochure.
If you want to know how to make a brochure on Google Docs you are in the place. Google Docs is not just for writing. It also helps you make things look nice with its formatting options. You can make a brochure that looks great without spending money on design software. You can pick a Google Docs brochure template, change the margins, add pictures and make the layout look clean. This is easy to do even if you are new to Google Docs. It also lets you make changes if you have used Google Docs before.
In this guide you will learn how to make a brochure on Google Docs. We will show you two ways to do this: you can start with a template that is already made or you can make a brochure from scratch on Google Docs. Also give you tips on how to make it look good, what mistakes to avoid and how to print it. We will answer questions that people often ask so you can make a brochure that people will remember. You will be able to make a brochure on Google Docs that looks professional. You can make a brochure, on Google Docs that you can be proud of.
Why Use Google Docs Brochure Template?
Here are some reasons why many individuals and businesses choose Google Docs:
- Free to use with a Google account
- Built-in Google Docs brochure templates for faster creation
- Easy collaboration with teammates in real time
- Accessible from any device with an internet connection
- Automatic saving to Google Drive
- Simple tools for adding images, tables, and branding
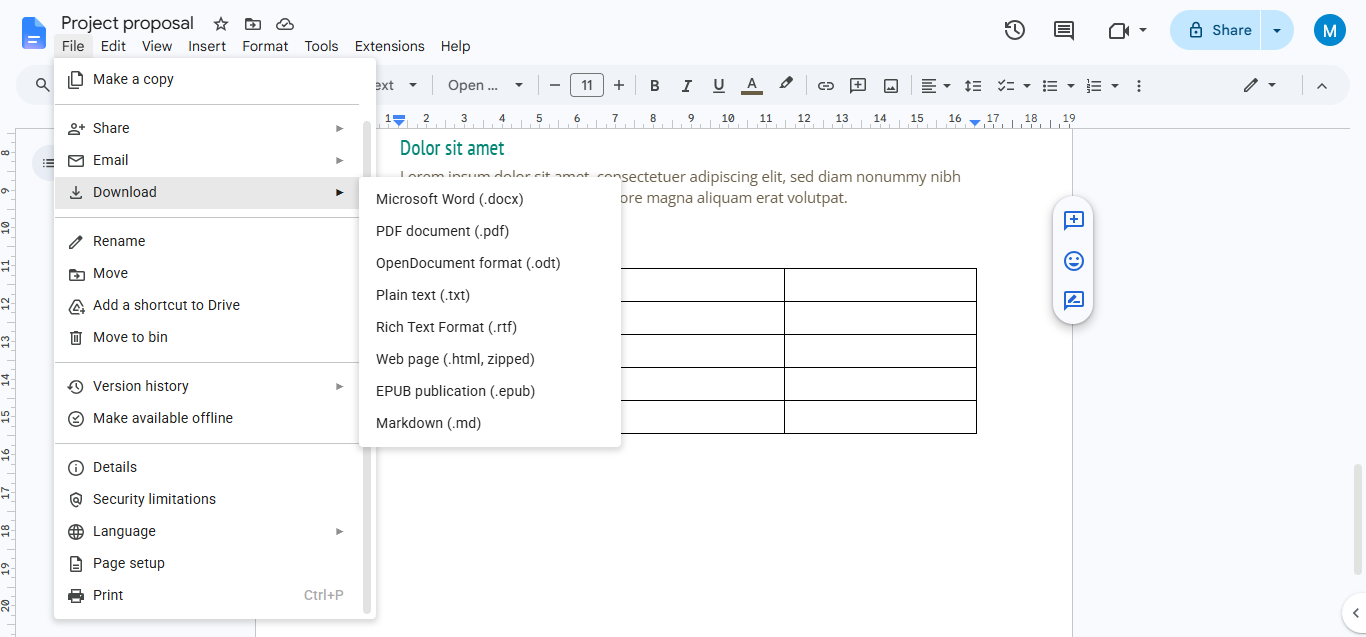
- Quick export to PDF, Word, or print-ready formats
How to Make a Brochure on Google Docs?
To make a brochure, on Google Docs you can pick a template that is already made or you can make one from the beginning. First you set up your Google Docs document. Then you organize everything into sections. You add some words and pictures to make it look nice. After that you can change the way it looks to fit your needs. Finally you can save your brochure as a PDF file so you can print it or share it with people.
Follow these steps to make a brochure that looks professional in Google Docs.
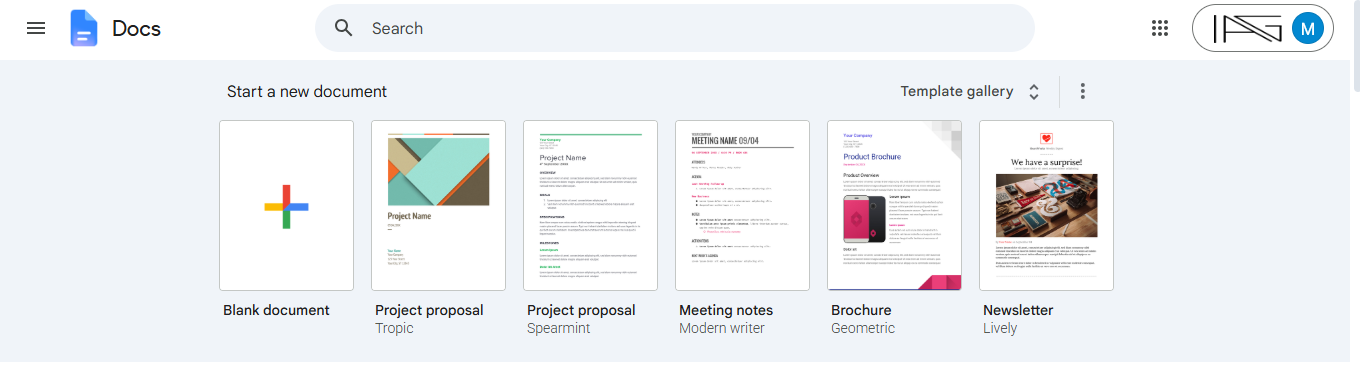
Step 1. Open Google Docs and log into your Google account. From the home screen, click on the Template Gallery (located at the top of the page). Browse through the available templates. Google Docs offers a variety of templates, including brochures, flyers, and newsletters.
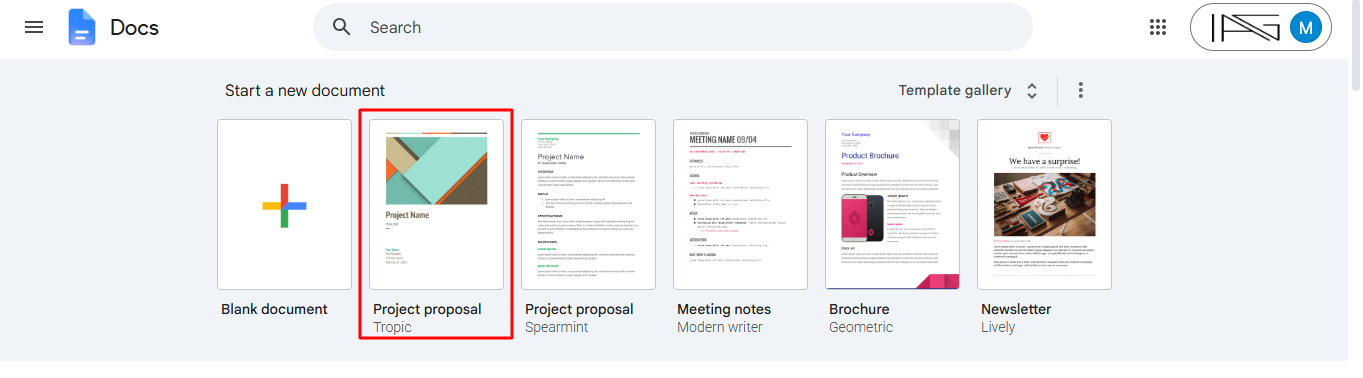
Step 2. Locate a brochure template that suits your purpose. If you don’t see a brochure-specific template, you can use a general template, such as Click on the template to open it in a new document.
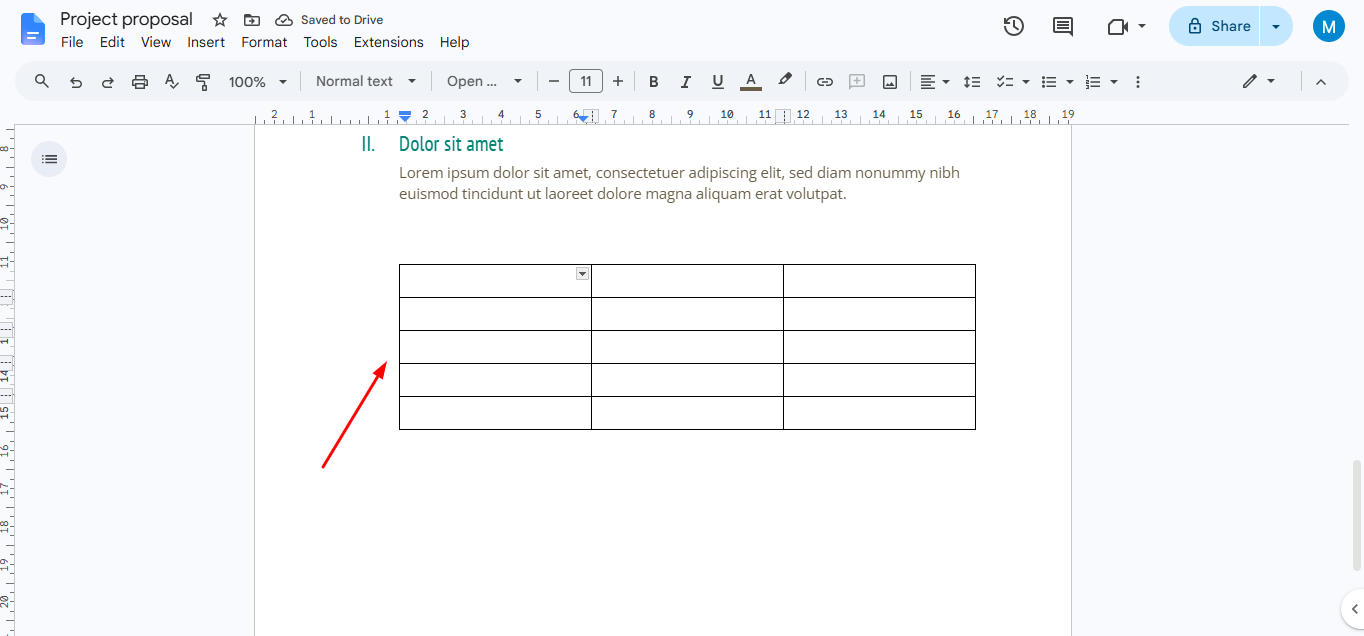
Step 3. Once your template is open, customize it to fit your needs.
1. Replace Placeholder Text
- Highlight the existing placeholder text and replace it with your own content.
- Keep your text concise and engaging. Use headings and subheadings for better readability.
2. Add Your Branding
- Insert your company or organization’s logo:
- Update colors and fonts to match your brand identity:
3. Include Relevant Images
- Replace template images with your own:
- Use high-quality visuals that are relevant to your topic.
4. Adjust Sections
- Add, delete, or resize sections as needed

Step 4. Although templates are pre-formatted, you can make adjustments for a polished result:
- Add Columns:
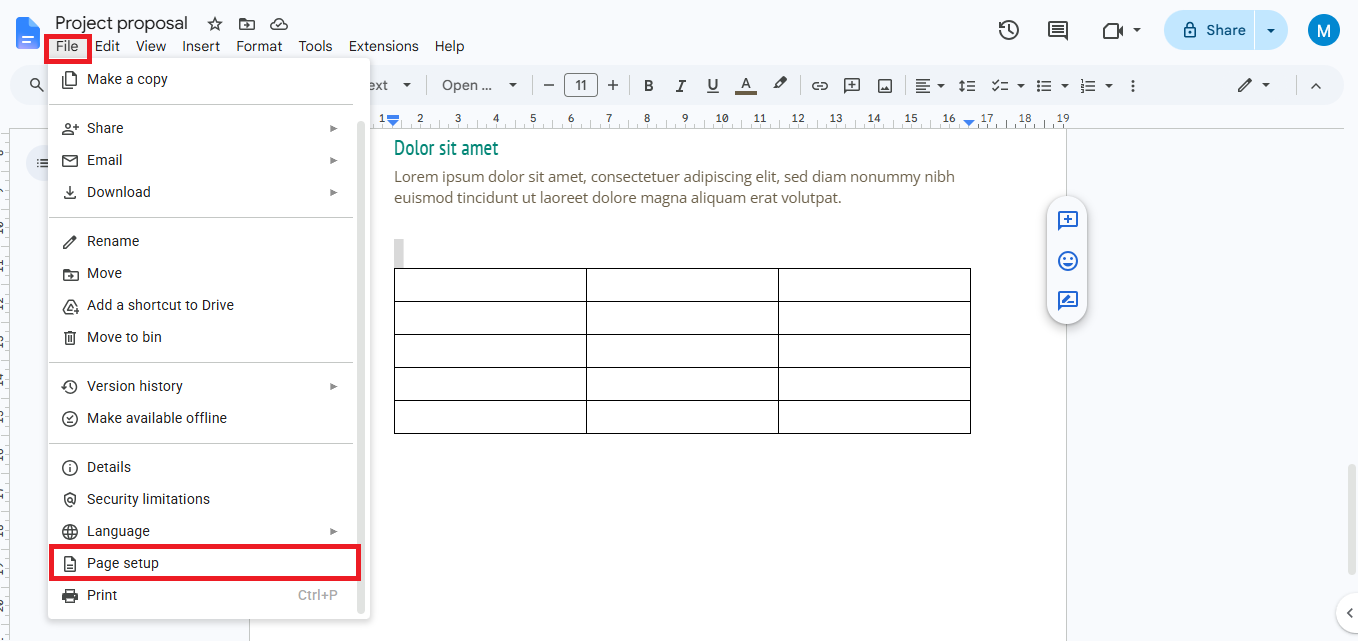
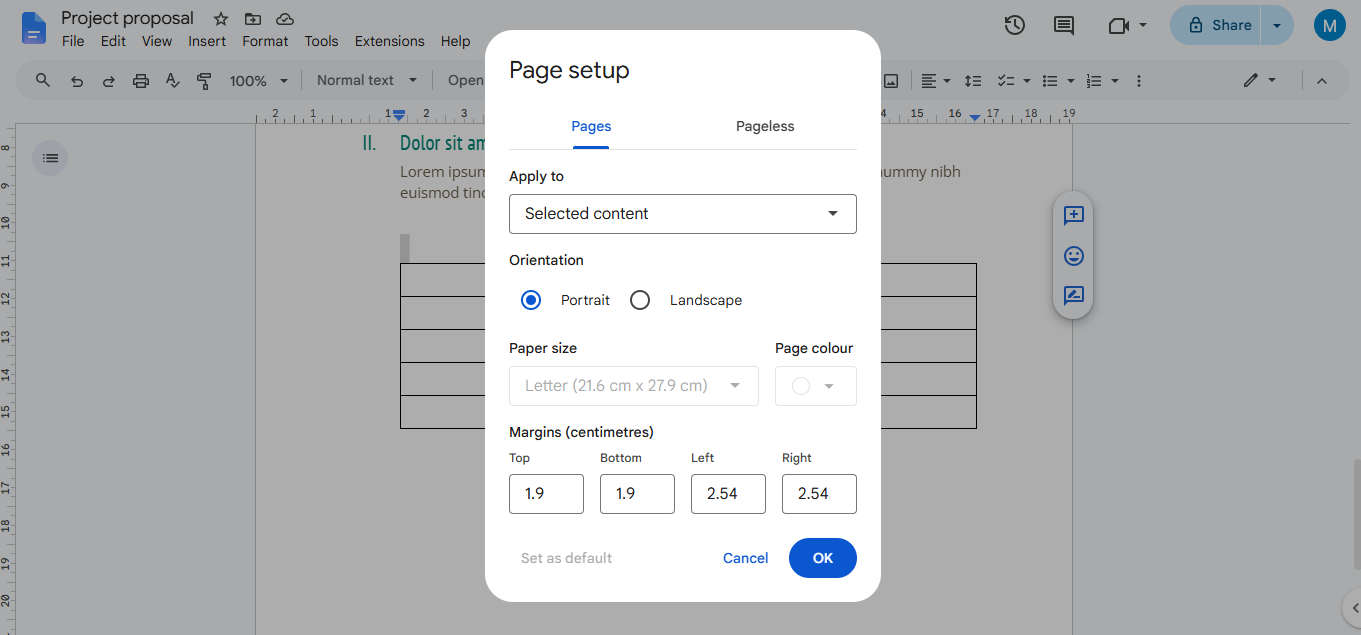
- Set Margins
Step 6. Save your work automatically in Google Docs (it saves in real-time). To share or distribute the brochure.
Advantages of Using a Template
- Efficiency: Templates reduce the time spent on formatting and layout design.
- Consistency: Ensures a professional and uniform look across all sections.
- User-Friendly: Perfect for those without graphic design experience.
Can You Make a Brochure on Google Docs?
Yes, you can make a brochure on Google Docs. Google Docs is primarily known as a word processor, it includes enough formatting and layout tools to create clean, professional brochures for businesses, schools, events, nonprofits, and personal projects. Google Docs provides an easy and free solution whether you want a simple promotional handout or an informative tri-fold brochure. If you are exploring a guide to Google Docs Templates, the built-in Template Gallery is an excellent place to start.
One of the biggest advantages is flexibility. You can choose a Google Docs brochure template from the Template Gallery to save time or create a brochure from scratch on Google Docs if you need complete control over the design. Features like landscape orientation, adjustable brochure margins on Google Docs, tables for creating columns, image insertion, custom fonts, and collaboration tools make brochure creation straightforward even for beginners.
Many users also wonder, how to format Google Docs like a booklet? The same layout tools used for brochures can help you achieve a booklet-style appearance.
Although Google Docs doesn’t offer the advanced design capabilities of dedicated graphic design software, it’s an excellent choice for text-heavy brochures that need a clean, professional appearance. Since documents are stored in Google Drive, you can edit your brochure from any device, collaborate with others in real time, and easily download it as a PDF for printing or digital distribution.
Tips for a Great Brochure
- Tailor Your Content: Make sure the text speaks to your target audience and purpose.
- Use Visuals Sparingly: Avoid clutter by using images strategically.
- Focus on Readability: Use a font size that is easy to read and maintain plenty of white space.
- Call-to-Action: End with a clear call-to-action (e.g., “Visit our website” or “Contact us today”).
How to Make a Brochure on Google Docs Using an AI-Powered Solution
Creating a brochure manually in Google Docs can be time-consuming, especially when you’re designing multiple brochures or trying to achieve a professional layout. Google Docs brochure templates offer a good starting point, customizing every section, adjusting brochure margins on Google Docs, inserting images, and formatting text can still require significant effort.
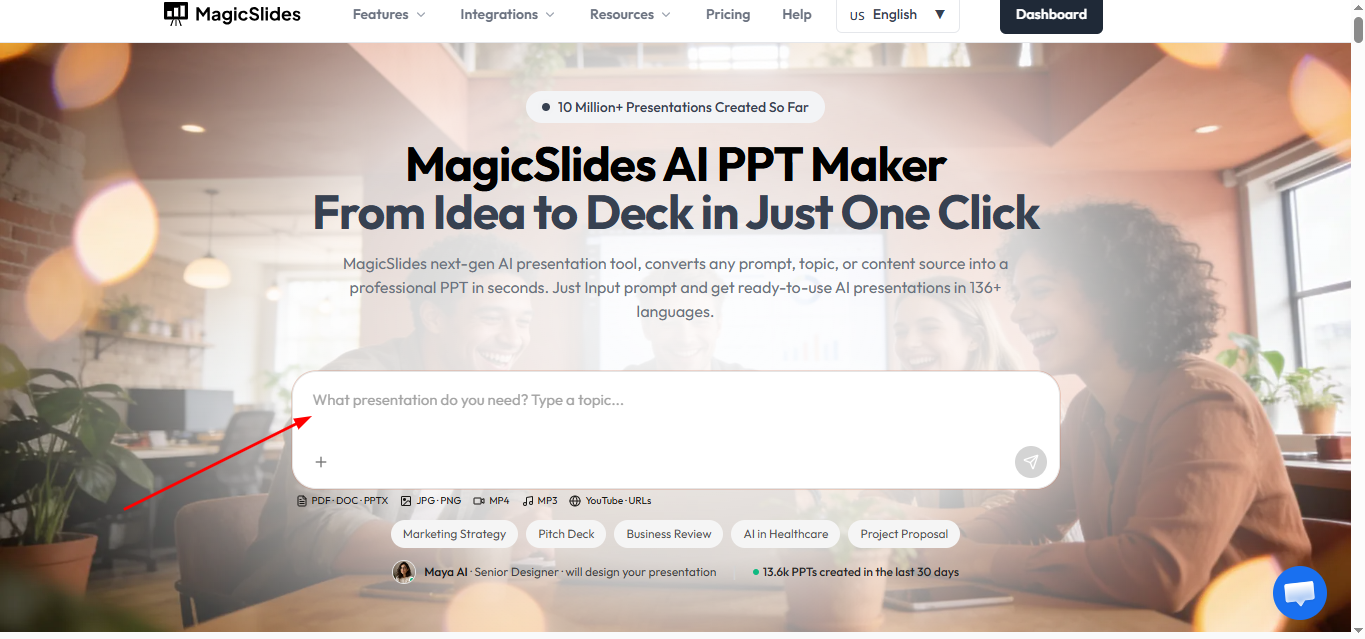
If you’re looking for a faster way to make a brochure on Google Docs, an AI-powered tool like MagicSlides AI Presentation Creator can simplify the entire process. Instead of spending time designing every panel from scratch, simply describe the brochure you want using a prompt or upload your existing content. The AI automatically generates a well-structured brochure with relevant text, layouts, and visuals that you can review and refine.
Once your brochure is generated, you can customize the content, branding, images, fonts, and colors to suit your requirements. If needed, you can also export the brochure and continue editing it in Google Docs for collaboration or document management.
Why Use an AI Brochure Generator?
Here are some features that make AI a smarter choice than creating a brochure manually:
- This thing makes a brochure from just a few words or some stuff you already have.
- It comes up with looking pages that have pictures and designs that go together.
- You can make a lot of brochures really fast with this.
- It is easy to make changes using a few words instead of having to fix everything by hand.
- This saves you time because you do not have to start from nothing on Google Docs.
- You can also change a PDF into a PPT if you want to use some marketing stuff again.
- This works in your internet browser so you do not have to put anything new on your computer.
- It is easy to make your brochure look right before you download it or share it with others.
If you want to get your work done faster follow these steps to make a brochure, with the AI brochure maker.
Steps to Make a Brochure on Google Docs
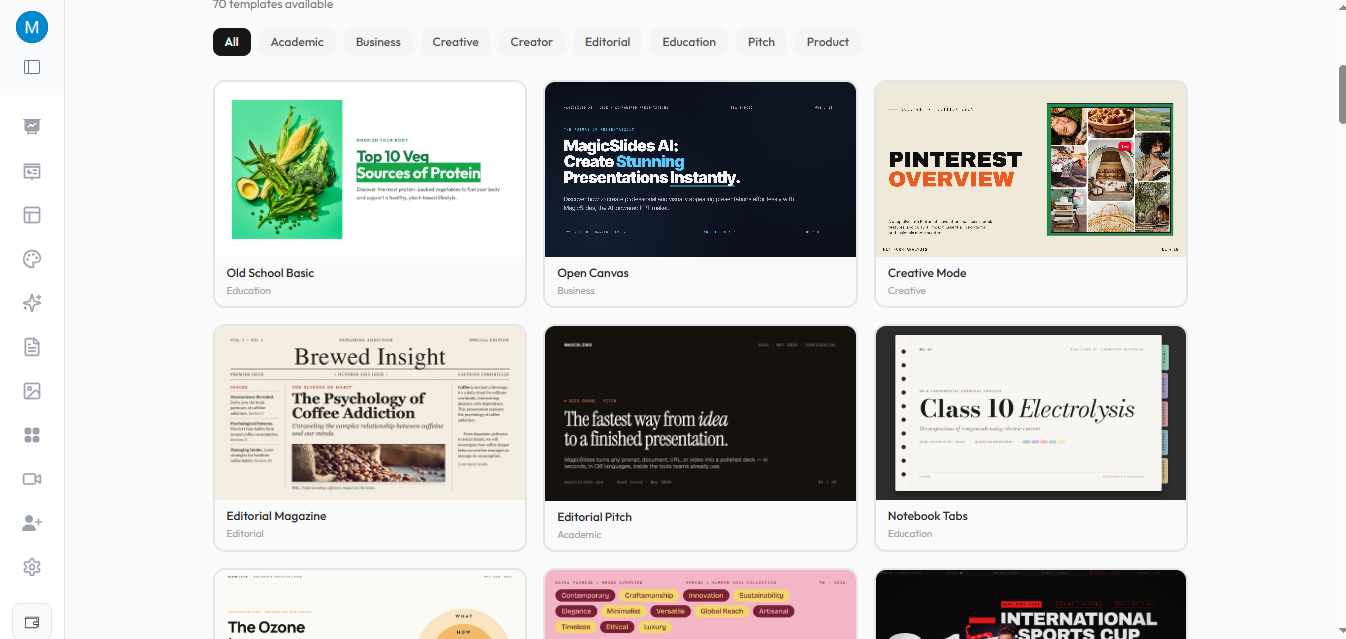
Step 1. Open the MagicSlides website in your preferred browser and create a free account using your email address or Google account.
Step 2. After signing in, click Get Started – Free to begin creating your brochure.

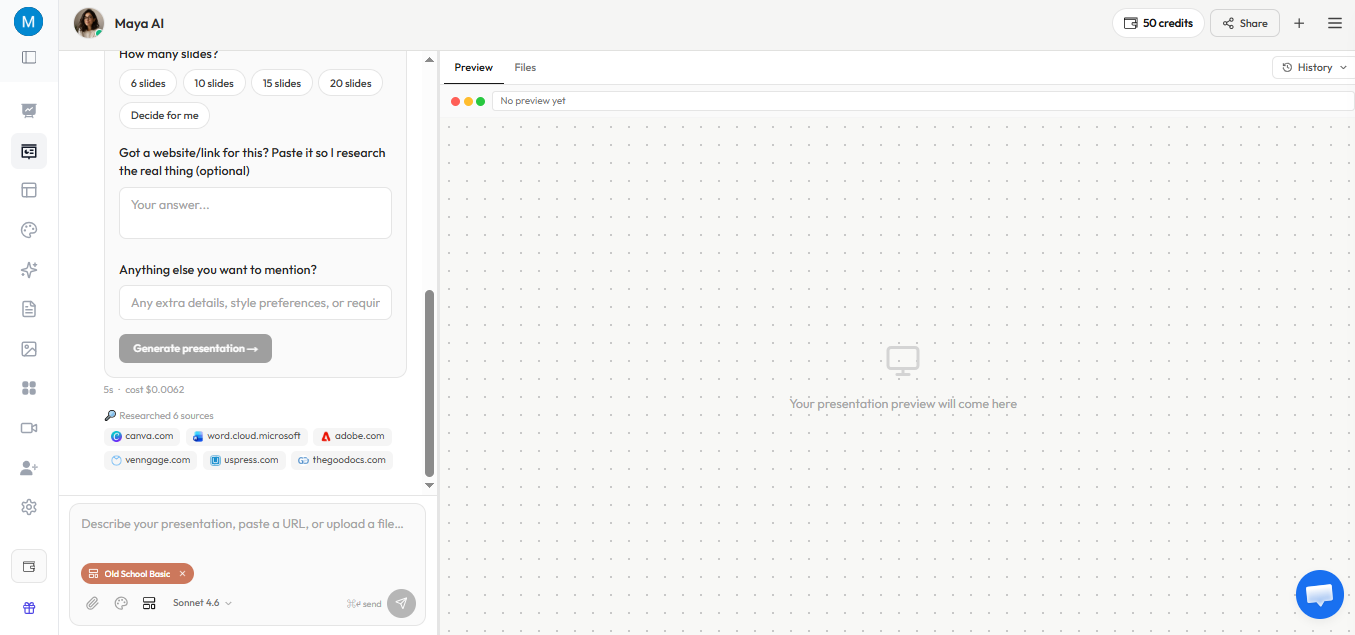
Step 3. Describe the brochure you want to create. Include details such as the topic, purpose, target audience, and any important information you want the brochure to contain.
Alternatively, you can upload an existing document or content that you’d like the AI to use.
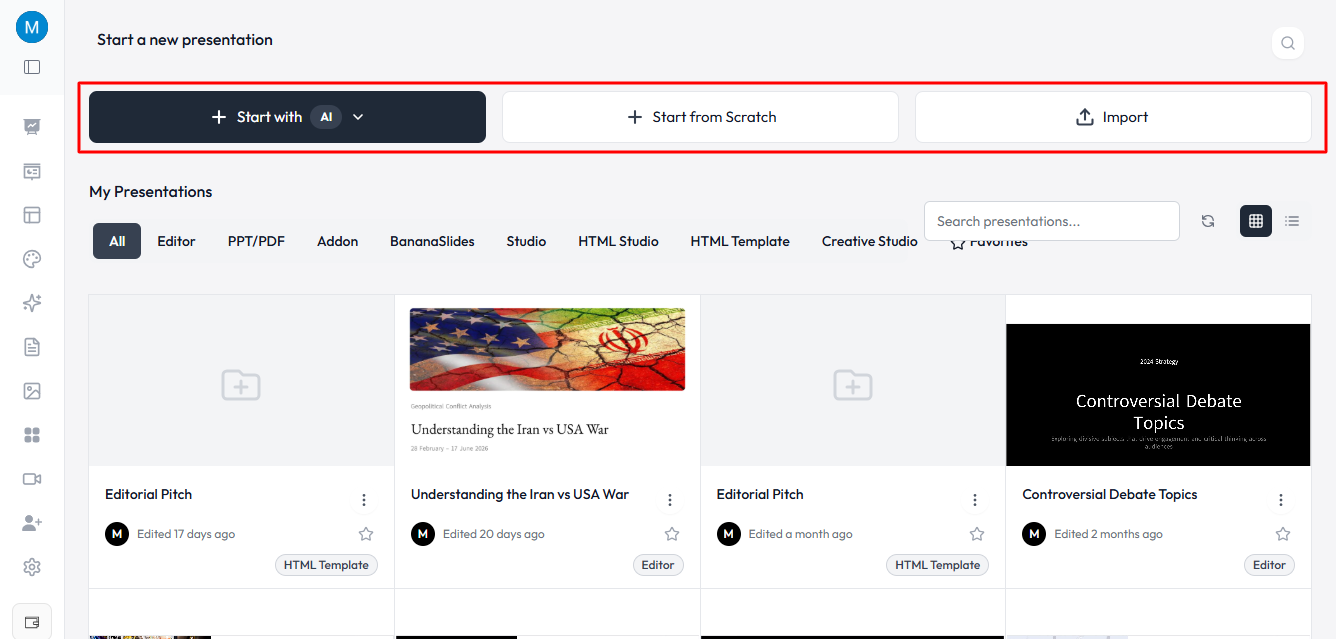
Step 4. Choose how you want your brochure to be organized by specifying the number of sections or panels. Once you’ve finalized your preferences, click Generate to let the AI create your brochure.
Step 5. Once the brochure is ready, review each section carefully. You can modify:
- Headlines and body text
- Images and graphics
- Fonts and color schemes
- Icons and branding
- Layout and spacing
If you plan to continue working in Google Docs, you can export the content and recreate or refine the layout using a Google Docs brochure template or your own custom design.
Conclusion
Now that you know how to make a brochure on Google Docs, you can easily create professional brochures using a ready-made template or by designing one from scratch. Simply choose the method that suits your needs, customize the layout with text and images, and export your brochure for printing or digital sharing. If you want to save time, AI-powered tools like MagicSlides can help you generate polished brochure designs in minutes, making the entire process faster and more efficient.


