how to add bullet points in google slides


To make a presentation more readable we need to have more sorted content, here we will dee dive into how to add bullet points in google slides.
A well-organized presentation can make all the difference in conveying your message effectively. Bullet points are a powerful tool in achieving this organization, allowing you to present information concisely and clearly. If you're using Google Slides for your presentation needs, you're in luck – it's incredibly easy to add bullet points. In this article, we'll guide you through the simple steps of creating bullet points in Google Slides, helping you craft engaging and structured presentations.
Adding Bullet Points in Google Slides: A Step-by-Step Guide
Bullet points can break down complex ideas, highlight key information, and improve the overall readability of your slides. Let's dive into how you can incorporate them seamlessly:
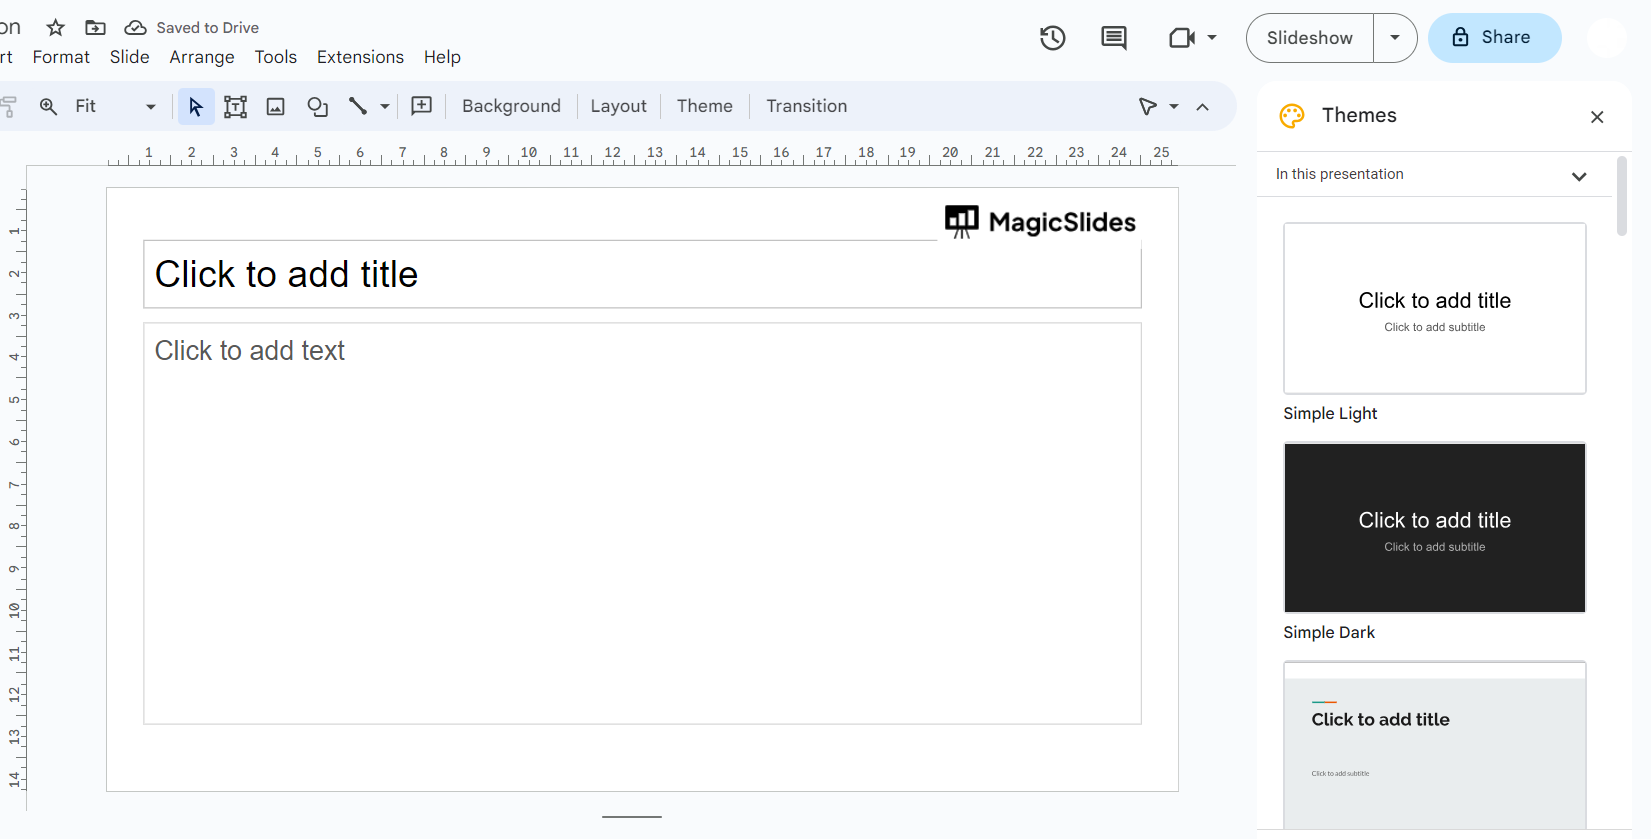
Step 1: Open Your Presentation:
- Begin by opening the Google Slides presentation you're working on. Make sure you're in the slide where you want to add bullet points.
Step 2: Insert a Text Box:
- Click on the slide where you want to add bullet points. If there's no existing text box, click on the "Text box" icon in the toolbar at the top or go to "Insert" > "Text box" from the menu. Click and drag to create a text box on your slide.
Step 3: Add Text:
- With the text box in place, start typing or paste the text you want to turn into bullet points. You can include multiple lines of text if needed.

Step 4: Format as Bullet Points:
- Here's where the magic happens. To format your text as bullet points, follow these options:
a. Select the Text: Click and drag your cursor to highlight the text you want to turn into bullet points.
b. Click the Bulleted List Icon: In the toolbar at the top, you'll see a bulleted list icon (often represented as small dots). Click on this icon.
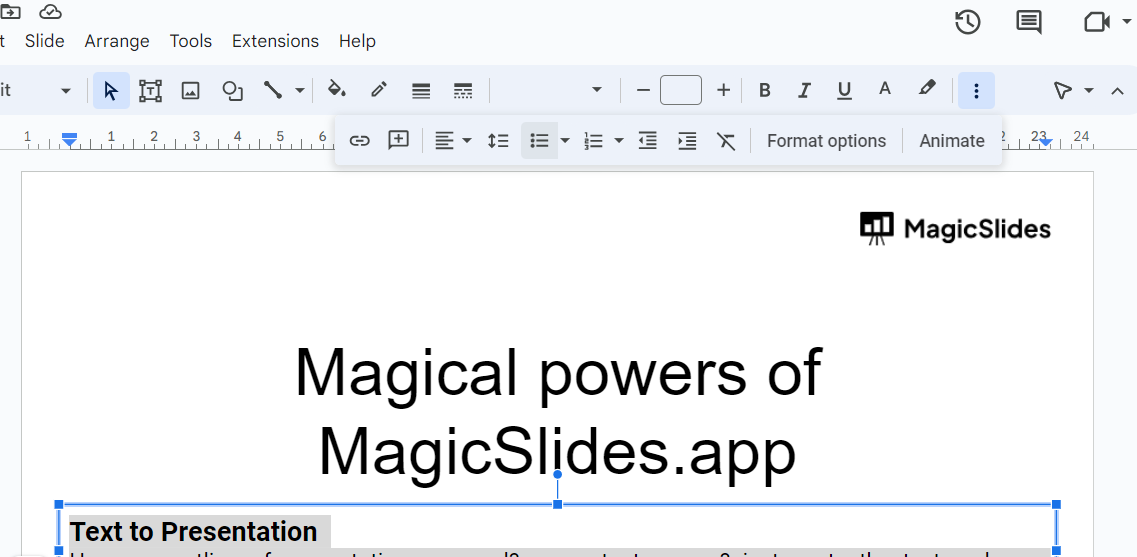
c. Or Use Keyboard Shortcut: Alternatively, you can use the keyboard shortcut Ctrl + Shift + 8 (Cmd + Shift + 8 on Mac) to add or remove bullet points.
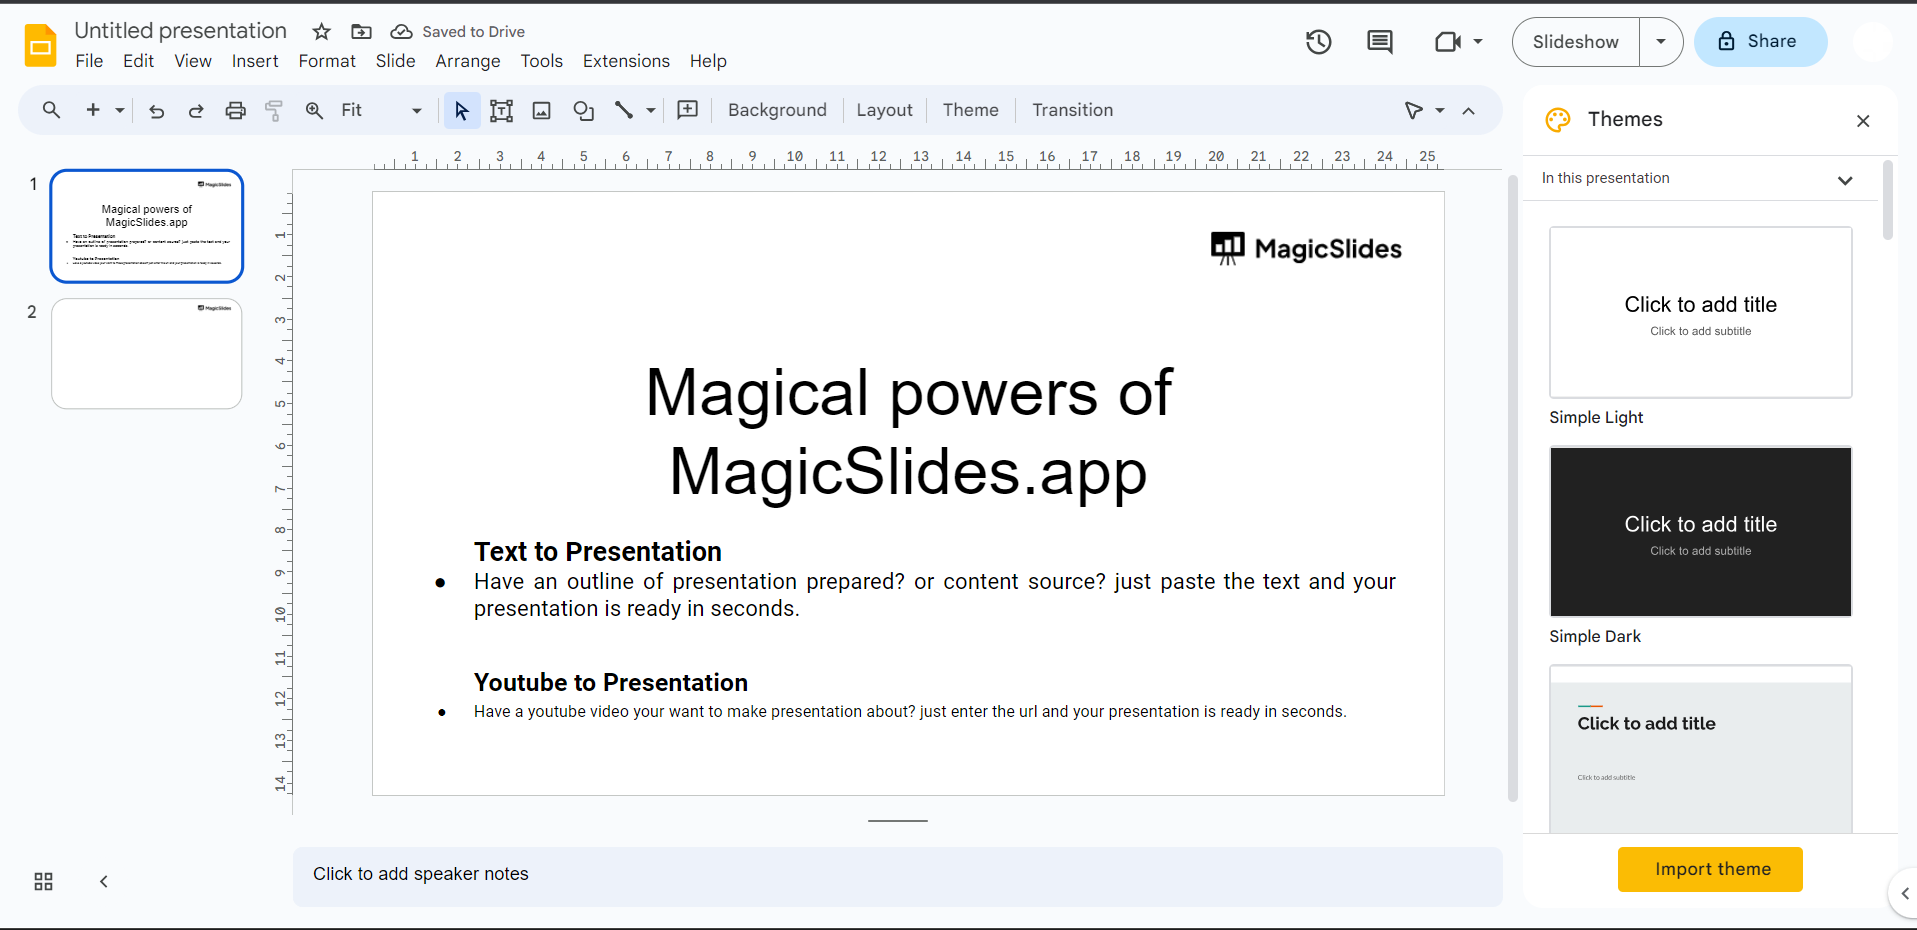
Step 5: Customize Your Bullet Points:
- Google Slides offers flexibility in customizing your bullet points. You can:
a. Change Bullet Styles: Click on the bullet points to select them and then go to "Format" > "Bullets & numbering" to choose different bullet styles.
b. Indentation: Use the Increase Indent and Decrease Indent icons in the toolbar to adjust the level of indentation for sub-points.
Step 6: Repeat as Needed:
- Continue adding bullet points to your slides as required. Each new text box or line of text can be formatted with bullet points using the same process.
Bullet points are a presentation's best friend when it comes to clarity and organization. By following these simple steps in Google Slides, you can transform your information into digestible, visually appealing points that captivate your audience's attention. Whether you're preparing a business report, an educational lecture, or a creative pitch, the art of bullet points will enhance your presentations and make your message resonate. So, the next time you're crafting a compelling presentation, remember that bullet points can be your secret weapon for delivering information with impact.


