How to highlight part of a picture in PowerPoint


Whole picture can be a lot of information, learn how to highlight a part of the picture so others can see only the necessary info!
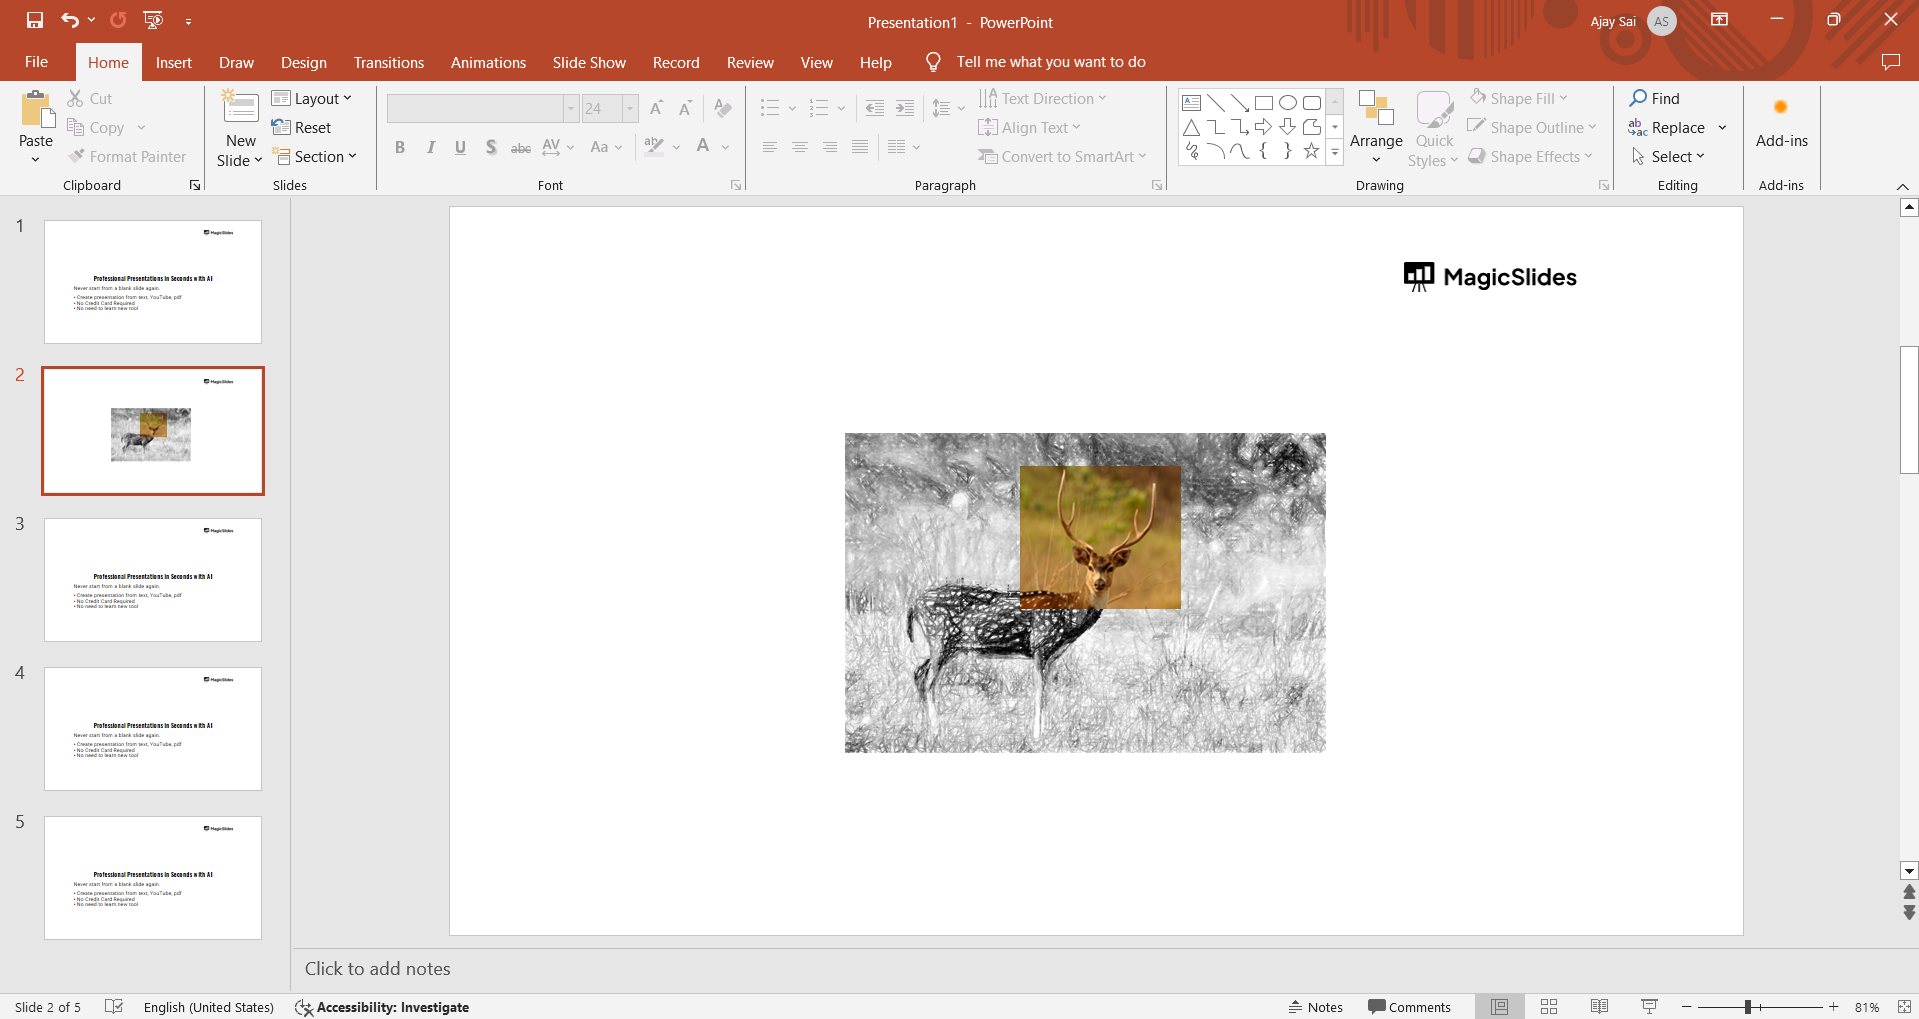
Highlighting part of a picture in PowerPoint can significantly enhance your presentations by drawing attention to specific areas of an image. Whether you're emphasizing a key detail in a photo, focusing on a section of a chart, or adding a visual cue, this technique is highly effective.
Here's a step-by-step guide to help you master this skill and make your presentations more engaging.
Step 1: Insert the Picture
Open PowerPoint: Launch PowerPoint and open the presentation where you want to insert the picture.
Go to the Slide: Navigate to the slide where you want to add the picture.
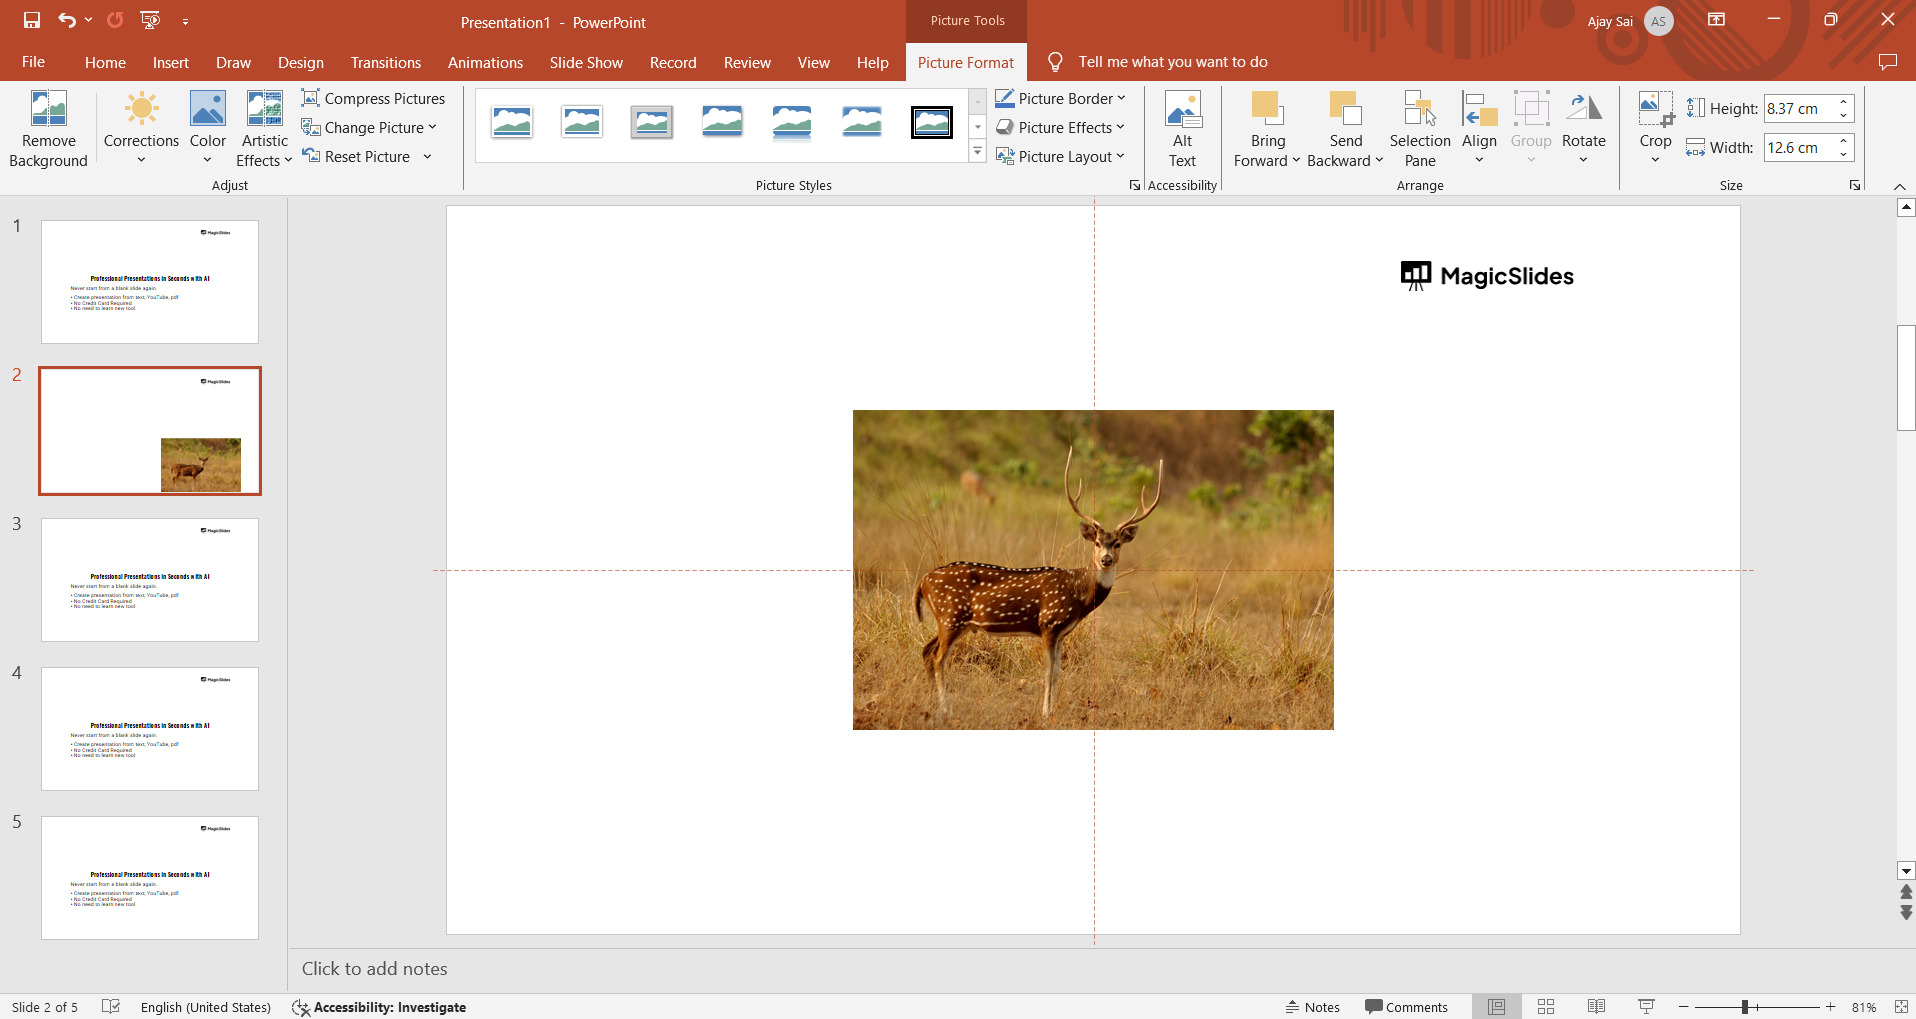
Insert the Picture: Click on the "Insert" tab in the Ribbon, then select "Pictures." Choose the location of your picture (e.g., "This Device" or "Online Pictures") and select the image you want to insert. Click "Insert."
Step 2: Duplicate the Picture
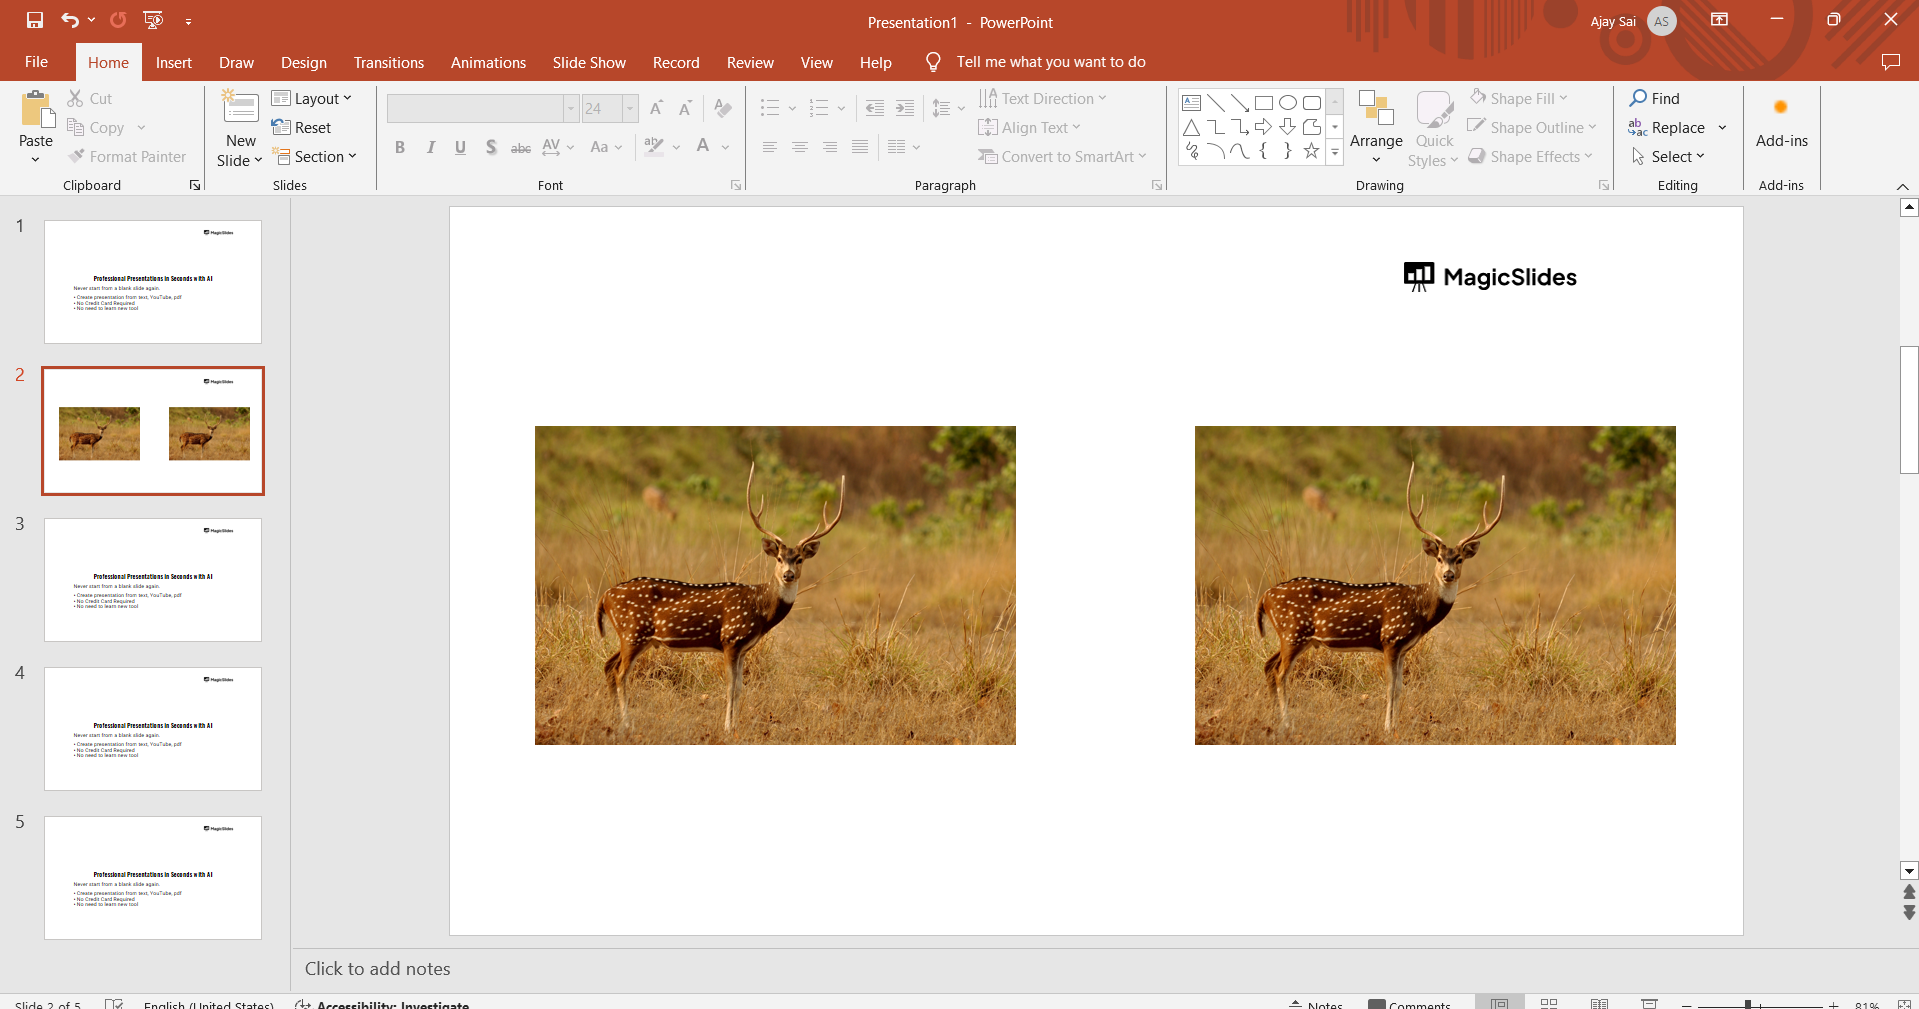
Select the Picture: Click on the picture to select it.
Duplicate the Picture: Right-click the picture and choose "Copy." Then, right-click again and choose "Paste." Alternatively, you can use the keyboard shortcuts Ctrl+C (Copy) and Ctrl+V (Paste).
Step 3: Crop the Duplicate Picture
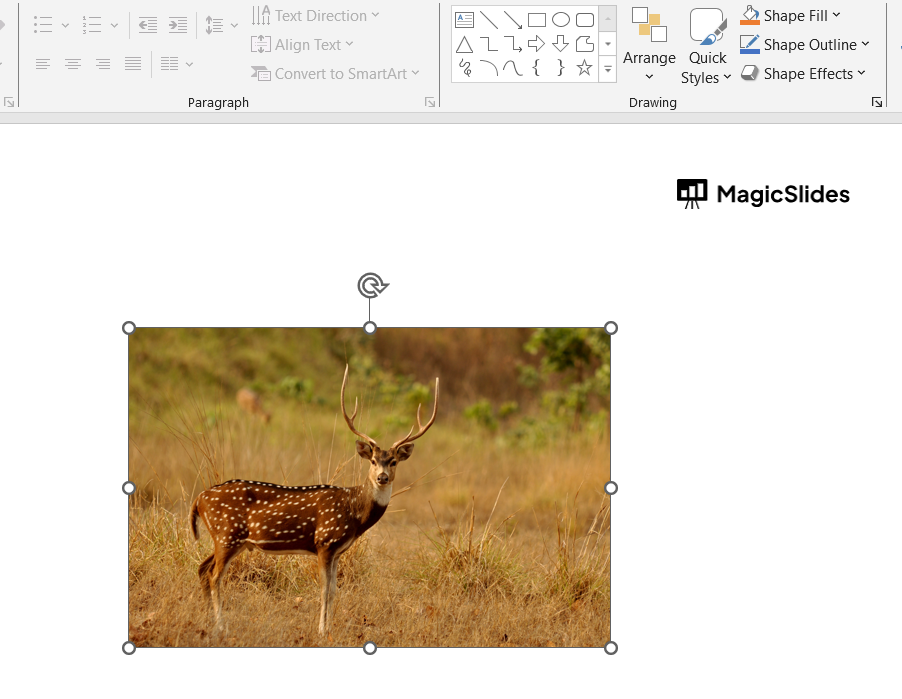
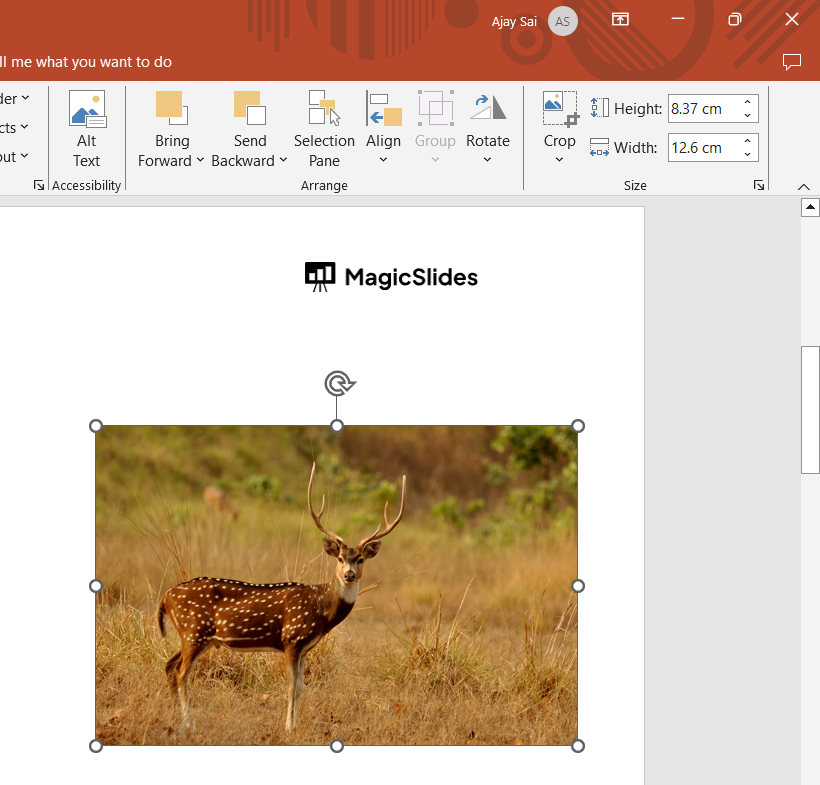
Select the Duplicate: Click on the duplicate picture to select it.
Crop the Picture: Go to the "Picture Format" tab and click on "Crop." Adjust the cropping handles to isolate the part of the picture you want to highlight. Press "Enter" or click outside the picture to apply the crop.
Step 4: Apply a Shape or Outline to the Highlighted Area
Select the Cropped Picture: Click on the cropped picture.
Add a Shape: Go to the "Insert" tab, click "Shapes," and choose a shape that suits your highlight (e.g., rectangle, oval). Draw the shape around the highlighted area.
Format the Shape: Select the shape, go to the "Shape Format" tab, and customize the fill, outline, and effects to make the highlight stand out. You can use a transparent fill and a bright outline color to draw attention.
Step 5: Adjust the Original Picture
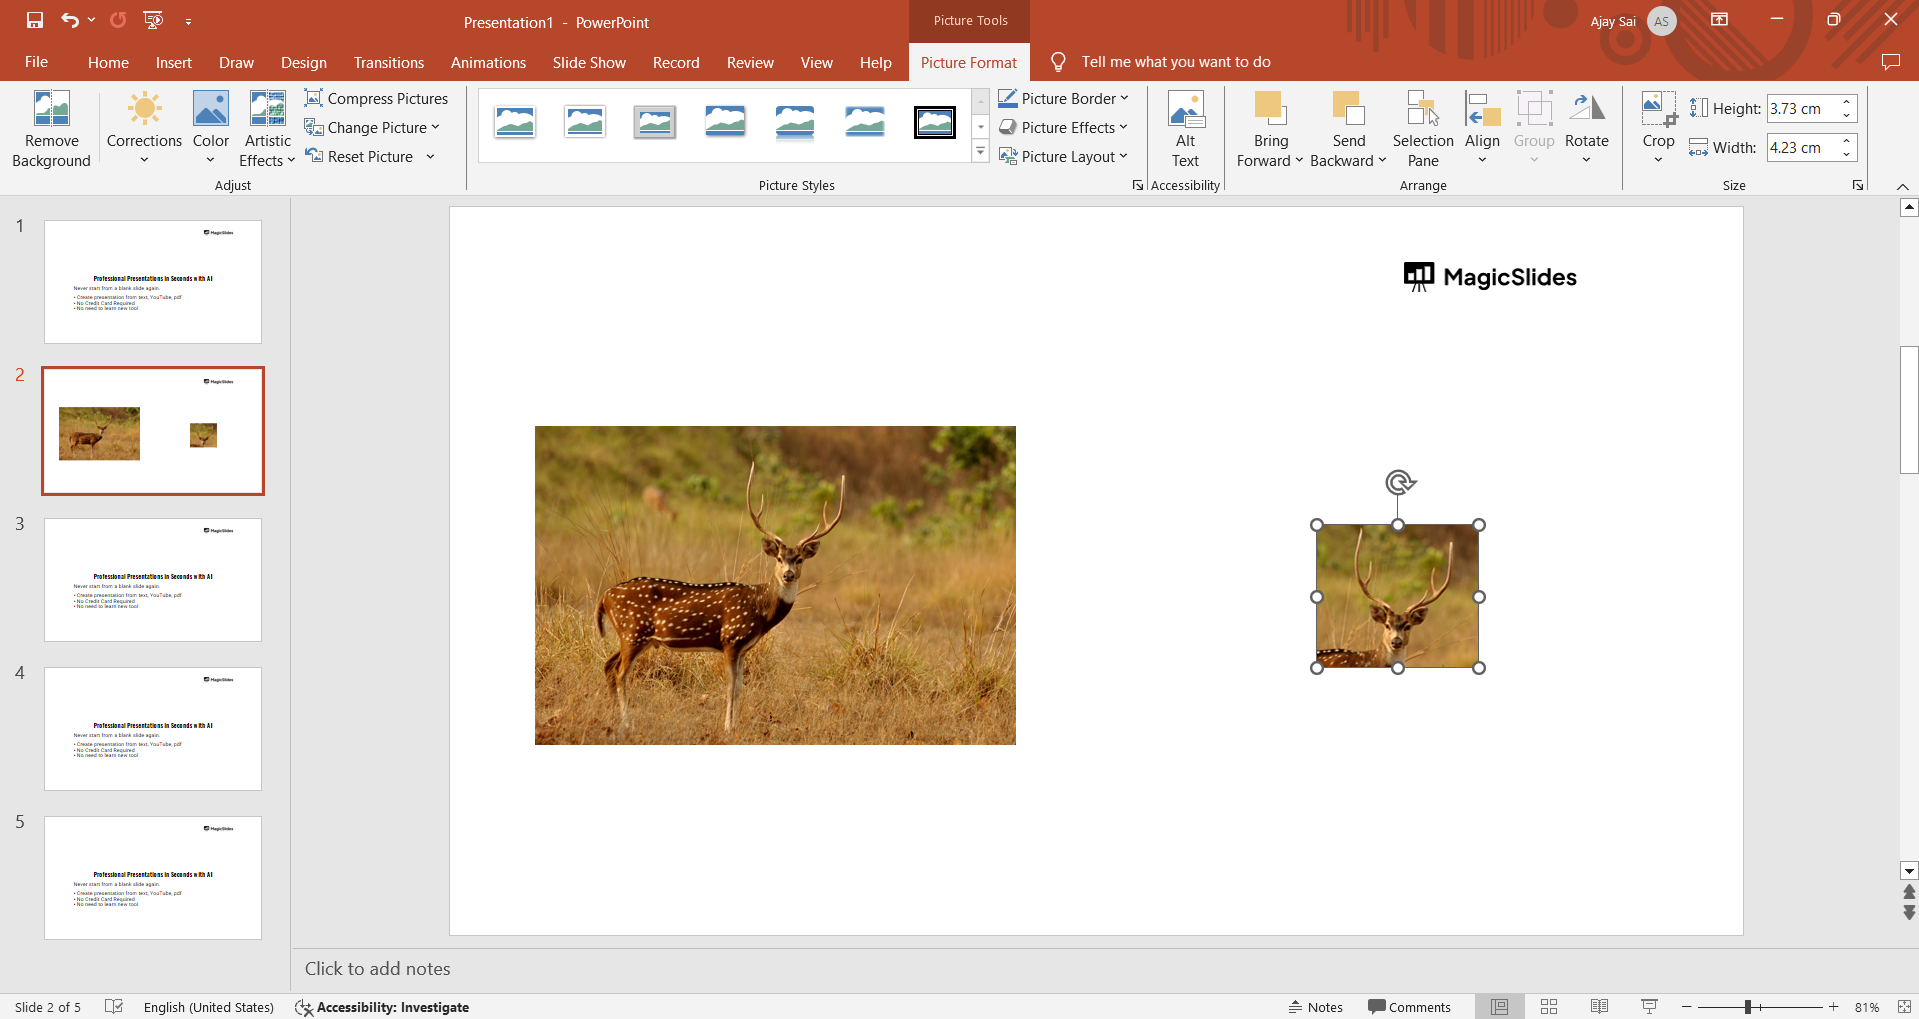
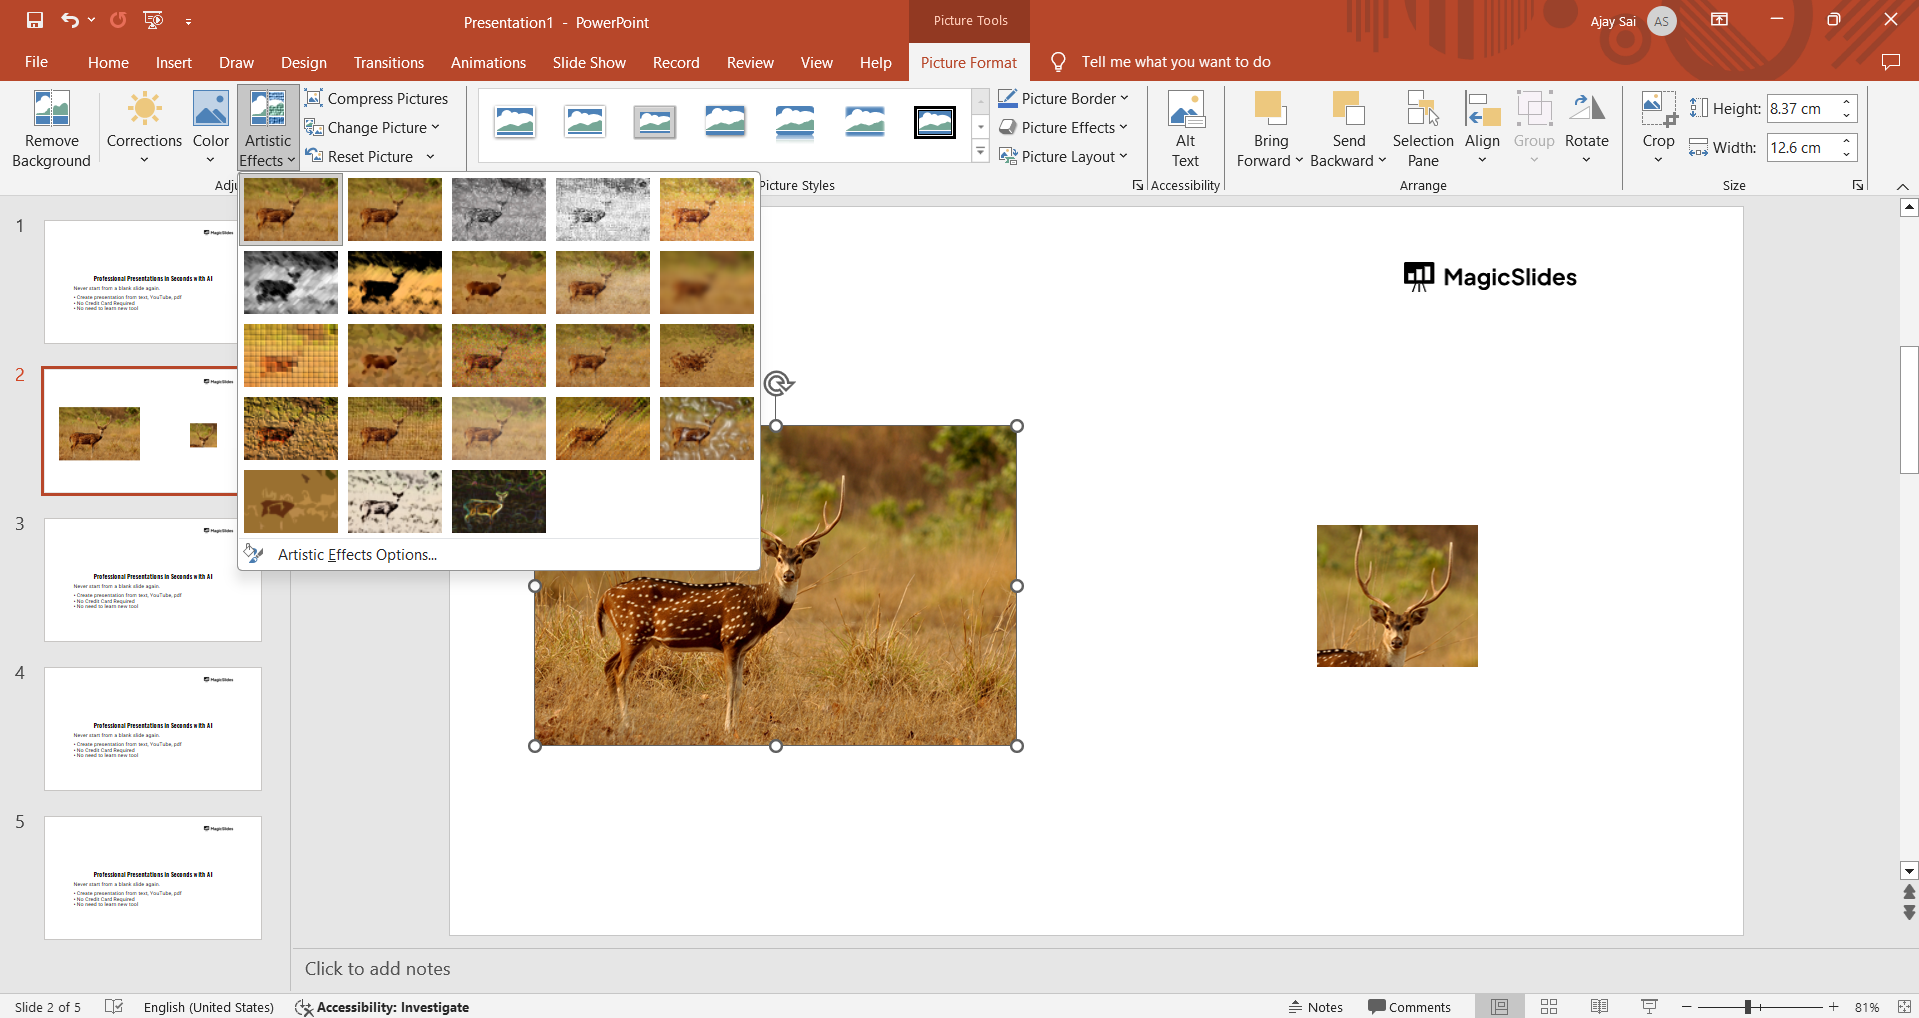
Select the Original Picture: Click on the original, uncropped picture.
Apply Effects: Go to the "Picture Format" tab and apply effects like "Artistic Effects," "Transparency," or "Color" to make the rest of the picture less prominent. This will ensure the highlighted area stands out more.
Step 6: Position the Highlighted Area
Align the Pictures: Ensure the cropped and highlighted picture aligns perfectly over the original picture.
You can use the "Align" options in the "Picture Format" tab to help with this.
Group the Elements: Select both the original and the highlighted pictures, right-click, and choose "Group" to keep them together. This will ensure they move as a single unit if you need to reposition them on the slide.
Conclusion
By following these steps, you can effectively highlight specific parts of a picture in PowerPoint, making your presentations more visually engaging and easier to understand. This technique is useful for emphasizing important details, guiding your audience's attention, and creating a professional-looking presentation.
Practice these steps to become proficient and enhance your presentation skills.
Highlighting parts of a picture can transform a simple slide into a powerful visual tool. With practice and creativity, you can use this technique to make your presentations stand out and effectively convey your message.
Frequently Asked Questions:
Can I change the shape of the highlighted area in PowerPoint?
Yes, you can change the shape of the highlighted area in PowerPoint. After drawing the initial shape around the area you want to highlight, you can select the shape, go to the "Format" tab, and use the "Edit Shape" option to change the shape to something more suitable.
2. How do I make the highlighted area stand out more in PowerPoint?
To make the highlighted area stand out more, you can adjust the fill and outline of the shape. Select the shape, go to the "Format" tab, and use the "Shape Fill" and "Shape Outline" options. You can choose a bright color for the outline and set the fill to transparent or semi-transparent.
3. Can I animate the highlighted part of the picture in PowerPoint?
Yes, you can animate the highlighted part of the picture in PowerPoint. Select the highlighted area or the shape, go to the "Animations" tab, and choose an animation effect such as "Fade," "Zoom," or "Pulse."


