How to merge shapes in PowerPoint


Learn how to merge shapes in MS PowerPoint to enhance your presentations visually!
Merging shapes in PowerPoint allows you to create custom shapes that can add a unique and professional touch to your presentations. By combining, fragmenting, or subtracting shapes, you can create complex designs that go beyond the standard shape options. Here’s a step-by-step guide to help you master shape merging in PowerPoint.
Step 1: Insert the Shapes
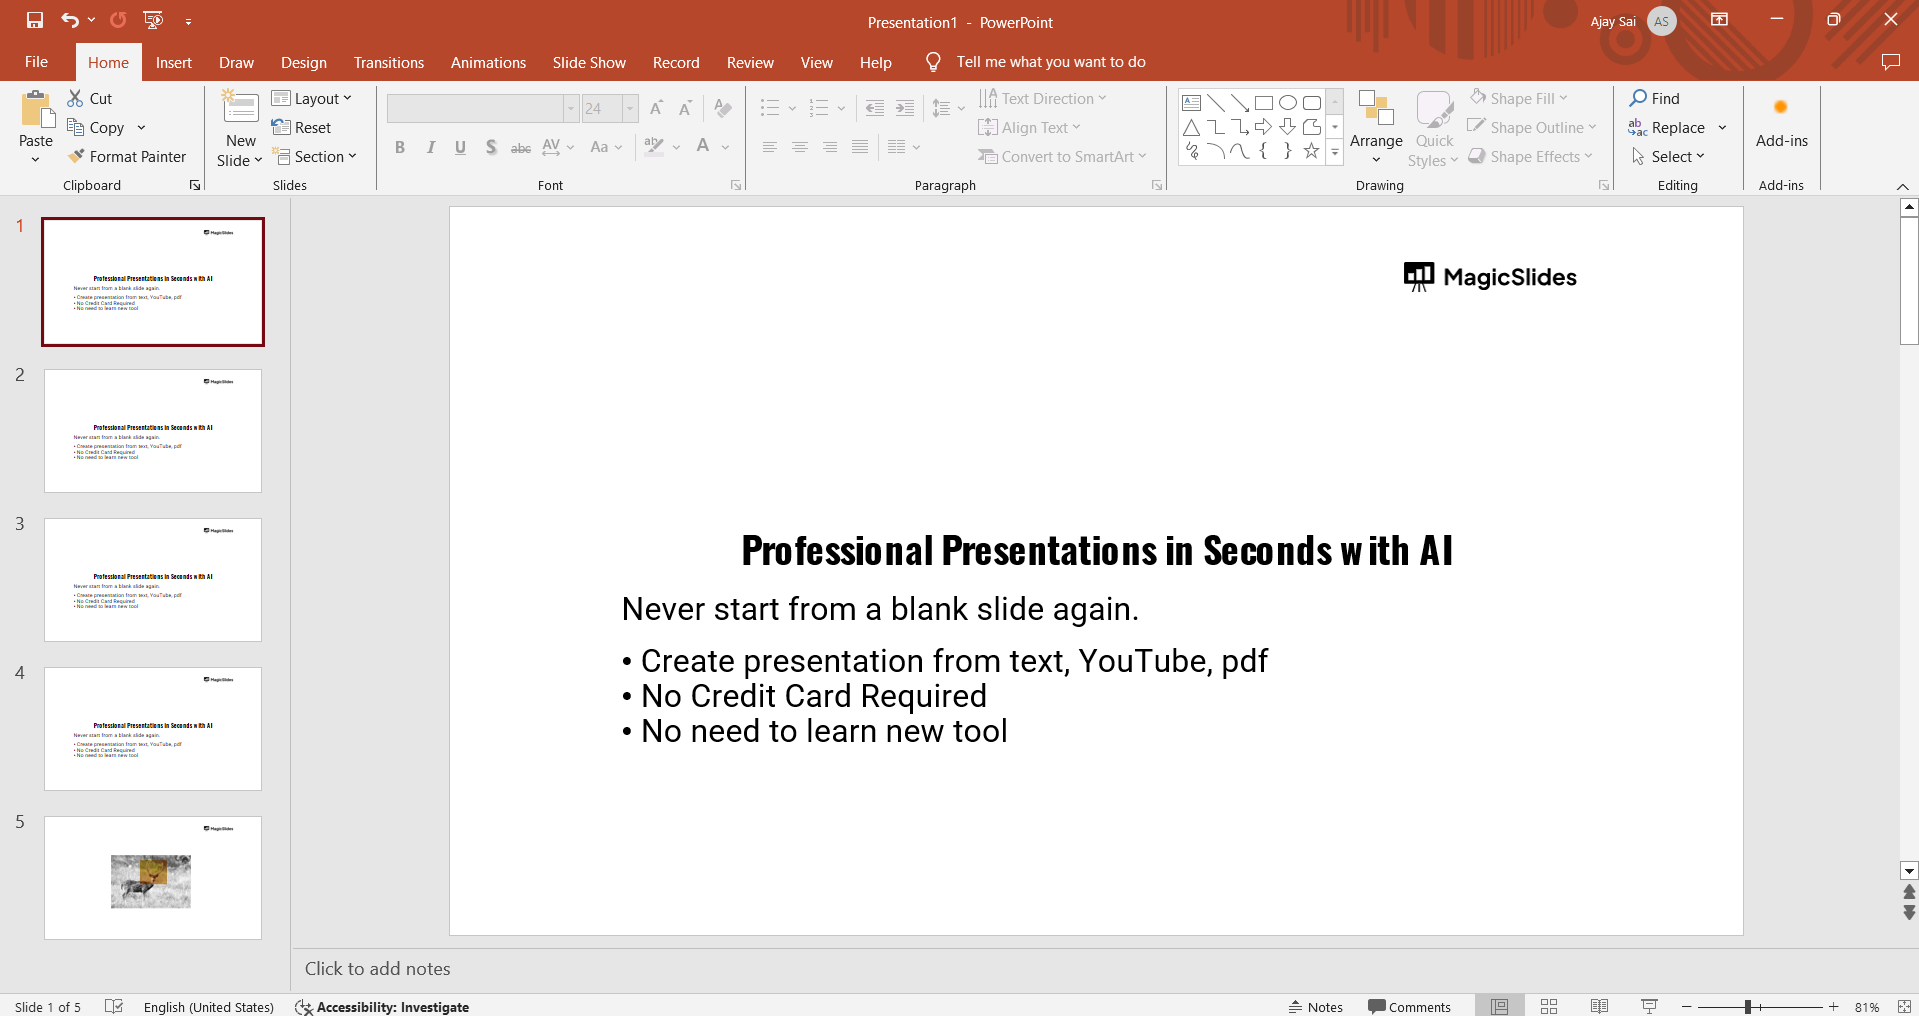
Open PowerPoint: Launch PowerPoint and open the presentation where you want to merge shapes.
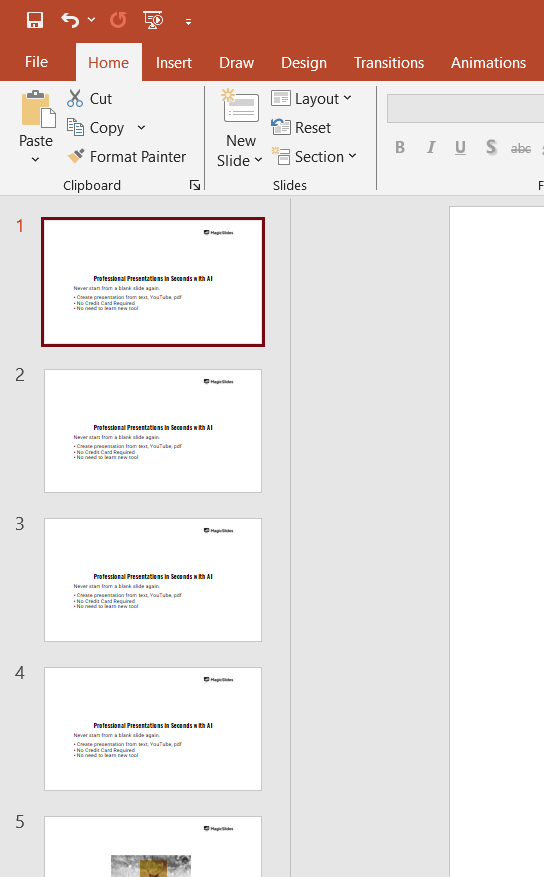
Navigate to the Slide: Go to the slide where you want to add and merge shapes.
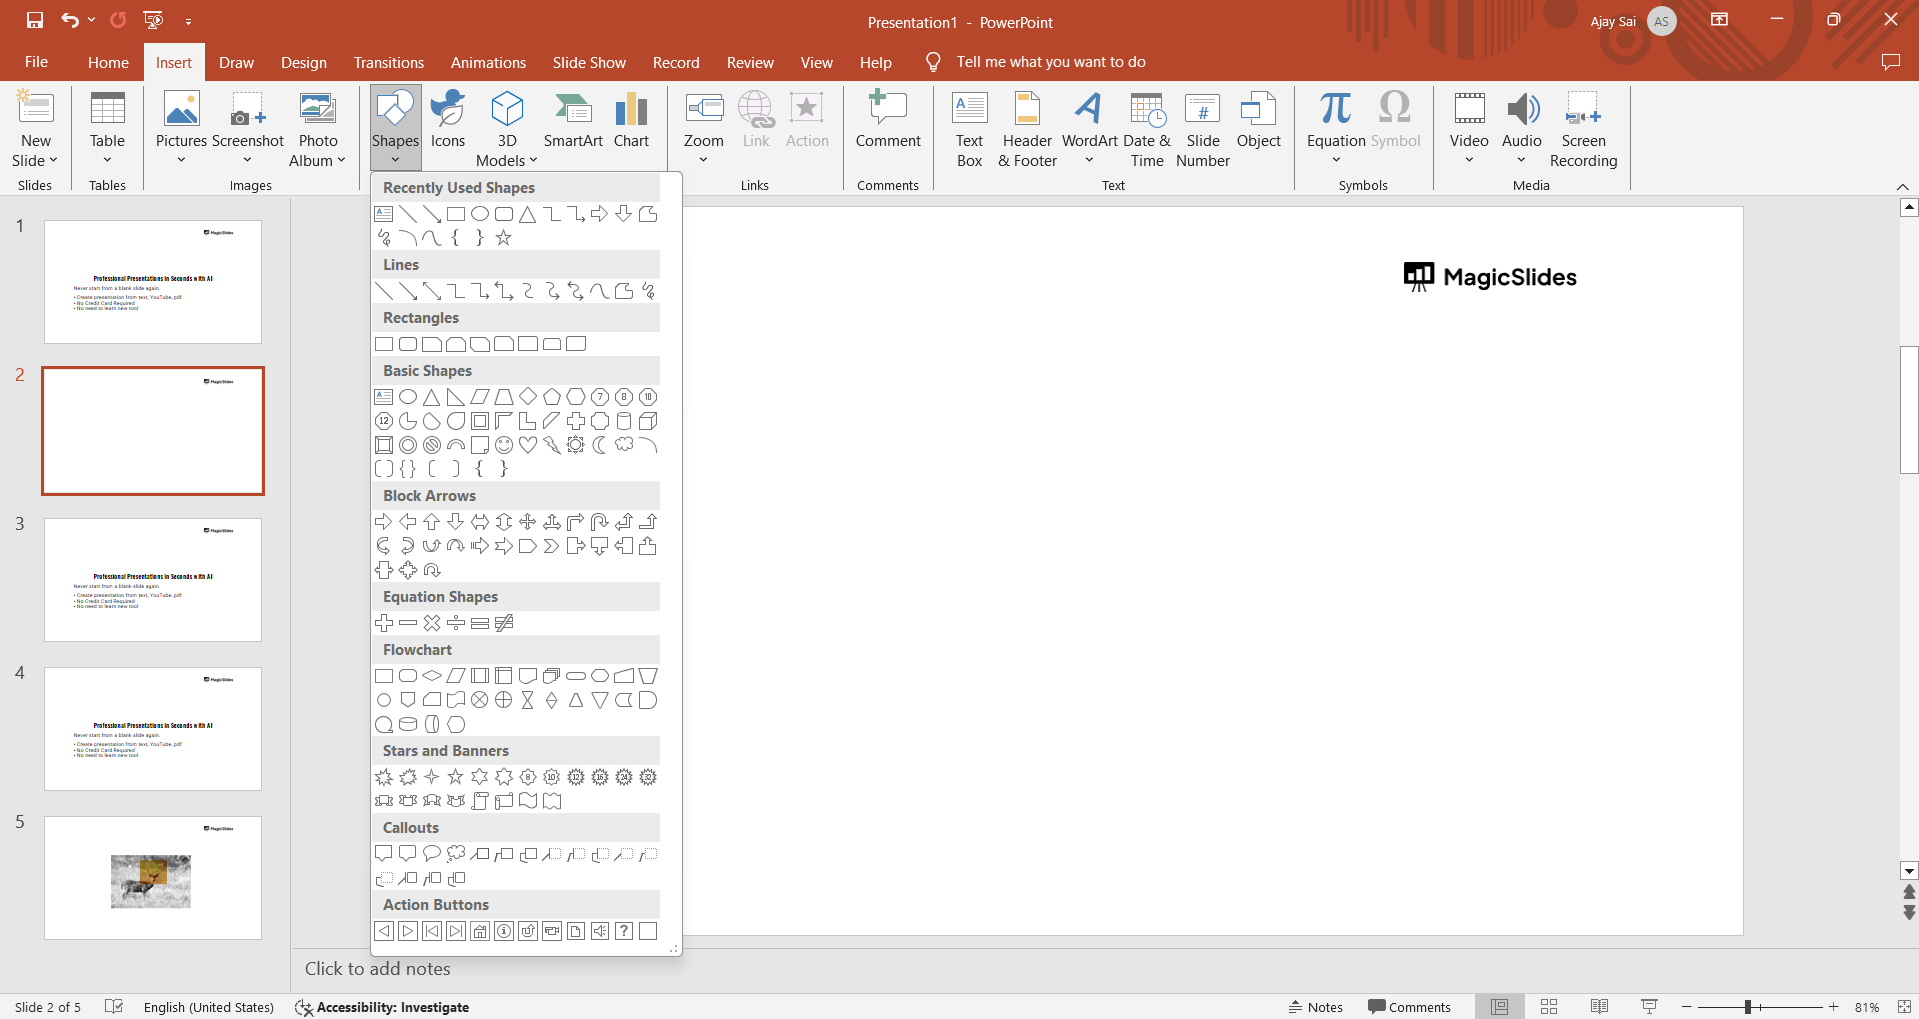
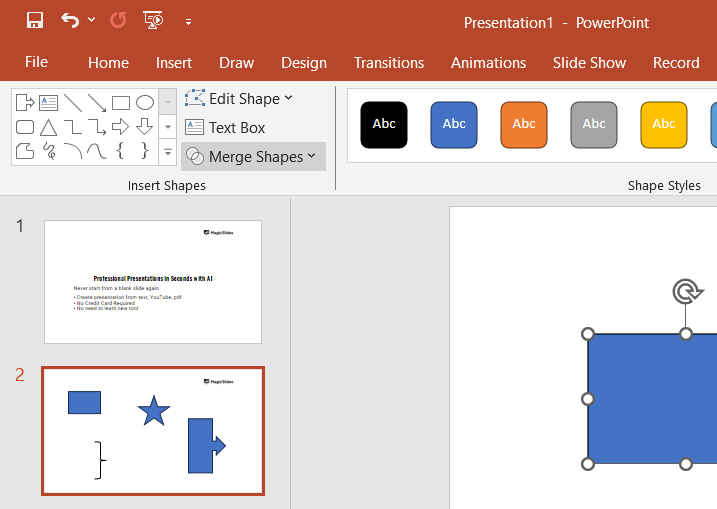
Insert Shapes: Click on the "Insert" tab in the Ribbon, then select "Shapes." Choose the shapes you want to merge from the dropdown menu and place them on the slide. Adjust their size and position as needed.
Step 2: Access the Merge Shapes Tool
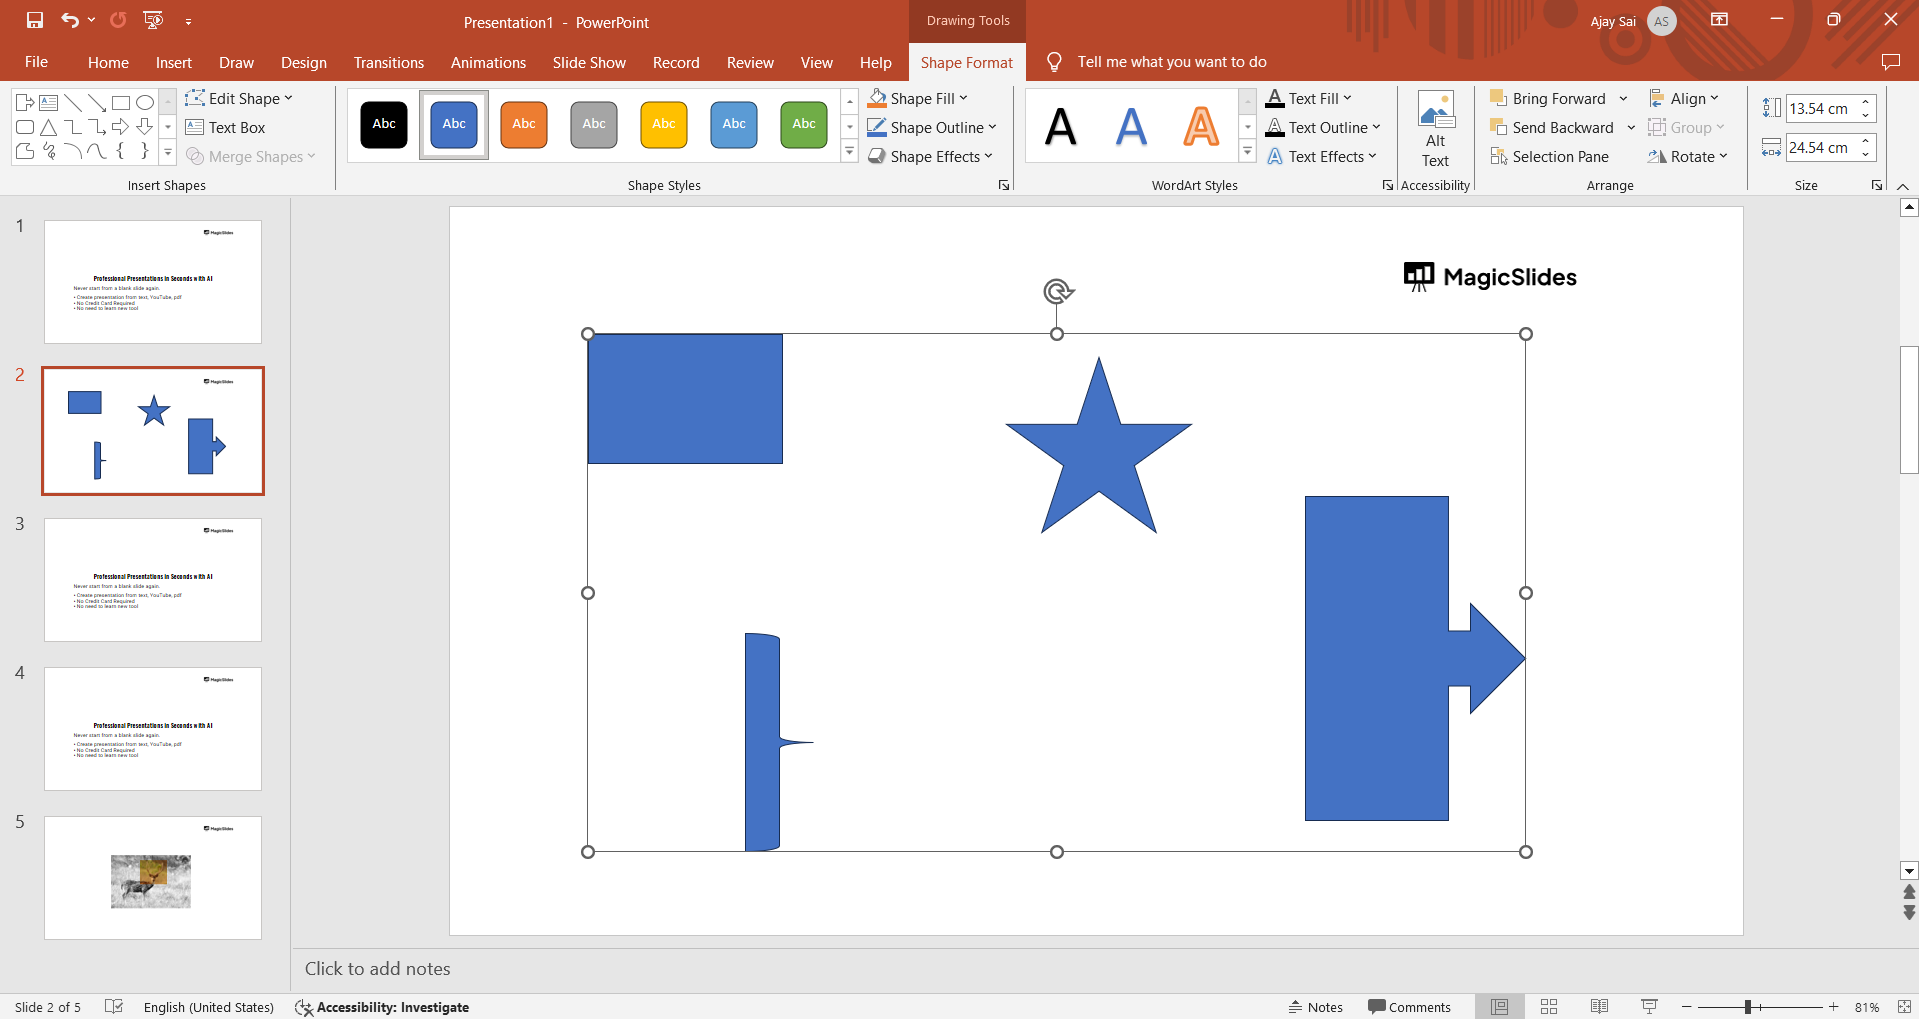
Select the Shapes: Hold down the Shift key and click on each shape you want to merge to select them all.
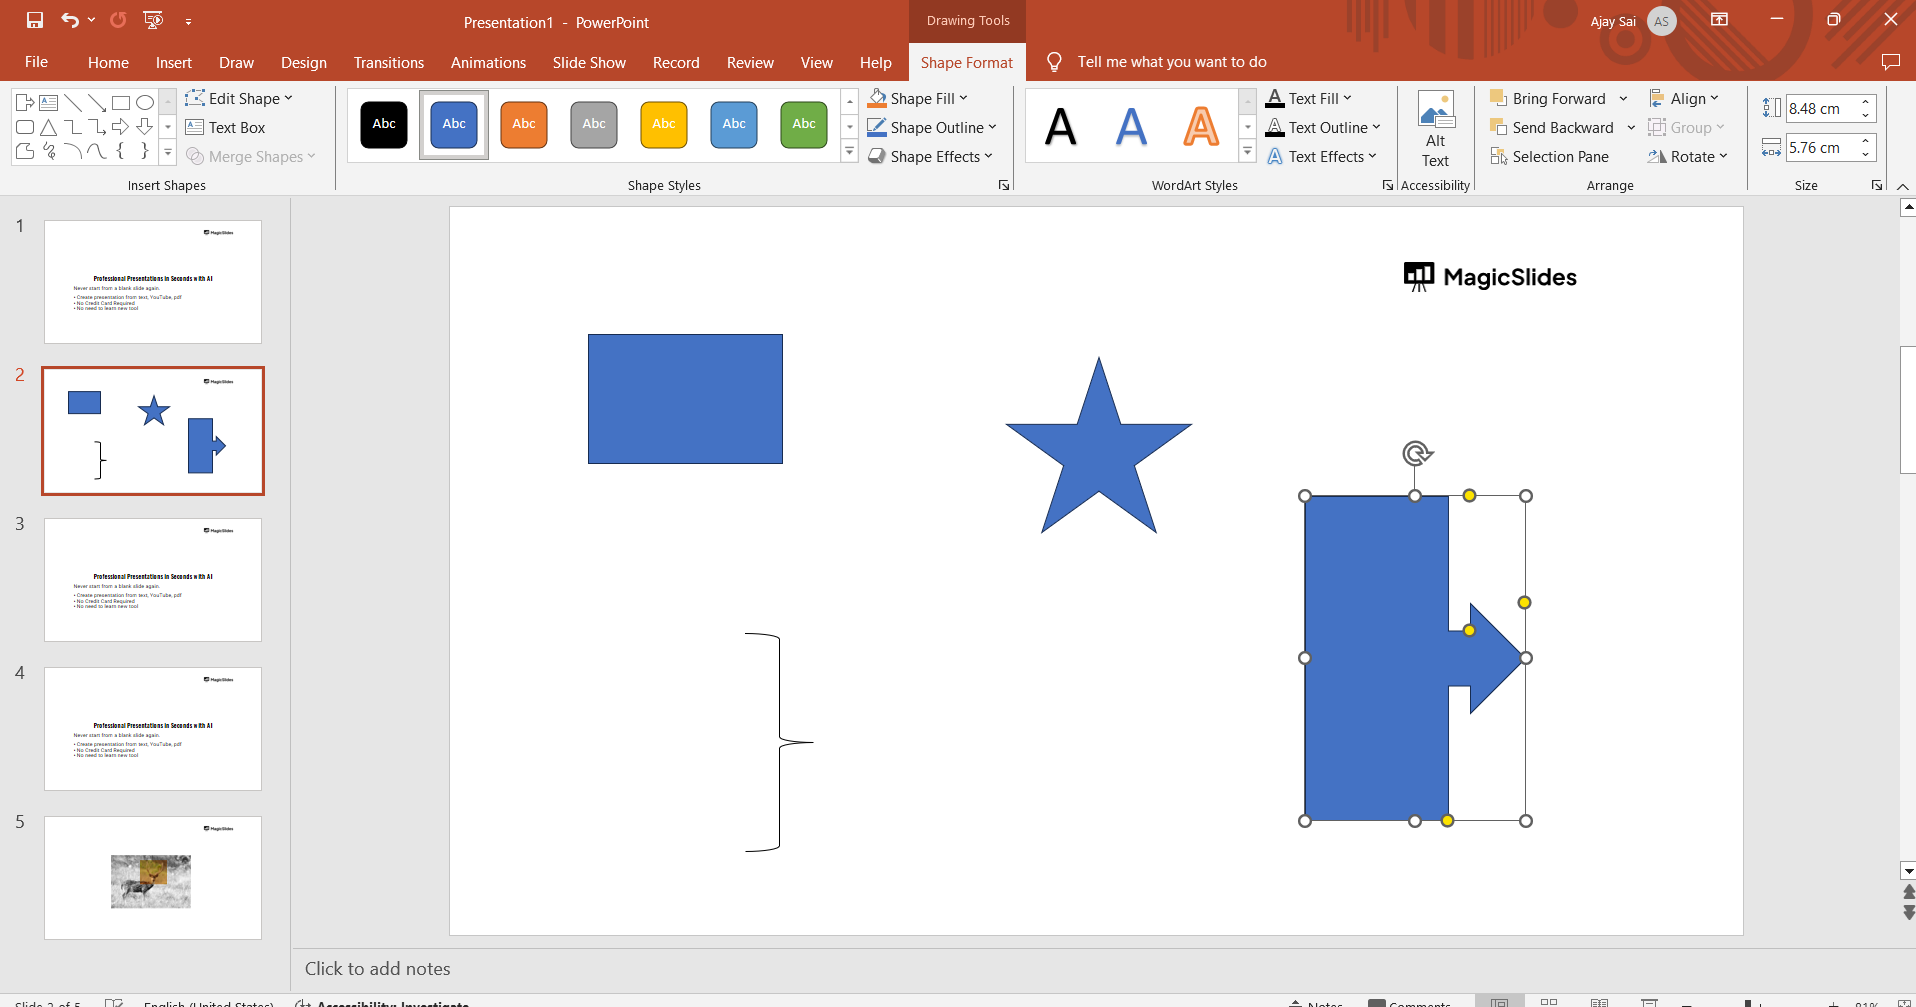
Go to the Format Tab: With the shapes selected, go to the "Format" tab under "Drawing Tools" in the Ribbon.
Open the Merge Shapes Tool: In the "Insert Shapes" group, click on the "Merge Shapes" dropdown menu to see the merging options.
Step 3: Choose the Desired Merging Option
Union: This option combines all selected shapes into a single shape, removing any overlapping lines.
Combine: This creates a shape that combines the areas of the selected shapes but removes any overlapping areas, leaving them transparent.
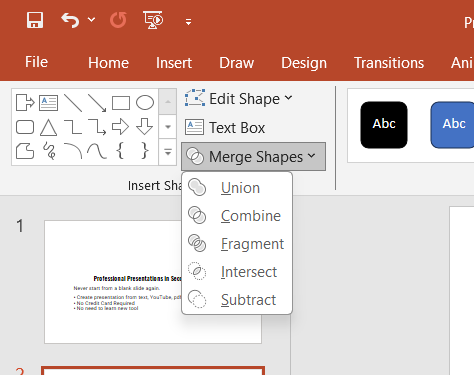
Fragment: This option divides the shapes into multiple smaller shapes where they intersect.
Intersect: This creates a shape only from the overlapping area of the selected shapes.
Subtract: This option subtracts the top shape from the bottom shape, creating a cut-out effect.
Step 4: Apply and Adjust
Apply the Merge: Click on the desired merging option from the "Merge Shapes" dropdown menu. The selected shapes will merge according to the option you chose.
Adjust the Merged Shape: After merging, you can further adjust the shape’s size, position, fill color, outline, and effects using the "Format" tab options to fit your presentation's design.
Conclusion
By understanding and utilizing the different merge options—Union, Combine, Fragment, Intersect, and Subtract—you can produce complex and visually appealing shapes that stand out. Practice these steps to become proficient in shape merging and take your PowerPoint presentations to the next level.
Using these techniques, you can move beyond basic shapes and create intricate designs tailored to your presentation needs. Whether you're designing logos, icons, or unique graphics, mastering the merge shapes tool will add a professional touch to your work.
Frequently Asked Questions:
How do I access the Merge Shapes tool in PowerPoint?
Go to the "Format" tab under "Drawing Tools" and select "Merge Shapes" from the "Insert Shapes" group.
What shape merging options are available?
The options include Union, Combine, Fragment, Intersect, and Subtract, allowing you to create complex shapes.
Can I merge text with shapes in PowerPoint?
No, the Merge Shapes tool only works with shapes, not text boxes.


