How to Record a Google Slides Presentation with Audio and Video


Learn to record Google Slides presentations with audio and video for engaging, shareable content creation
Recording a Google Slides presentation with both audio and video is a powerful way to create engaging, shareable content for classes, business meetings, or online audiences.
While Google Slides doesn’t have a built-in recording tool, there are several easy ways to record your presentation with audio narration and video.
In this guide, we’ll walk you through the steps using screen recording tools like OBS Studio, Screencastify, or Zoom.
How to Record a Google Slides Presentation with Audio and Video: A Step-by-Step Guide
Step 1: Prepare Your Google Slides Presentation
Before recording, open your Google Slides presentation and make sure it’s ready.
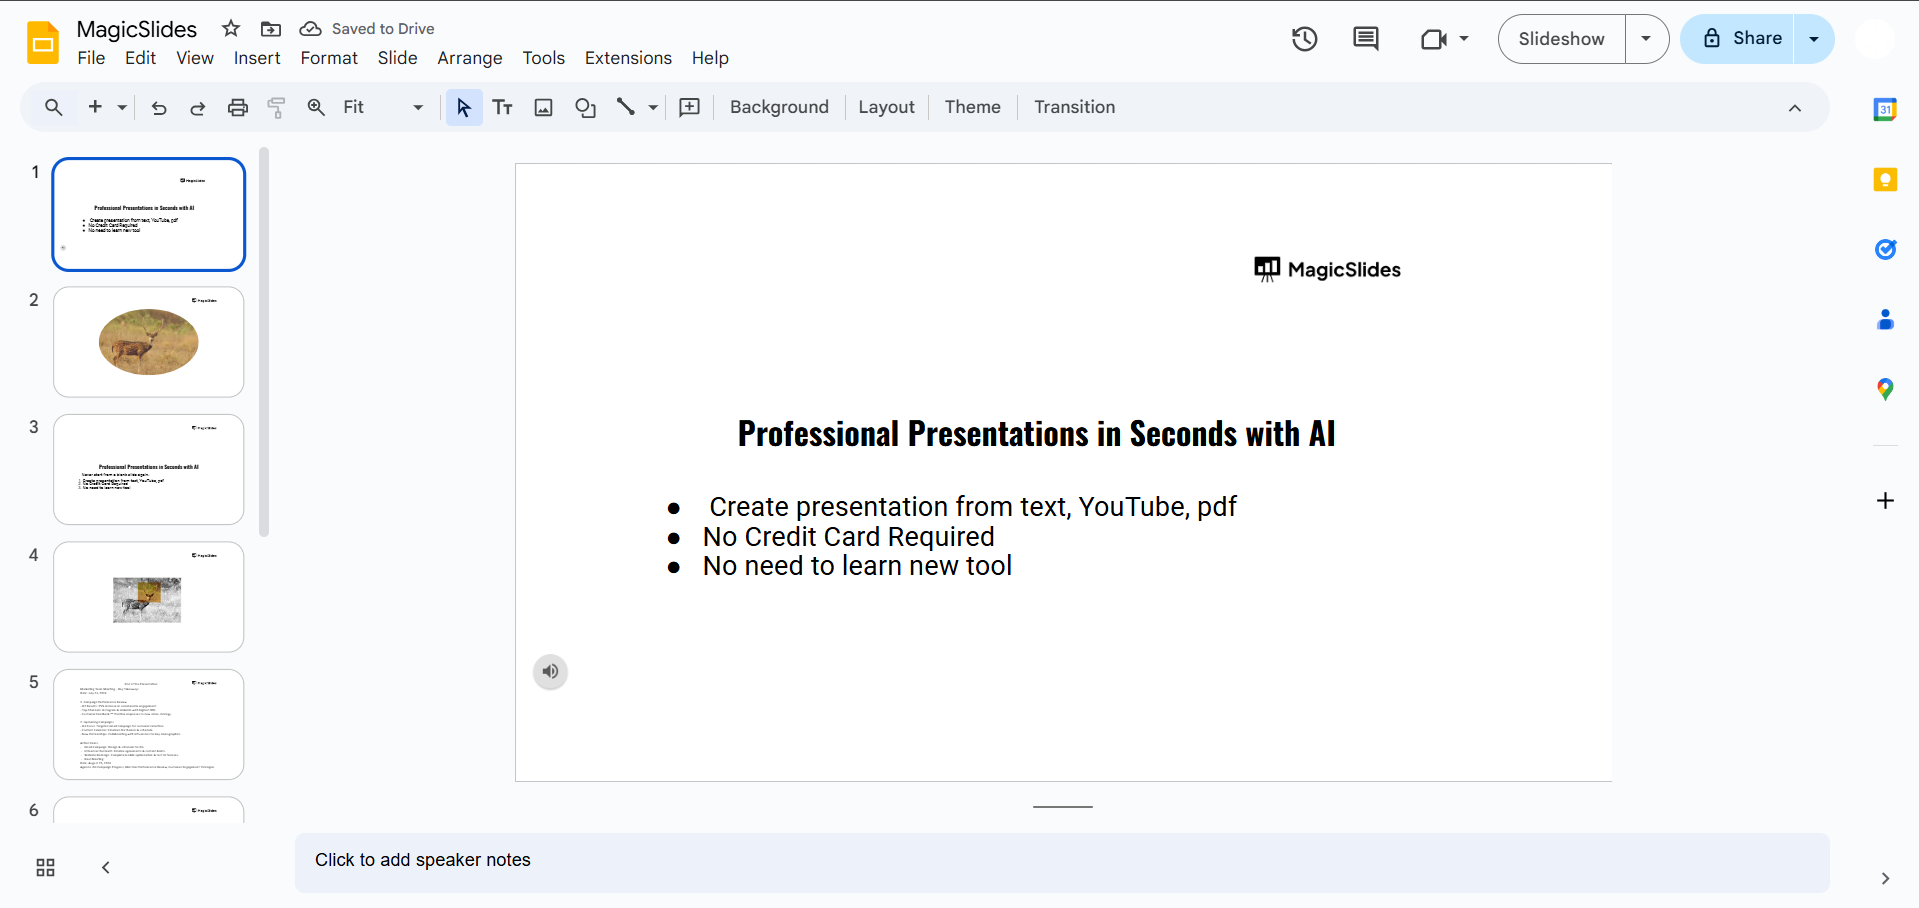
Check for any final adjustments in your content and layout. Set the presentation to “Present” mode so it appears in full screen for recording.
Step 2: Choose a Screen Recording Tool
Select a screen recording tool that allows you to record both audio and video. Here are a few popular options:
- OBS Studio: A free and powerful software compatible with Windows, macOS, and Linux.

- Screencastify: A Chrome extension with easy recording options and integrated editing tools.
- Zoom: Great for recording presentations if you’re already familiar with the platform.
Install your preferred tool, and make sure your microphone and camera are properly connected and working.
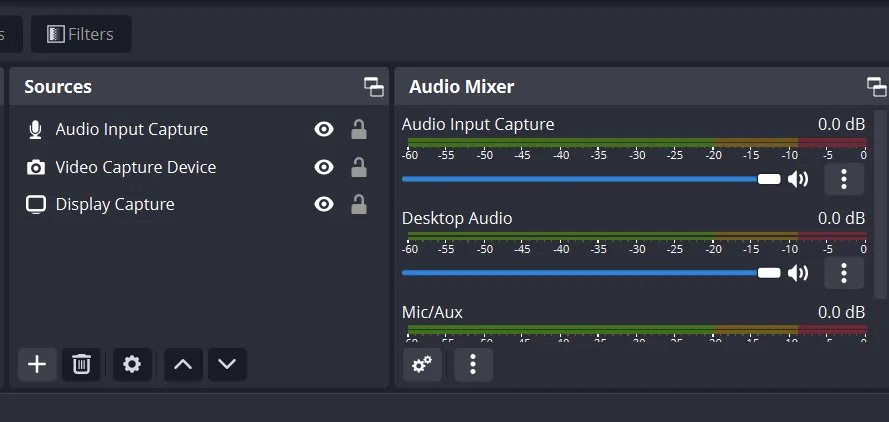
Step 3: Set Up Audio and Video Recording
In your screen recording tool, select both your audio (microphone) and video (webcam) sources.
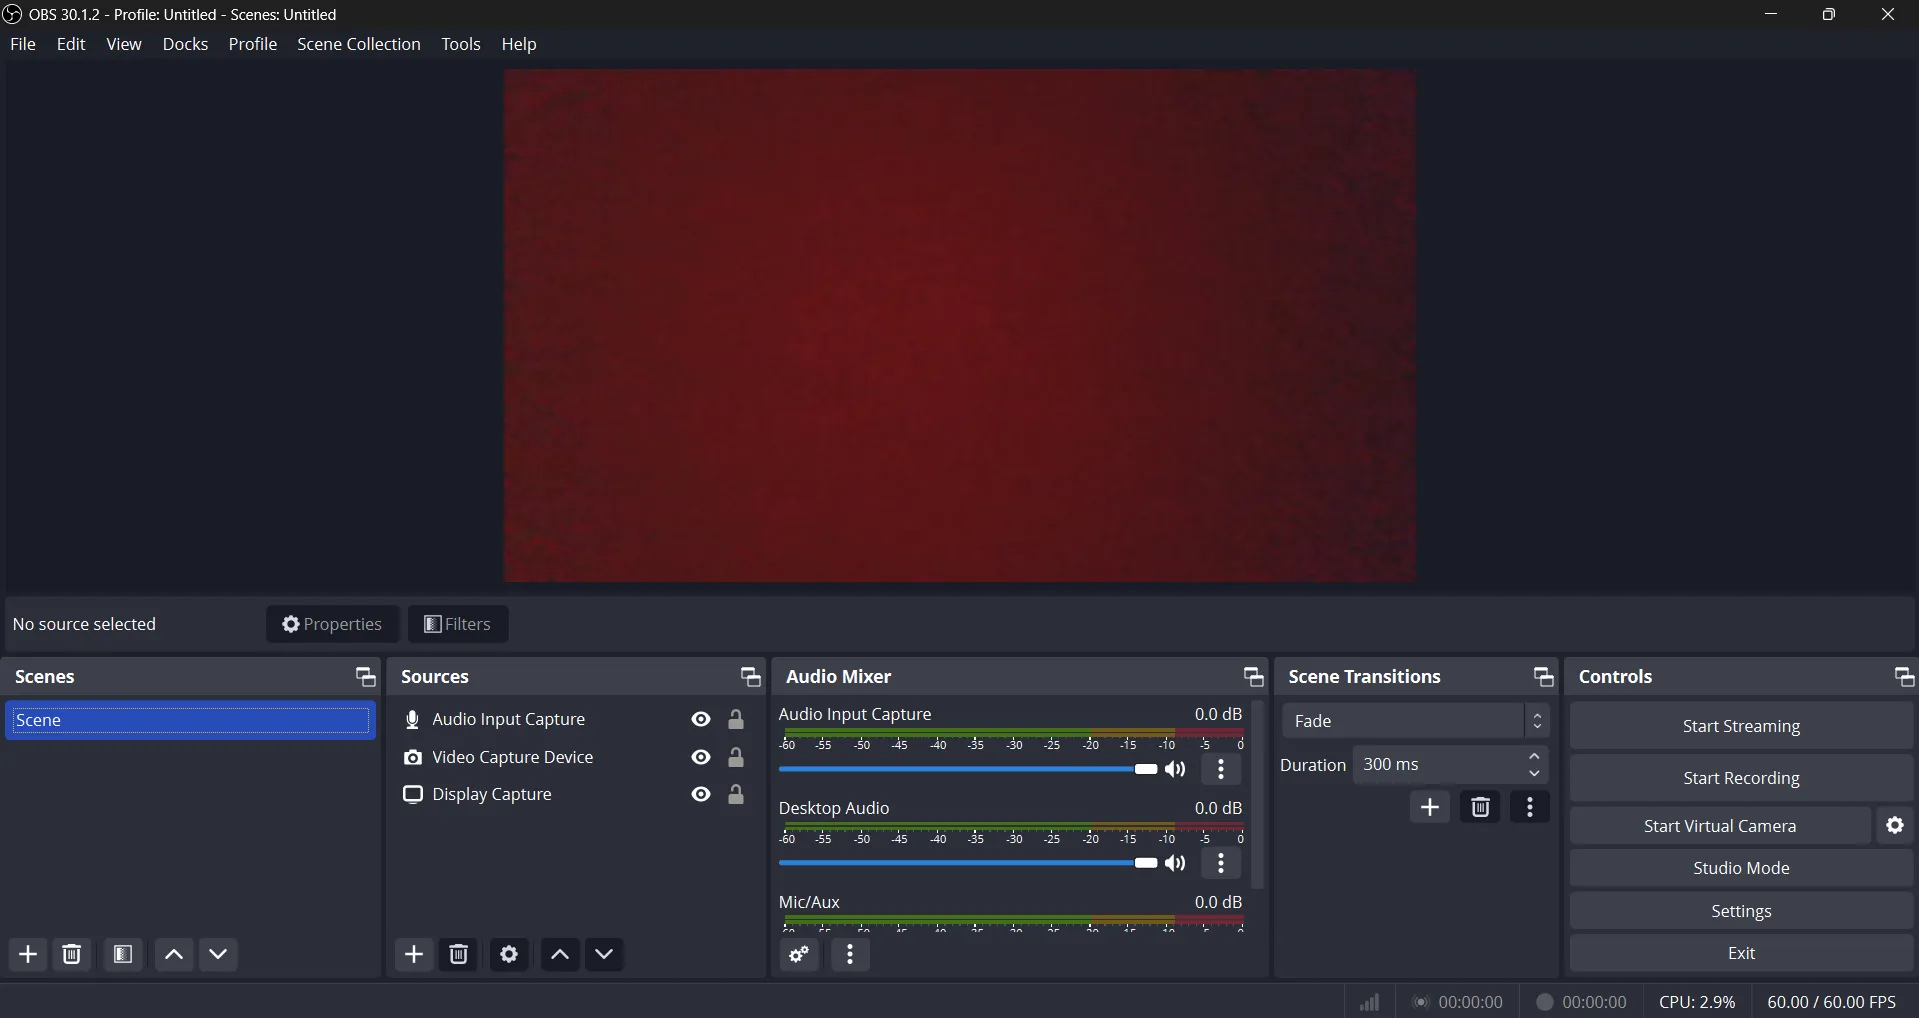
Position the webcam overlay (if desired) to one corner of the screen so your video will be visible while presenting the slides.
Test the audio to ensure it’s clear and at a suitable volume.
Step 4: Start Recording and Present Your Slides
Begin recording by pressing the “Record” button on your tool.
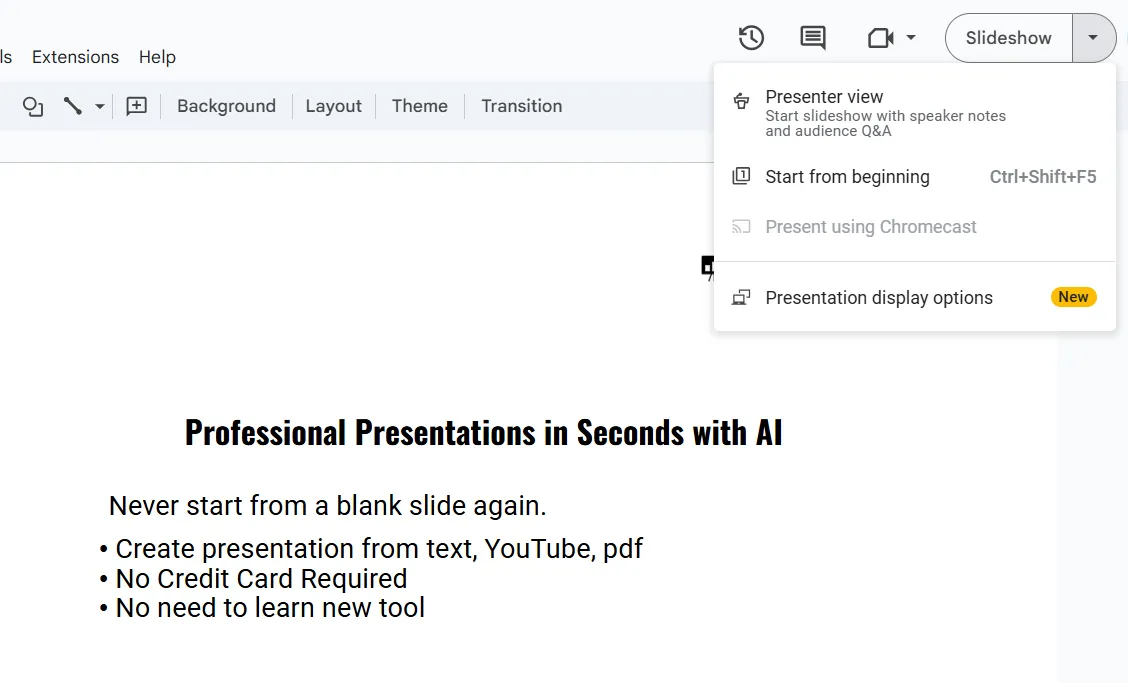
Then, go back to Google Slides in “Present” mode and start delivering your presentation.
Navigate through each slide at your pace, narrating as you go. If you need to pause, most tools allow you to do so with the “Pause” button.
Step 5: Stop and Save Your Recording
Once you’ve completed your presentation, stop the recording. Save the video file to your device.
Most recording tools will save in common formats like MP4 or WebM, which are easy to share and view.
Step 6: Edit (Optional)
If you’d like, you can edit the video to trim unwanted parts, add captions, or adjust audio levels.
Tools like iMovie, Screencastify’s editor, and other basic video editors can help you polish the final video before sharing.
After recording your Google Slides presentation with audio and video, you may want to add transitions on Google Slides mobile, enabling smoother slideshows on the go.
Conclusion
Recording your Google Slides presentation with audio and video enables you to share your content in a dynamic way, making it accessible for on-demand viewing.
Following these steps, you’ll be able to create professional-looking presentations, perfect for education, business, and online content creation.
FAQs are here to help!
Can I record Google Slides directly in Google Slides without external tools?
No, Google Slides doesn’t have built-in recording functionality. You’ll need a third-party screen recording tool.
Can I add a webcam overlay with my video?
Yes, many recording tools, like OBS Studio and Screencastify, allow you to add a webcam overlay during recording.
How can I share my recorded Google Slides presentation?
You can share your saved recording by uploading it to platforms like YouTube, Google Drive, or directly sending the file via email or sharing platforms.


