How to Show the Same Presentation Continuously on Google Slides


Set up Google Slides to loop continuously with these simple steps. Perfect for events, kiosks, or displays, ensuring smooth, automated presentation playback.
If you need a Google Slides presentation to run continuously—for events, kiosks, or information displays—Google Slides offers an easy way to loop your presentation.
Here’s a step-by-step guide to setting up your Google Slides to play on a loop.
How to Show the Same Presentation Continuously
Step 1: Open Your Google Slides Presentation
Start by opening the Google Slides presentation you want to display continuously. Make sure all content, transitions, and animations are finalized, as this will run on an unattended loop.
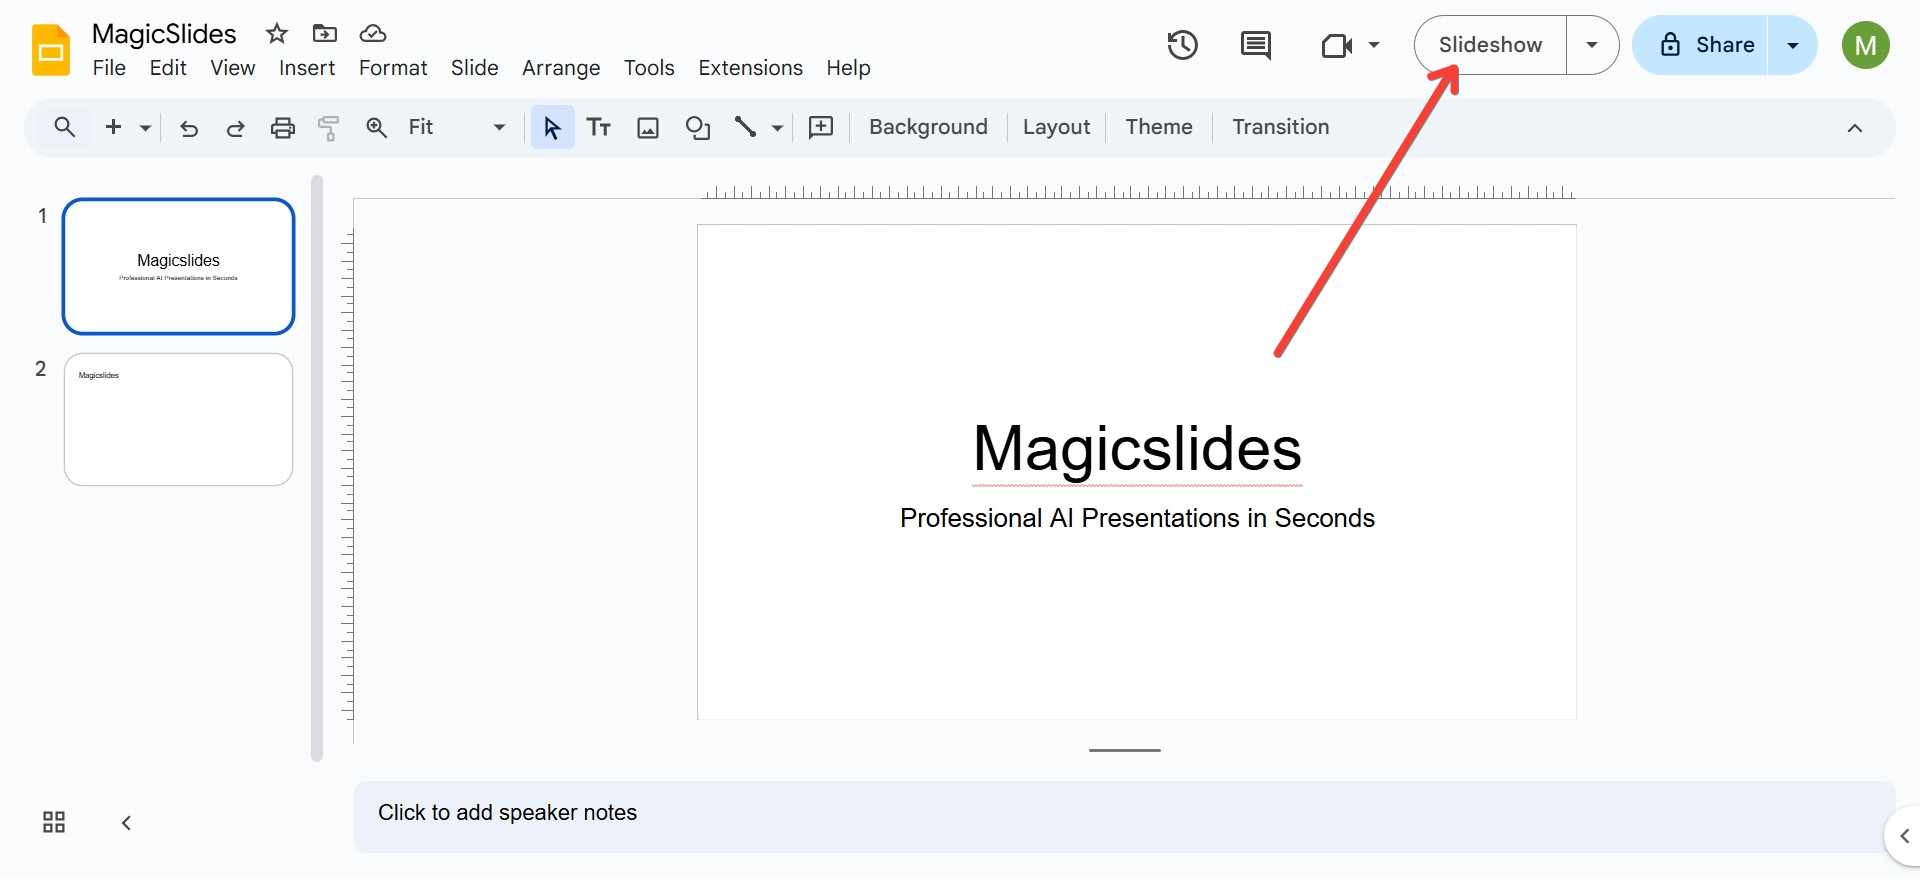
Step 2: Set Up Presentation Mode
To make the presentation loop, follow these steps:
- Click on the Slideshow button in the upper right corner of Google Slides to open the presentation in full-screen mode.
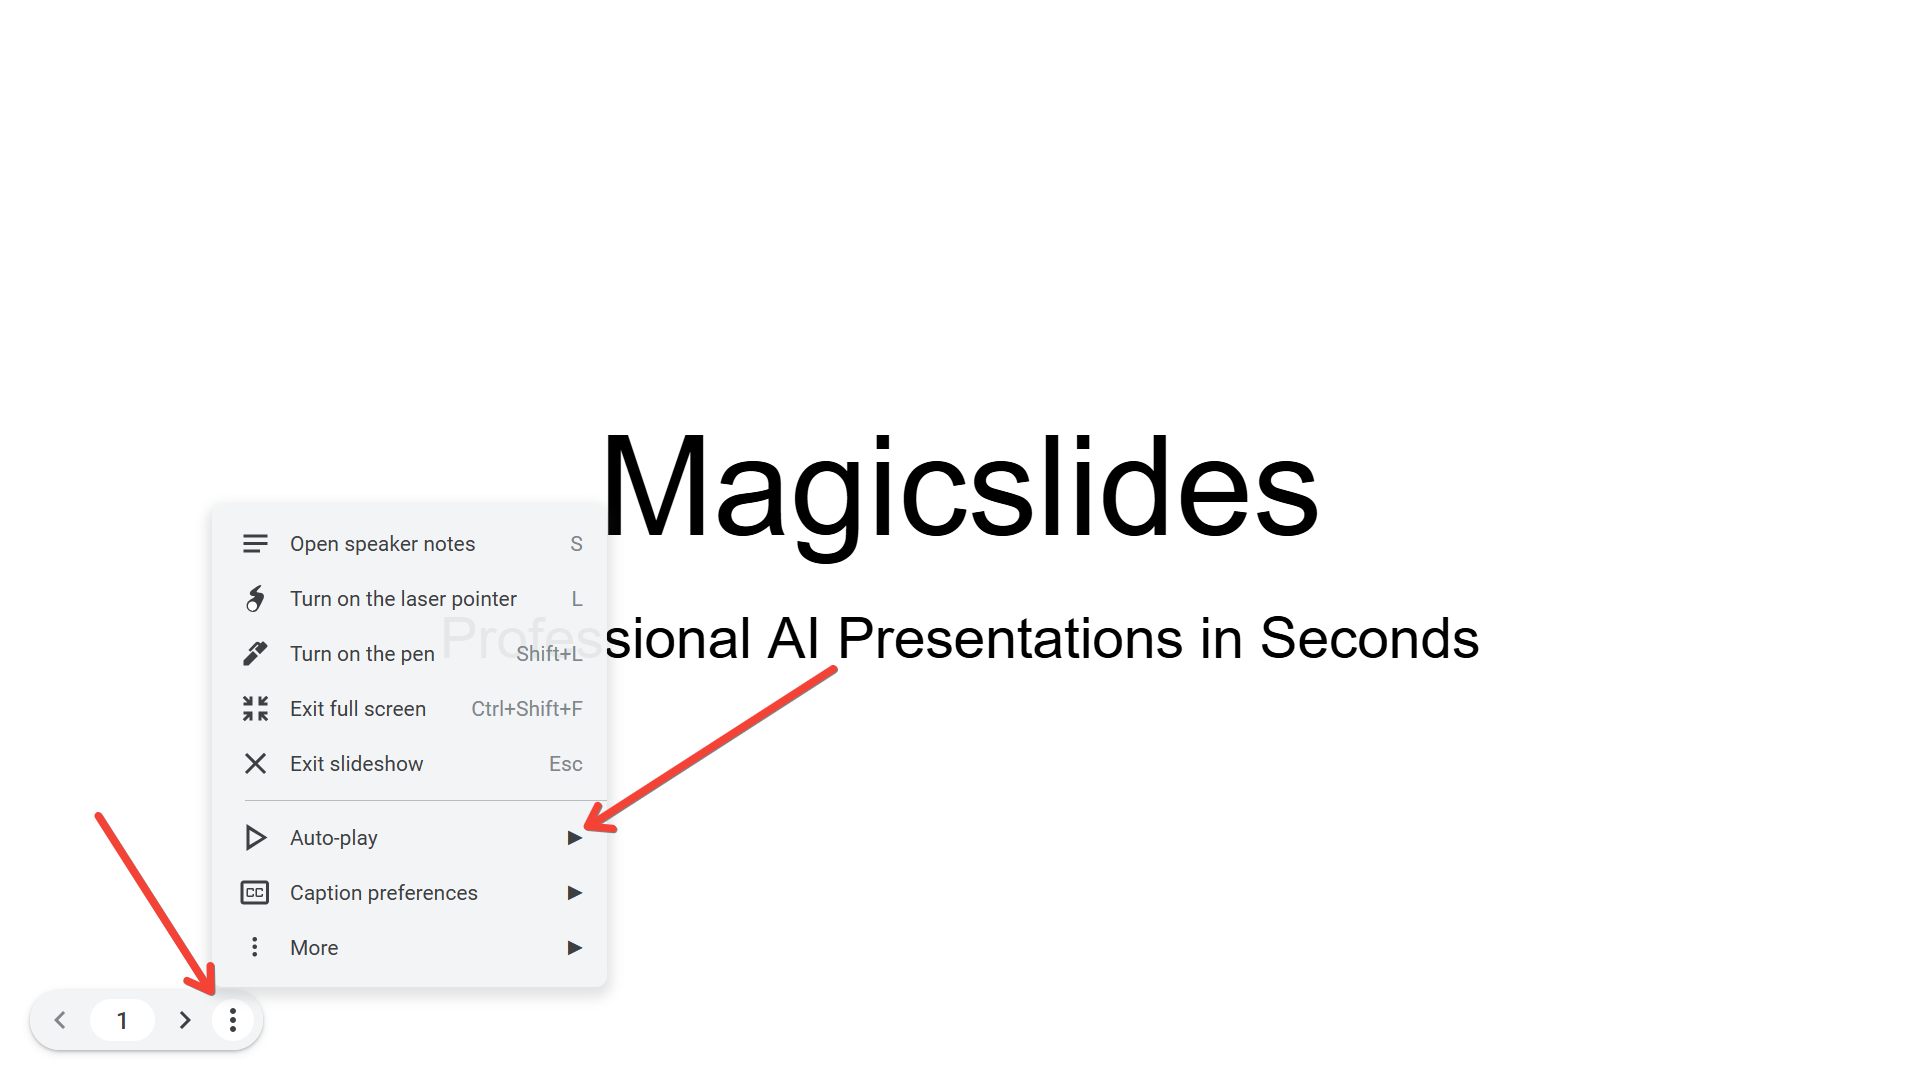
- Once in presentation mode, hover over the bottom-left corner of the screen until the control bar appears.
- Click on the Settings (gear icon) on the control bar, which will open additional presentation settings.
Step 3: Set Up Auto-Advance Timing
To set the timing for automatic slide advancement:
- In the settings menu, look for the Auto-advance (when played) option.
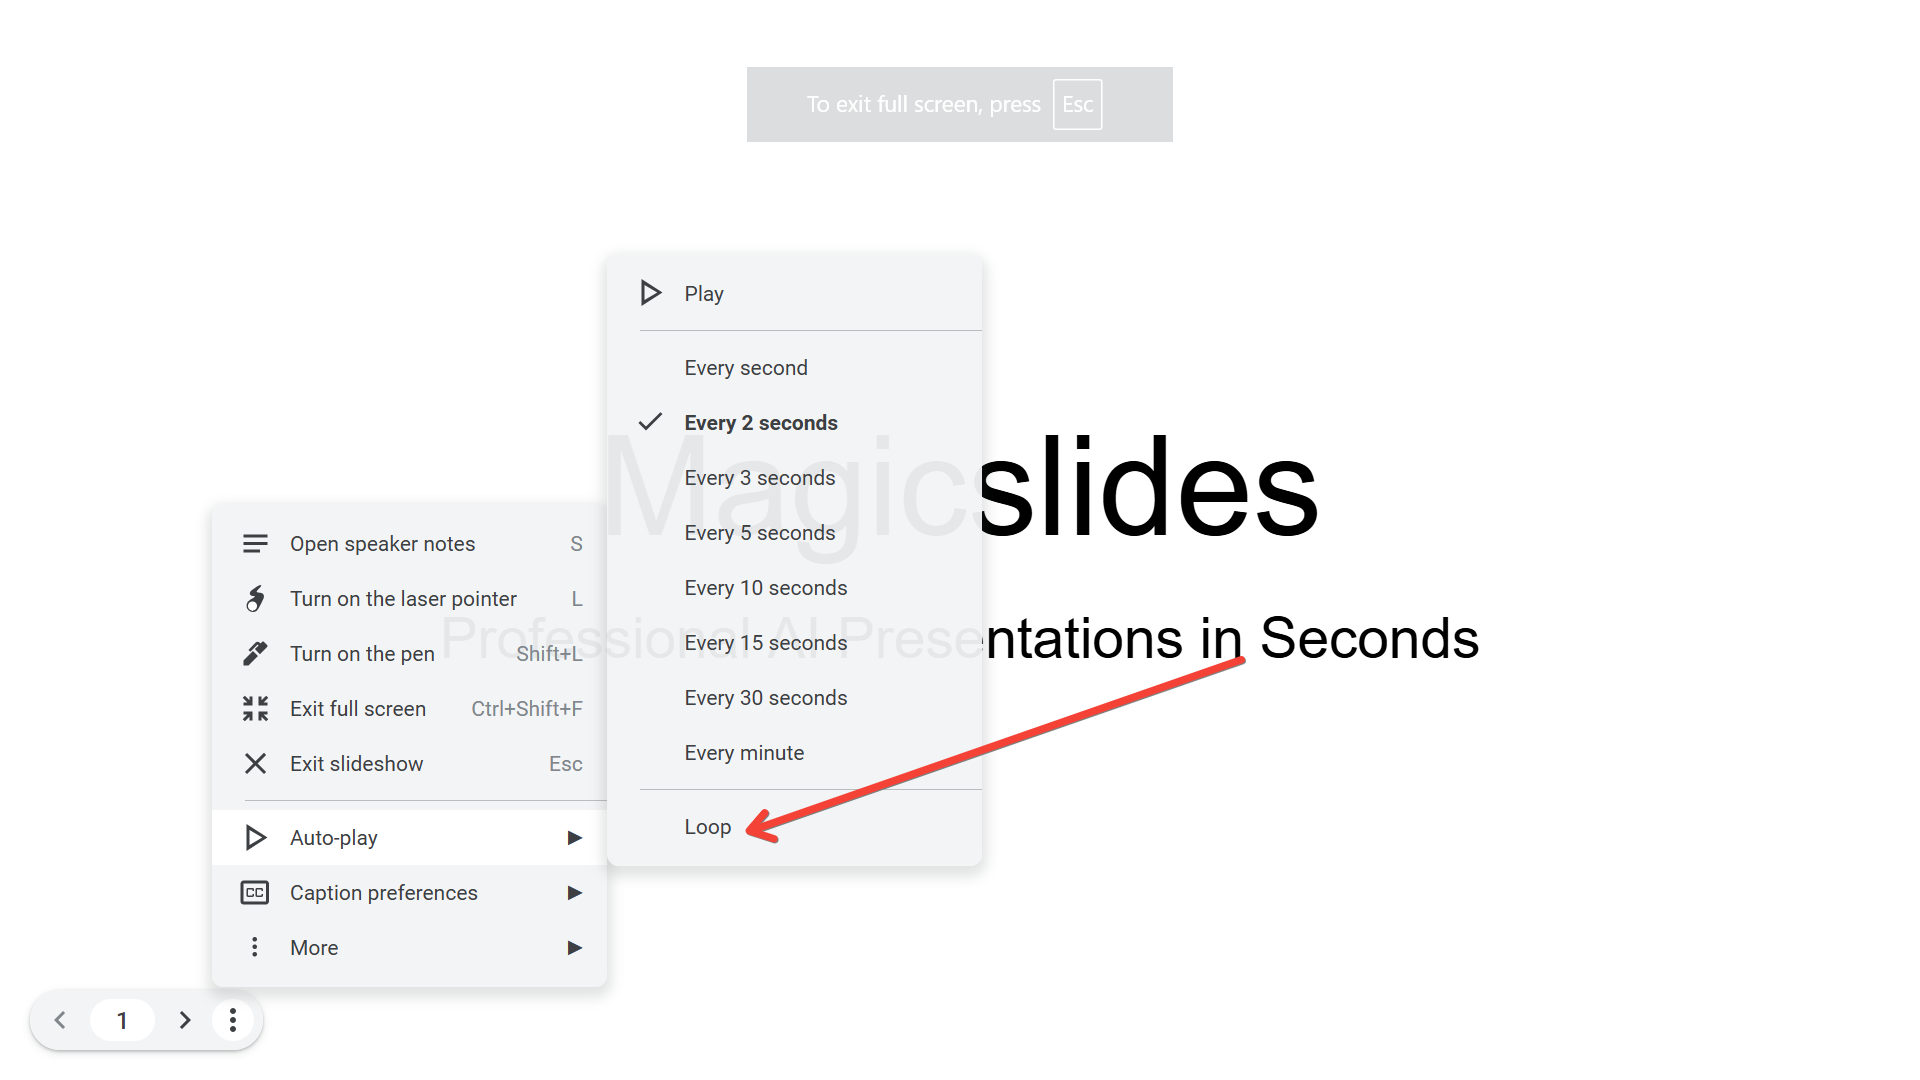
- Choose a timing option, such as Every 3 seconds, Every 5 seconds, or another interval that best suits the content of your slides.
You can select a custom time based on how long you want each slide to display. If you need different timings for different slides, consider adjusting content accordingly, as Google Slides applies the same timing to all slides in a continuous loop.
Step 4: Enable Looping
- In the same settings menu, check the Loop option. This will make your presentation start over automatically after reaching the last slide, ensuring continuous playback.
This setting is key for a hands-free, continuous loop, so be sure it’s enabled before finalizing.
Step 5: Share and Display
Once your loop and timing are set, you can share your presentation or display it on any screen. For easy access, you can share the link with anyone or cast it to a screen, TV, or monitor as needed.
To ensure it opens in presentation mode directly:
- Copy the link to your presentation.
- Replace the part of the URL that says
/editwith/present. This change will make the presentation open directly in full-screen mode, ideal for a display setup.
Additional Tips for Continuous Google Slides Presentations
- Optimize Slide Content: Since viewers may join at any point in the loop, make sure each slide stands alone and is easy to understand at a glance.
- Use Simple Transitions: Avoid overly complex transitions, as they can be distracting when the presentation runs on a loop.
- Test the Presentation: Run through the entire loop once to ensure that the timing and loop settings work as expected and make any adjustments if needed.
With these steps, your Google Slides presentation will be set up to loop continuously, making it perfect for events, kiosks, and unattended displays.


