How to Make Text Boxes Transparent in Google Slides: A Step-by-Step Guide


Learn how to make text boxes transparent in Google Slides with this step-by-step guide. Improve your presentations with useful tips!
Google Slides is a powerful tool for creating presentations, and one of its versatile features is the ability to customize the appearance of text boxes. Making text boxes transparent can help you achieve a clean and professional look, allowing the background to show through while keeping your text prominent and readable. This guide will walk you through the process with detailed steps and tips to enhance your presentation skills.
Why Make Text Boxes Transparent?
Transparency in text boxes can be a useful design tool for several reasons:
- Highlight Text Without Blocking Backgrounds: Transparent text boxes allow your text to stand out while letting background images or colors show through, maintaining the overall aesthetic of your slide.
- Create a Layered Effect: By using transparency, you can create a layered visual effect, making your slides look more dynamic and engaging.
- Improve Readability and Focus: You can use transparency to subtly highlight text without overwhelming your audience with solid colors or distracting elements.
How to Make Text Boxes Transparent in Google Slides
Steps to Make Text Boxes Transparent in Google Slides
Follow these step-by-step instructions to create transparent text boxes in Google Slides:
Step 1: Open Your Google Slides Presentation
- Go to Google Slides and open the presentation you want to work on.
- Select the slide where you want to make the text box transparent.
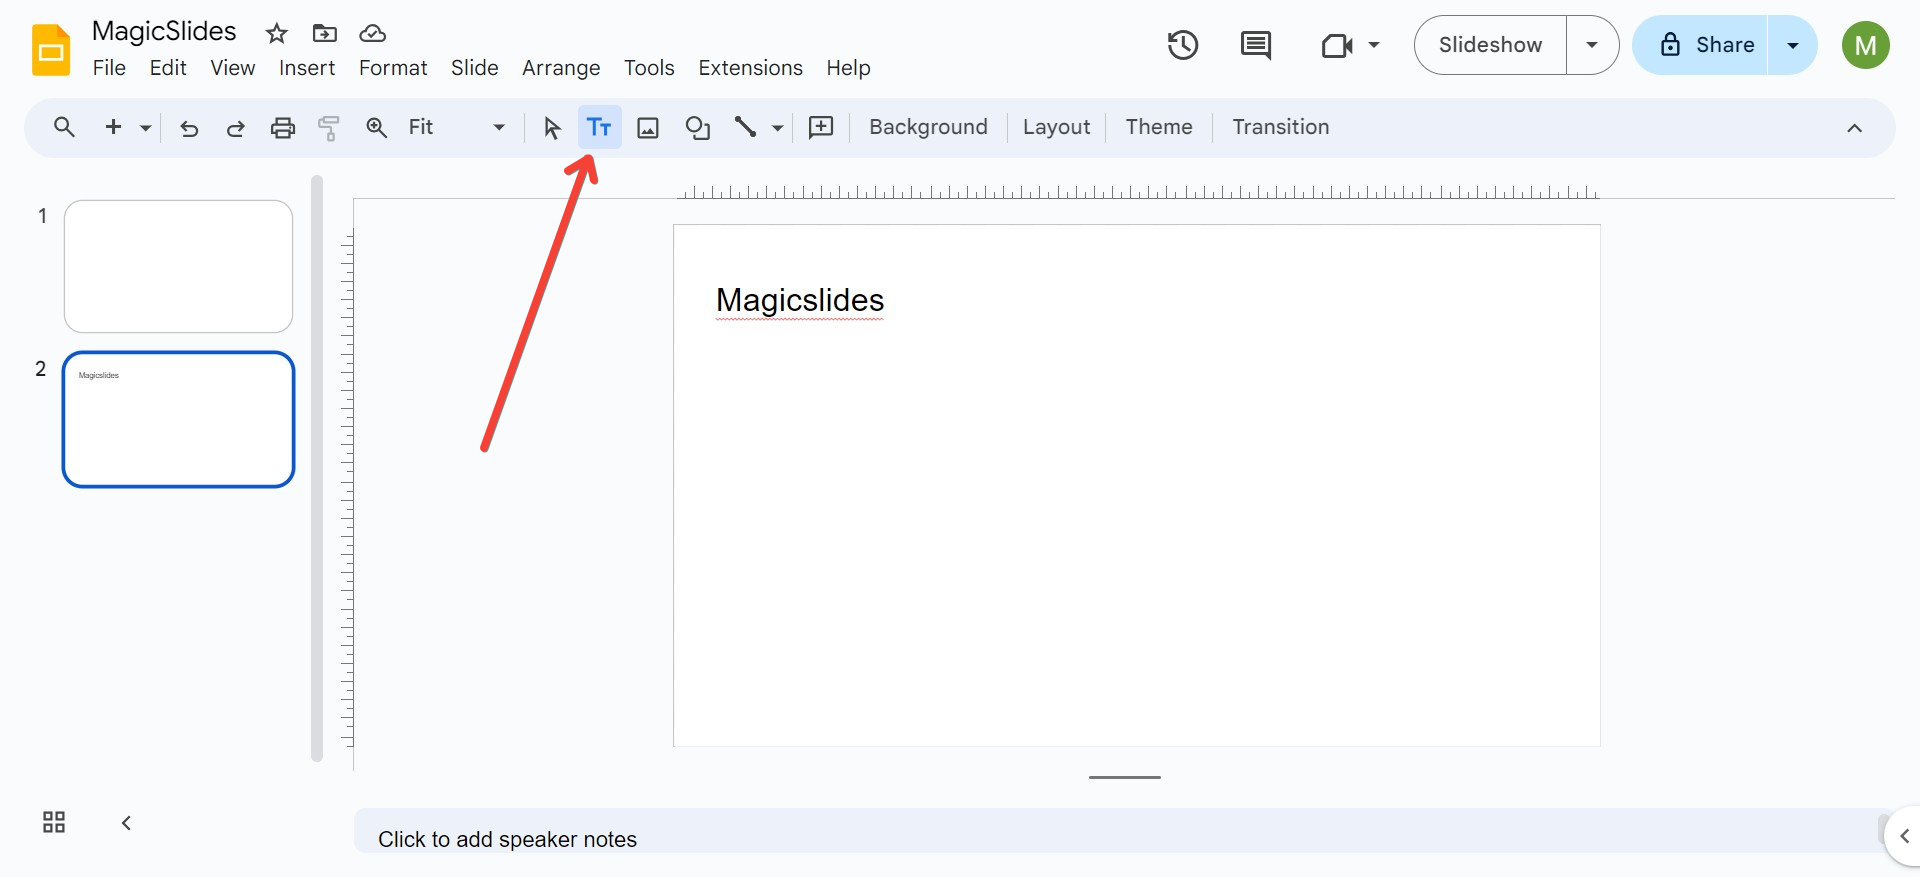
Step 2: Add a Text Box
- Click on the “Text box” button in the toolbar, represented by a "T" icon, or use the shortcut
Ctrl + Shift + Y(Windows) orCmd + Shift + Y(Mac). - Click and drag on the slide to create your text box. Type your desired text inside.
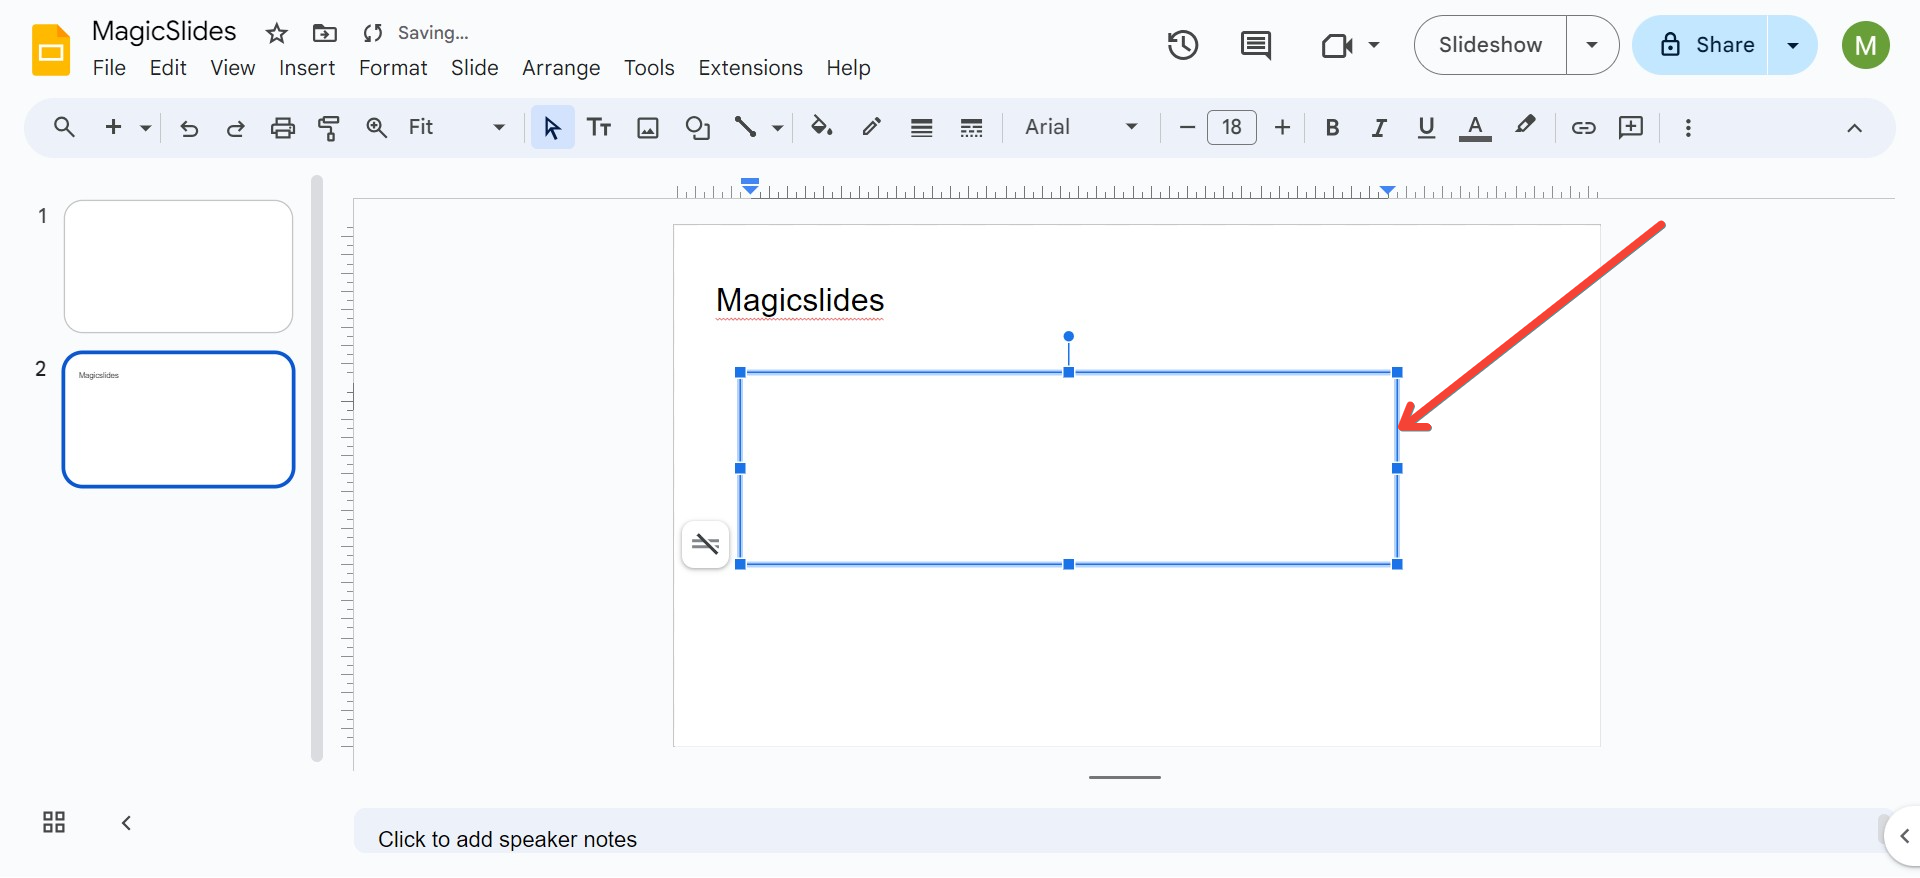
Step 3: Format the Text Box
- Click on the text box to select it.
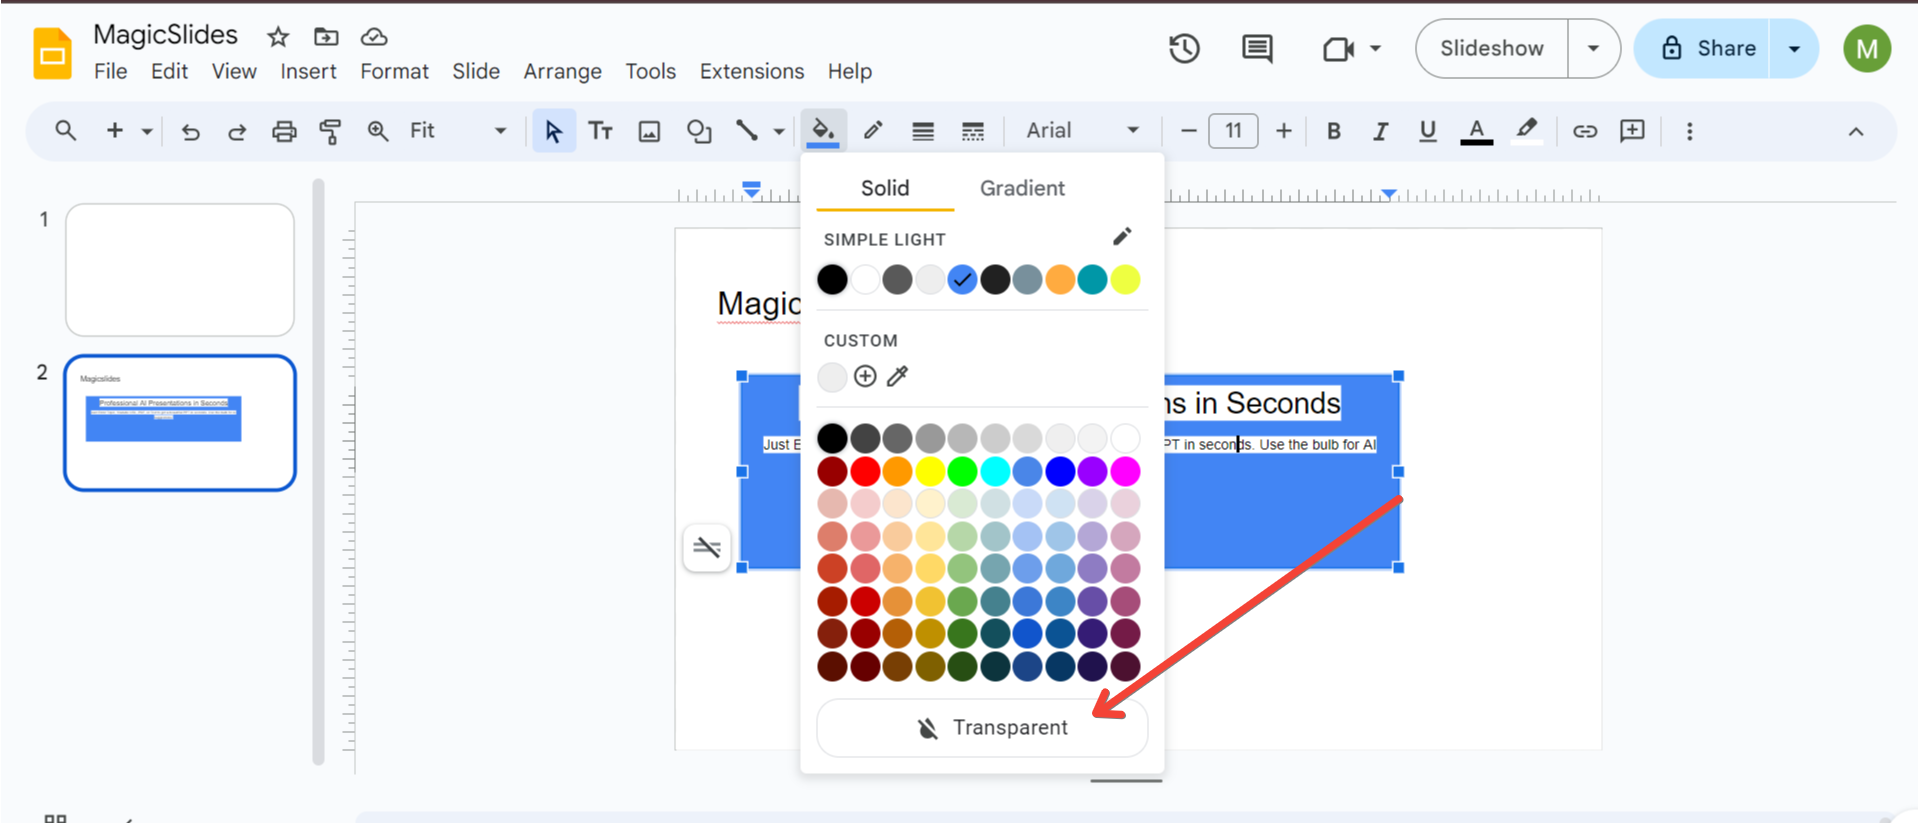
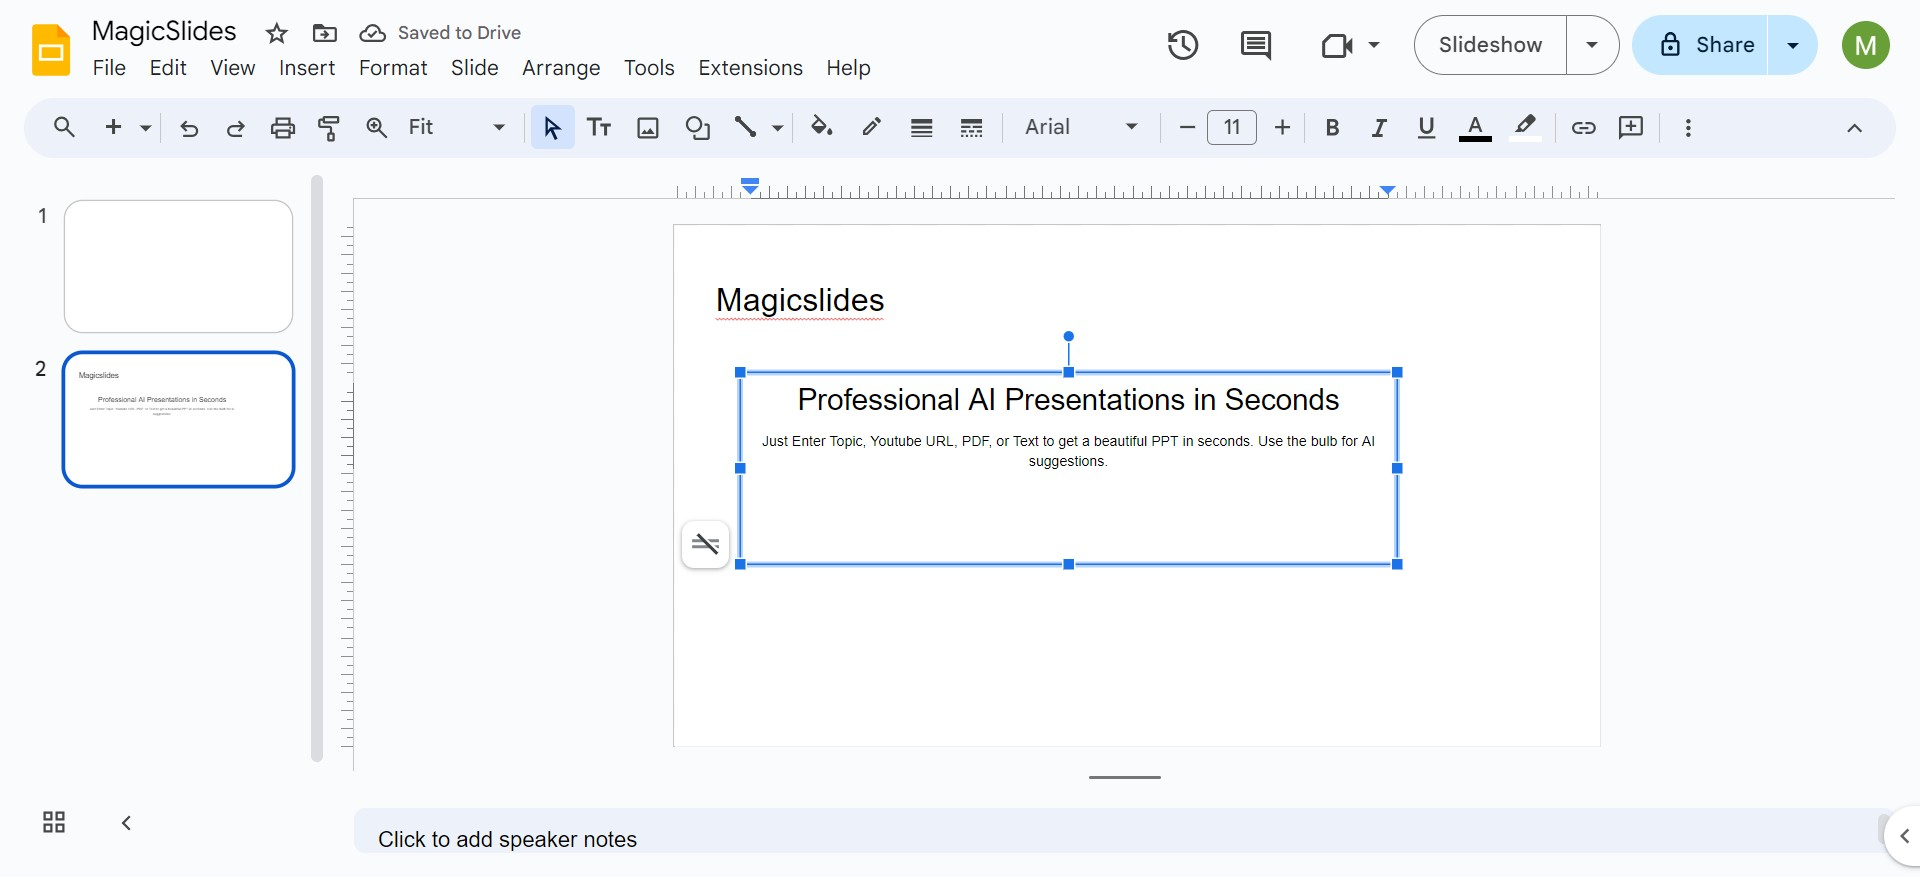
- In the toolbar, click on the “Fill color” option, represented by a paint bucket icon.
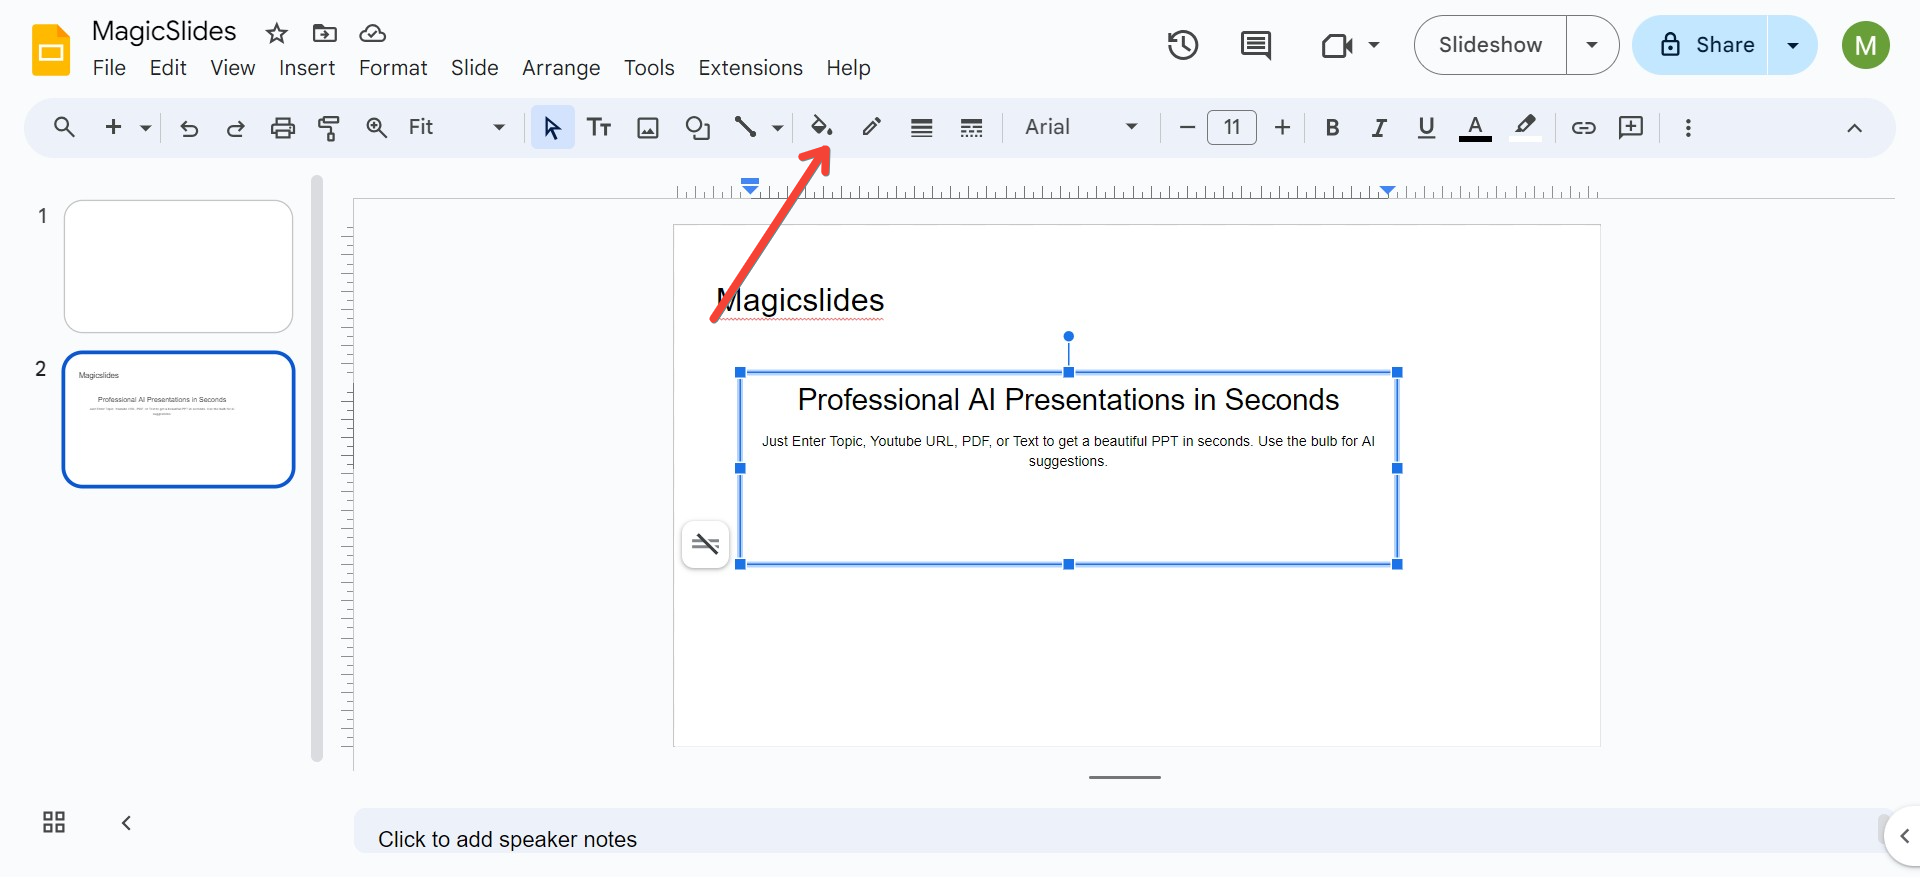
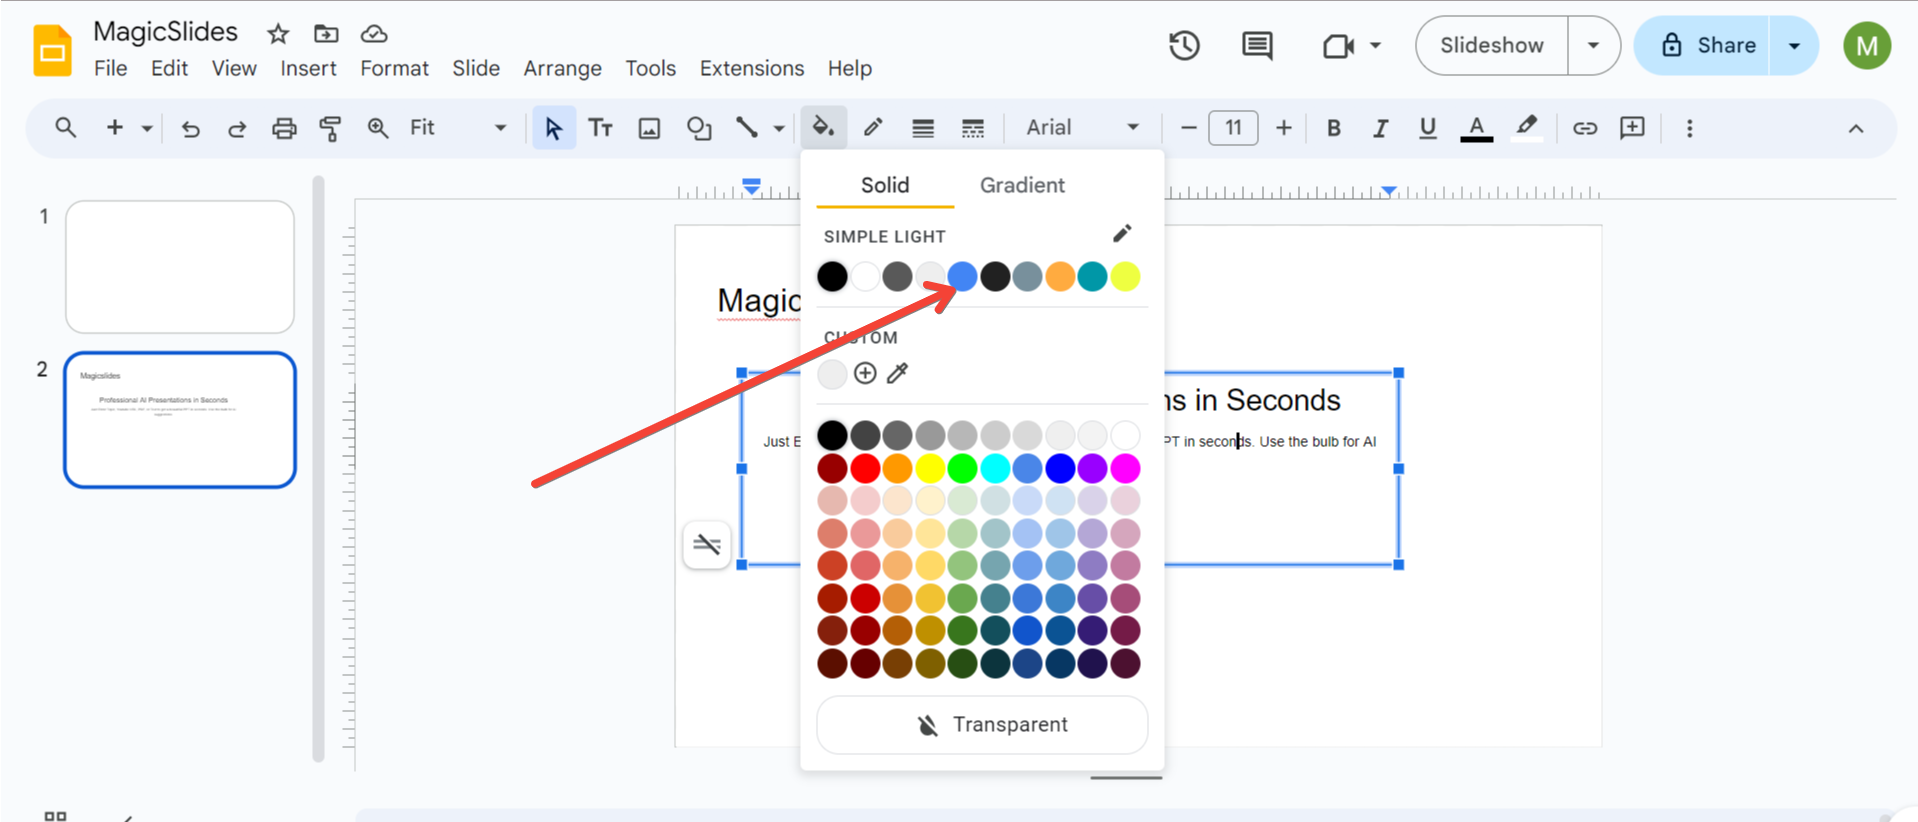
Step 4: Set the Text Box to Transparent
- From the “Fill color” menu, click on the “Transparent” option at the bottom (indicated by a checkerboard pattern). This will remove the background color of the text box, making it transparent.
Step 5: Customize Text Transparency (Optional)
If you want to make the text inside the box transparent as well, follow these steps:
- Select the text inside the text box.
- Click on the “Text color” button in the toolbar.
- Choose the “Custom” option at the bottom of the color palette.
- Adjust the transparency slider to your desired level. Note that this feature is not directly available in Google Slides, but you can adjust the opacity using external tools or Google Drawing.
Step 6: Adjust Border Transparency (Optional)
- Click on the text box to select it.
- Click on the “Border color” button in the toolbar, represented by a pencil icon.
- Choose the “Transparent” option to make the border invisible.
Tips for Using Transparent Text Boxes Effectively
1. Use Contrasting Backgrounds
Make sure the text color contrasts well with the background image or color to ensure readability. For example, use light-colored text on dark backgrounds and vice versa.
2. Adjust Text Box Size and Position
Experiment with different sizes and positions for your transparent text box to find the perfect balance between your text and background elements.
3. Layer Multiple Text Boxes
You can layer multiple transparent text boxes with varying levels of transparency to create complex, multi-layered designs.
4. Combine with Shape Transparency
Use transparent shapes behind your text box for additional emphasis or creative effects. To do this, insert a shape, set its fill and border color to transparent, and place it behind the text box.
5. Use Google Drawings for Advanced Transparency Effects
For more precise control over transparency, use Google Drawings. Create your transparent text boxes in Google Drawings, then import them into your Google Slides presentation.
6. Avoid Overusing Transparency
While transparency can add a sleek and modern look to your slides, overusing it can make your presentation hard to read. Use it sparingly and purposefully.
7. Check Visibility on Different Devices
Always preview your presentation on different devices to ensure that the transparent text boxes are visible and effective on various screen sizes and resolutions.
8. Lock Elements to Avoid Misalignment
If you're working with multiple layers and transparent elements, consider locking certain elements in place to prevent accidental misalignment. Unfortunately, Google Slides doesn't offer a direct way to lock elements, but you can group elements together as a workaround.
Troubleshooting Common Issues
1. Text Box Not Showing as Transparent
Ensure that you've selected the correct transparency option in the fill color menu. If the box still appears solid, try removing any borders or resetting the format.
2. Text Is Hard to Read
If your text becomes hard to read after making the text box transparent, consider adding a semi-transparent shape or a subtle drop shadow behind the text for better visibility.
3. Background Image Clashing with Text
If the background image is too busy and interferes with the readability of your text, reduce the transparency of the background image or use a solid color overlay with lower opacity behind the text box.
4. Exporting Issues
When exporting Google Slides as PDF or PPT, sometimes transparent elements might not render correctly. Check your exported file and adjust the transparency settings if needed.
Conclusion
Mastering the use of transparent text boxes in Google Slides can significantly elevate the visual appeal of your presentations. With the tips and steps provided in this guide, you can create professional, clean, and engaging slides that captivate your audience. Remember to balance transparency with readability and use it to highlight your key messages effectively. Happy presenting!


