Where Does Most of the Work in Creating a Presentation Take Place?


Discover where most presentation creation work happens, focusing on PowerPoint’s primary editing view for optimal design and impact.
Creating a presentation is a task that blends art and strategy. It requires thoughtful organization, creative design, and clear communication.
Whether you're preparing for a business meeting, an academic conference, or a personal project, the bulk of the work often happens in a place many might not consider at first—the primary editing view in PowerPoint or any similar presentation software.
The Heart of Presentation Creation: The Editing View
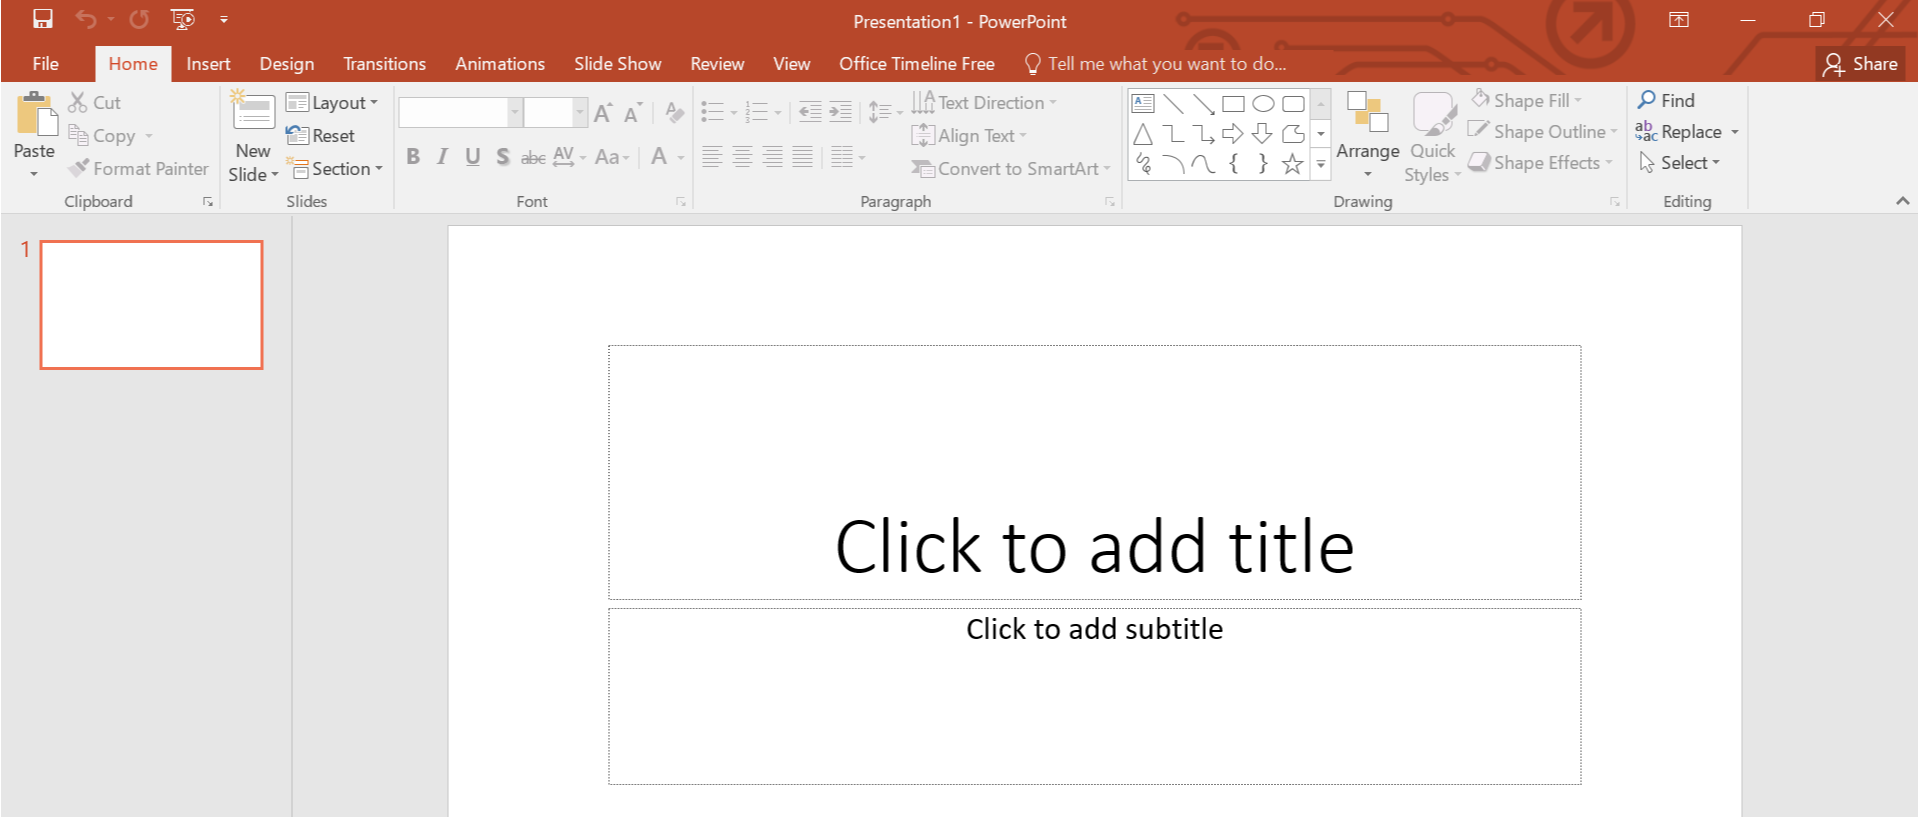
Understanding the Editing View
The primary editing view in software like PowerPoint is where most of the creation process takes place. This view is essentially the canvas where you add, arrange, and customize all the elements of your presentation. It is equipped with various tools and features designed to facilitate easy manipulation of text, images, shapes, and other multimedia elements.
Key Functions of the Editing View
- Layout Selection and Customization: Here, you can choose from a variety of preset slide layouts or create your own custom layouts. This flexibility allows you to design slides that fit the specific needs of your presentation.
- Text Editing and Formatting: The editing view provides extensive text editing tools. You can choose fonts, adjust sizes, apply colors, and manipulate spacing. The ability to tweak text appearance is crucial for readability and impact.
- Insertion of Multimedia Elements: Whether it’s images, videos, charts, or graphs, the editing view is where you add and edit these elements. Proper integration of multimedia can enhance the explanatory power and engagement level of your presentation.
- Animation and Transition Setup: To make your presentation dynamic and interactive, you can add animations to elements and transitions between slides. These features help maintain audience interest and can emphasize key points.
- Collaboration Tools: Modern presentation tools support real-time collaboration. Multiple users can work on the presentation simultaneously from the editing view, making it a hub for shared efforts and ideas.
The Creative Process: More Than Just Design
While the primary editing view is where you'll spend most of your time building the presentation, several stages precede this hands-on work:
- Planning and Storyboarding: Before you open your presentation software, planning out your content and its flow is crucial. This might involve drafting a storyboard or a written outline of your presentation’s structure.
- Research and Content Accumulation: Gathering accurate information, statistical data, and suitable images or videos to support your points is essential before you start populating your slides.
- Feedback and Revisions: After creating a draft in the editing view, seeking feedback and making revisions is a critical part of refining your presentation.
Efficiency Tips for Using the Editing View
To make the most of your time in the editing view, consider the following tips:
- Use Master Slides: Set up master slides to maintain consistency in fonts, colors, and logos across all slides.
- Leverage Templates: Templates can provide a professional look with minimal effort. Customize them as needed to fit your branding and message.
- Keep Slides Simple: Avoid clutter. Use bullet points, and keep text minimal. Let visuals tell your story.
- Use Keyboard Shortcuts: Learning shortcuts can significantly speed up your workflow in the editing view.
- Preview and Test: Regularly preview your presentation and test all multimedia elements to ensure everything runs smoothly.
Conclusion
While the actual assembly of a presentation takes place within the editing view of tools like PowerPoint, the entire process from conception to final review involves multiple stages and considerations. By understanding and optimizing your use of the primary editing view, you can create impactful and memorable presentations that effectively communicate your message. Remember, a great presentation is not just about good design—it's about how well it conveys your ideas to your audience.


