How to change Font on all Slides in PowerPoint


Changing the font on all slides in PowerPoint ensures a consistent, professional look across your presentation
Changing the font across all slides in PowerPoint is essential for maintaining consistency and ensuring your presentation looks professional.
Instead of manually changing the font on each slide, PowerPoint offers tools that let you update the font for the entire presentation in just a few clicks.
In this step-by-step guide, I’ll show you how to easily change the font on all slides at once.
How to Change Font on All Slides in PowerPoint: A Step-by-Step Guide
Step 1: Open Your PowerPoint Presentation
Start by opening your PowerPoint presentation where you want to change the font. If you don't have one, create a new presentation.
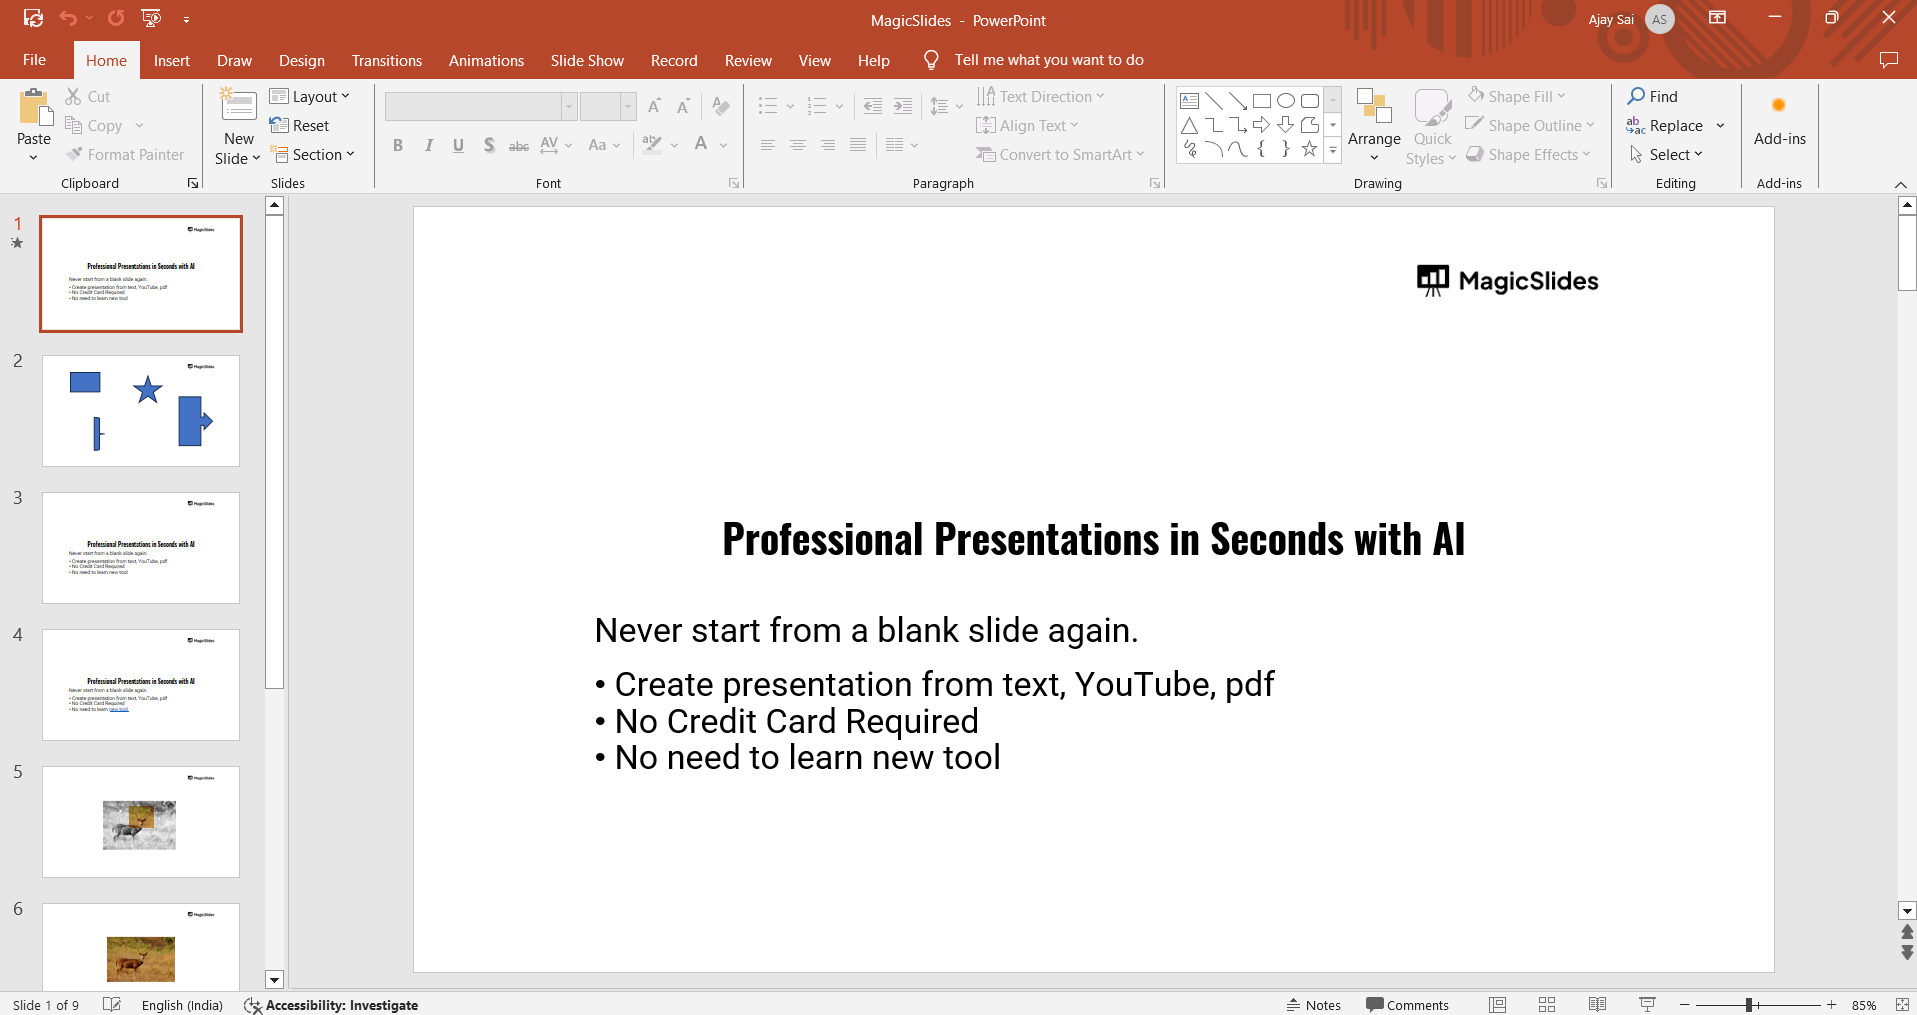
Make sure all the slides are visible so that the changes you make will apply to the entire presentation.
Step 2: Navigate to the Slide Master View
To change the font across all slides, you'll need to use the Slide Master view.
Go to the "View" tab located at the top of the screen and select "Slide Master" from the dropdown menu.
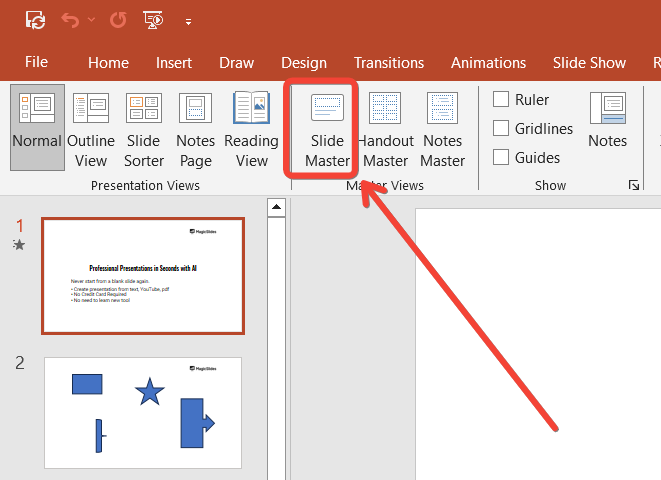
This will open the Slide Master layout, where you can make global changes that will apply to every slide in your presentation.
Step 3: Select the Master Slide or Layout
In the Slide Master view, you’ll see a hierarchy of slide layouts on the left. Click on the top-most slide, which is the "Master Slide."
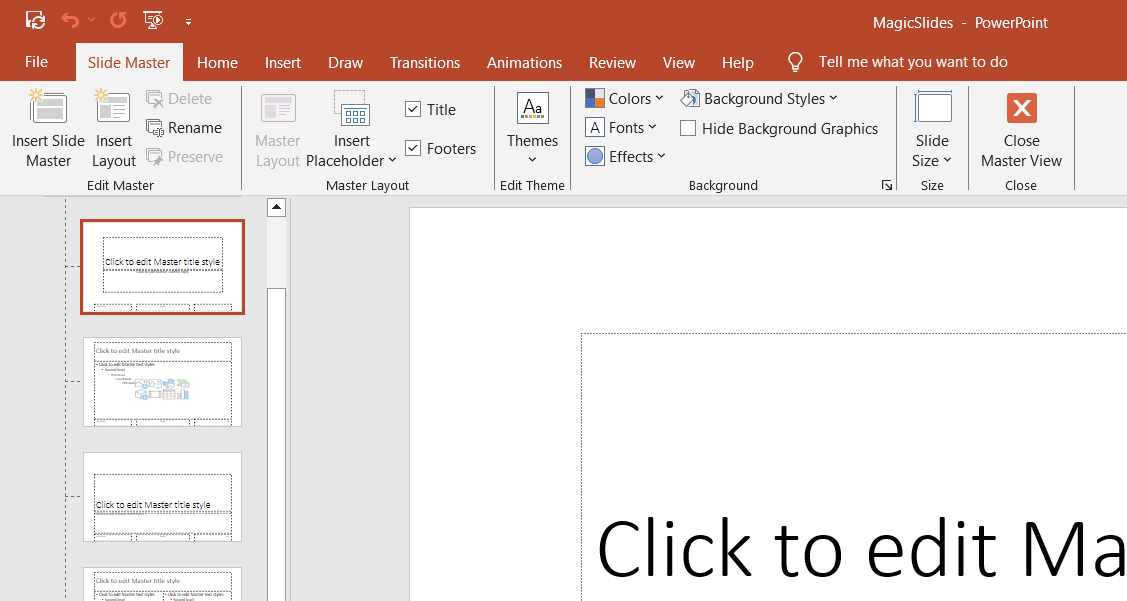
Any changes made here will apply to all slide layouts beneath it. Alternatively, if you want to change the font only for certain types of slides (like title slides), you can select a specific layout from the list.
Step 4: Change the Font
Once the Master Slide or specific layout is selected, highlight any text on the slide.
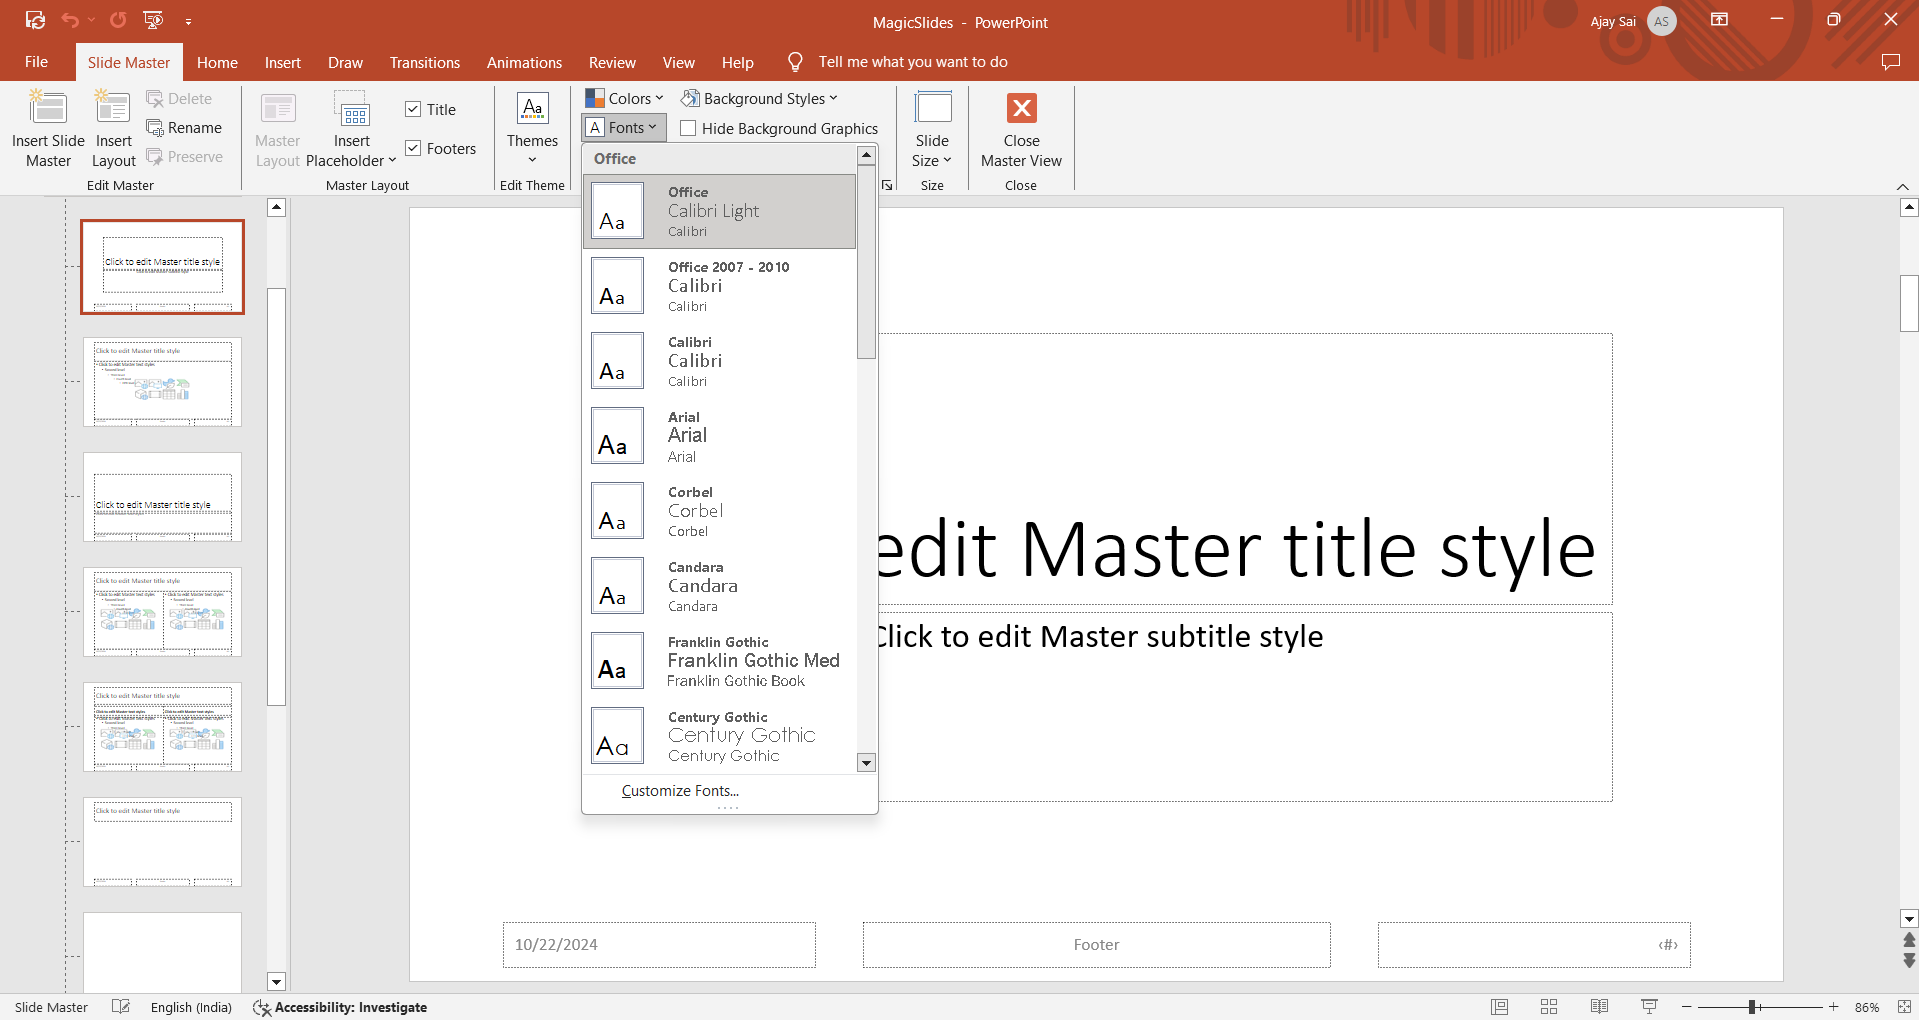
Then, go to the "Home" tab and click the "Font" dropdown to choose the new font you want for your presentation.
You can also adjust the font size, style, and color here if needed. This will change the font across all slides using that layout.
Step 5: Close the Slide Master View
After updating the font, close the Slide Master view by clicking "Close Master View" in the toolbar at the top of the screen.
This will return you to your normal editing mode, and you'll see that the new font has been applied to all slides in your presentation.
After mastering font changes across all slides, take it further by learning how to use Designer in PowerPoint to optimize layout and visual appeal.
Conclusion
By using the Slide Master feature in PowerPoint, you can easily change the font across all slides in just a few steps.
This not only saves time but also ensures that your presentation has a consistent and professional look throughout.
Next time you need to update the font, follow these simple steps to make the process quick and efficient.
FAQs are here to help!
Will changing the font in Slide Master affect all text in my presentation?
Yes, changing the font in Slide Master will apply the new font to all text using the default layouts in your presentation.
Can I apply different fonts to different slides using this method?
Yes, you can change fonts for specific layouts within Slide Master, which will affect only certain types of slides.
What if I want to revert back to the original font?
You can go back to Slide Master and re-select the previous font, or use "Undo" (Ctrl + Z) immediately after changing the font.


