How to Save PowerPoint Recording


Saving PowerPoint recordings allows you to easily share narrated presentations as videos for various purposes
Recording your PowerPoint presentation allows you to create a video version of your slides, complete with voiceovers, annotations, and transitions.
This feature is especially useful for creating tutorials, online courses, or sharing presentations without needing to present live.
In this step-by-step guide, I'll explain how to save your PowerPoint recording so you can share it easily.
How to Save a PowerPoint Recording: A Step-by-Step Guide
Step 1: Open Your PowerPoint Presentation
Start by opening the PowerPoint presentation you want to record. Ensure all your slides are finalized and ready for recording.
Step 2: Go to the "Slide Show" Tab
At the top of your PowerPoint window, click on the "Slide Show" tab in the toolbar.
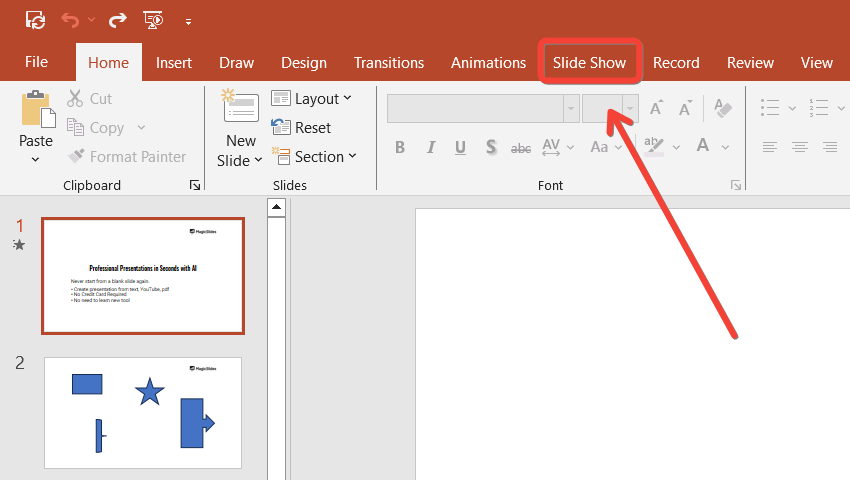
This section contains all the tools needed for recording your presentation.
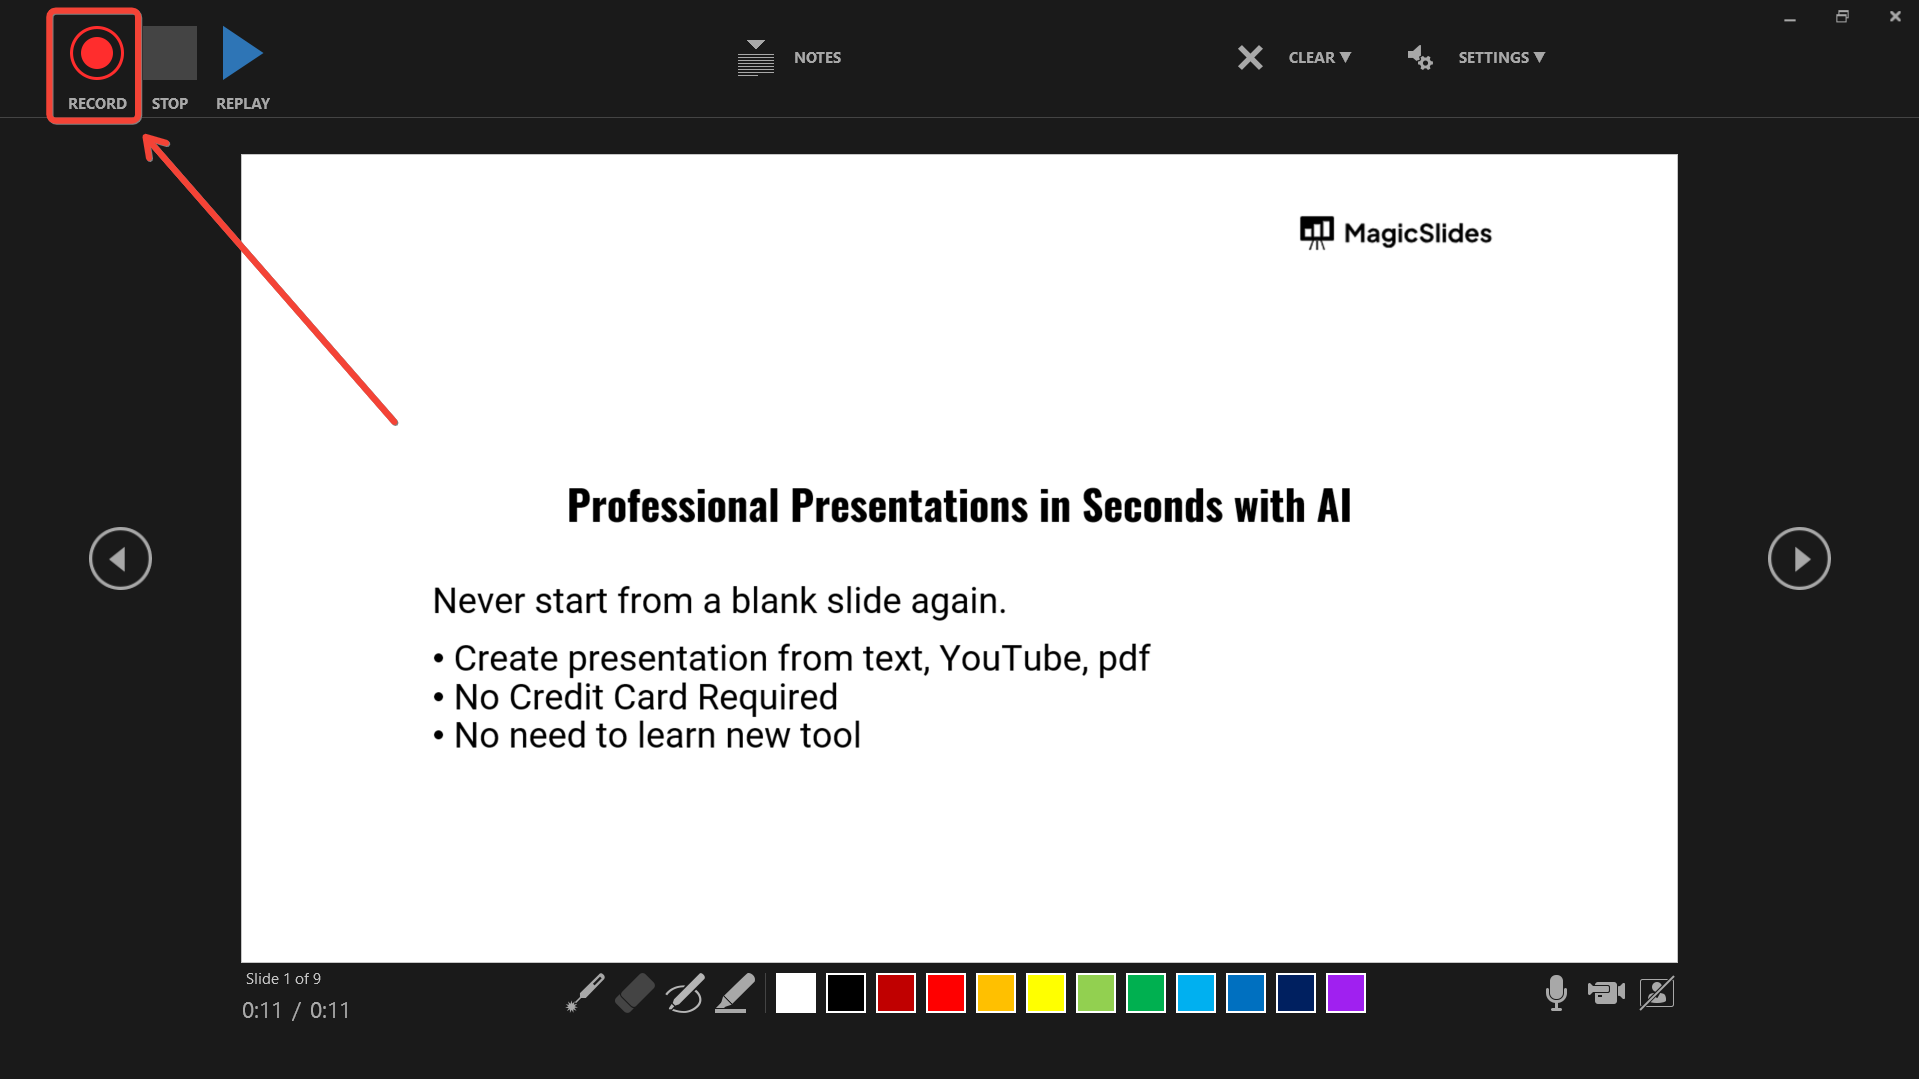
Step 3: Click on "Record Slide Show"
Within the "Slide Show" tab, you’ll see an option labeled "Record Slide Show."
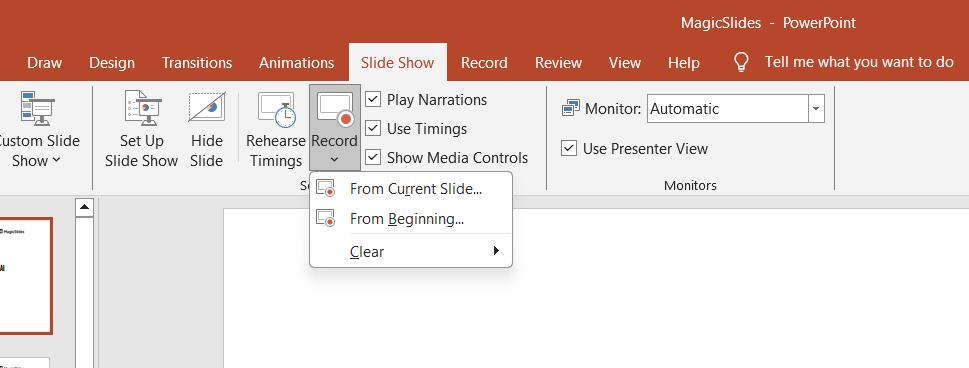
Click on it and choose between recording from the beginning or from the current slide, depending on your needs.
Step 4: Start Recording
Once you select your recording option, the recording interface will appear.
You can add narration, annotations, and time your slides as you go through the presentation.
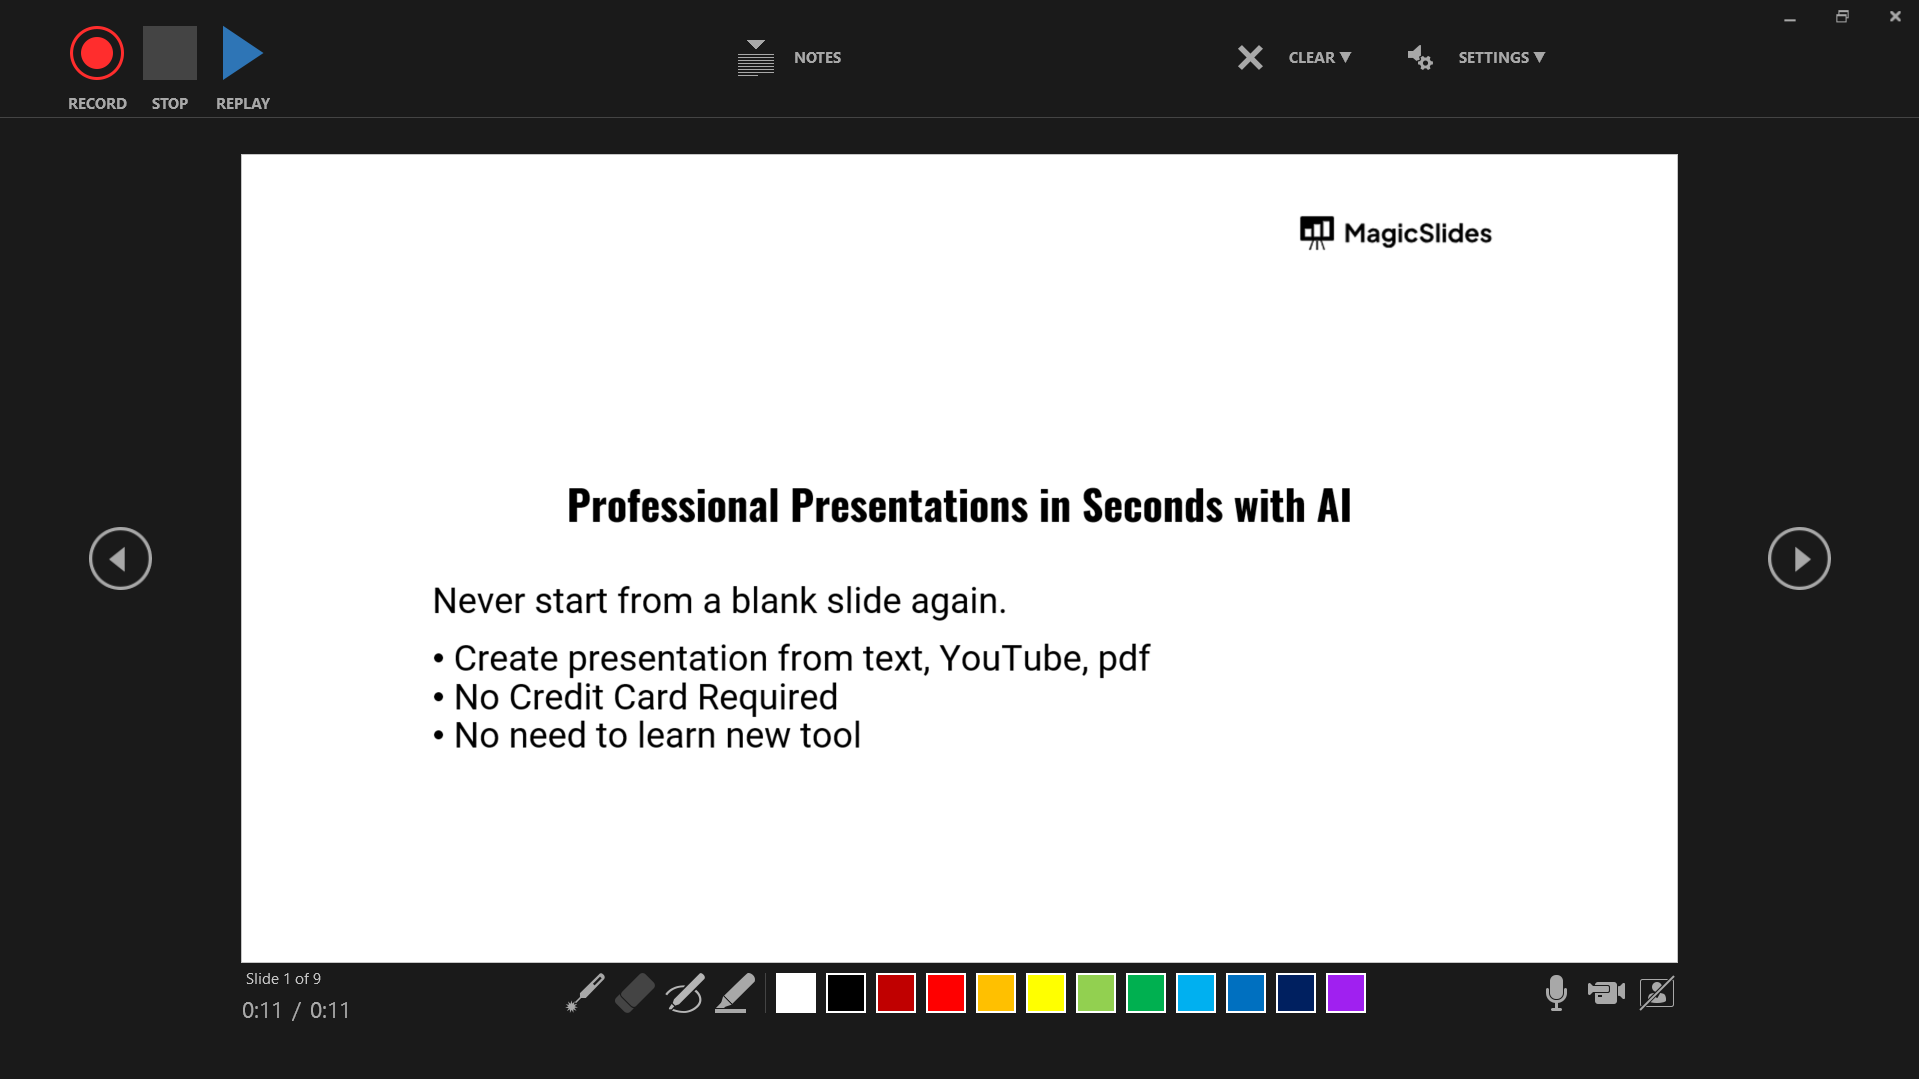
When you're ready, hit the "Start Recording" button, and begin your presentation.
Step 5: Stop and Preview the Recording
When you've finished your recording, click the "Stop" button.
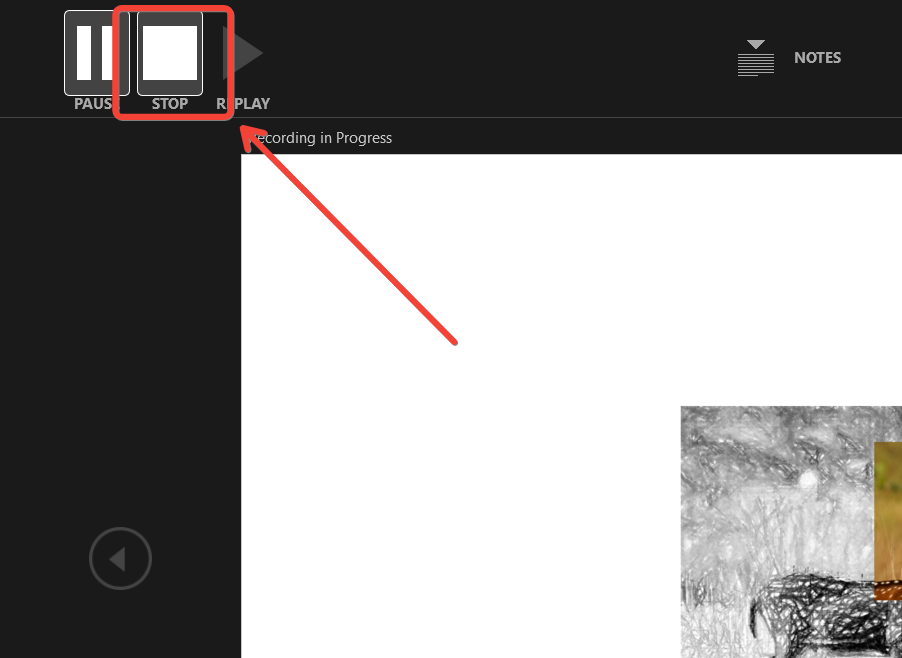
You can preview your recording by selecting "Play from Beginning" or reviewing each slide individually.
Step 6: Save the Recording as a Video
Once you're satisfied with the recording, it's time to save it. Go to the "File" tab and select "Export." Under "Export," choose "Create a Video."
You can select the video resolution and include the recorded timings and narrations.
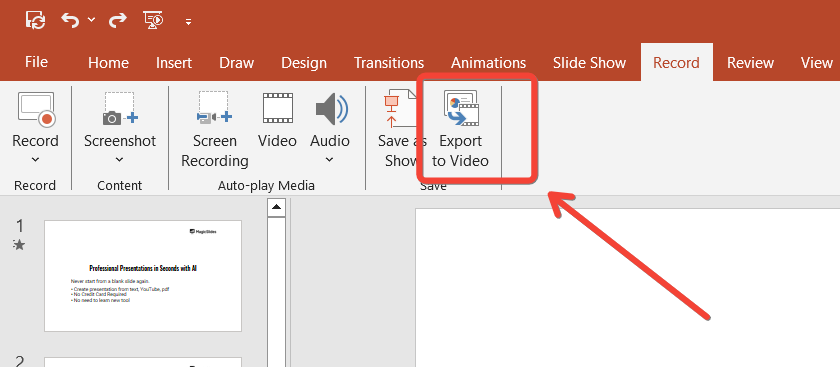
After setting your preferences, click "Create Video" to save your recording as an MP4 file.
Step 7: Choose a File Location and Save
A prompt will ask you to choose a location to save the video file. Select your preferred folder, name your video, and click "Save."
PowerPoint will process the recording and save it as a video file.
Now that you've saved your PowerPoint recording, you might want to learn how to upload PowerPoint to YouTube to easily share your presentation with a wider audience.
Conclusion
Saving a PowerPoint recording as a video is a powerful way to share your presentations asynchronously.
Whether for online courses, tutorials, or remote presentations, these steps ensure you can create and save polished recordings that meet your needs.
FAQs can take you forward!
Can I edit my recording before saving it?
No, PowerPoint does not offer in-depth editing options for recordings. However, you can re-record specific slides if needed.
What video formats can I save my recording in?
PowerPoint primarily saves recordings in MP4 format, which is widely supported and ideal for most platforms.
Can I include both audio and video in my recording?
Yes, PowerPoint allows you to record both audio (narration) and video if you have a webcam connected, making your presentations more interactive.


