How to Create a Survey in Google Forms (Guide)


Learn how to create a survey in Google Forms step-by-step. Collect responses easily and turn insights into presentations with MagicSlides.
How to Create a Survey in Google Forms: Step-by-Step Guide
Surveys are powerful tools for collecting valuable insights and feedback from your audience. Google Forms, a user-friendly and free survey tool, simplifies the survey creation process. In this step-by-step guide, we'll explore how to harness the capabilities of Google Forms to create surveys that are easy to distribute, collect responses, and analyze results.
Step 1: Access Google Forms
Begin by opening your web browser, navigating to Google Forms (forms.google.com), and signing in to your Google account.
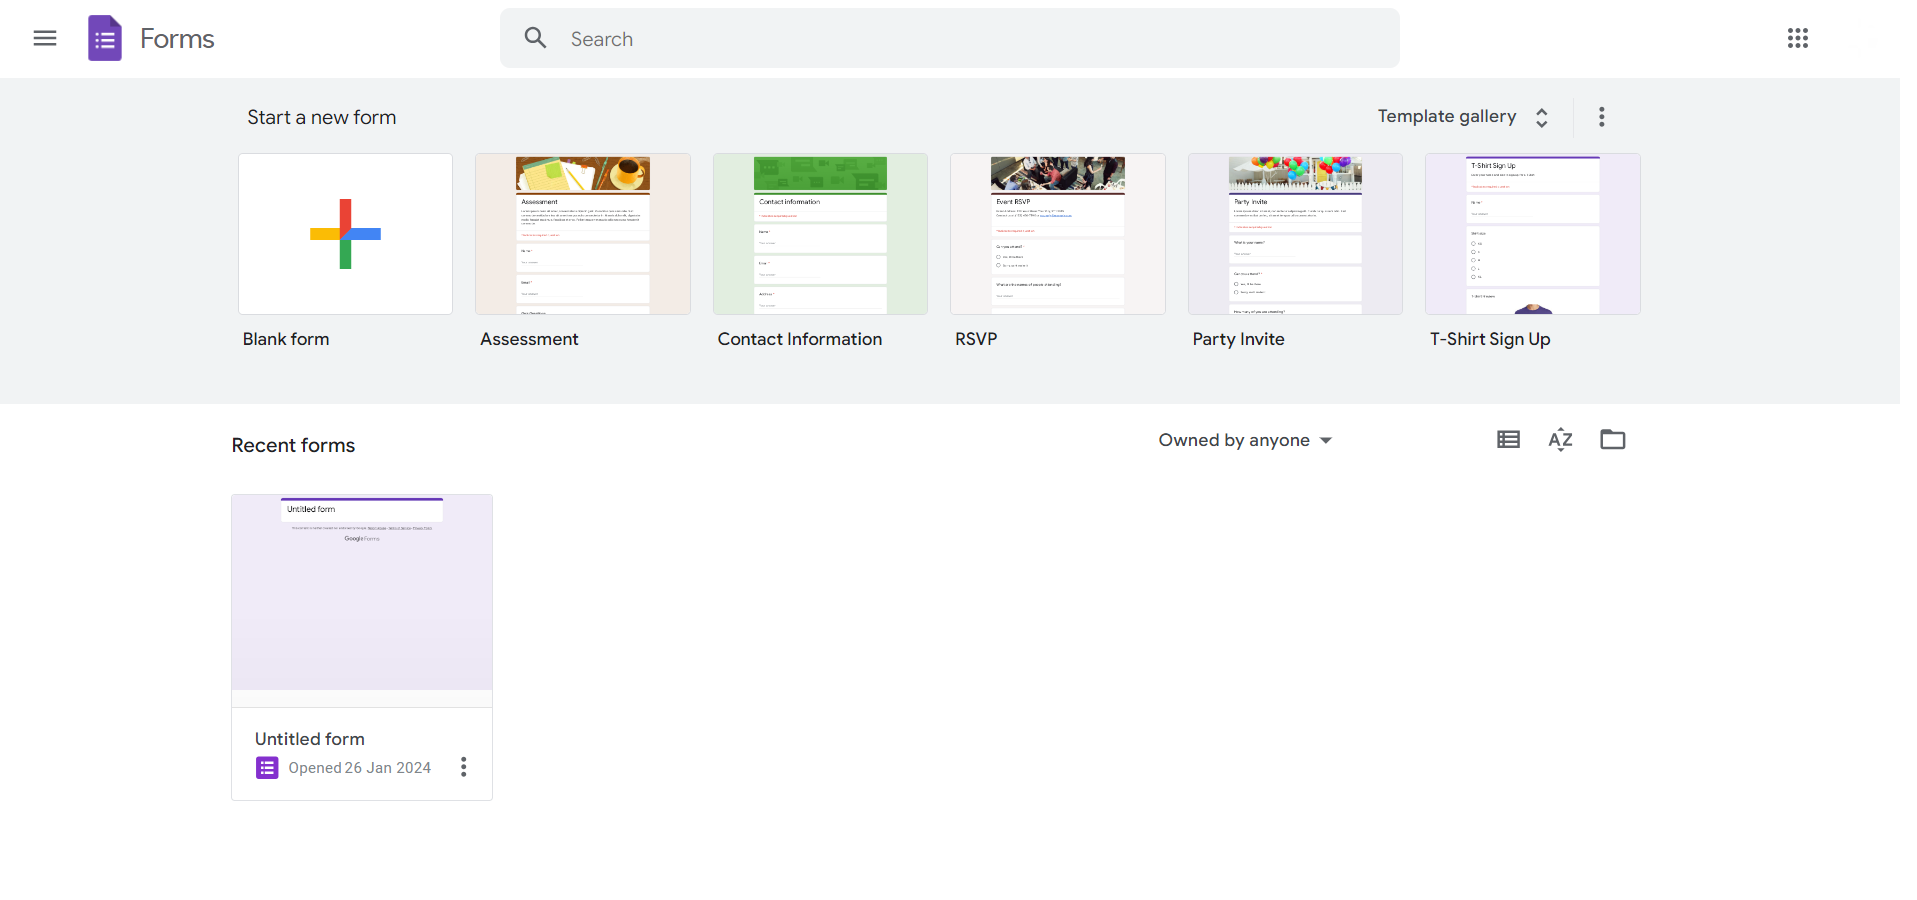
Step 2: Click on the "+" Icon
In the upper-left corner, click on the "+" icon to create a new form. Choose between a blank form or select a template that suits your survey needs.
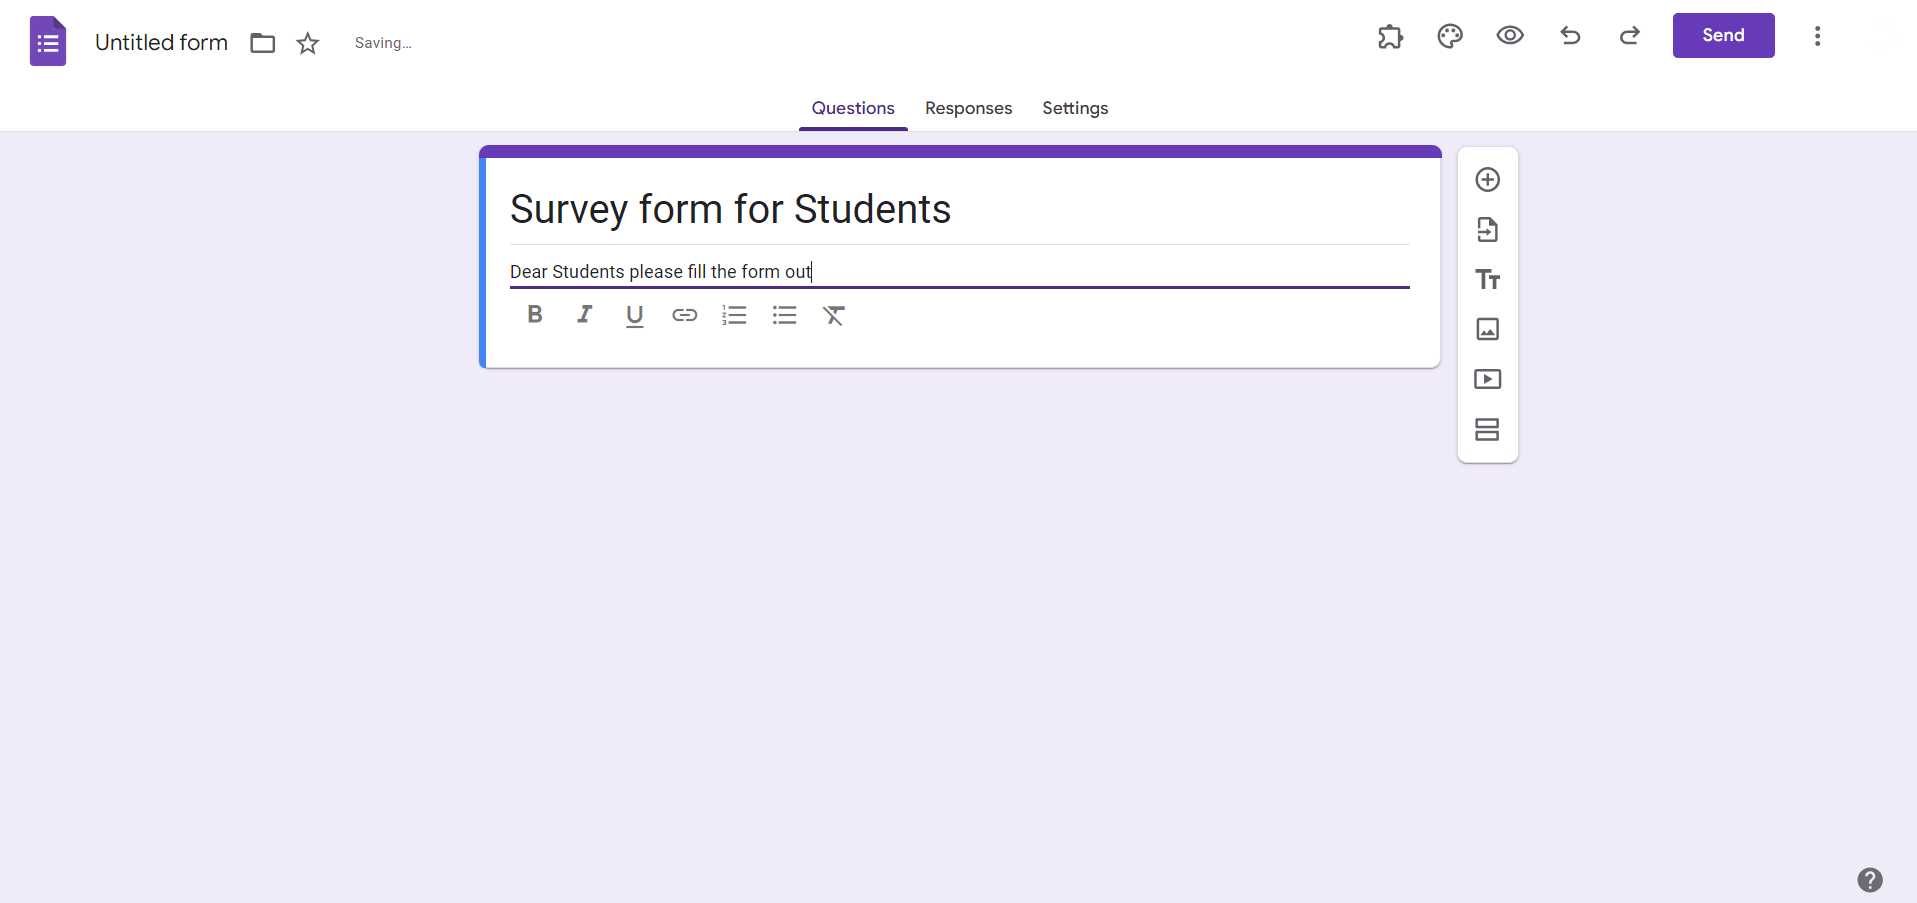
Step 3: Form Title and Description
Give your survey a title and provide a brief description to set the context for your respondents.
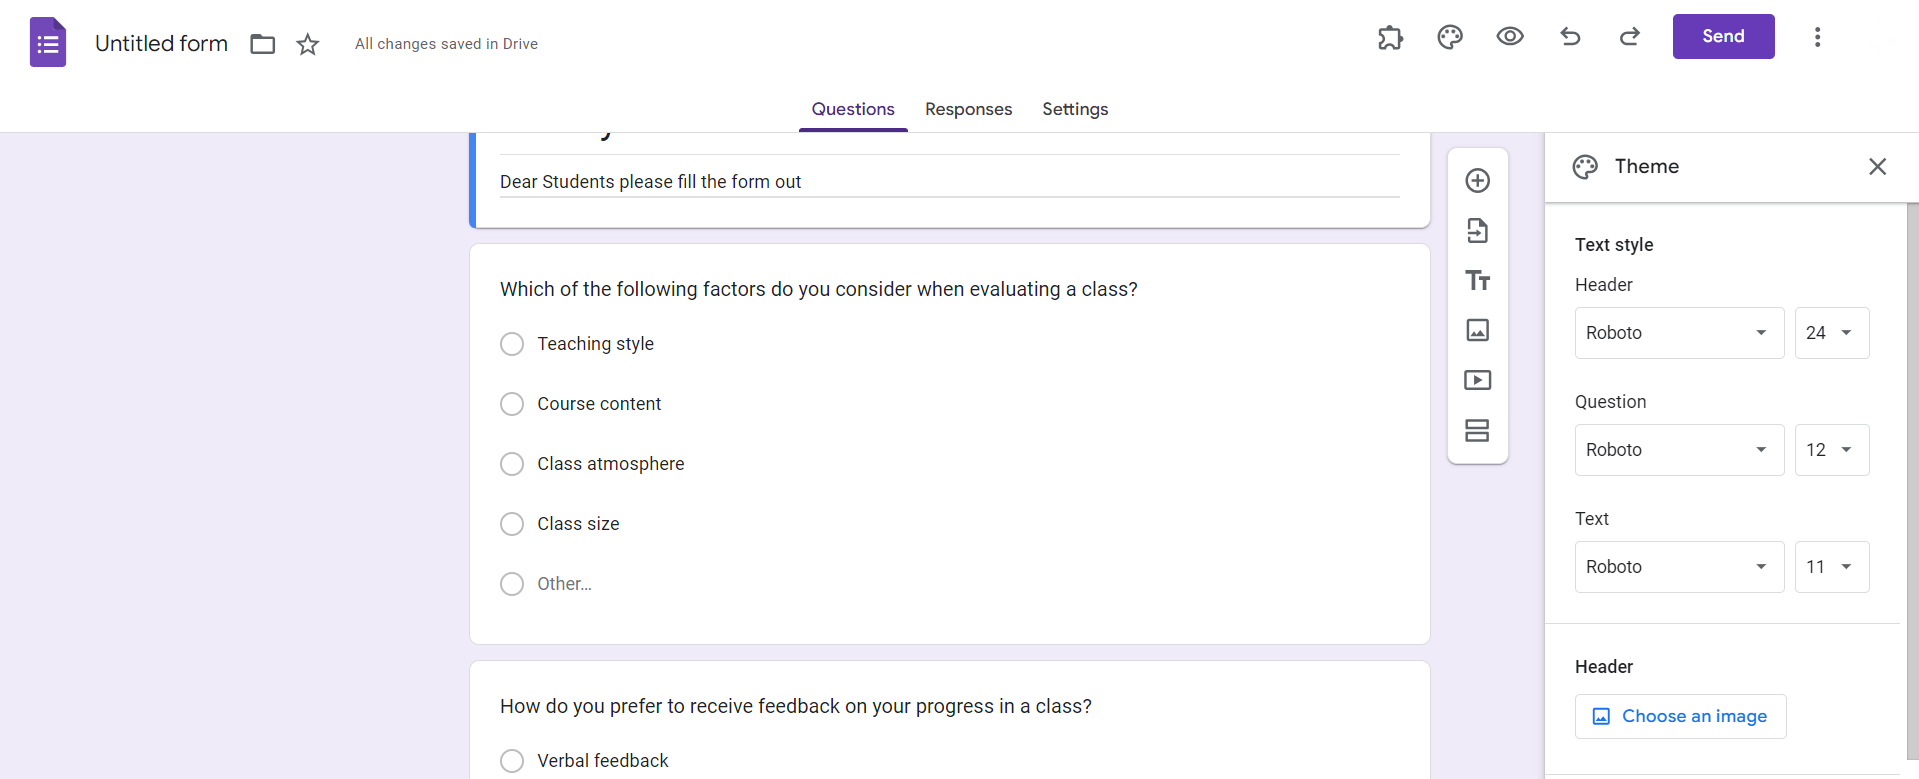
Step 4: Add Survey Questions
Click on the "+" sign to add a new question. Choose the question type (multiple-choice, short answer, etc.) and enter your question and options. Repeat this step for each question you want to include.

Step 5: Customize Question Settings
Utilize question settings to make certain questions required, add images or videos, and enable data validation for specific formats.
Step 6: Organize Sections (if needed)
Group related questions into sections for better organization. Click on the three horizontal lines icon to access the section options.
Step 7: Add Additional Form Elements
Enhance your survey by adding elements such as images, videos, or even a progress bar. Use the "Add-ons" menu for more advanced features.
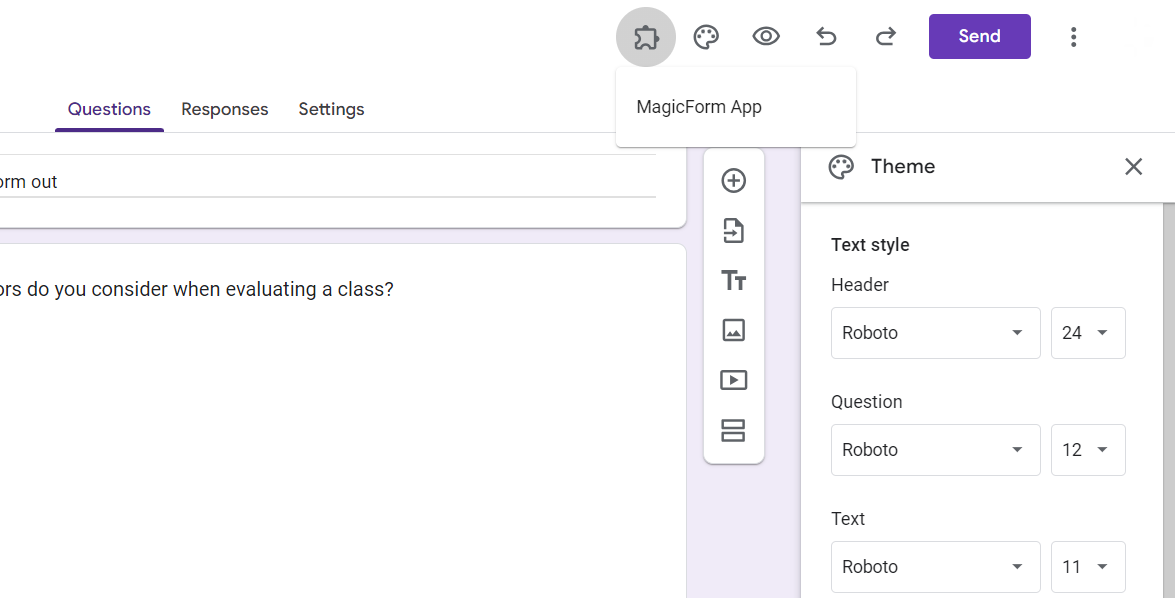
Step 8: Theme and Design Customization
Personalize the look of your survey by changing the theme, fonts, and colors. Click on the color palette icon to access customization options.
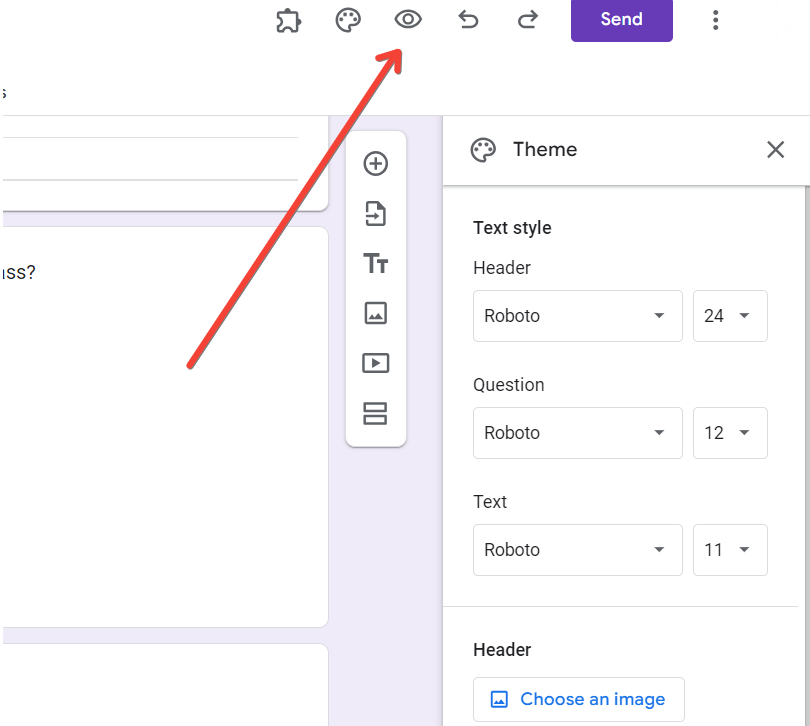
Step 9: Preview Your Survey
Before distributing your survey, preview it to ensure everything looks as intended. Click on the eye icon in the upper-right corner.
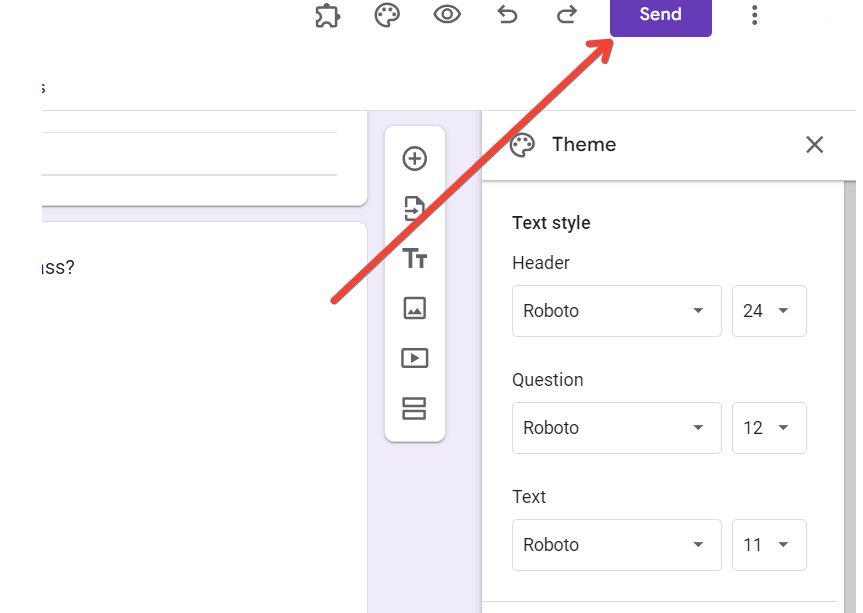
Step 10: Distribute and Collect Responses
Once satisfied, click on the "Send" button to distribute your survey. Choose from various options like sharing a link, sending via email, or embedding it in a webpage.
Also read: HR Presentation Topics: 100+ Ideas for Work & Meetings
Creating a survey is only half the job; the real value comes from how you present the insights.
Once you've collected responses using Google Forms, you often need to share findings with your team, stakeholders, or clients. This usually means manually creating slides, analyzing data, and structuring insights, which can be time-consuming.
With MagicSlides AI PPT Maker, you can simplify this entire process.
Step 1: Export Your Responses
Download your survey responses from Google Forms or open them in Google Sheets.
Step 2: Summarize Key Insights
Identify trends, patterns, and important takeaways from your survey data.
Step 3: Upload or Paste Data into MagicSlides
Add your summarized insights or directly paste content into MagicSlides.

Step 4: Generate Slides Instantly
MagicSlides automatically converts your survey insights into structured, professional slides.
Step 5: Customize and Present
Edit visuals, adjust layouts, and present your findings with clarity and impact.
- Saves hours of manual slide creation
- Automatically structures insights into clear narratives
- Ideal for business reports, academic presentations, and team meetings
- Works seamlessly with data from tools like Google Forms
Also read: How to Download PPT from SlidePlayer: Step-by-Step Guide
Creating surveys with Google Forms is a straightforward process that empowers you to gather valuable information efficiently. The flexibility, customization options, and user-friendly interface make Google Forms an ideal choice for anyone, from businesses seeking customer feedback to educators conducting classroom assessments. By following these steps, you can design surveys that yield meaningful insights, driving informed decision-making in your endeavors. Start crafting your surveys with Google Forms and unlock the power of feedback.
Q1. Can I collaborate with others in real-time when creating a survey on Google Forms?
Yes, Google Forms allows real-time collaboration, enabling multiple users to work on the survey simultaneously.
Q2. Is there a limit to the number of questions I can include in a Google Forms survey?
While there isn't a specific limit, a well-structured survey typically has a reasonable number of questions for better respondent engagement.
Q3. Can I customize the appearance of my survey in Google Forms to match my brand or theme?
Absolutely! Google Forms offers theme and design customization options, allowing you to personalize the survey's look and feel.
Q4. How can I analyze the responses collected through Google Forms?
Google Forms provides built-in response analytics, including summary charts. You can also export responses to Google Sheets for more in-depth analysis.


