How to Make a Sign Up Sheet on Google Forms with Time Slots?


Learn how to make a sign up sheet on Google Forms with this step-by-step guide. Create, customize, share, and manage signups with time slots easily.
Making Google Sign up sheet is really easy. It is a way to get people to sign up for things online. You can use it to get registrations, volunteer signups, appointments and event responses. This is better than using a piece of paper because Google Forms will keep track of everything for you. If you are wondering how do Google Forms work, they simply collect responses automatically and organize them in one place.
If you are planning an event or managing a class a Google sign up sheet is very helpful. It also works well for scheduling volunteers. This makes the whole process faster and easier for you.
Additional Tip- If you need to make slides for your event MagicSlides AI presentation maker can help you make them look professional in a few minutes.
In this guide you will learn how to make Google Forms for a sign up sheet. You will also learn how to make a sign up sheet on google forms the way you want share it with people and keep track of the responses. Google Forms sign up sheet is a tool and it is easy to use. You can make a Google Forms sign up sheet to collect registrations volunteer signups, appointments and event responses online.
What Is a Google Forms Sign Up Sheet?
A Google Forms sign up sheet is an online form that lets people register for an event, choose a time slot, volunteer for a task, or book an appointment. Instead of filling out a paper sign up sheet, participants simply submit their details through a shared link. If you’ve ever wondered how to see Google Forms you filled out. The responses you submit are typically stored in your Google account when the form owner allows it.
A typical google sign up sheet includes fields like name, email address, phone number, and signup options such as dates, shifts, or activities. Every response is stored automatically, making it easy to track registrations. If you later export responses to a spreadsheet, you may also need to download only one sheet in Google Sheets for sharing or record-keeping.
Unlike a survey, which gathers opinions or feedback, a google form sign up sheet is designed to organize participants and manage signups. Whether you’re hosting a workshop, planning a school event, or scheduling volunteers, it’s a simple way to create a sign up sheet that keeps all responses organized in one place.
How to make a sign up sheet on Google Forms?
To make a sign up sheet on Google Forms follow the steps mentioned below:
Step 1. Access Google Forms
Begin by opening Google Forms in your Google Drive or by visiting the Google Forms website.
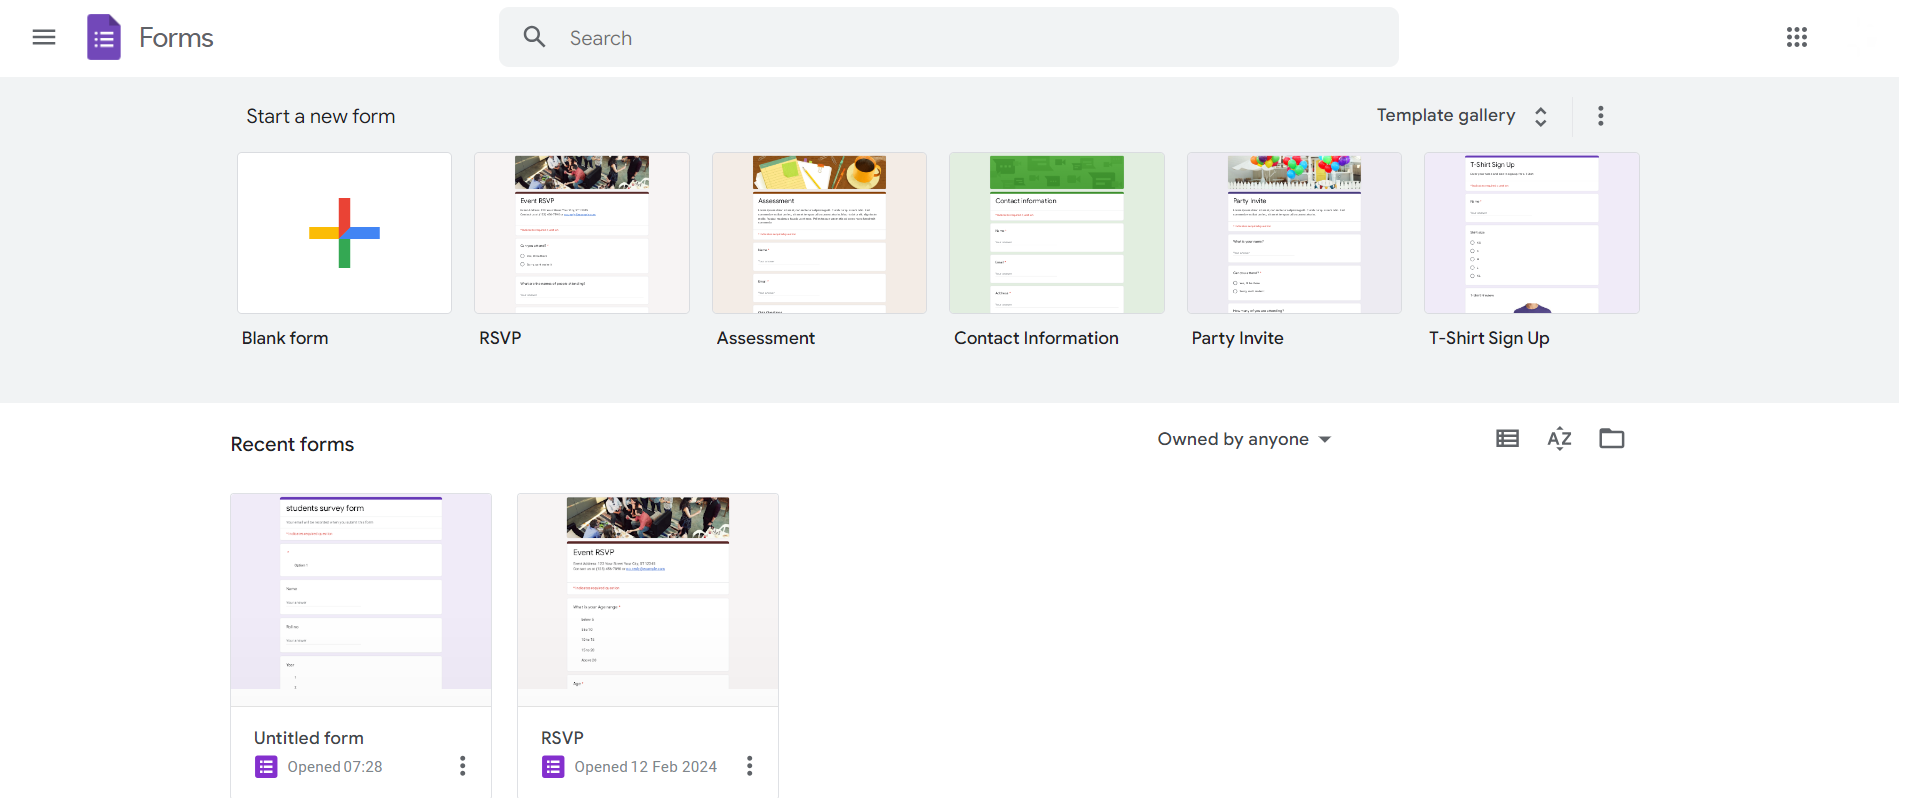
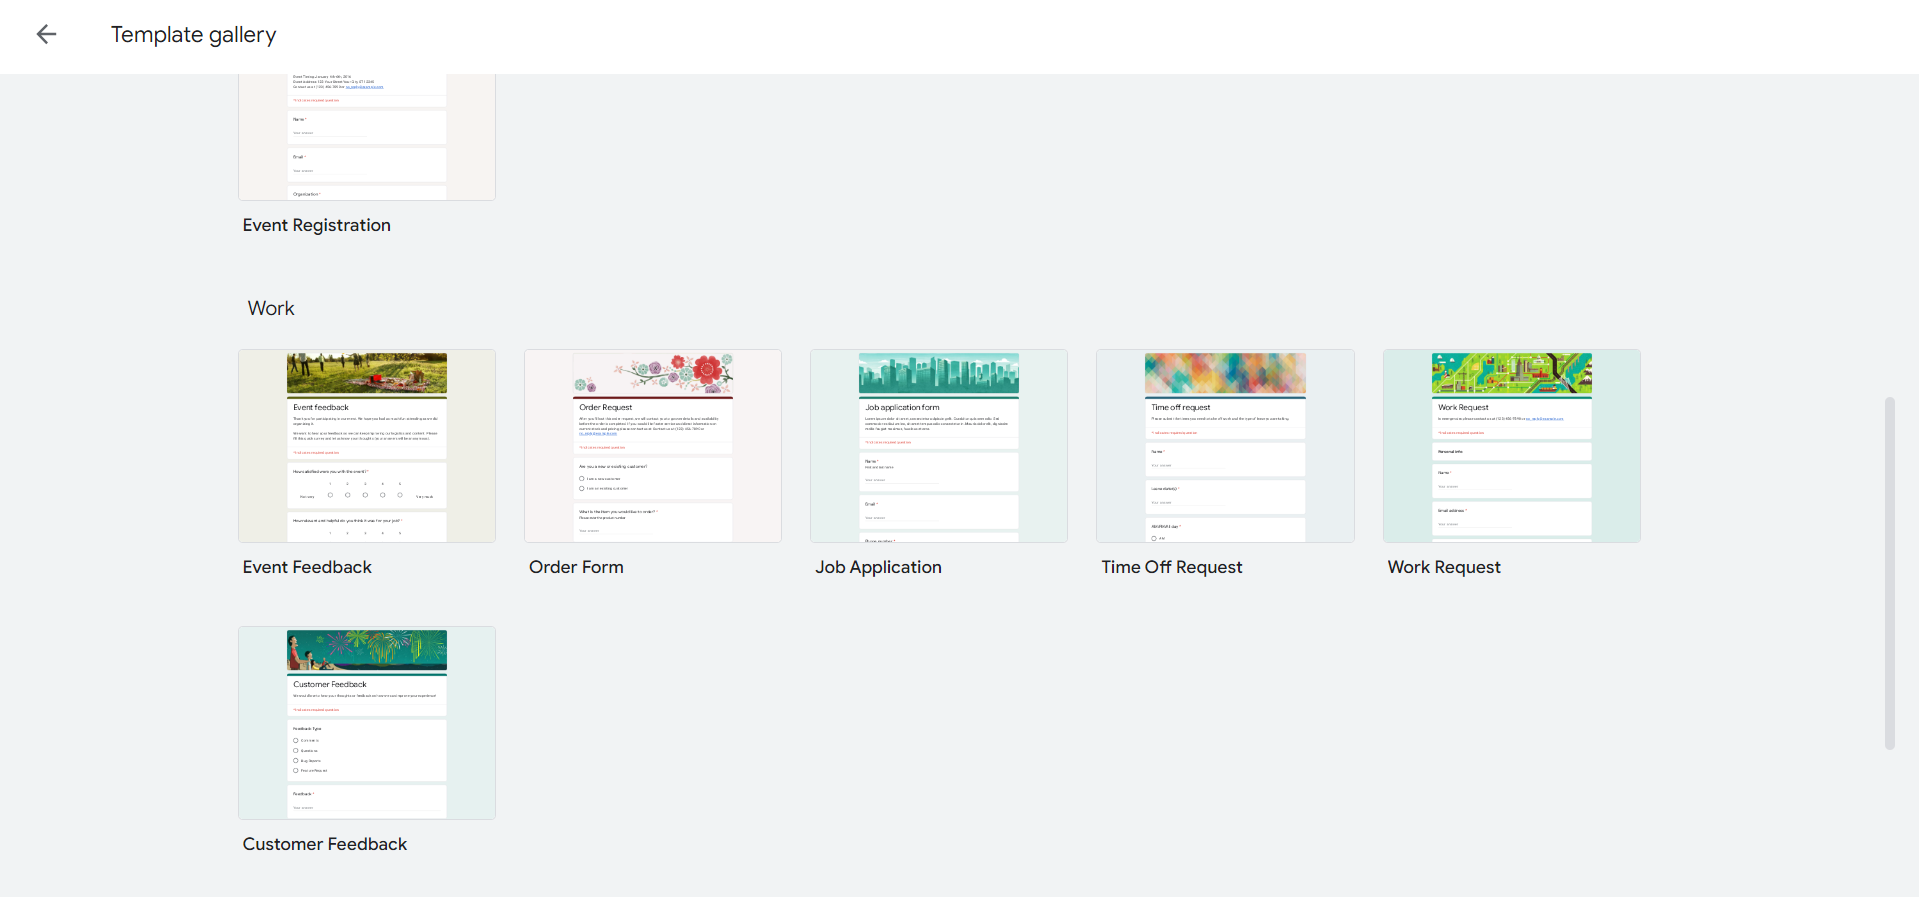
Step 2. Start a New Form or Open an Existing Template
Create a new form from scratch or choose a template that aligns with your sign-up sheet needs. Templates often include pre-designed questions for various purposes.
Step 3. Add Fields for Participant Information
Include relevant fields such as name, email, and any other necessary information. Click on the “+” button to add additional fields as needed.
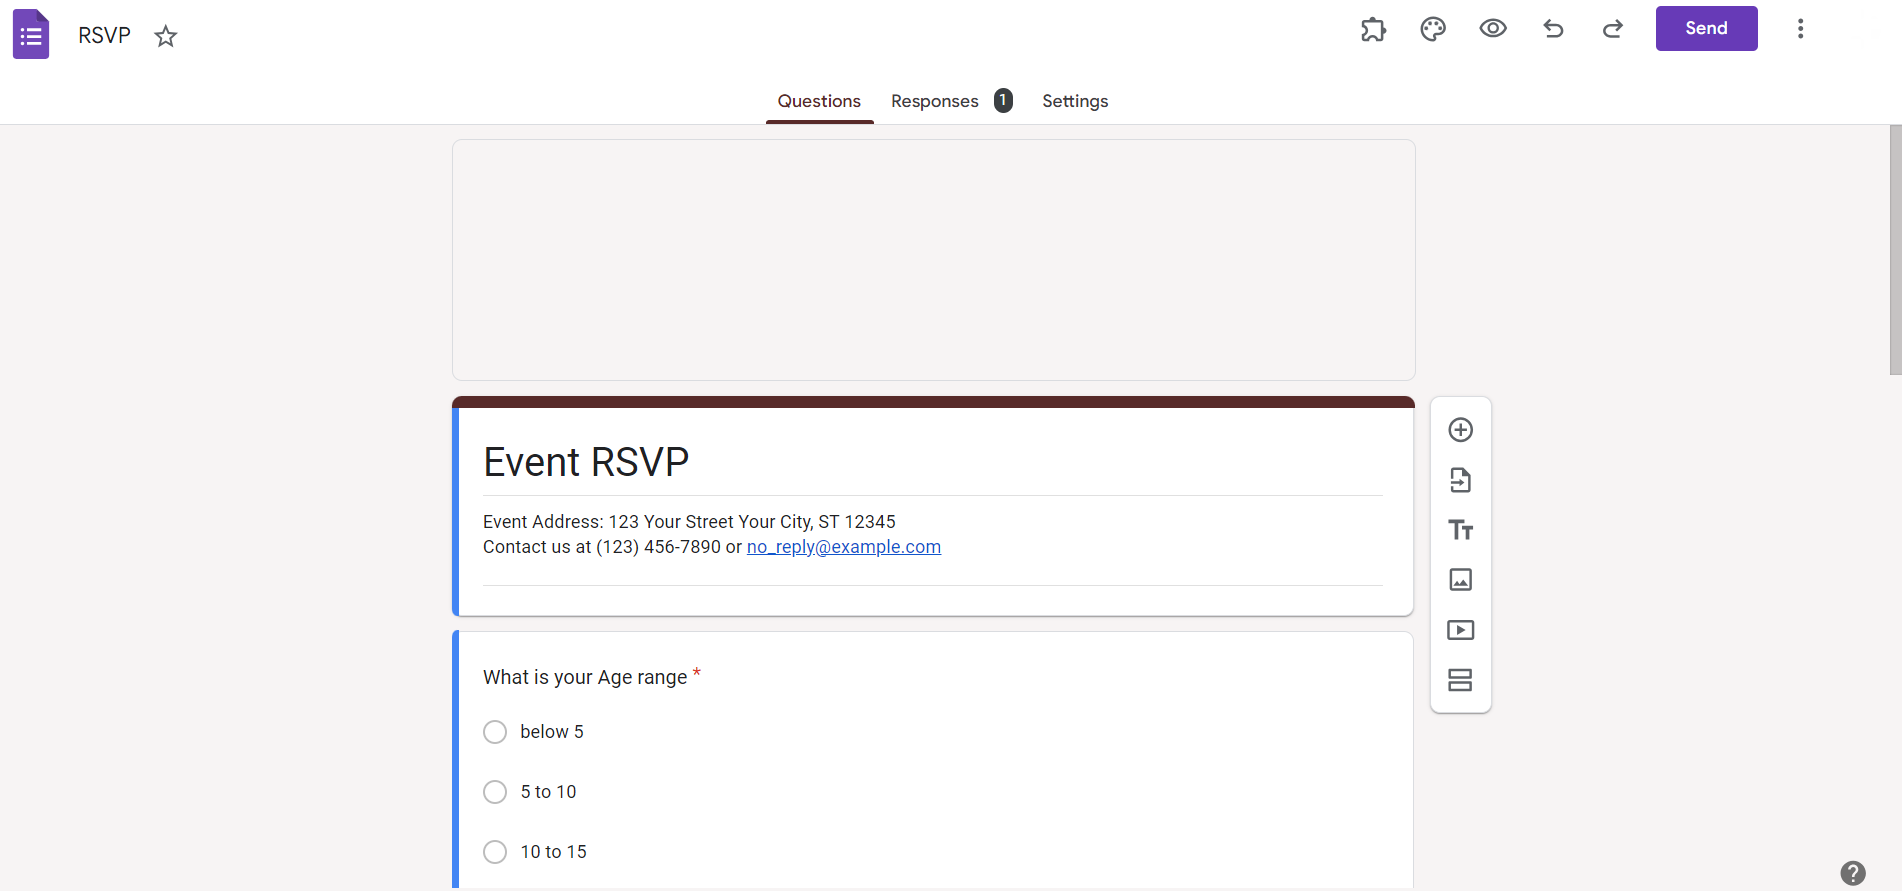
Step 4. Select Form Type
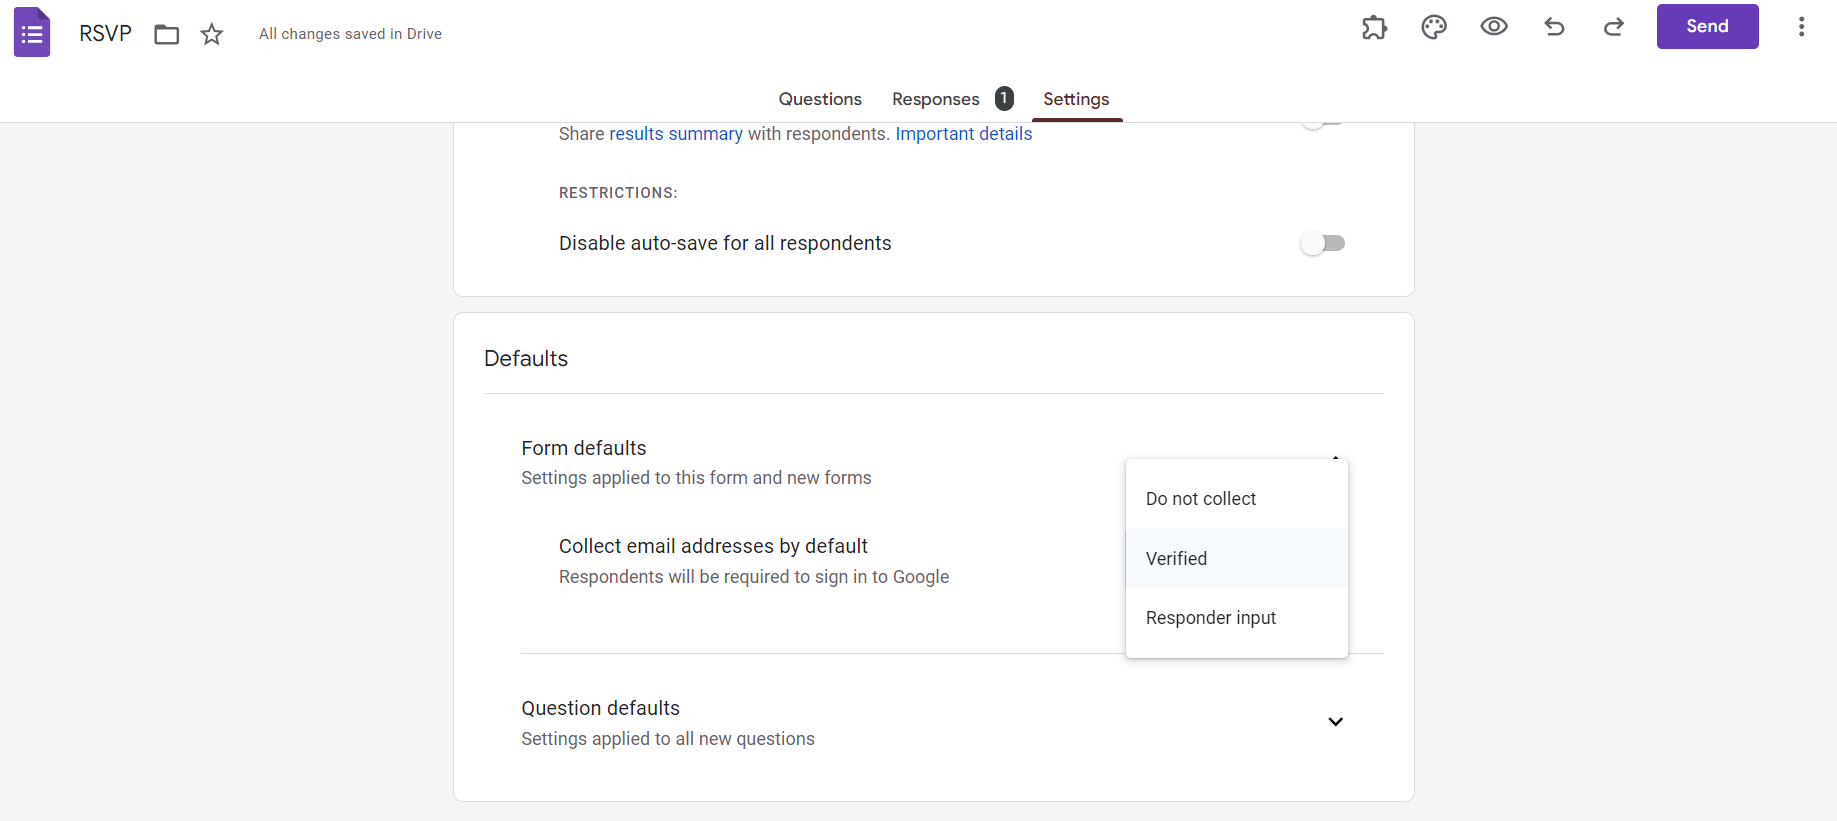
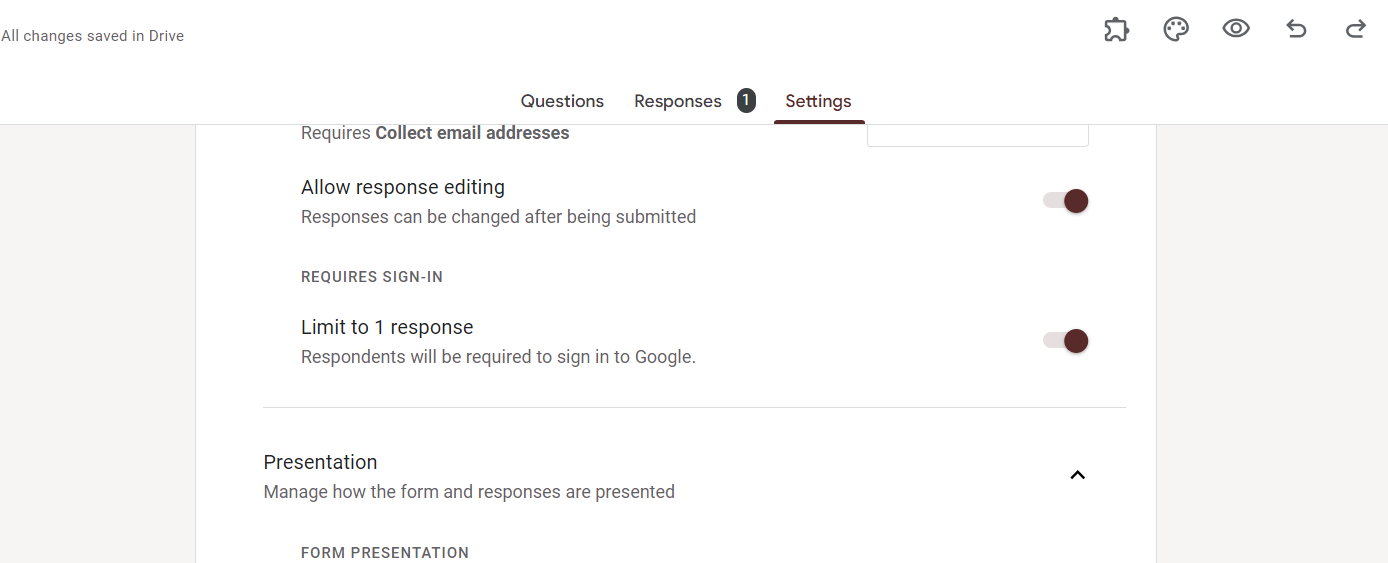
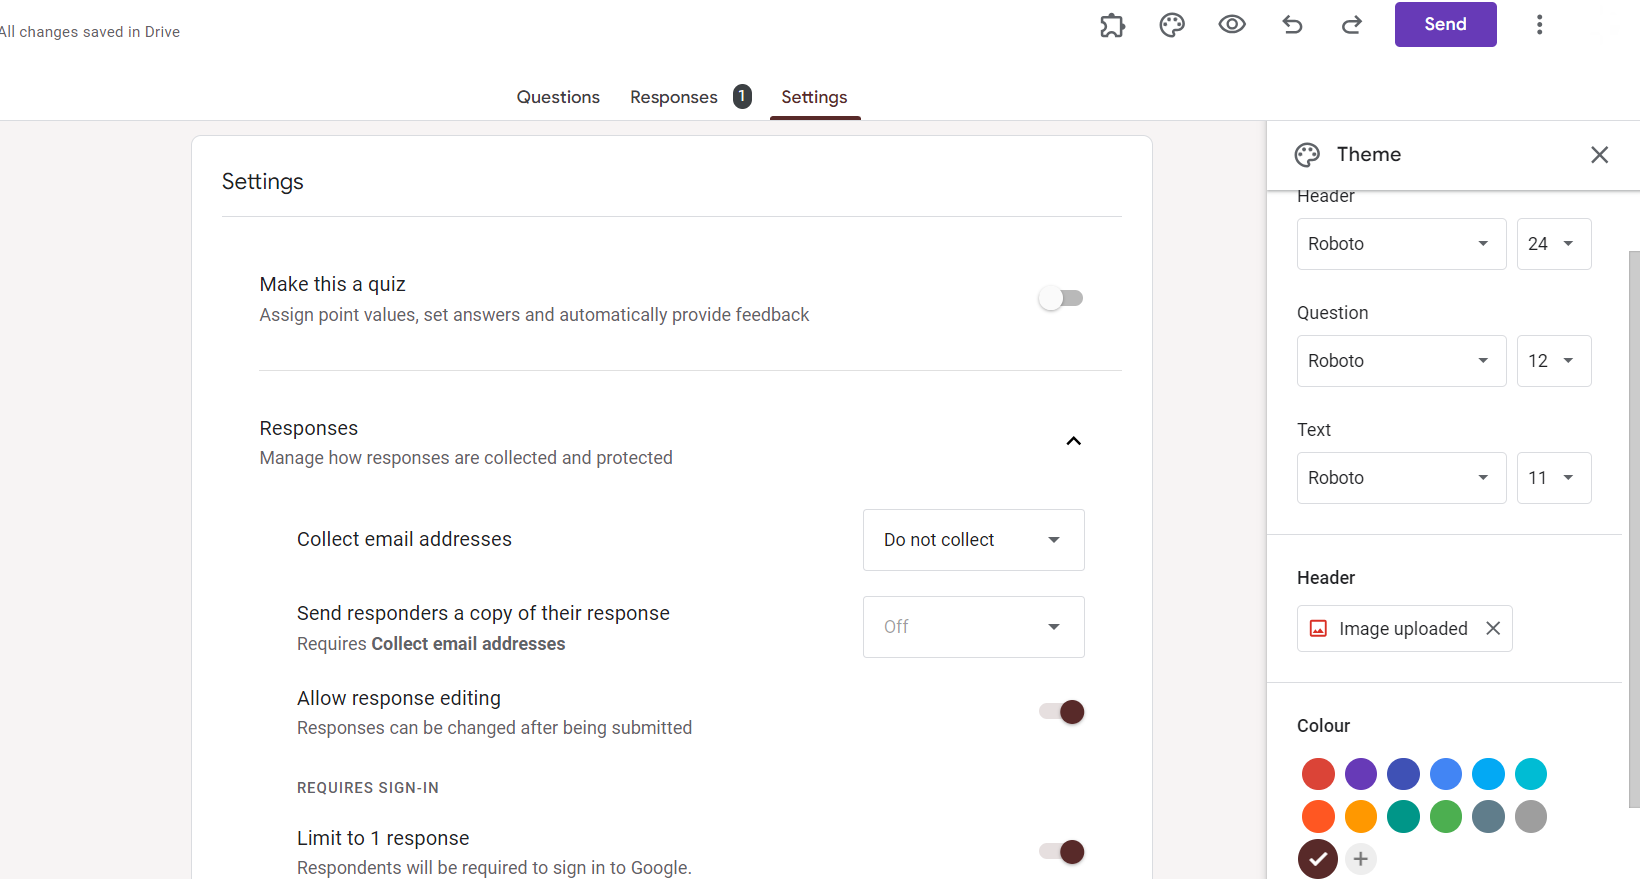
Determine whether respondents can submit one or multiple responses. For sign-up sheets, choosing “Collect email addresses” is often helpful for communication.
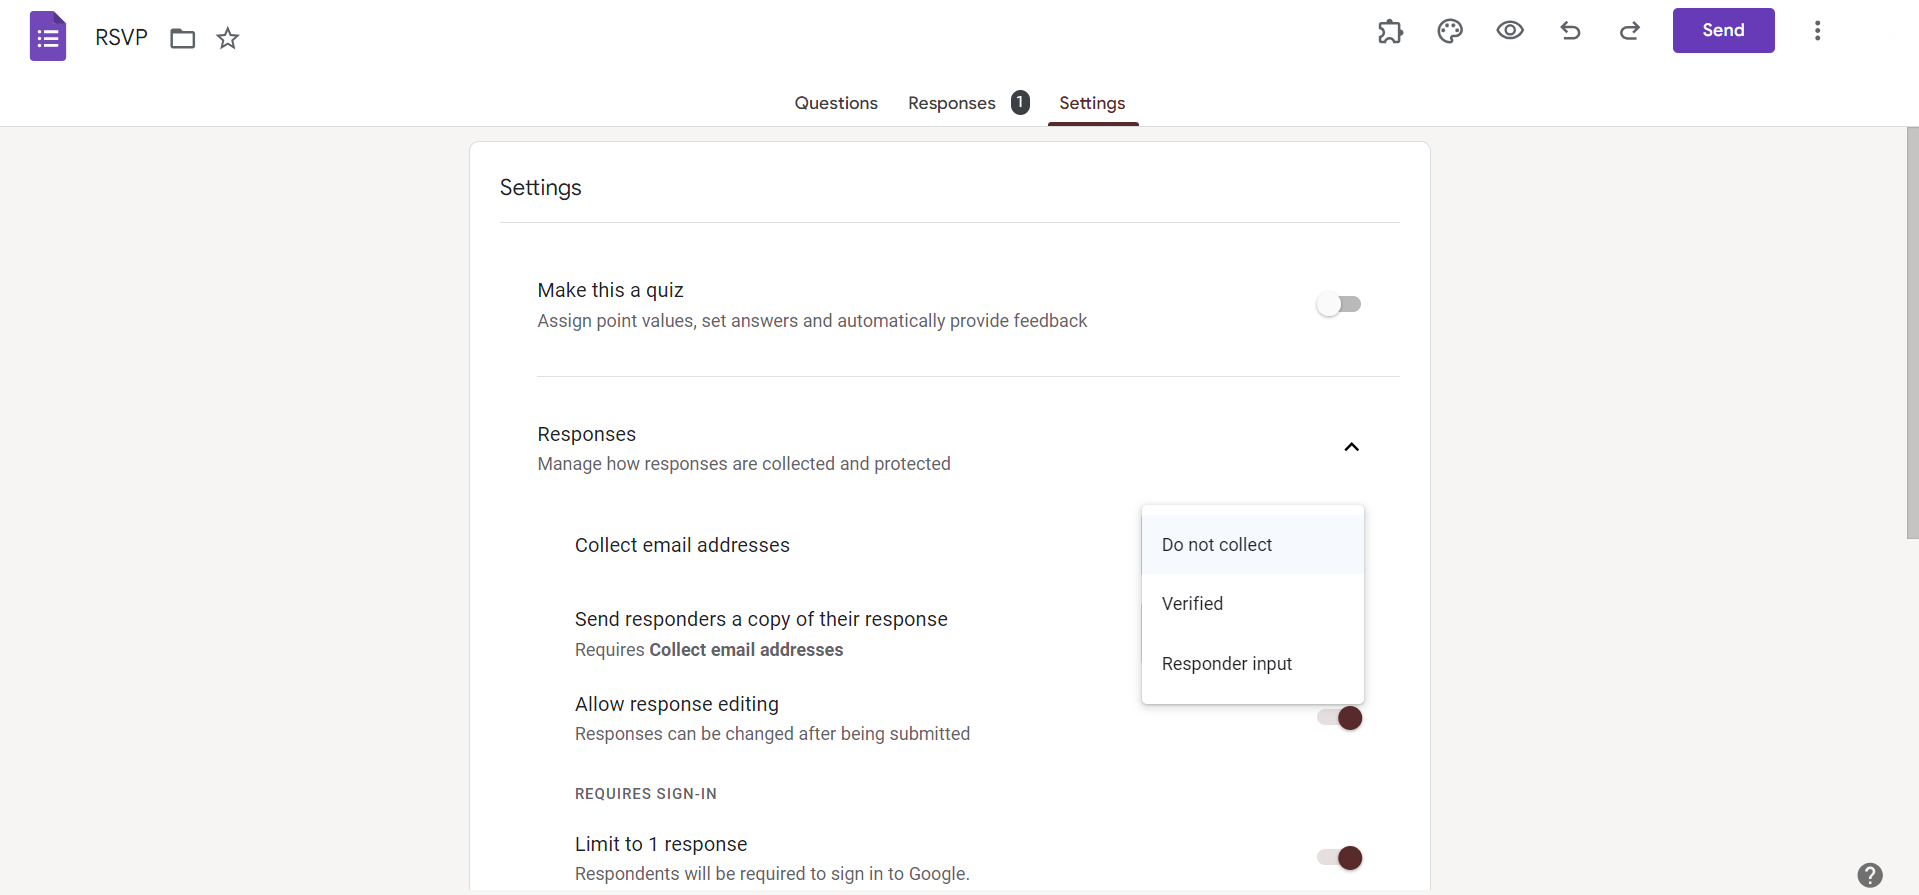
Step 5. Customize Confirmation Settings
Decide if you want respondents to receive a confirmation email after completing the sign-up. Adjust confirmation settings under the “Settings” gear icon.
Step 6. Designate Maximum Number of Responses (Optional)
Limit the number of participants by setting a maximum number of responses. Useful for events with limited slots.
Step 7. Personalize the Theme (Optional)
Enhance the visual appeal by clicking on the palette icon to personalize the theme. Choose colors and fonts that align with your event or organization branding.
Step 8. Preview and Test Your Form
Before sharing, preview your form to ensure it looks and functions as intended. Test responses to check the user experience.
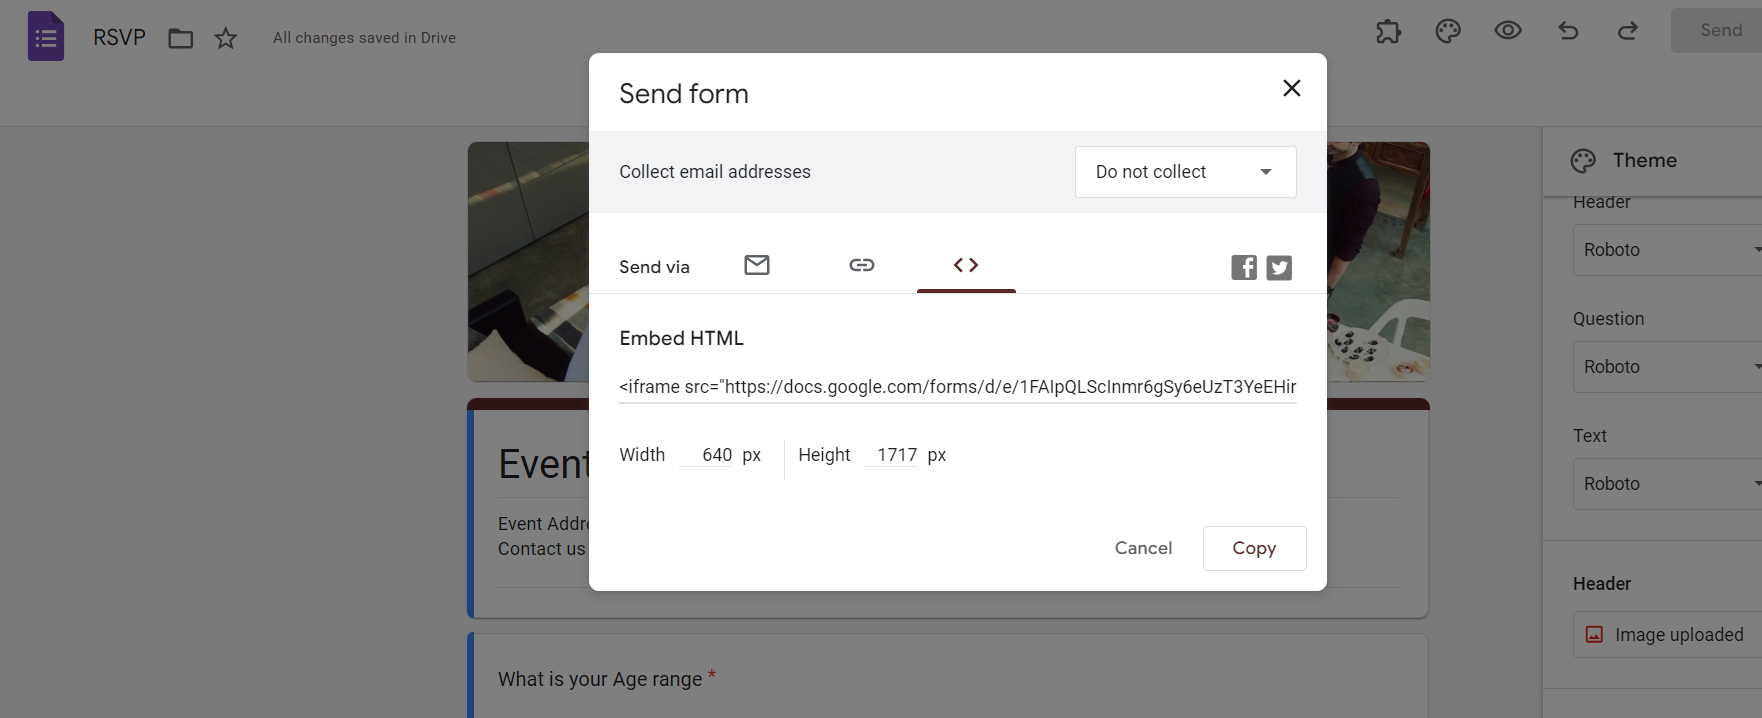
Step 9. Share the Sign-Up Sheet
Once satisfied, click on the “Send” button to share the sign-up sheet. Options include sharing via link, email, or embedding the form on a website.
Once you’ve learned how to create a sign up sheet in Google Forms, collecting registrations becomes much easier. You can also connect your google form sign up sheet to Google Sheets to organize and track responses automatically.
How to create a sign up sheet with time slots in Google Forms?
If you are using your Google Forms sign up sheet for volunteer work or appointments or event scheduling adding time slots makes it easier for people to choose when they are available.
This is an useful feature for people who want to sign up for something.
- Add a new question by clicking the + (Add Question) button in your form.
- Choose the right question type. Select Multiple Choice if participants should choose only one time slot, or Checkboxes if they can sign up for multiple shifts.
- Enter your available time slots, such as 9:00 AM – 11:00 AM, 11:00 AM – 1:00 PM, or any schedule that fits your event.
- Set response rules if needed. While Google Forms doesn’t automatically limit the number of people who can select each slot, you can use Response Validation, Google Sheets, or add-ons to better manage registrations.
- Preview your form before sharing it to make sure the time slots are displayed correctly and everything works as expected.
Using clear and organized time slots makes your Google Forms sign up sheet easier to complete and helps participants choose the option that works best for them.
Conclusion:
Knowing how to make a sign up sheet on Google Forms makes it easy to collect registrations volunteer signups, appointments and event responses. You do not have to use paper forms. Just simply create a Google Forms sign up sheet in a few simple steps. You can customize it to fit your needs. Google Sheets tracks responses automatically. If you are organizing a workshop you can use MagicSlides. It helps turn your ideas into presentations. Google Forms handles registrations. They help simplify planning and save time. This creates an experience, for both organizers and participants.
You can use Google Forms and MagicSlides for a webinar or team event. They make planning easier.
Frequently Asked Questions:
Can I customize the confirmation email participants receive after signing up on Google Forms?
Yes, under the “Settings” gear icon, customize the confirmation settings, including the confirmation message.
How do I view and manage responses after participants sign up on my Google Form?
Access the form editor, click on “Responses,” and then choose “View responses” or export them to Google Sheets.
Can I limit the number of participants for an event using Google Forms?
Absolutely. In the form editor, set a maximum number of responses to control the number of sign-ups.
Is it possible to embed the sign-up sheet directly on my website or blog?
Yes, Google Forms provides an embed option. Click on the “Send” button and choose the embed symbol.


