How to Upload Fonts to Google Slides?


Learn how to add fonts to Google Slides. Explore Google Fonts, custom font workarounds, and tips for creating professional presentations.
The easiest way to add fonts to Google Slides is to select a text box, open the Font drop-down menu, click More fonts, choose your preferred fonts from the Google Fonts library, and click OK. Google Slides supports Google Fonts but doesn’t allow you to upload custom font files directly.
Knowing how to add fonts to Google Slides helps you create presentations that look more professional and match your personal or brand style.
Google Slides doesn’t support direct font uploads, but you can expand its font library by using Google Fonts or custom workarounds. Whether you want unique typography or a cohesive design, this guide will show you how to use custom fonts in Google Slides step by step.
In this guide, you’ll learn how to add, import, and manage fonts, plus what to do if the font you want isn’t available.
Why Use Different Fonts in Google Slides?
Using different fonts in Google Slides does more than change the appearance of your presentation. The right font makes your content easier to read, highlights key points, and helps create a professional design that matches your purpose or brand. This is an important part of how to choose the right fonts for your presentation.
For example, a modern sans-serif font like Roboto or Open Sans works well for business presentations, while a more creative font can make marketing or educational slides more engaging. Many of these are considered among the best fonts for PPT because they offer excellent readability across different screen sizes. Choosing the right typography also creates a clear visual hierarchy, making it easier for your audience to follow your message.
Before you add fonts to Google Slides, think about where your presentation will be used and who will be viewing it. Using one or two complementary fonts consistently throughout your slides keeps the design clean and improves readability. A thoughtful font choice can make your presentation look more polished and leave a stronger impression on your audience.
How to Upload Fonts to Google Slides?
Adding fonts in Google Slides takes just a few clicks. If you’re wondering how to add fonts to google slides, follow these simple steps to access hundreds of fonts from the Google Fonts library.
Step 1. Access the Font Options in Google Slides
Open your Google Slides presentation. Select any text box or create one by clicking on Insert > Text Box.

Highlight the text, then click on the font dropdown menu in the toolbar.
Step 2. Browse Additional Fonts
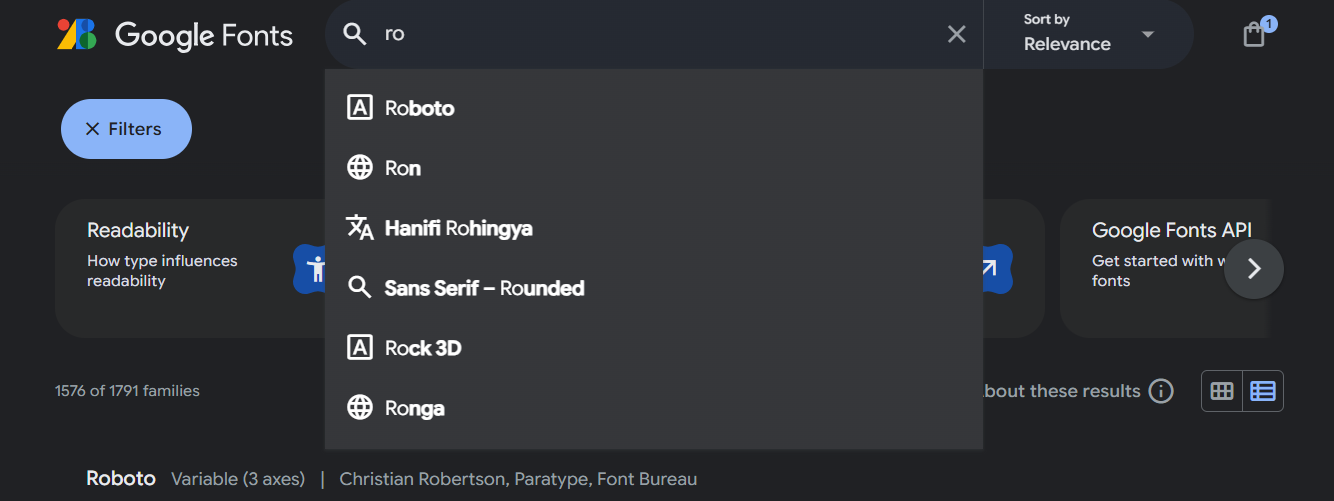
At the bottom of the font dropdown menu, click on More fonts. In the popup window, you’ll see a list of available Google Fonts.
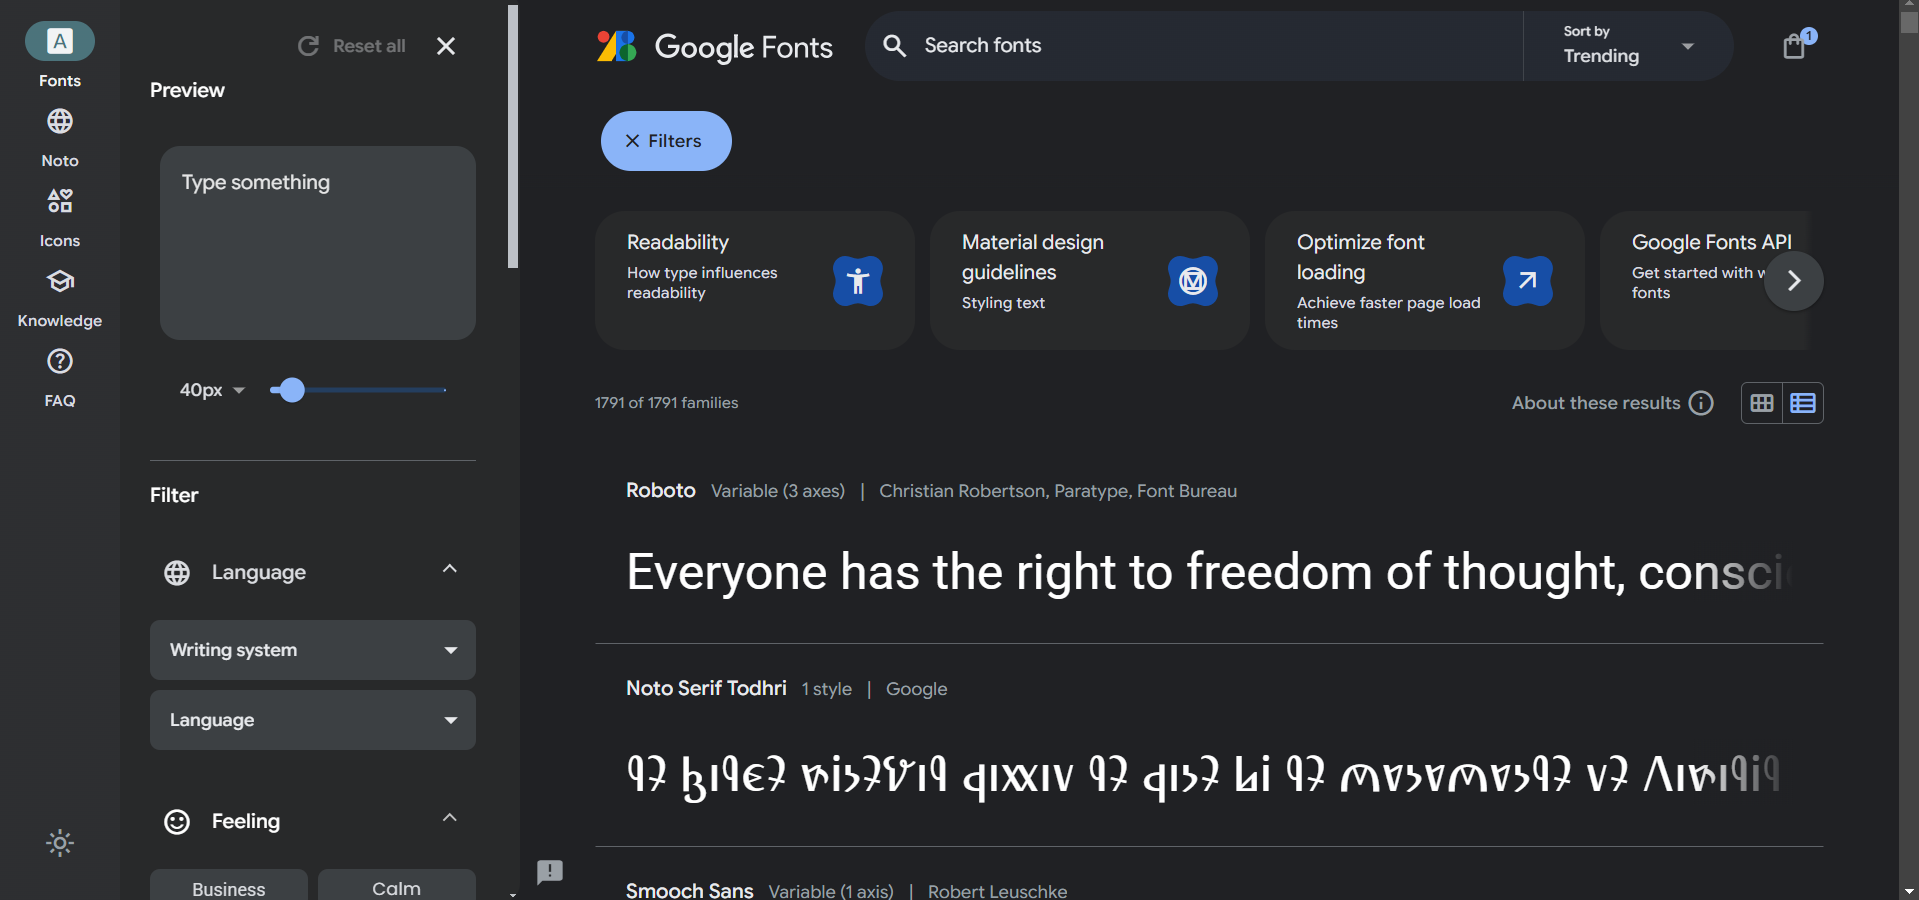
Use the search bar to look for specific fonts or filter them by categories like Serif, Sans Serif, or Handwriting.
Step 3. Add New Fonts from Google Fonts
Select the fonts you want to add by clicking on them. Once selected, they will appear in the list on the right side of the popup.
Click OK to add the fonts to your dropdown menu in Google Slides.
Step 4. Use Third-Party Tools for Custom Fonts
If the font you need isn’t available on Google Fonts, you can use tools like Extensis Fonts:
- Go to the Extensions tab in Google Slides.
- Click Add-ons > Get add-ons and search for Extensis Fonts.
- Install the add-on and access it via Extensions > Extensis Fonts.
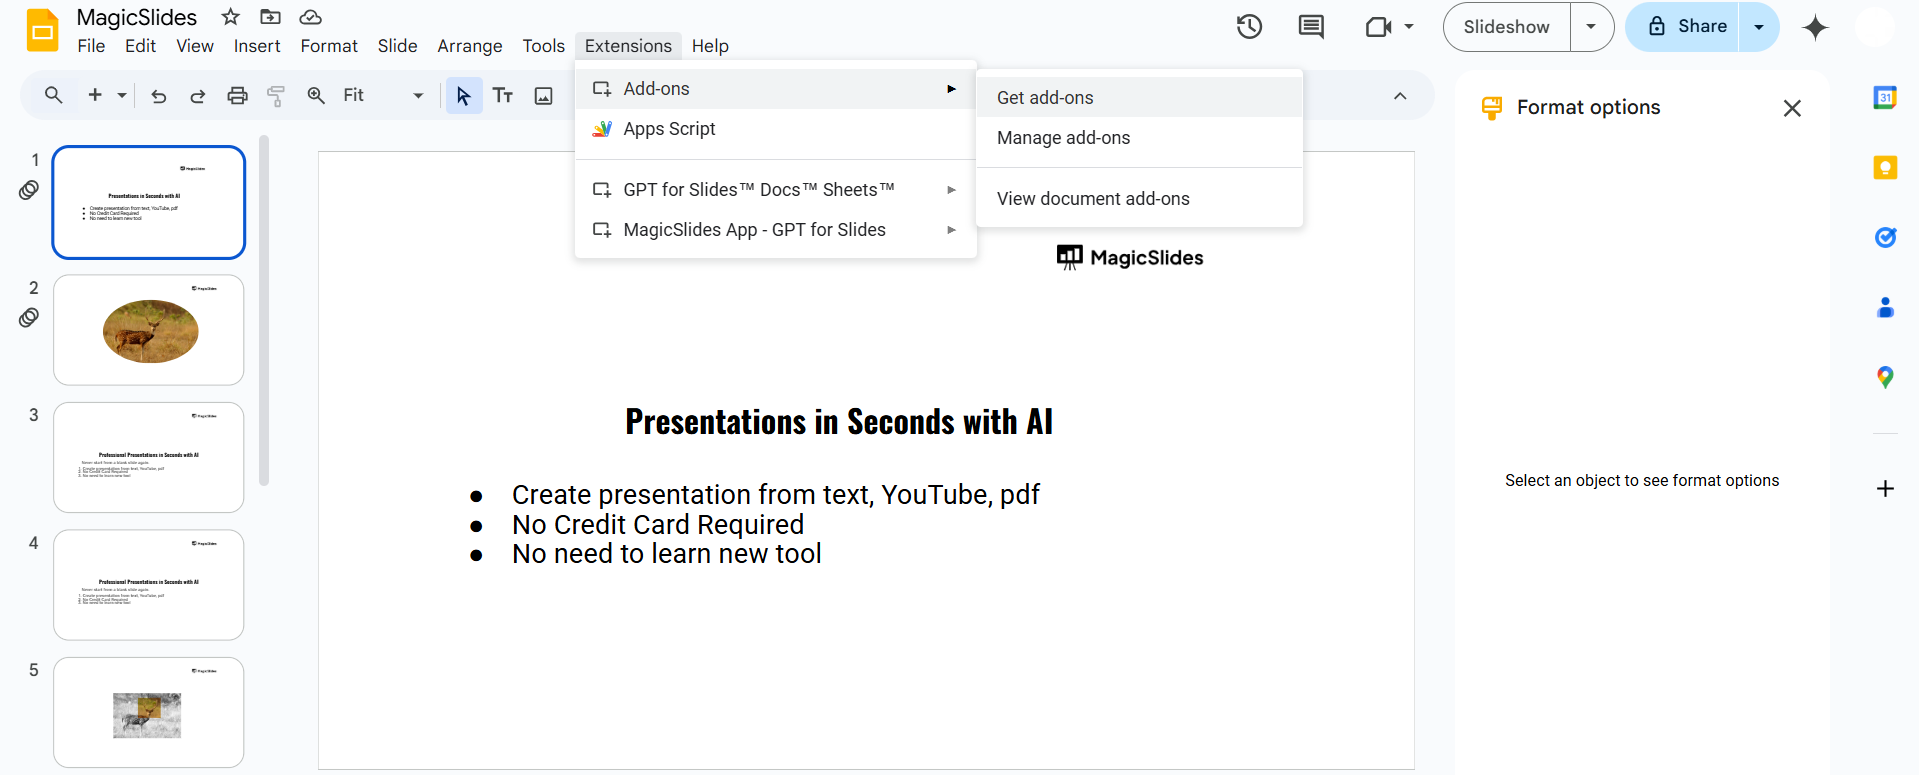
Extensis Fonts provides access to thousands of additional fonts for use in your presentation.
Step 5. Upload Custom Fonts as Images
If your desired font isn’t available, you can create text using design tools like Canva, Photoshop, or PowerPoint.

Save the text as an image file (e.g., PNG or JPEG). Insert the image into your Google Slides by clicking Insert > Image > Upload from computer.
Tip- If you create presentations regularly, MagicSlides AI Presentation Maker can help you generate complete slide decks from prompts, documents, PDFs, URLs, or YouTube videos in minutes. Once your presentation is ready, you can easily customize it in Google Slides by choosing fonts that match your branding or presentation style. This saves time while giving you full control over the final design.

Conclusion
Learning how to add fonts to Google Slides is a simple way to make your presentations look more polished and engaging. By using the More fonts option, you can access hundreds of free fonts from the Google Fonts library and apply them to match your presentation’s style or branding.
While Google Slides doesn’t let you upload custom font files, its built-in font collection offers plenty of professional choices for business, education, and creative projects. Pairing the right fonts with a clean layout can significantly improve readability and leave a lasting impression on your audience.
If you’re looking to create presentations faster, tools like MagicSlides can help you generate complete slide decks in minutes. You can then open them in Google Slides and customize the fonts, colors, and design to create a presentation that stands out.
FAQs
1. Can I directly upload fonts to Google Slides?
No, Google Slides doesn’t support direct font uploads. You can only use Google Fonts or third-party add-ons.
2. Can I upload custom fonts to Google Slides?
No you cannot upload custom fonts to Google Slides. Google Slides does not support uploading custom font files like TTF or OTF. You can only use the fonts that’re available in the Google Fonts library.
3. How do I import fonts into Google Slides?
Google Slides does not have a feature to import fonts. To add fonts you need to select More fonts from the font menu and then choose the fonts you want from Googles built-in library.
4. Why can’t I find my font in Google Slides?
If you cannot find the font you want in Google Slides it is probably because it is not included in the Google Fonts library. In this case you will have to use a font from Google Fonts or make your presentation in a different software that supports custom fonts like Google Slides.
5. Can I use downloaded fonts in Google Slides?
No you cannot use the fonts you have downloaded on your computer in Google Slides. This is because Google Slides uses the fonts from the Google Fonts library, which is based in the cloud of the fonts that are installed on your local computer system.
6. What are the best fonts for Google Slides presentations?
Google Slides has great fonts that you can use for your presentations. Some popular fonts for presentations include Google Slides fonts like Roboto, Open Sans, Montserrat, Lato, Poppins, Inter and Nunito. These Google Slides fonts are clean and easy to read which makes them perfect for presentation styles, in Google Slides.


