How to add a hanging indent in google slides


Elevate your Google Slides with elegance! Explore the art of hanging indents for professional presentations effortlessly.
In the realm of presentation design, small details can make a significant impact on the overall aesthetics and professionalism of your slides. One such detail is the often-overlooked hanging indent, a subtle yet powerful formatting choice. This guide is here to unravel the simplicity behind achieving hanging indents in your Google Slides presentations. Whether you're a student aiming for a polished project or a professional delivering a compelling pitch, mastering this technique can add a touch of sophistication to your slides.
Let's delve into the step-by-step process of creating hanging indents effortlessly and elevating the visual appeal of your Google Slides.
How to add a hanging indent in google slides
Access Google Slides:
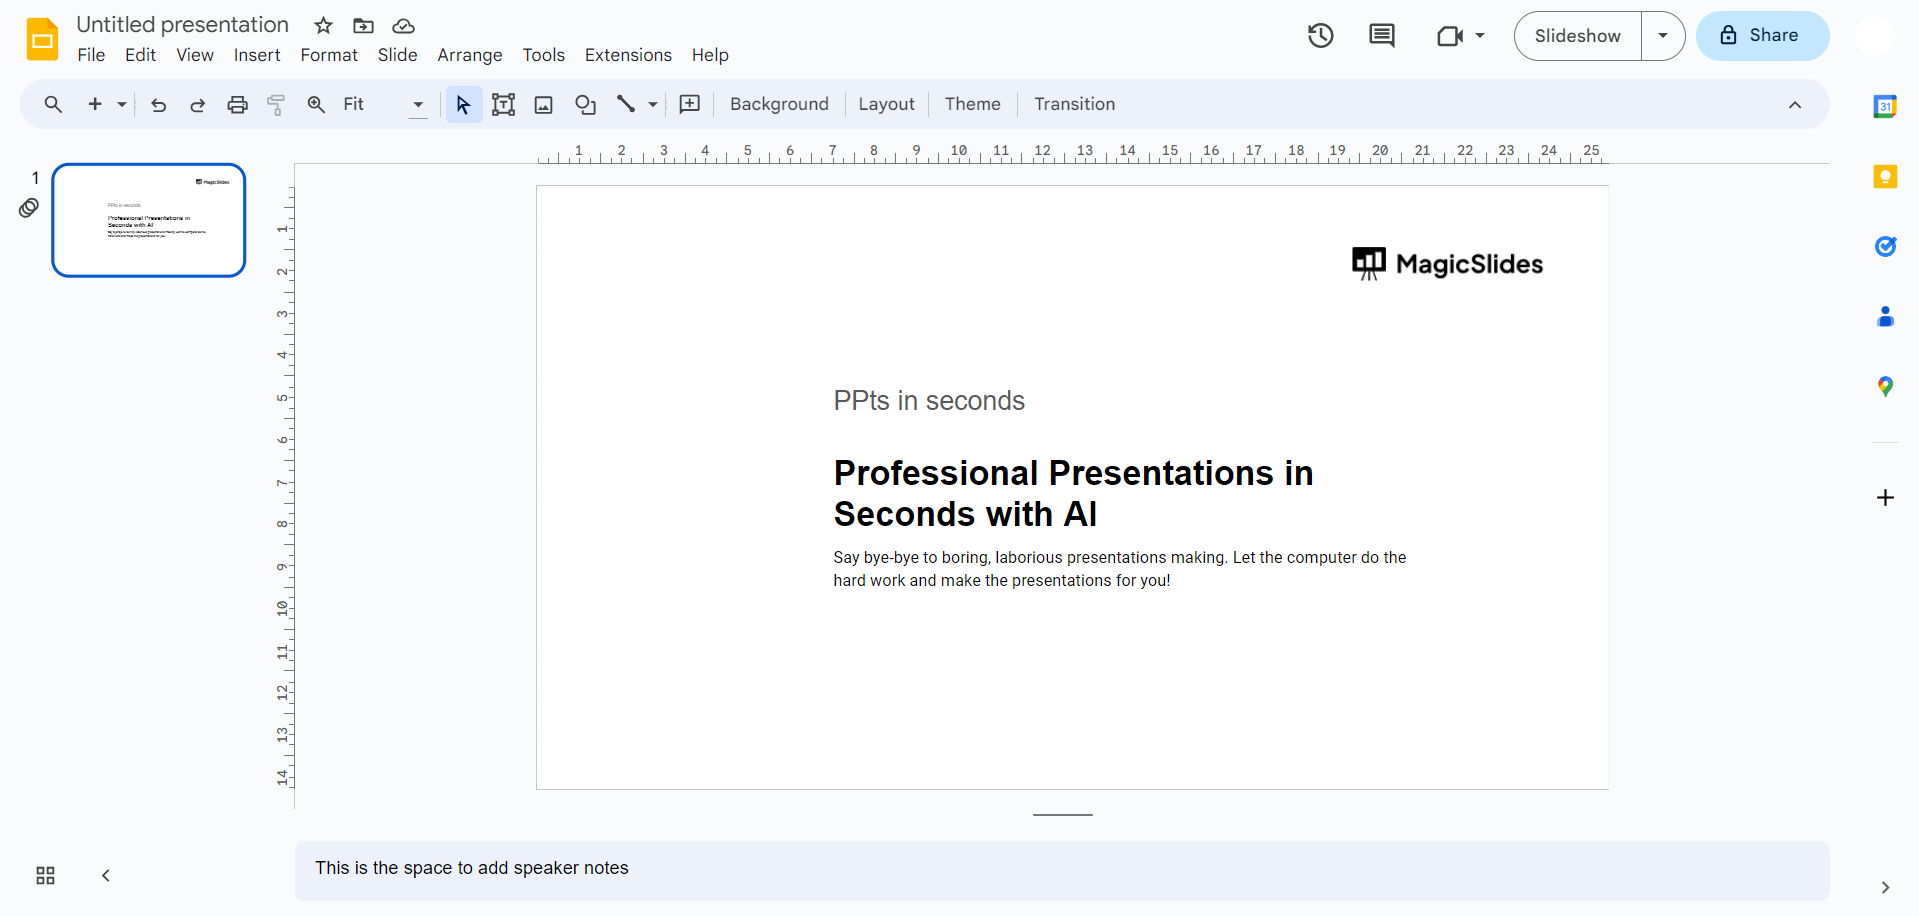
Open Google Slides and either create a new presentation or open an existing one to begin the process.
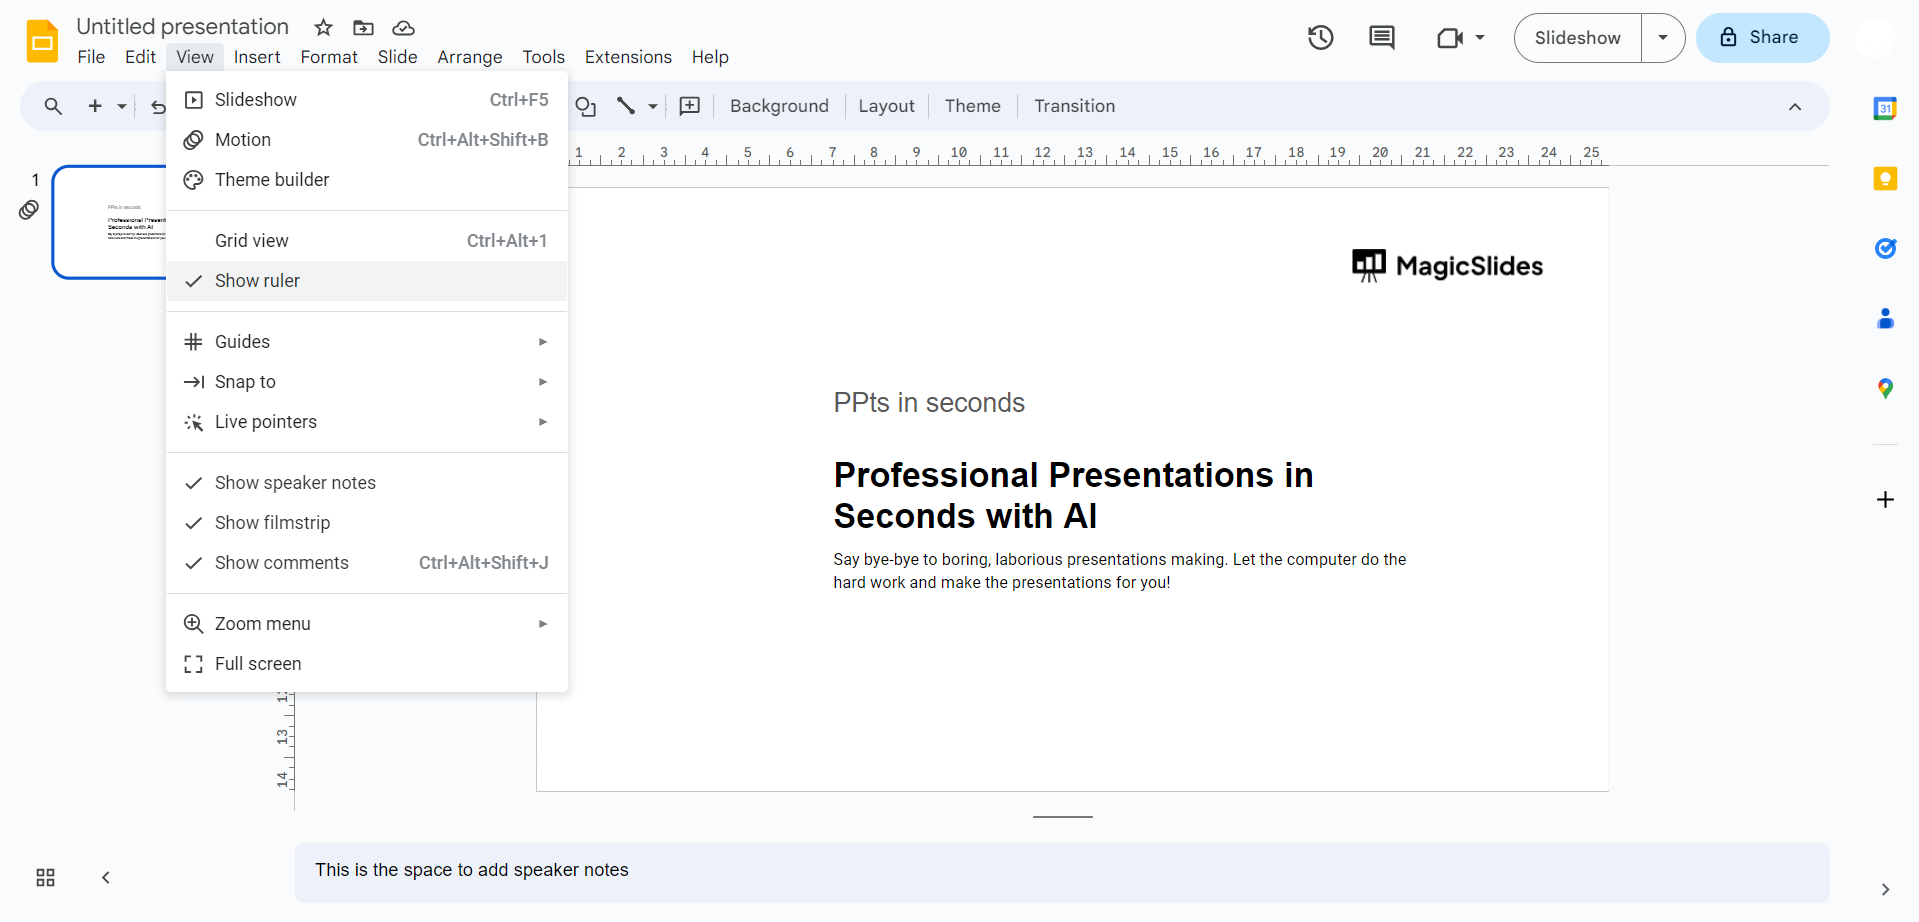
Enable Ruler Visibility:
Ensure that the ruler is visible by navigating to the "View" tab and selecting "Show ruler" from the dropdown menu.
Insert Text:
If not already present, add the text to your slide where you intend to apply the hanging indent.
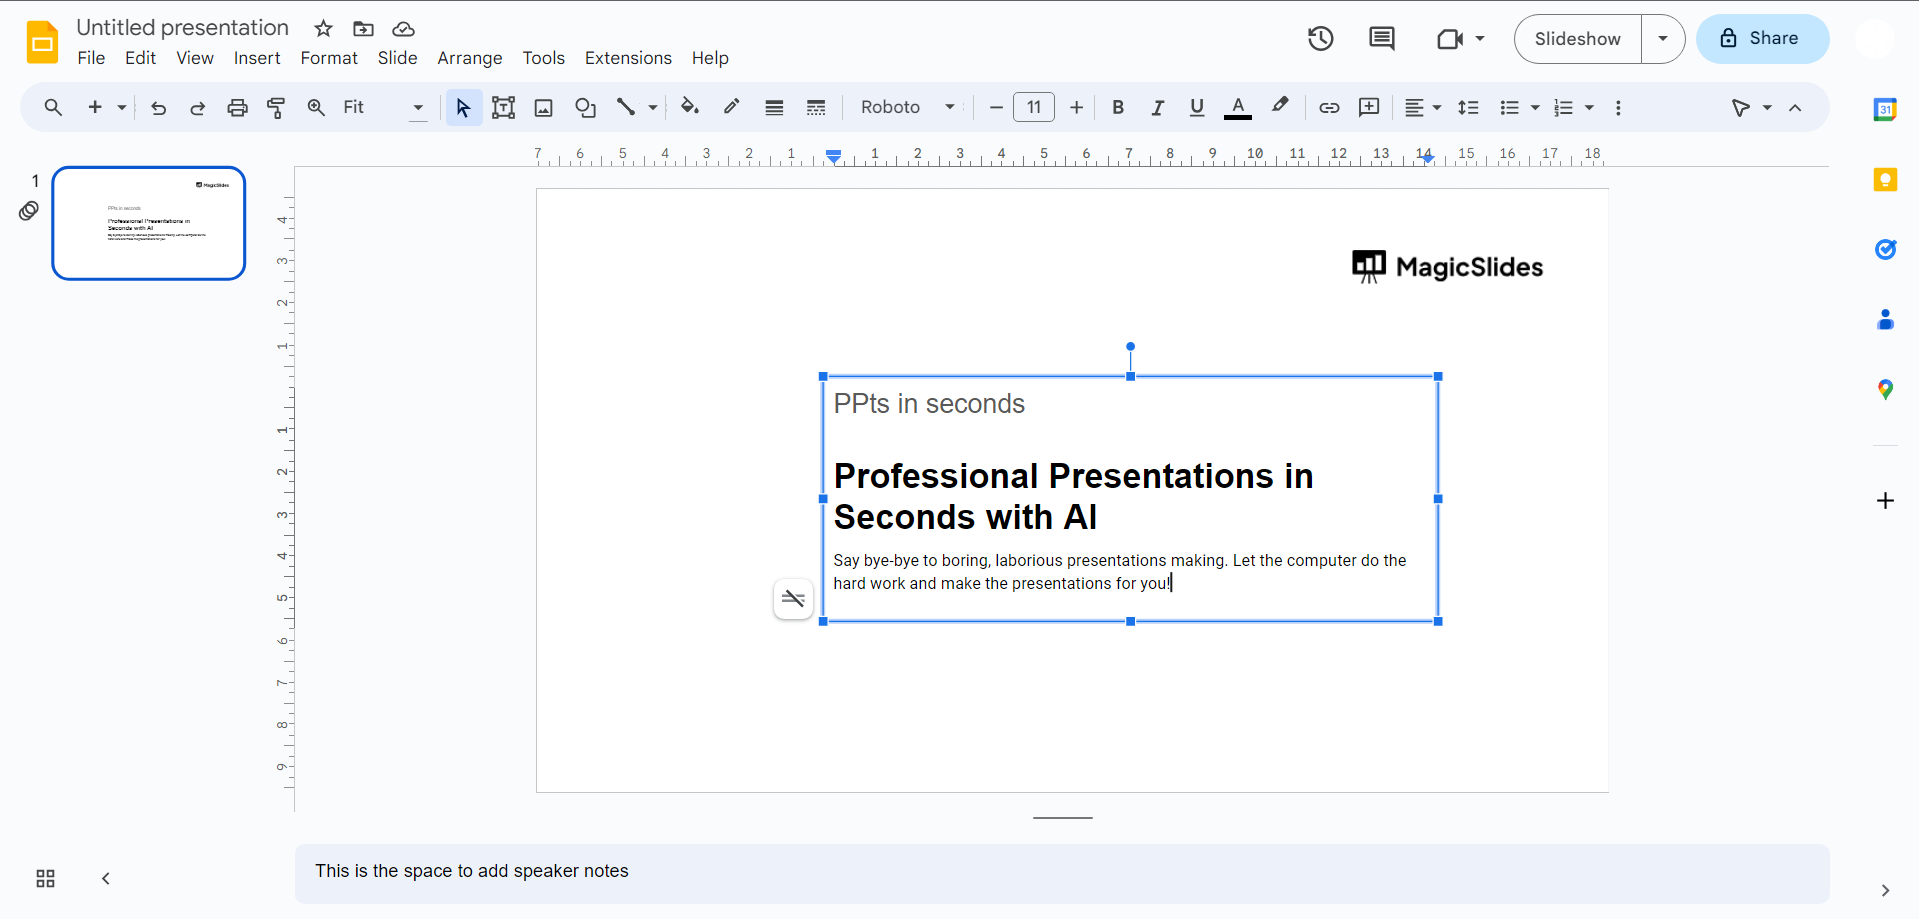
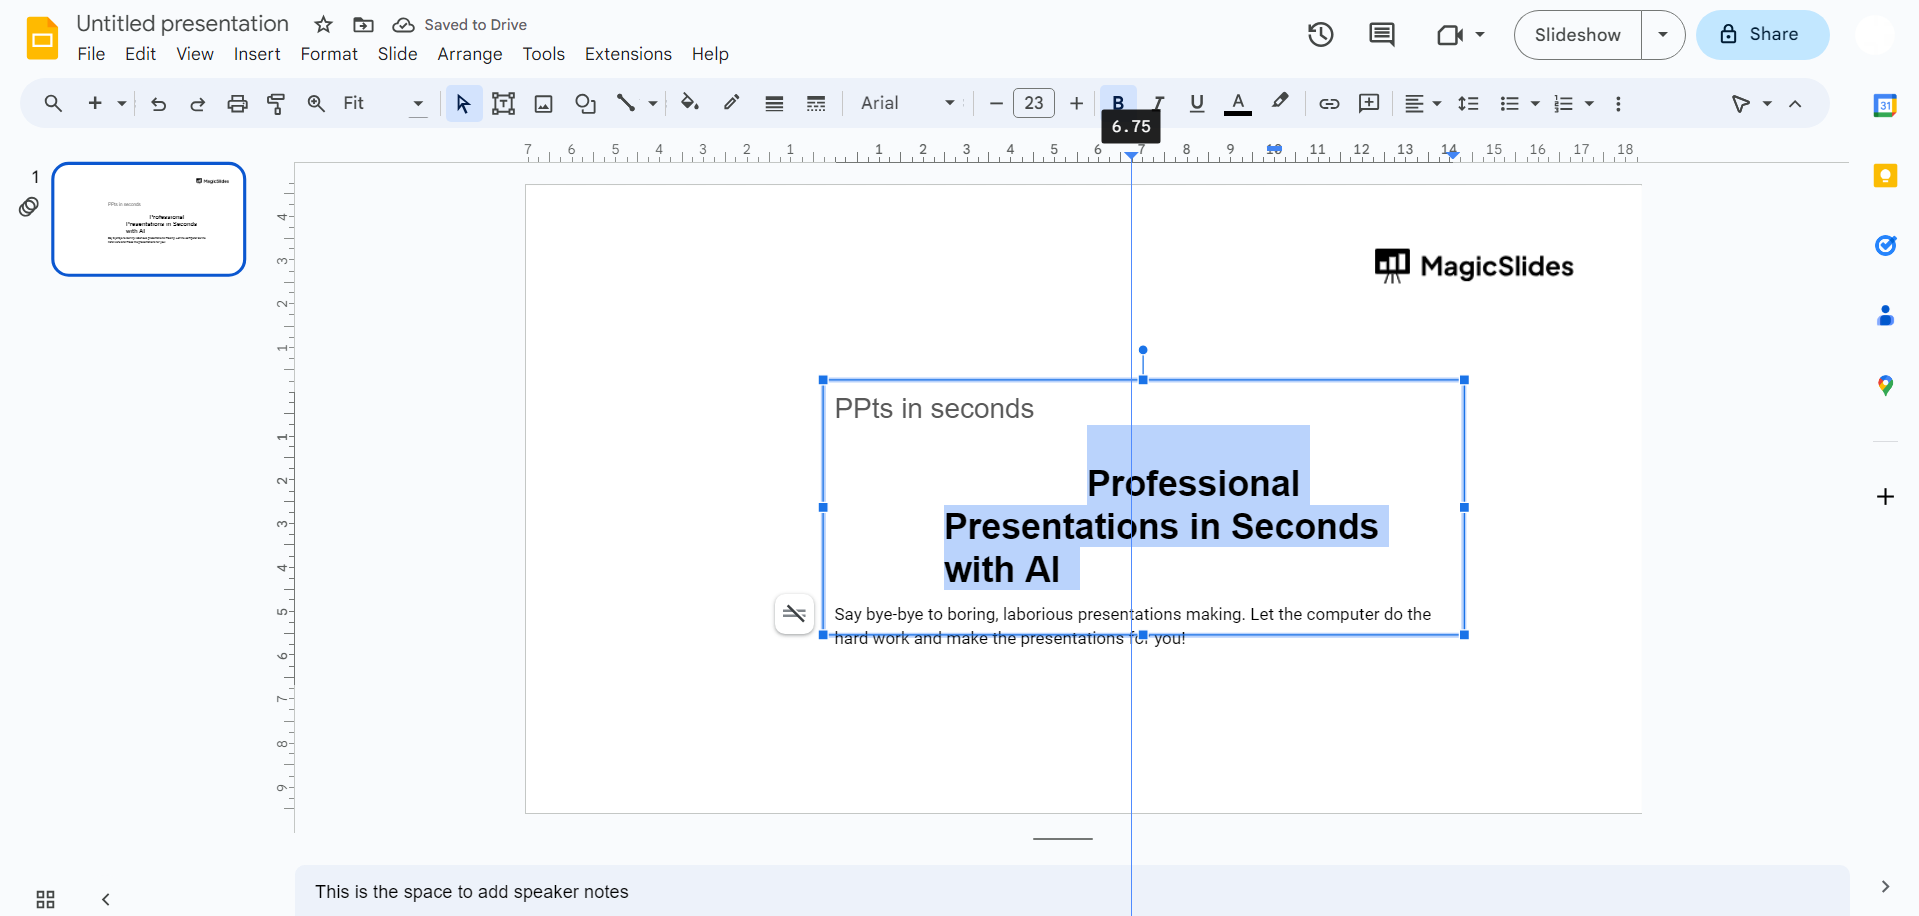
Highlight Targeted Text:
Select the specific text to which you want to apply the hanging indent.
Utilize the Indent Control:
In the ruler area, locate the indent control—depicted as a downward-facing triangle. Click and drag this control until the text is indented to your desired position.
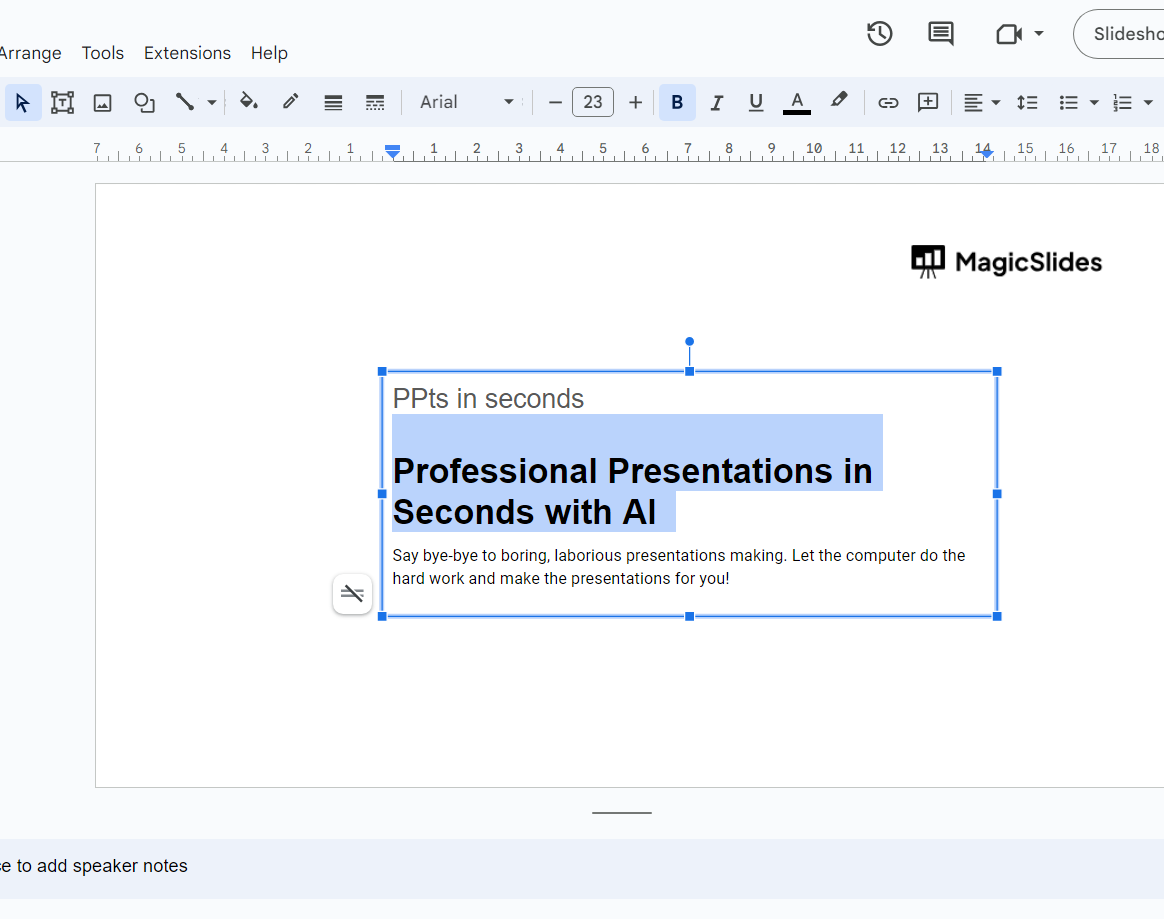
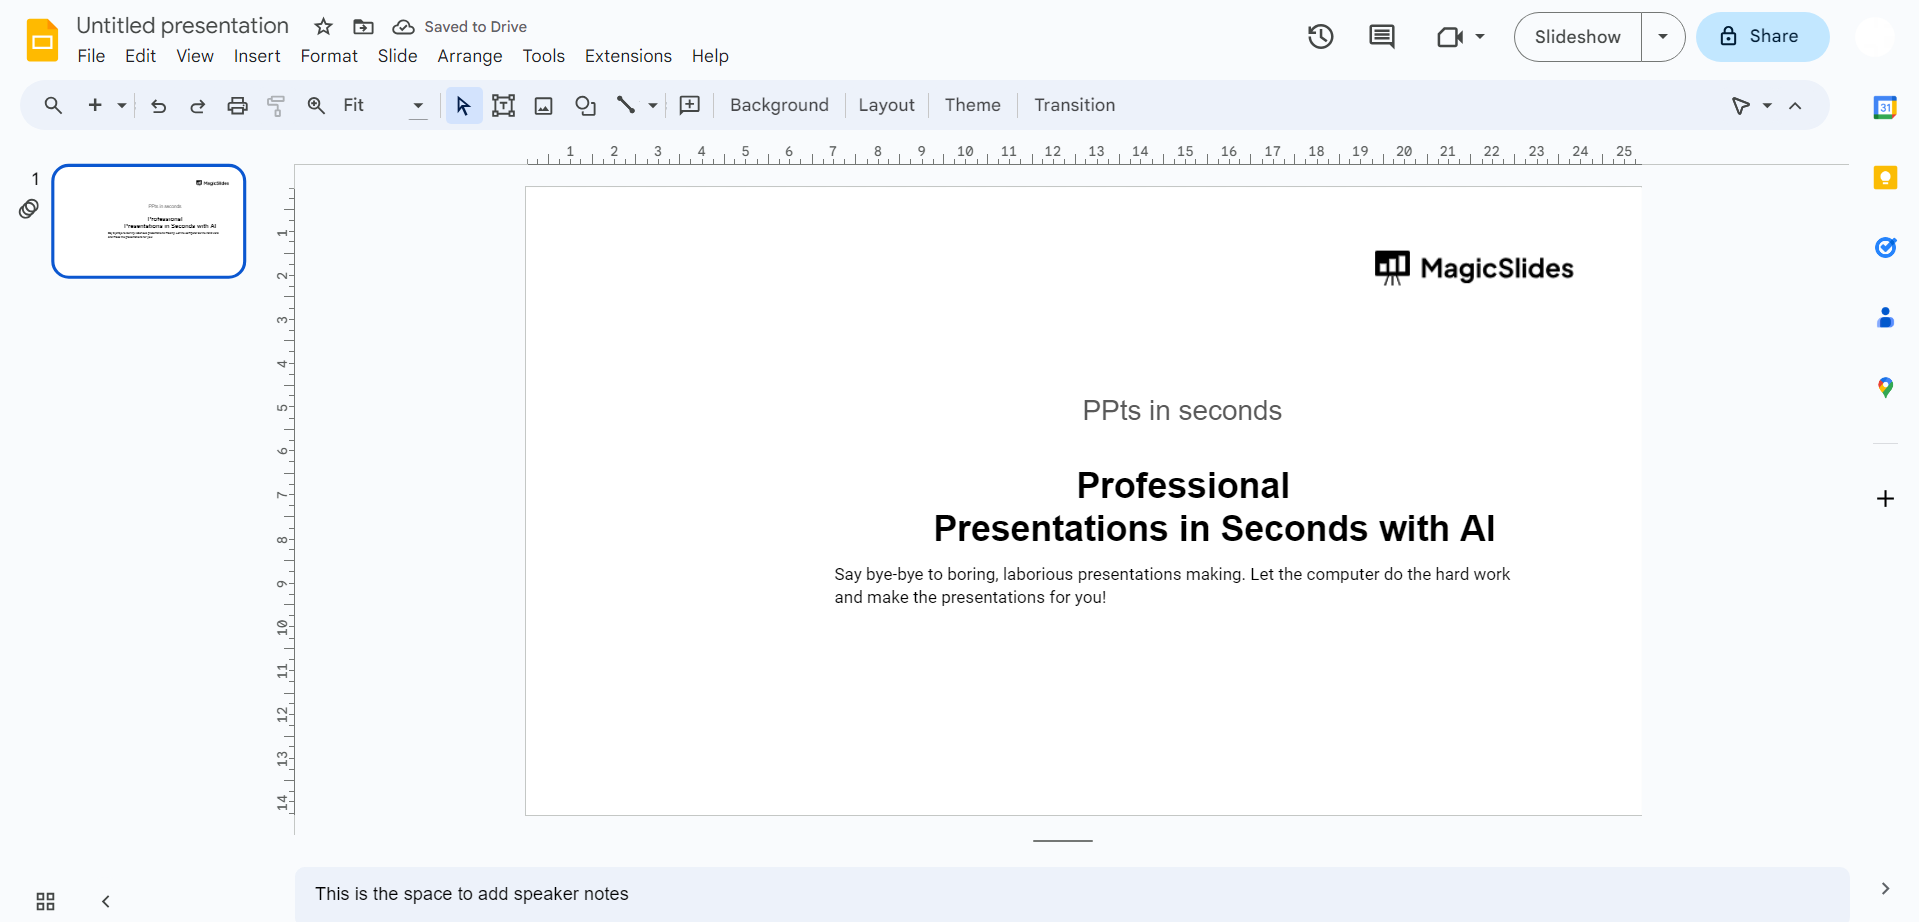
Finalize the Hanging Indent:
Release the left indent control, and voila! You've successfully created a hanging indent in your Google Slides presentation.
Conclusion:
The meticulous balance achieved by this formatting choice not only improves the visual flow but also communicates a sense of precision and attention to detail. So, the next time you're crafting a presentation, consider the impact of a well-placed hanging indent. With just a few simple steps, you can transform your slides from good to great, leaving a lasting impression on your audience.
Happy presenting!
Frequently Asked Questions:
1: Why should I bother with hanging indents in my Google Slides presentations?
Ans: Hanging indents lend a professional and polished look to your slides, improving readability and visual appeal.
2: Is the process of adding hanging indents complicated for someone new to Google Slides?
Ans: Not at all. With our step-by-step guide, even beginners can easily implement hanging indents for a refined presentation.
3: Can hanging indents be applied to specific text within a slide, or does it affect the entire slide?
Ans: Absolutely, you have full control. Highlight the text you want indented, ensuring a targeted and precise application.
4: Will using hanging indents make a noticeable difference in the overall professionalism of my presentation?
Ans: Indeed, the subtle touch of hanging indents communicates attention to detail, elevating the overall sophistication of your slides.
Check out these info blogs:
how to make an image transparent in powerpoint: https://www.magicslides.app/blog/how-to-make-an-image-transparent-in-powerpoint
How To Insert A Word Document Into Powerpoint: https://www.magicslides.app/blog/How-to-insert-a-word-document-into-powerpoint
How To Conclude A Presentation | End Your Presentation On A Good Note: https://www.magicslides.app/blog/how-to-end-your-presentation
How To Open Google Slides In Powerpoint: https://www.magicslides.app/blog/How-to-open-google-slides-in-powerpoint


