How to Crop an Image in PowerPoint (Step-by-Step Guide)


Learn how to crop an image in PowerPoint using the built-in Crop tool. Follow this step-by-step guide to crop pictures, crop to shapes, adjust aspect ratios, and create professional presentations.
Images can make your PowerPoint presentations more engaging, but sometimes they contain unnecessary areas that distract from your main subject. Cropping lets you remove unwanted parts of an image without permanently deleting the original file, helping you create cleaner, more professional slides.
In this guide, I’ll show you exactly how to crop an image in PowerPoint, along with a few useful cropping tricks you may not know.
Why Crop Images in PowerPoint?
Cropping images helps you create cleaner and more visually appealing presentations by removing unnecessary parts of a picture. Instead of editing the image in another application, PowerPoint lets you crop photos directly within your presentation.
Some common reasons to crop images include:
- Remove distracting backgrounds.
- Focus attention on the main subject.
- Fit images into slide placeholders.
- Create circular profile pictures.
- Maintain consistent image sizes across slides.
How to Perfectly Crop Images in PowerPoint
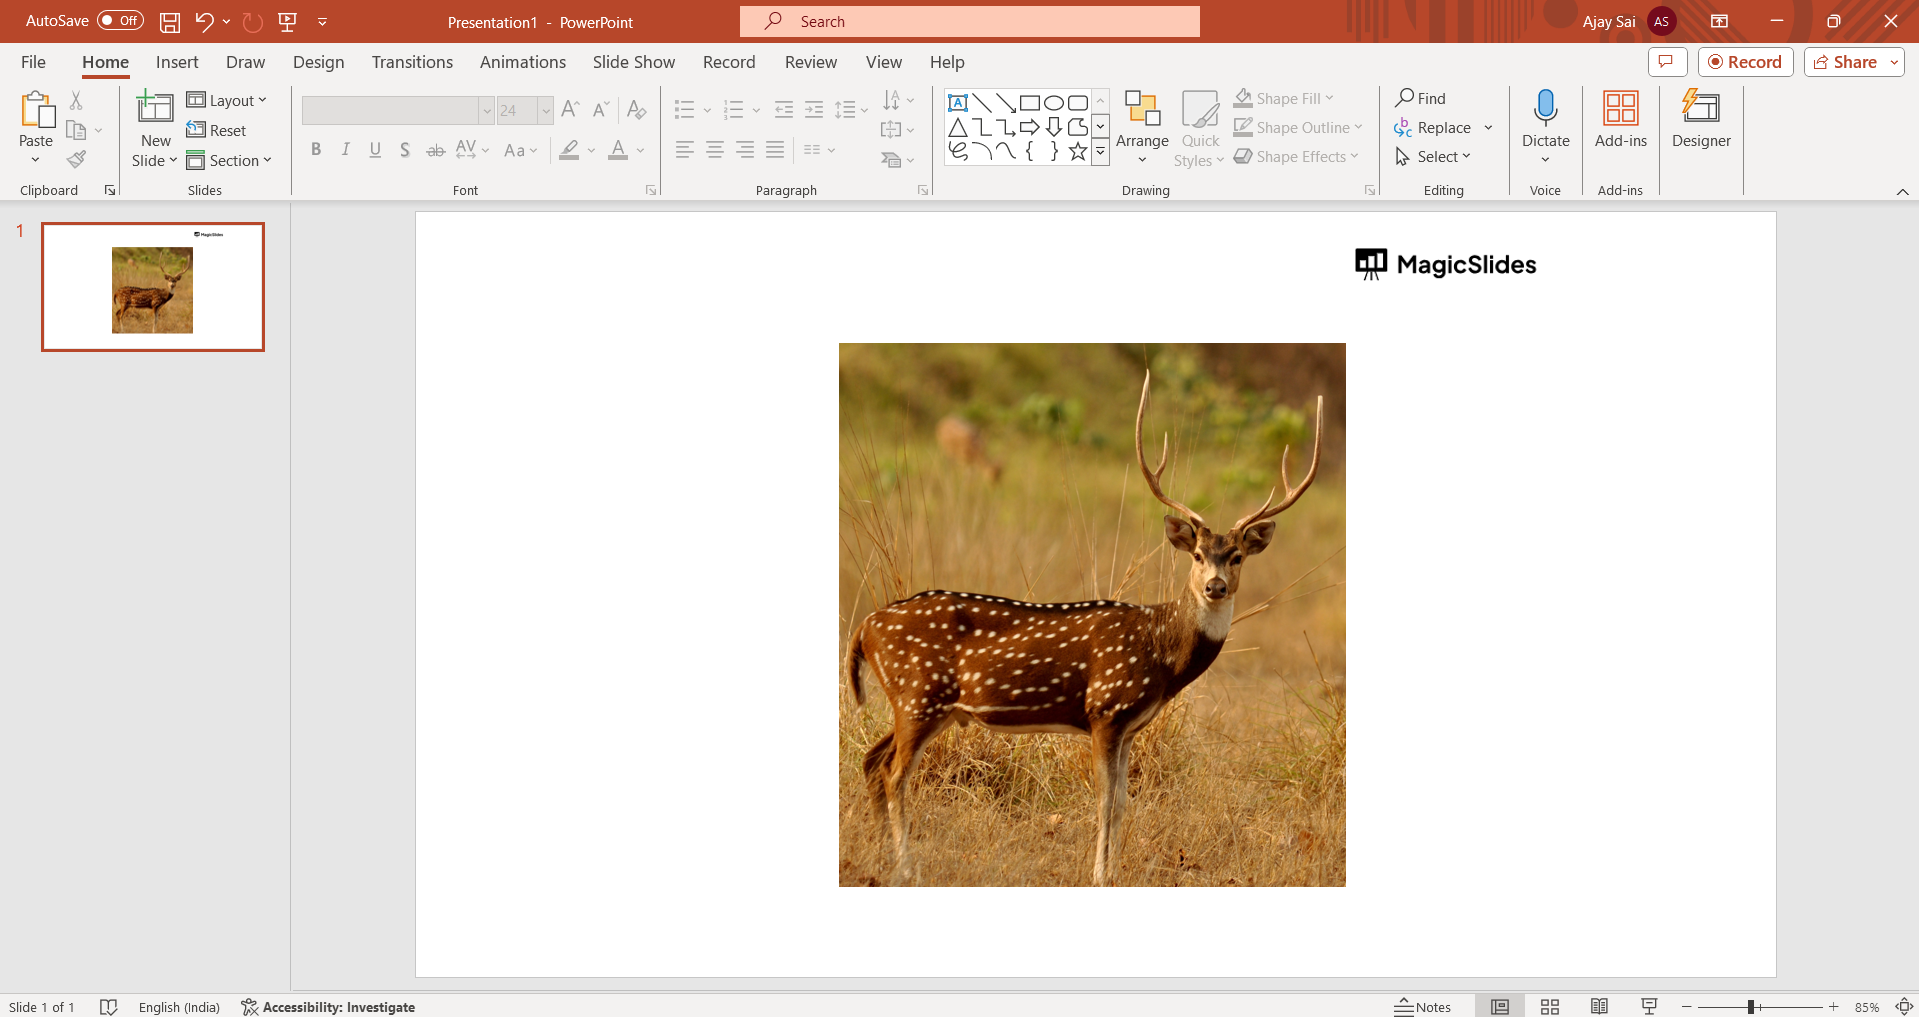
While automated cropping serves well for quick edits, achieving precision often demands manual adjustments. Follow these detailed steps for refined control over your image crops:
1. Image Selection:
Begin by selecting the specific image you intend to crop within your PowerPoint presentation. This initial step sets the foundation for your editing process.
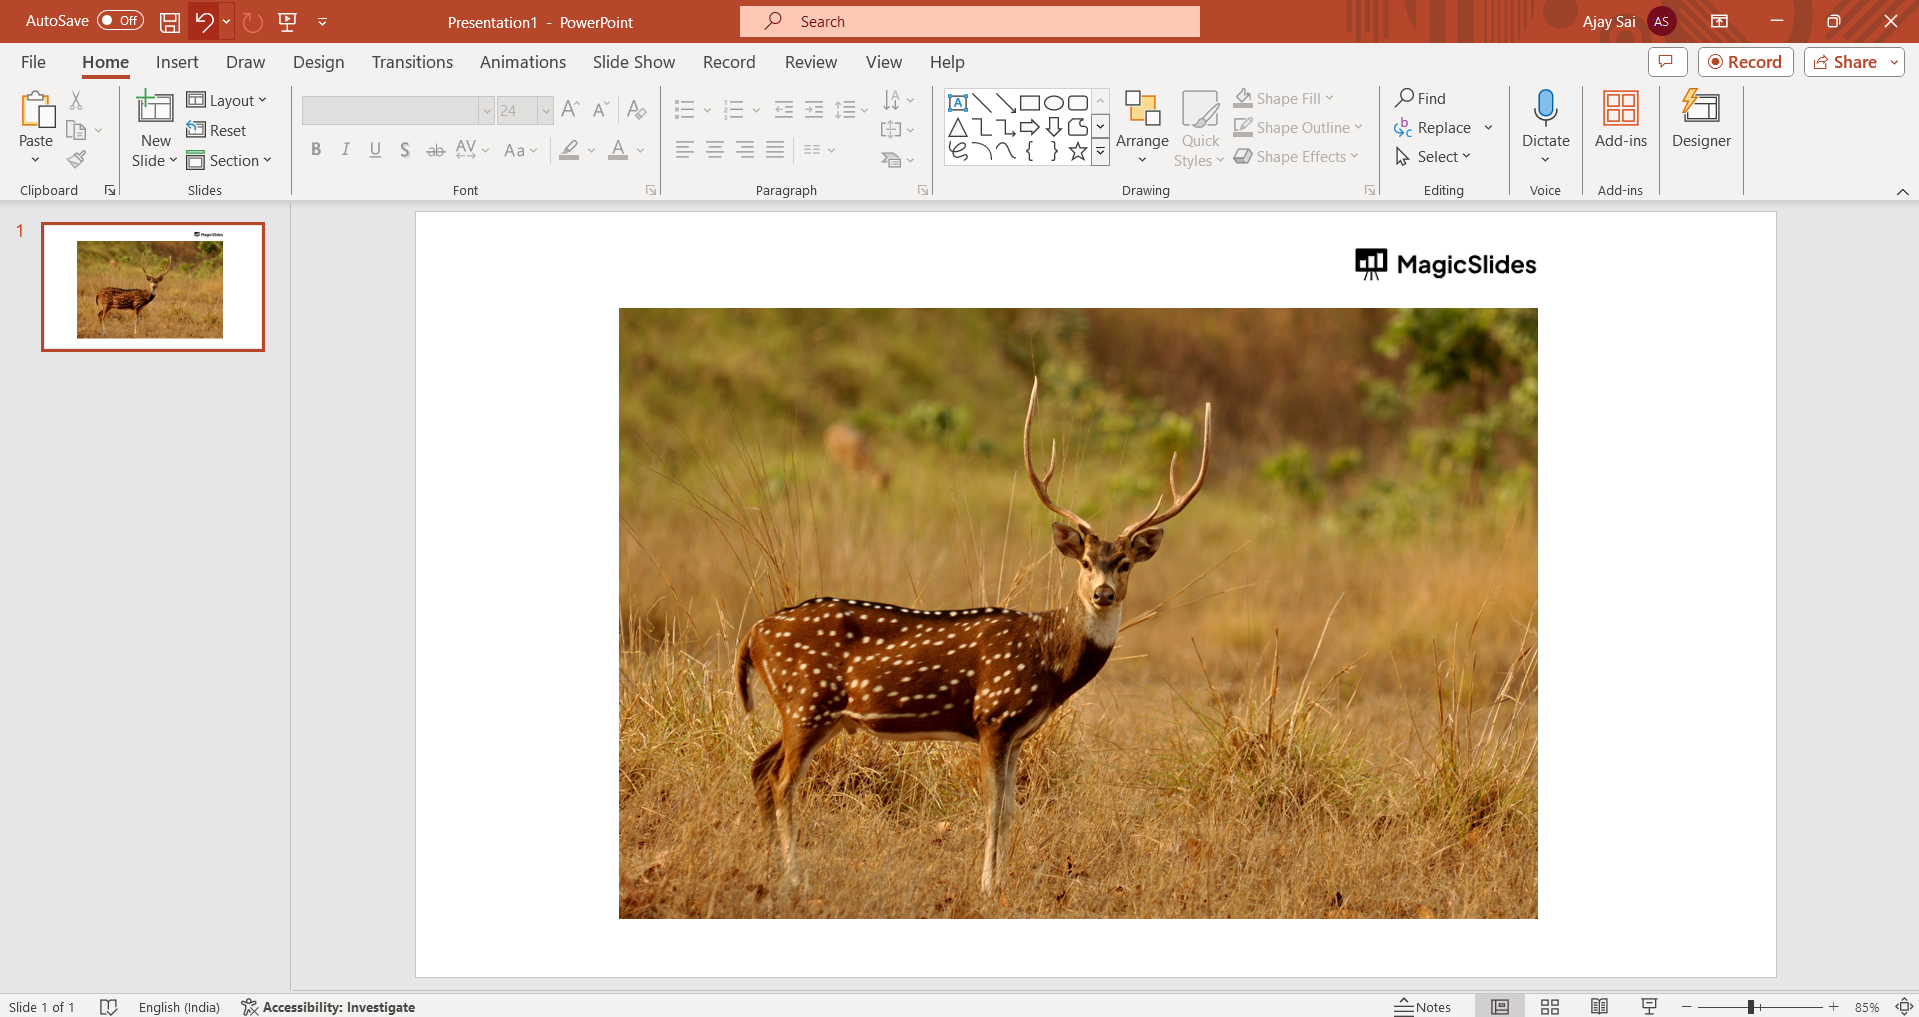
2. Accessing the Crop Tool:
Navigate to the “Format” tab on the ribbon, where you’ll find the essential “Crop” button. Click on this button to initiate the cropping process for your selected image.
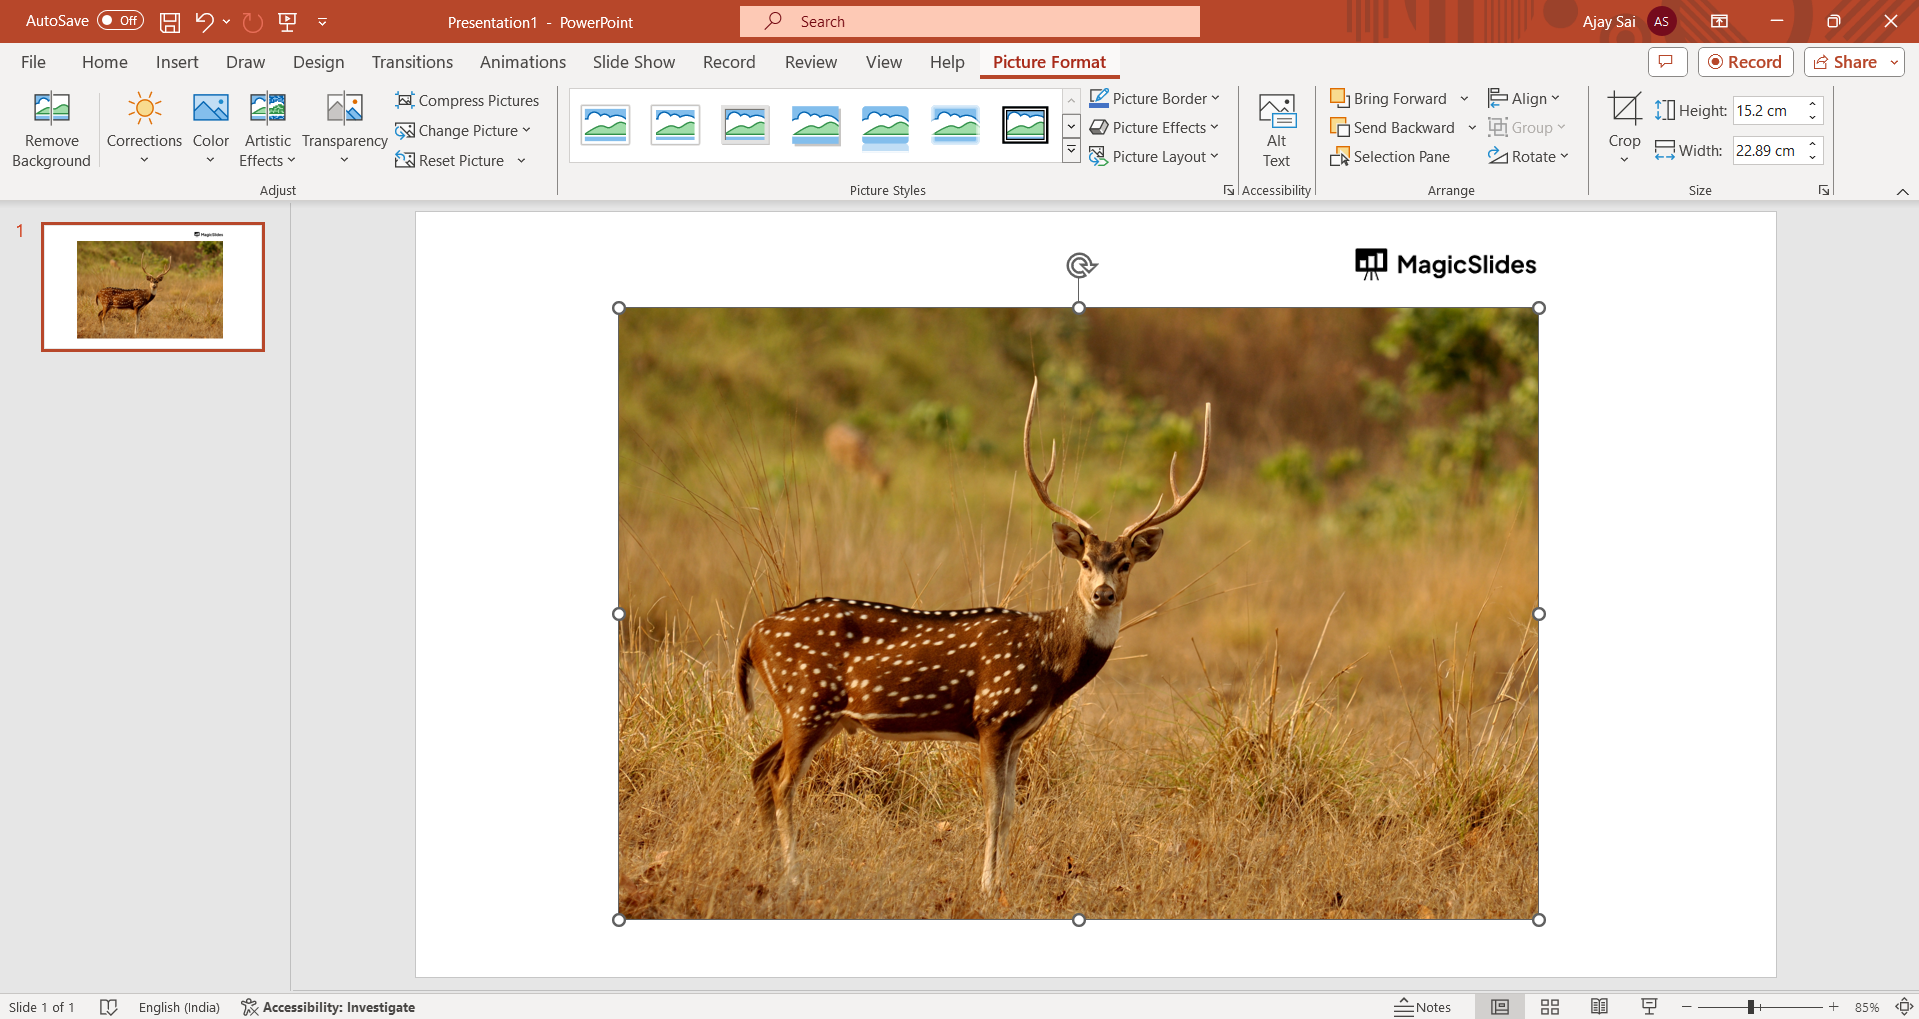
3. Positioning the Crop Box:
Once the cropping tool is activated, hover your cursor over the crop box. This interactive element allows you to precisely position it anywhere on the image, ensuring a tailored cropping experience.
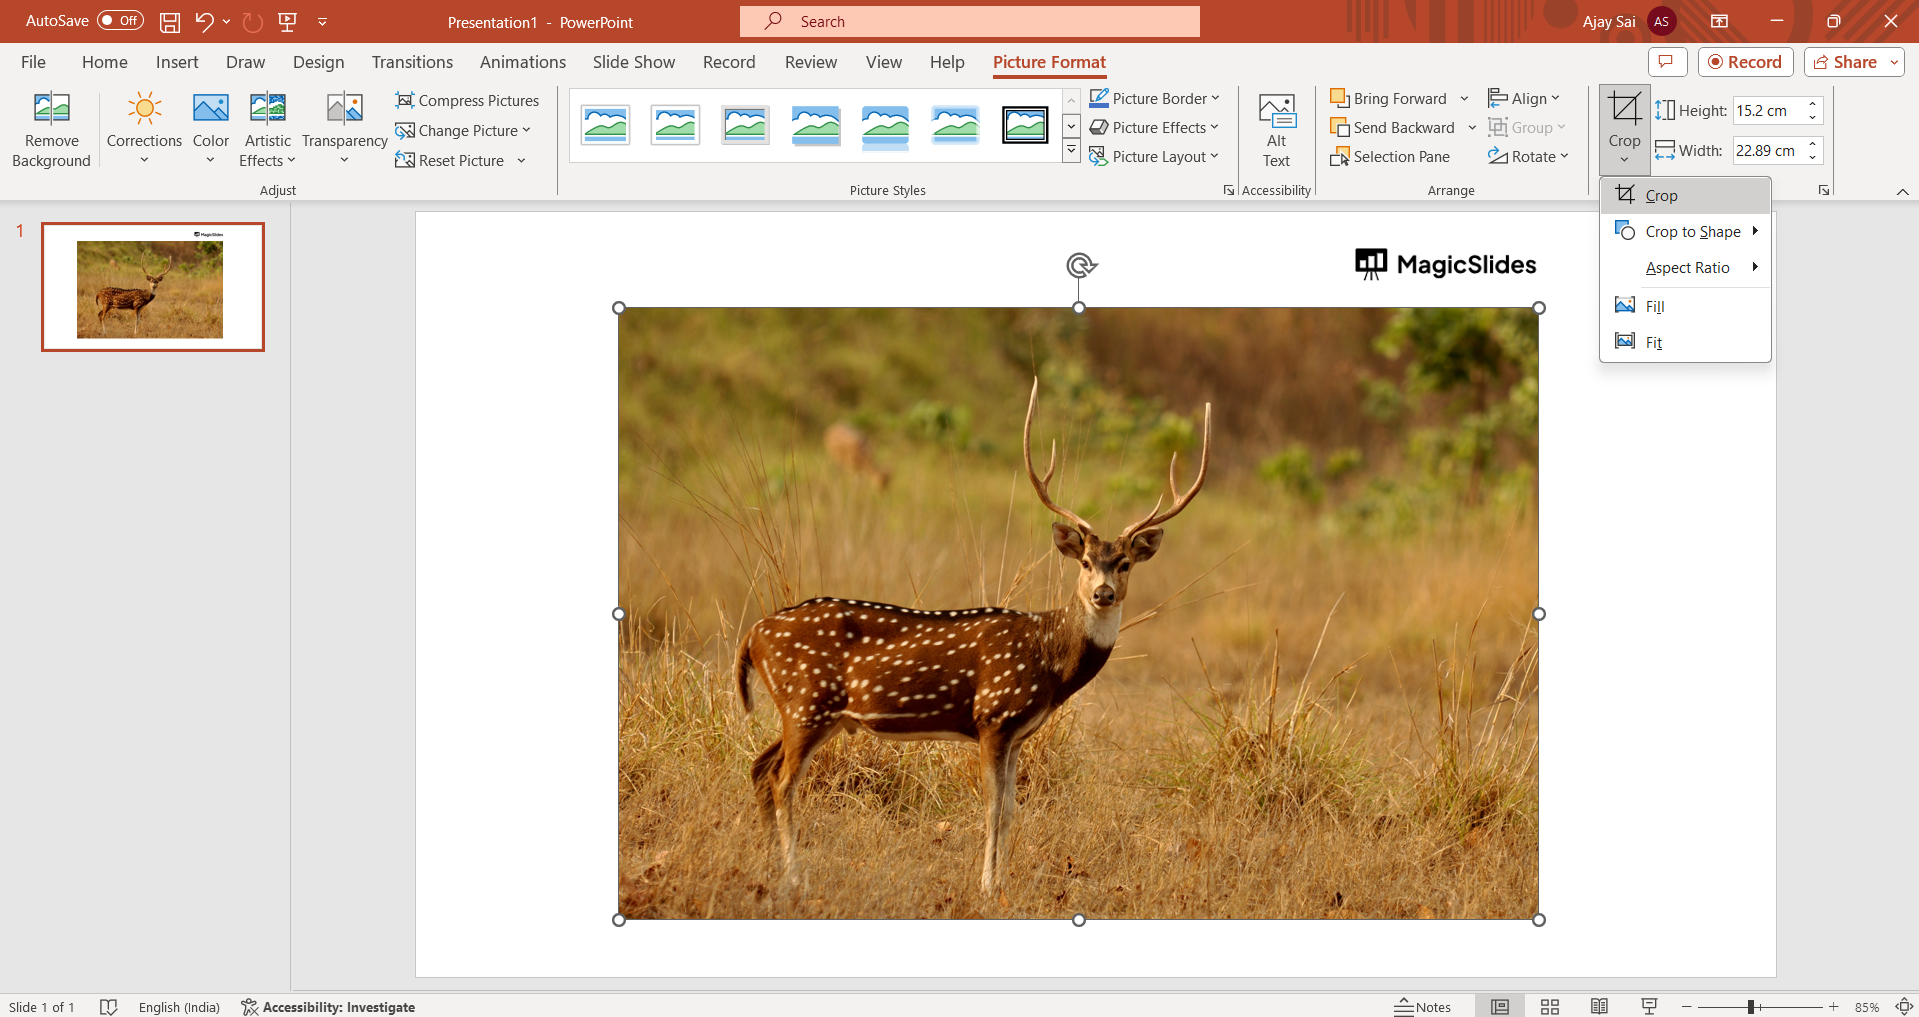
4. Moving the Crop Box:
Take control of your image’s composition by clicking and dragging the crop box. This step grants you the flexibility to reposition the box, aligning it perfectly with the focal points of your image.
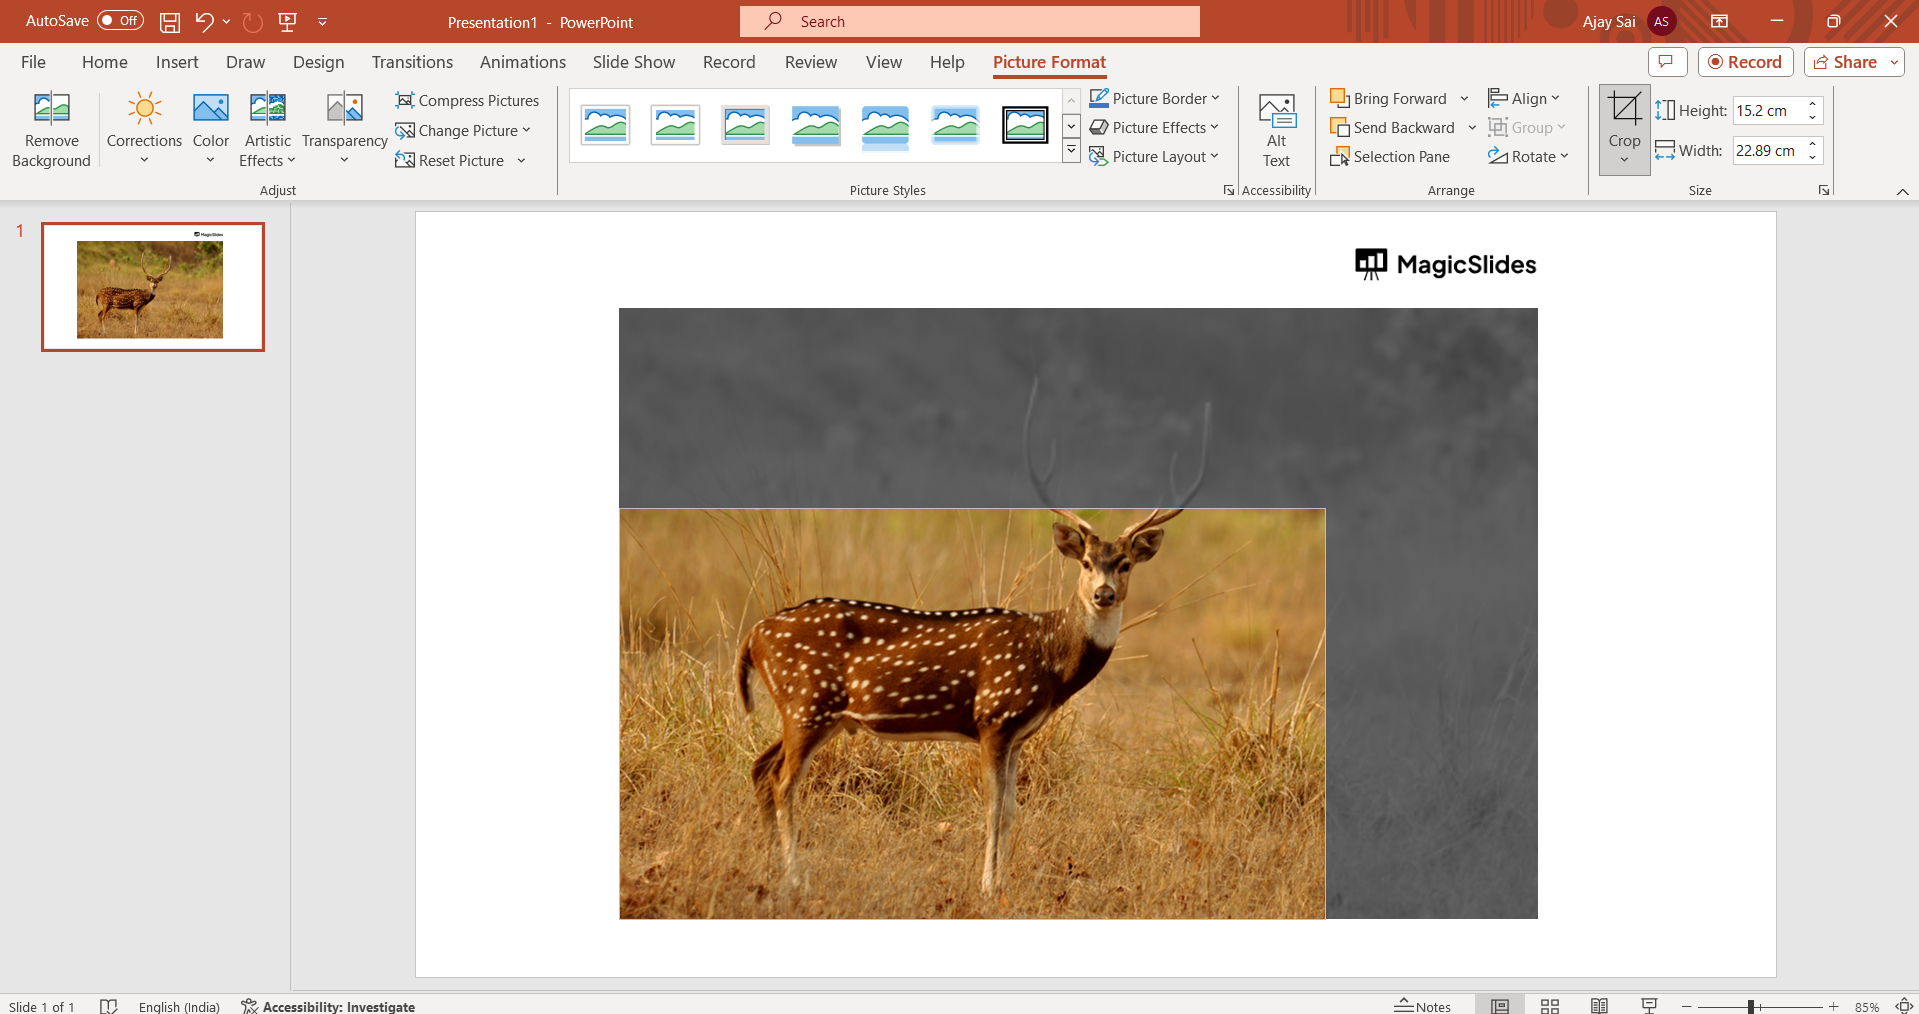
5. Resizing with Precision:
Refine the crop further by adjusting the size of the crop box. Click and drag the handles located on the edges of the box, providing you with meticulous control over the dimensions of your cropped image.
Additional Cropping Options in PowerPoint
PowerPoint also offers several advanced cropping features.
Crop to a Shape
Instead of a rectangle, you can crop your image into shapes like circles, stars, arrows, or hearts.
- Select the image.
- Go to Picture Format → Crop ▼.
- Choose Crop to Shape.
- Select your desired shape.
This is perfect for profile photos, team slides, and creative presentations.
Crop to an Aspect Ratio
If you need consistent image dimensions:
- Select the image.
- Click Crop ▼.
- Choose Aspect Ratio.
- Select a ratio such as:
- 1:1 (Square)
- 4:3
- 16:9
- 3:2
This helps maintain a uniform look across your presentation.
Fill or Fit an Image
When placing images inside placeholders:
- Fill enlarges the image to fill the placeholder (some parts may be cropped).
- Fit resizes the image so the entire picture remains visible (may leave space).
Both options are available from Picture Format → Crop.
Tips for Better Image Cropping in PowerPoint
- Use high-resolution images to avoid blurry results after cropping.
- Keep the main subject centered for a balanced slide design.
- Maintain the same aspect ratio across multiple images for consistency.
- Use Crop to Shape to create circular profile pictures for team presentations.
- Avoid excessive cropping, as enlarging a heavily cropped image can reduce quality.
Create Professional Presentations Faster with MagicSlides
Cropping images is just one part of creating great presentations. If you want to build stunning PowerPoint presentations in minutes instead of spending hours formatting slides, try MagicSlides AI PPT Maker.

With MagicSlides, you can generate complete presentations from:
- AI prompts and topics
- PDFs and Word documents
- YouTube videos
- Website URLs
- Images
- Existing PowerPoint files
The AI automatically creates well-structured slides with professional layouts, relevant visuals, icons, and speaker-friendly content. Once your presentation is ready, you can further customize it in PowerPoint, including cropping images, adding animations, changing themes, and more.
Whether you’re a student, teacher, marketer, consultant, or business professional, MagicSlides helps you create presentation-ready decks in just a few clicks, saving hours of manual work while delivering polished results.
Try MagicSlides for free and create your next presentation in seconds.
Conclusion
Cropping images in PowerPoint is a simple way to make your presentations look cleaner and more professional. Whether you’re removing distractions, highlighting a subject, creating circular profile photos, or maintaining consistent image sizes, PowerPoint’s built-in cropping tools make the process quick and easy. With the techniques above, you can create polished slides that keep your audience focused on what matters most.
Frequently Asked Questions:
Q1. Can I crop an image into a circle in PowerPoint?
Yes. Select the image, go to Picture Format → Crop → Crop to Shape, and choose the Oval shape. Use a 1:1 aspect ratio first if you want a perfect circle.
Q2. Does cropping permanently delete part of the image?
No. PowerPoint uses non-destructive cropping, meaning the hidden portions remain in the file unless you compress the presentation and choose to delete cropped areas.
Q3. Can I undo a crop later?
Yes. Select the cropped image and click Crop again. You can drag the crop handles outward to reveal the hidden parts of the original image.
Q4. Can I crop multiple images at once?
No. PowerPoint only allows cropping one image at a time.
Q4. What’s the difference between Crop, Fill, and Fit?
- Crop manually removes unwanted portions.
- Fill makes the image completely fill the placeholder, cropping excess areas if needed.
- Fit ensures the entire image is visible inside the placeholder without cropping.


