How to add a border box in Google Slides Application


Adding border in Google Slides is a simple 7 step process and can be achieved in under a minute, here is a quick guide to add border with images…..
In Google Slides, adding a border box enhances visual appeal and emphasizes content. This feature helps create organized and professional presentations, guiding the audience's focus while providing a structured framework for information delivery. Learn how to incorporate border boxes for a polished and impactful presentation design. To add a border to an object or a slide in Google Slides, you can follow these steps:
How to add a border box in Google Slides Application
Step 1: Open Google Slides:
Open your Google Slides presentation and sign-in with your gmail account, choose a blank slide and we can start adding borders.

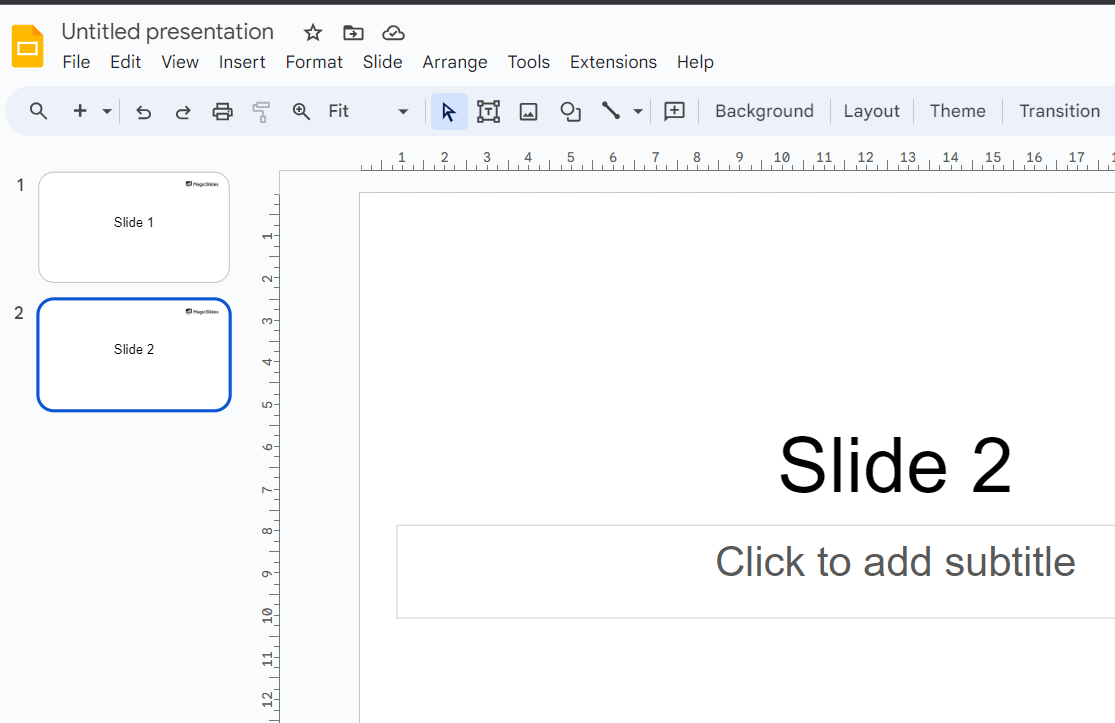
Step 2: Select the Object or Slide:
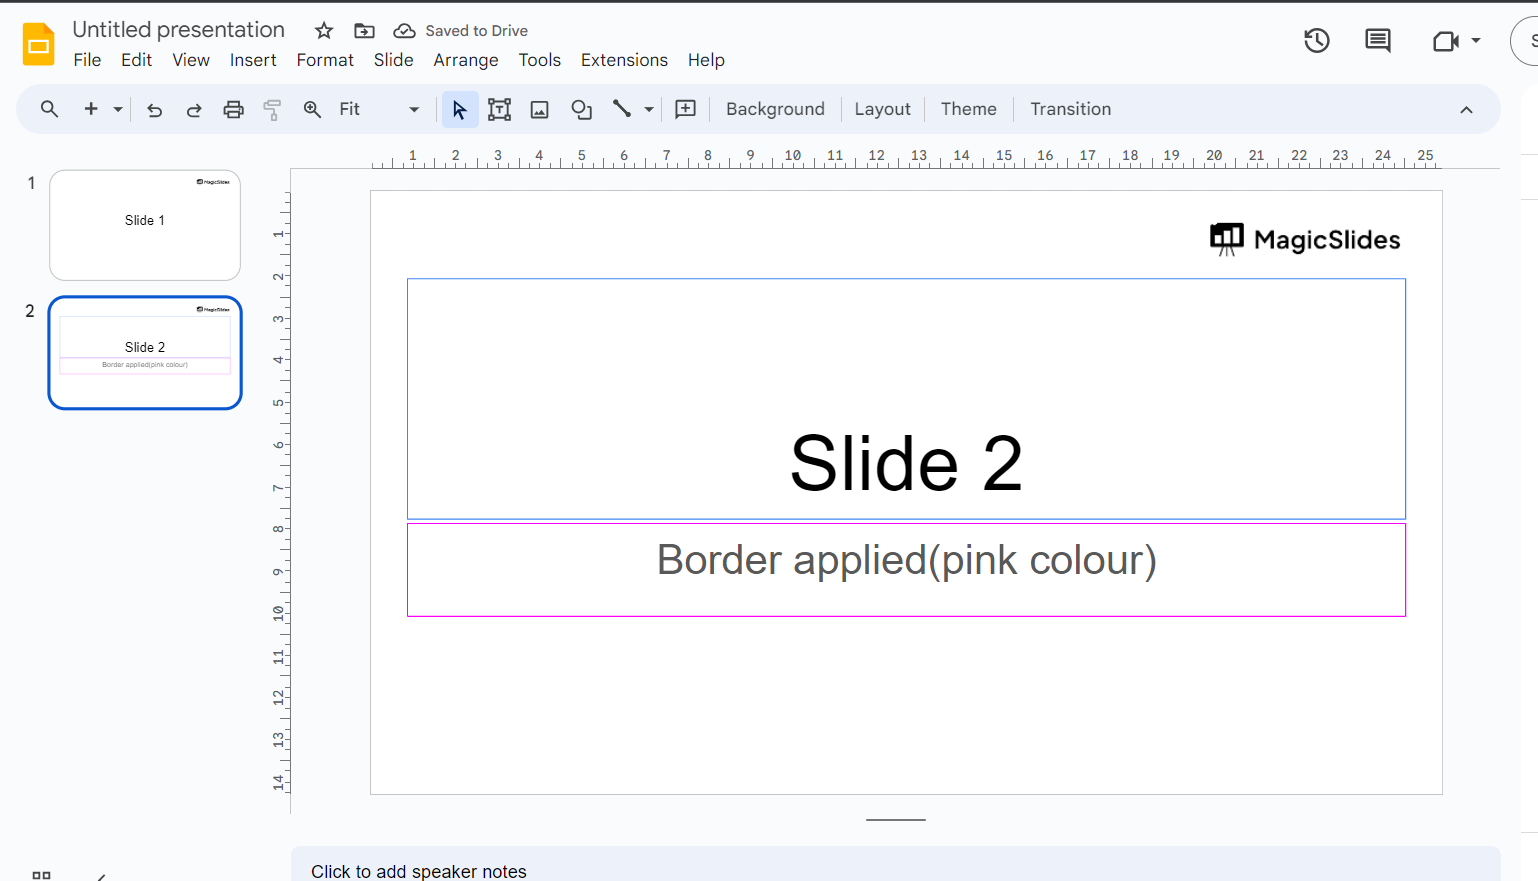
Click on the slide or object (such as an image, text box, or shape) to which you want to add a border. If you want to add a border to the entire slide, you can click anywhere on the slide to select it.
Step 3: Access the Format Options:
Once the object or slide is selected, you should see a toolbar at the top of the screen. If not, click on the "Format" menu in the top menu bar.
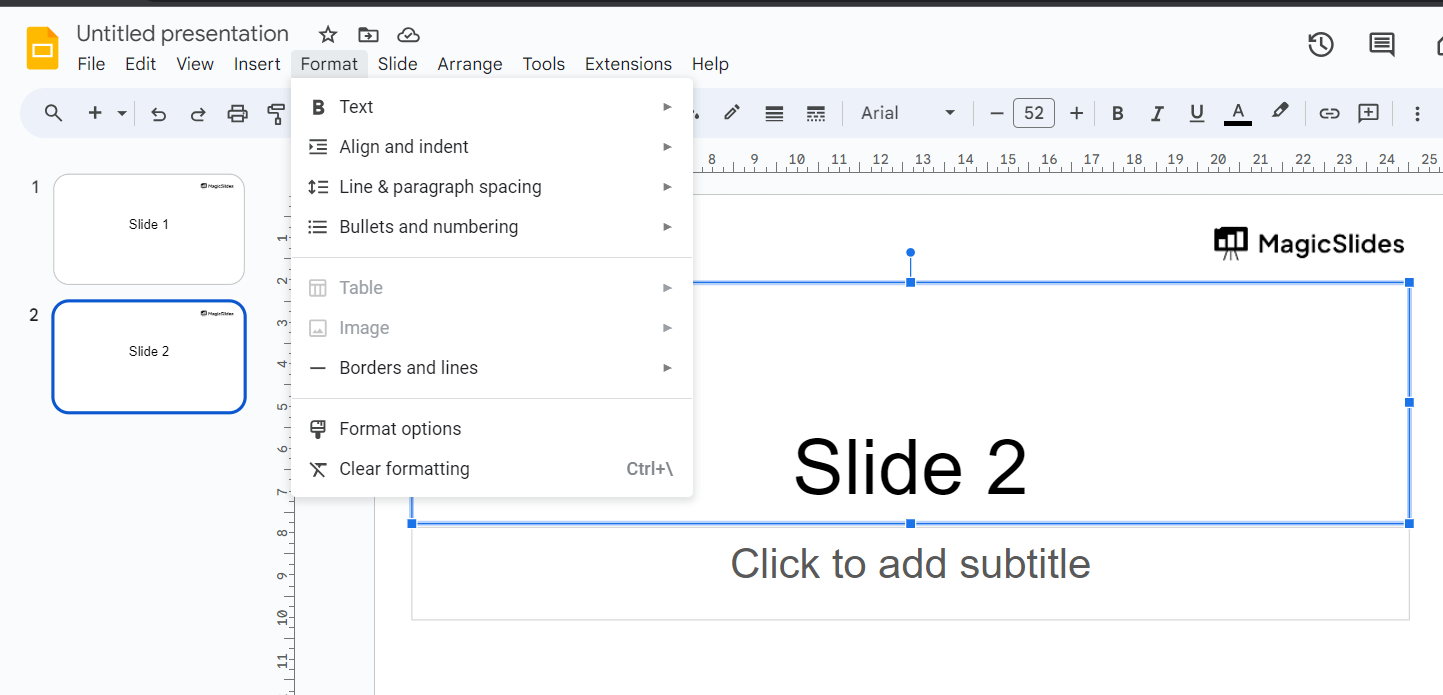
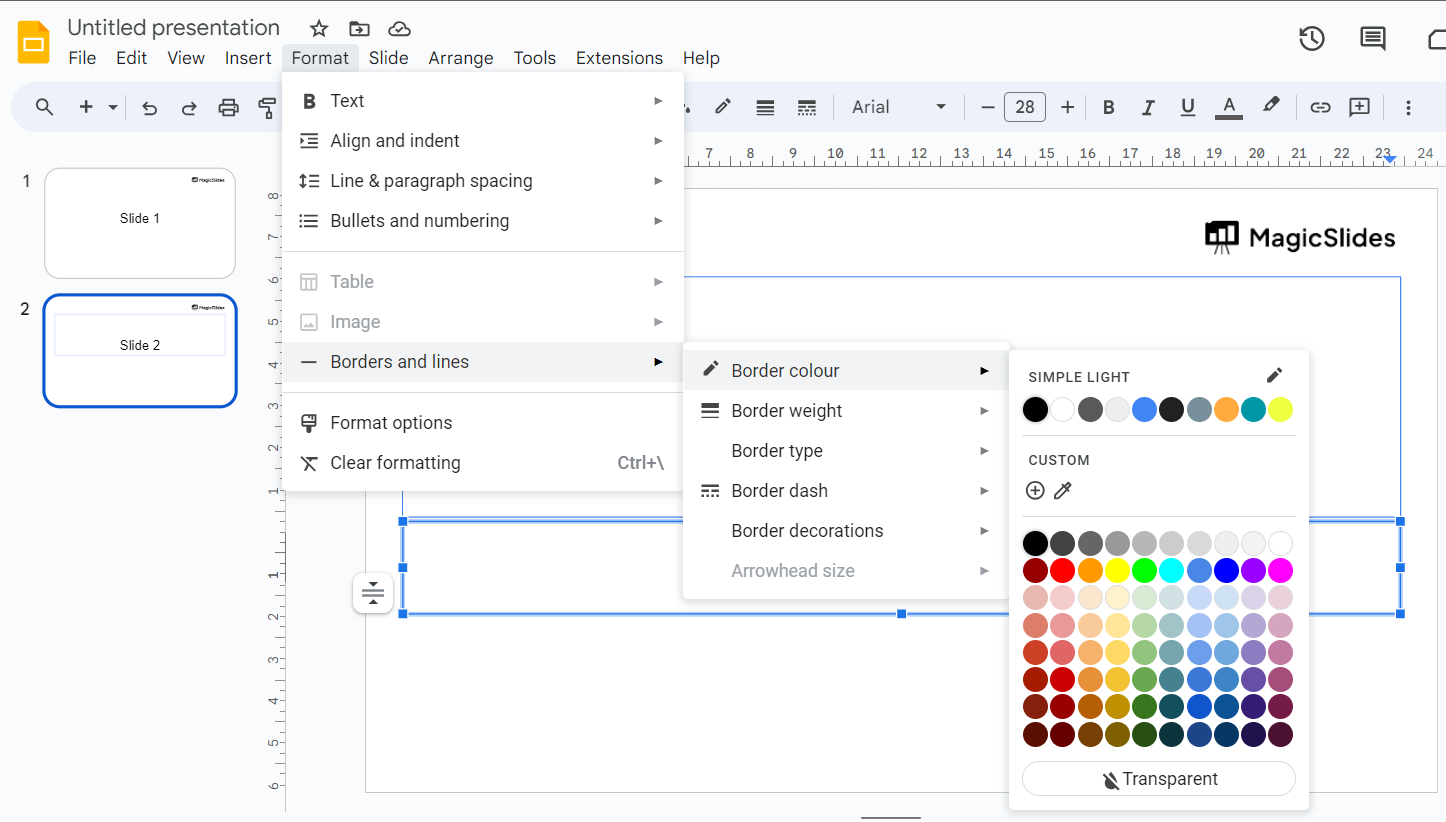
Step 4: Open the Border Options:
Within the Format options, look for the "Borders & lines" or "Line" option. The wording might vary slightly depending on the version of Google Slides you are using.
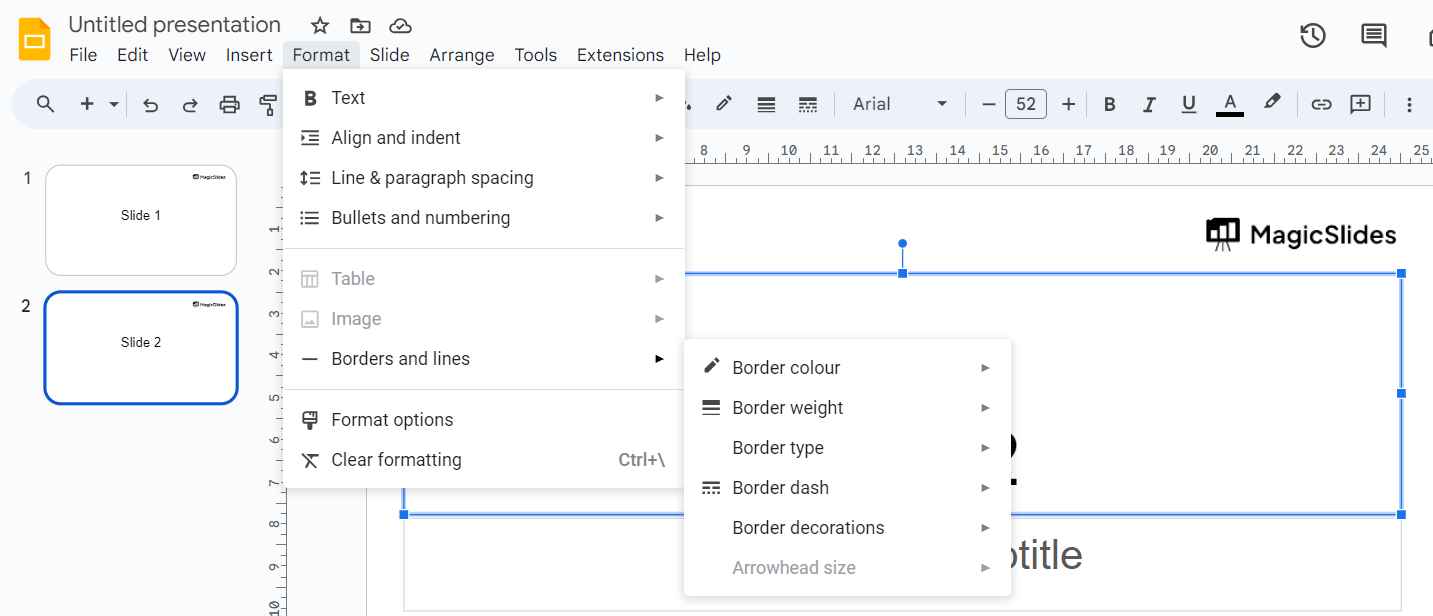
Step 5: Choose Border Settings:
In the Borders & lines or Line options, you can customize the border settings:
- Style: Choose the style of the border, such as solid, dashed, dotted, etc.
- Color: Select the color for the border.
- Width: Adjust the width of the border line.
- Transparency: If you want the border to be partially transparent, you might find an option to adjust transparency here.
- Apply to: You can choose whether the border applies to the object's outline or to the entire object.
Step 6: Apply the Border:
Once you've customized the border settings to your preference, click on the "Apply" or "Done" button to apply the border to the selected object or slide.
Step 7: Adjust as Needed:
If you're not satisfied with the border's appearance, you can always go back to the "Borders & lines" or "Line" options and make further adjustments.
Step 8: Save Your Changes:
Make sure to save your presentation after adding the border to ensure your changes are retained or simply use ctrl+s to save your changes.
Conclusion:
Integrating border boxes in Google Slides elevates presentation aesthetics, emphasizing key content and fostering a cohesive visual narrative. This meticulous design choice not only enhances professionalism but also captivates the audience, reinforcing the importance of thoughtful visual elements in effective communication.
Frequently Asked Questions:
Why should I consider adding border boxes in Google Slides?
Border boxes enhance visual appeal, draw attention to key content, and contribute to a polished presentation.
Can I customize the appearance of the border boxes?
Yes, Google Slides allows customization of border box styles, colors, and sizes to suit your presentation's aesthetic.
Do border boxes improve audience engagement?
Absolutely. They guide focus, create a structured presentation, and contribute to a more captivating and professional visual narrative.
Are there specific situations where using border boxes is particularly effective?
Yes, border boxes are especially effective when emphasizing key points, organizing information, or creating visual hierarchy in your Google Slides presentation.


