Can you Group Text and Shapes in Google Slides


Easily group text and shapes in Google Slides to move, resize, and format them together effortlessly
Can You Group Text and Shapes in Google Slides?
Yes! Google Slides allows you to group text and shapes, making it easier to move, resize, and format multiple elements as a single unit.
This feature is useful for keeping your design organized and maintaining alignment across your slides.
In this guide, we’ll walk you through the simple steps to group text and shapes in Google Slides.
Step-by-Step Guide to Grouping Text and Shapes in Google Slides
Step 1: Open Google Slides
Go to slides.google.com.
Open an existing presentation or create a new one.
Step 2: Insert Text and Shapes
Click Insert in the top menu. Select Text box and type your text.
To add a shape, go to Insert > Shape, then choose a shape from the list.
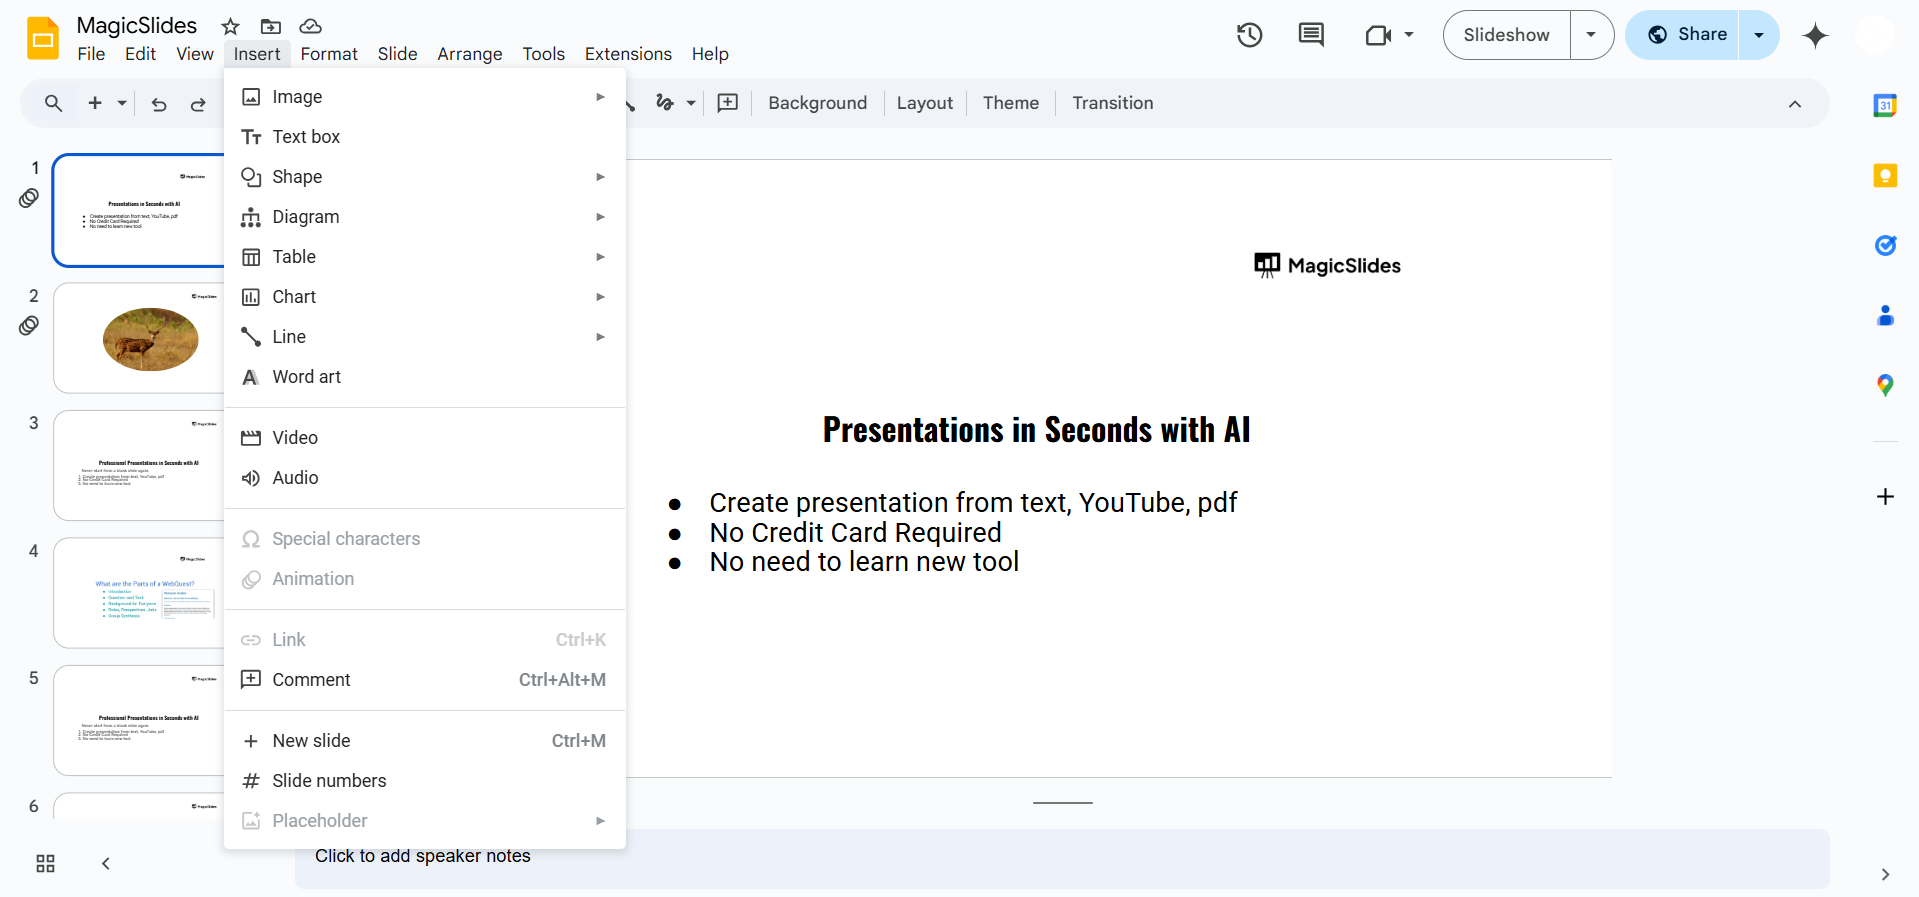
Resize and position both elements as needed.
Step 3: Select the Text and Shapes
Click on the text box. Hold the Shift key and click on the shape.
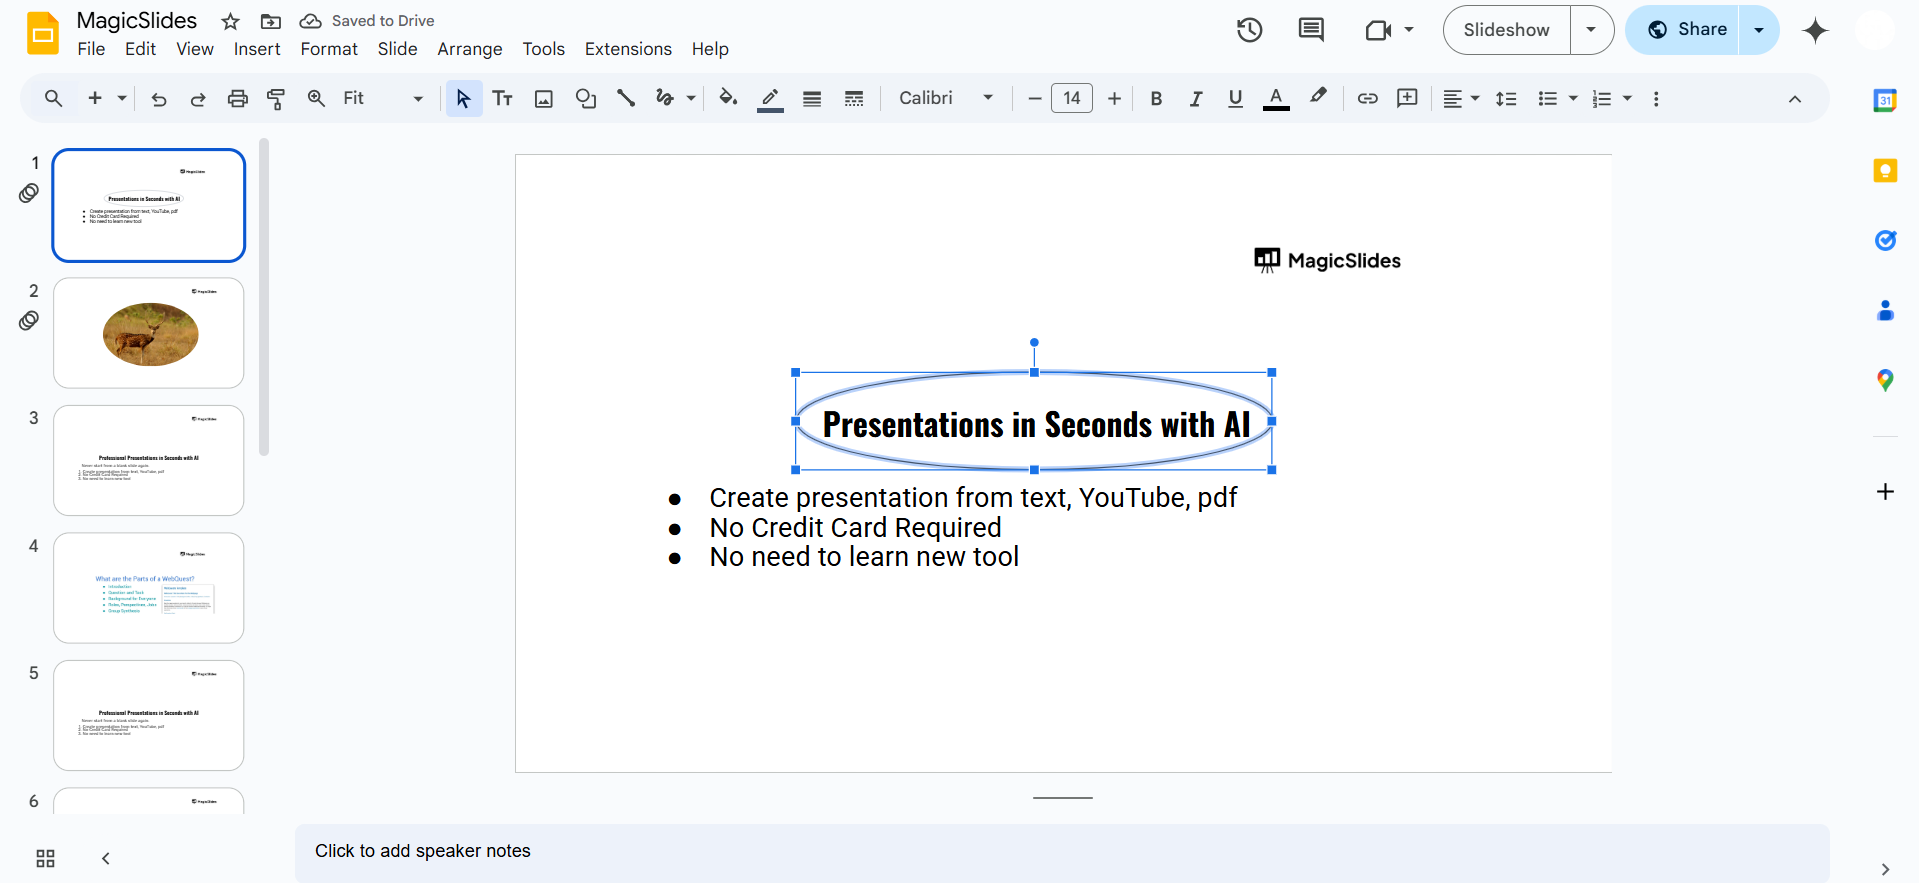
Both elements should now be selected.
Step 4: Group the Selected Items
Right-click on the selected text and shape. Choose Group from the menu.
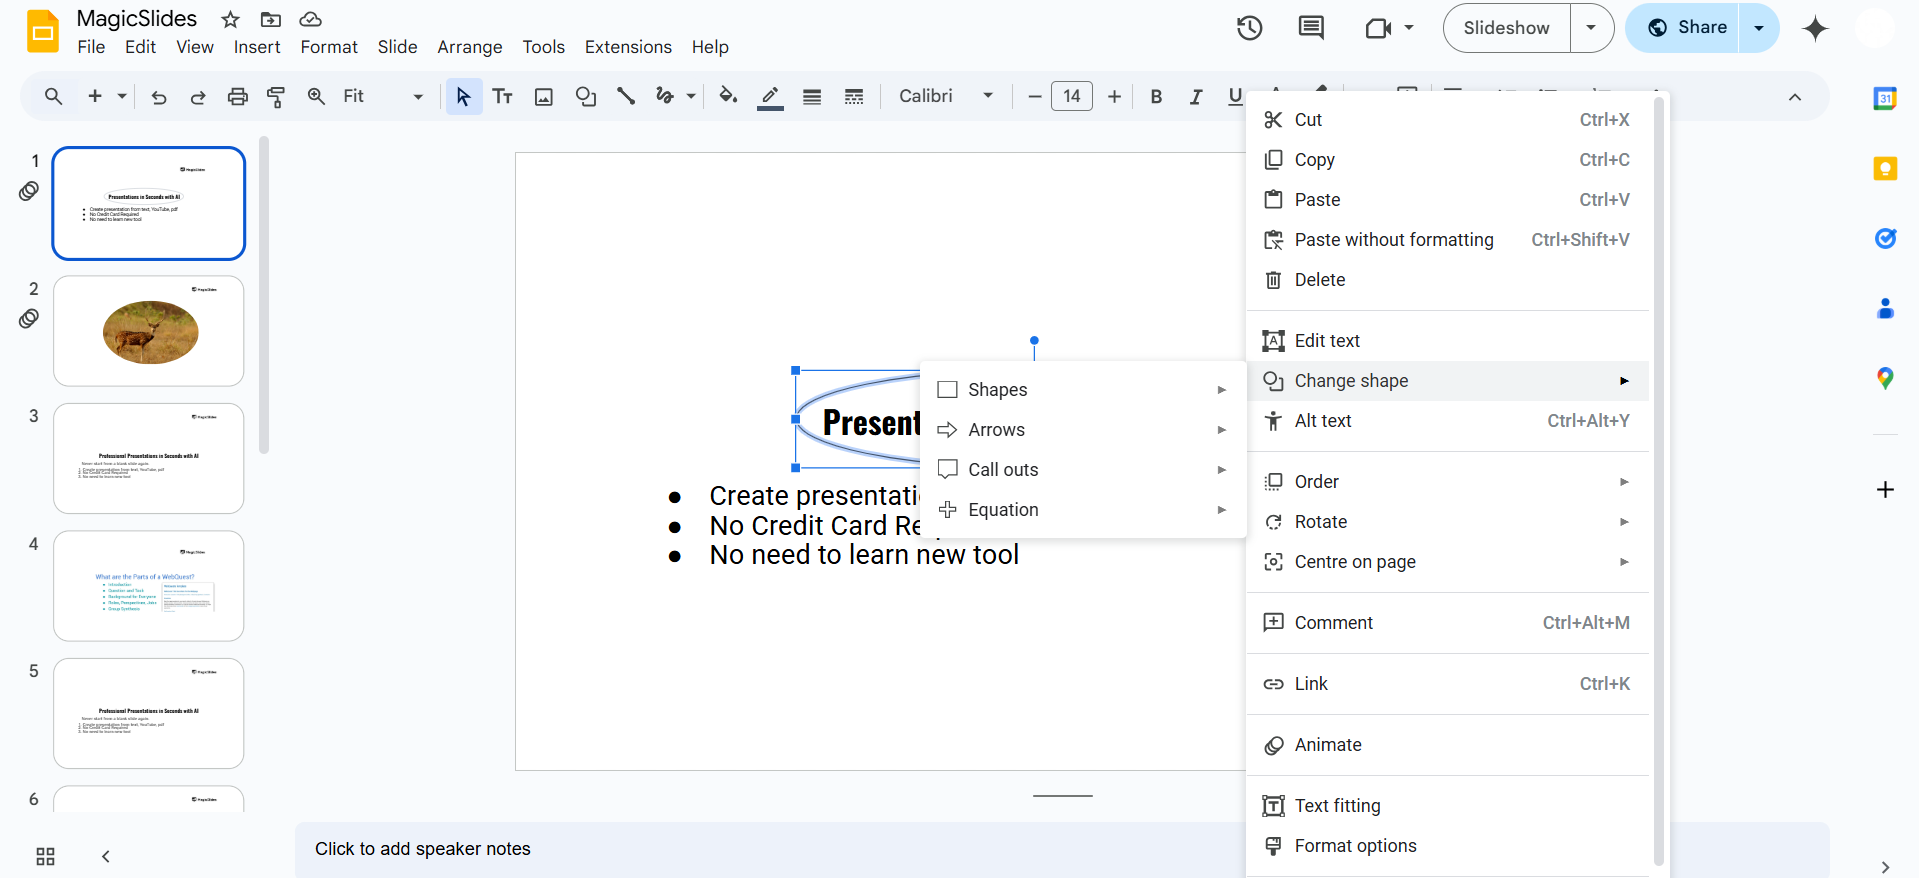
Alternatively, you can press Ctrl + Alt + G (Windows) or Cmd + Option + G (Mac).
Step 5: Edit the Grouped Elements
Once grouped, you can:
- Move them together without losing alignment.
- Resize them proportionally.
- Change colors or formatting for both at the same time.
Step 6: Ungroup If Needed
Right-click on the grouped elements. Select Ungroup from the menu.
Alternatively, press Ctrl + Alt + Shift + G (Windows) or Cmd + Option + Shift + G (Mac).
Grouping text and shapes in Google Slides helps organize your content, and if you want to create seamless, professional presentations with ease, MagicSlides.app has got you covered. It generates beautifully designed slides in seconds using AI no extra effort required!
Conclusion
Grouping text and shapes in Google Slides helps you maintain consistency and alignment, making it easier to manage complex slide designs.
Whether you’re creating infographics, diagrams, or layered elements, this feature enhances your workflow.
FAQs About Grouping Text and Shapes in Google Slides
Can I edit text inside a grouped object?
Yes! Double-click the text box inside the group to edit the content without ungrouping.
Can I group multiple text boxes together?
Yes! You can select multiple text boxes and group them just like shapes.
Why is the ‘Group’ option not available?
Ensure you have selected at least two objects. If one is an image, shape, or text box, the option should appear.
Now you can efficiently group text and shapes in Google Slides to improve your presentations! 🚀


