How to Change All the Fonts of the Presentation in few clicks


Changing all fonts in a presentation improves consistency, readability, and design coherence, enhancing the overall visual appeal and impact.
To change all the fonts in a Google Slides presentation, follow these steps:
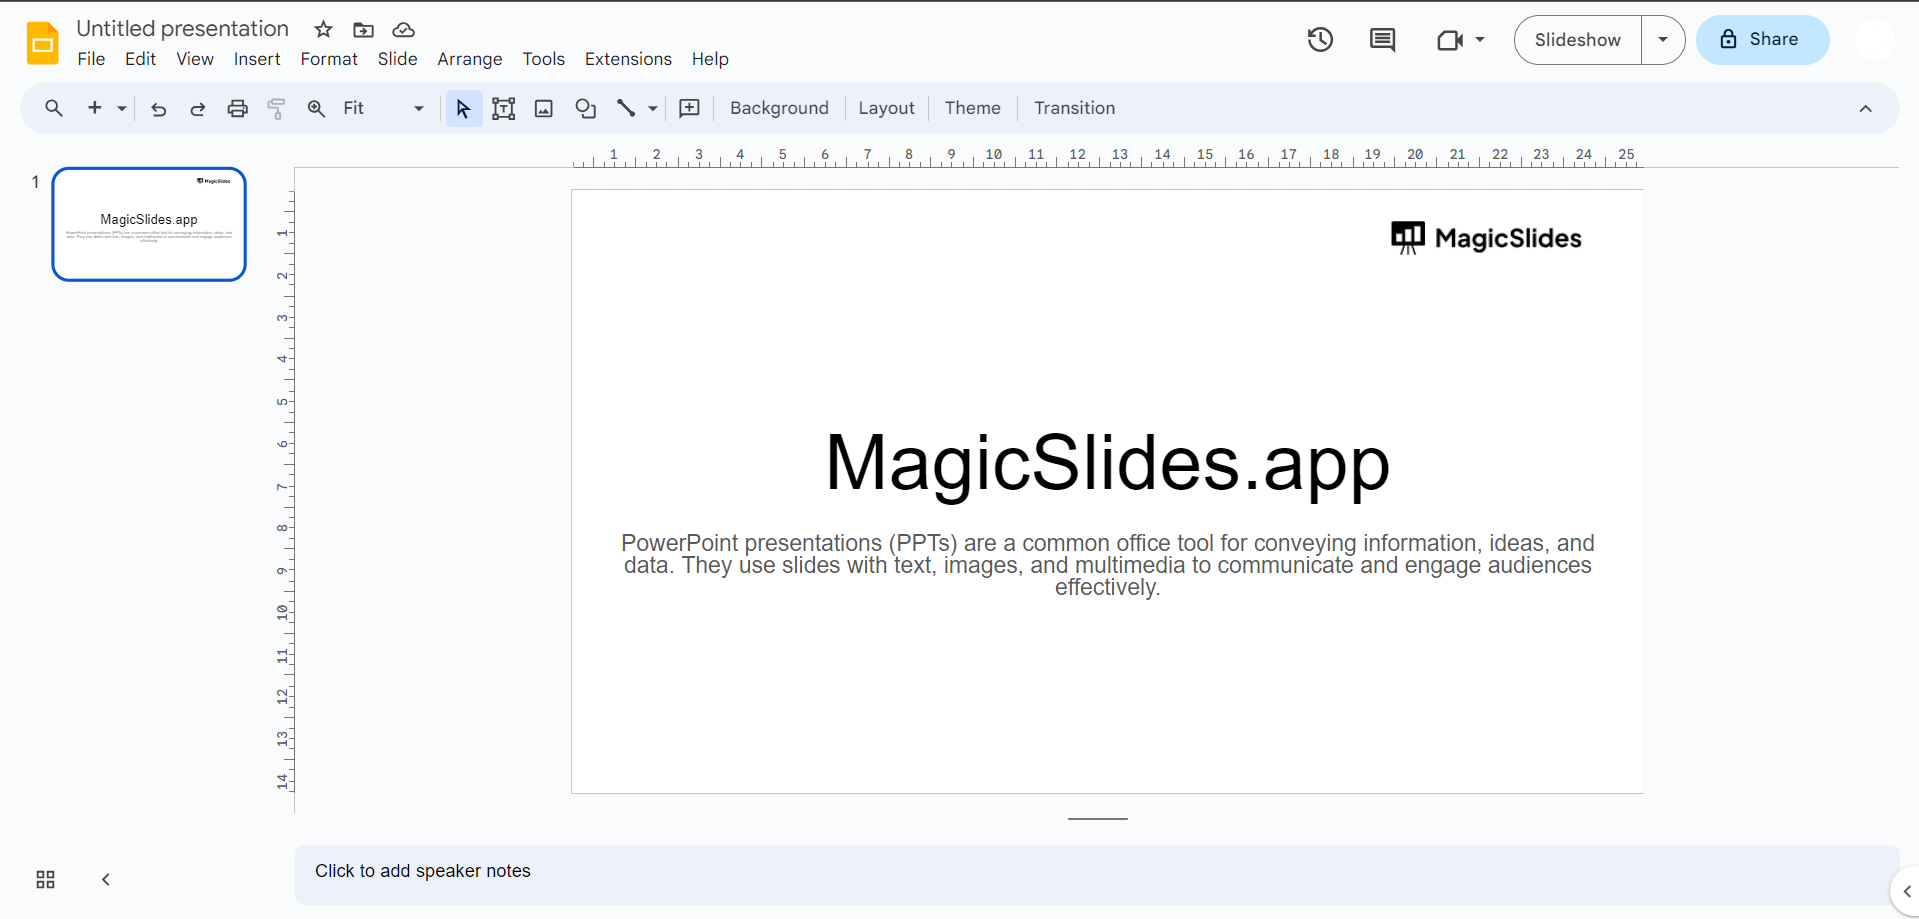
Step 1: Open Your Presentation:
- Head over to slides.google.com, either open an existing presentataion or create one.
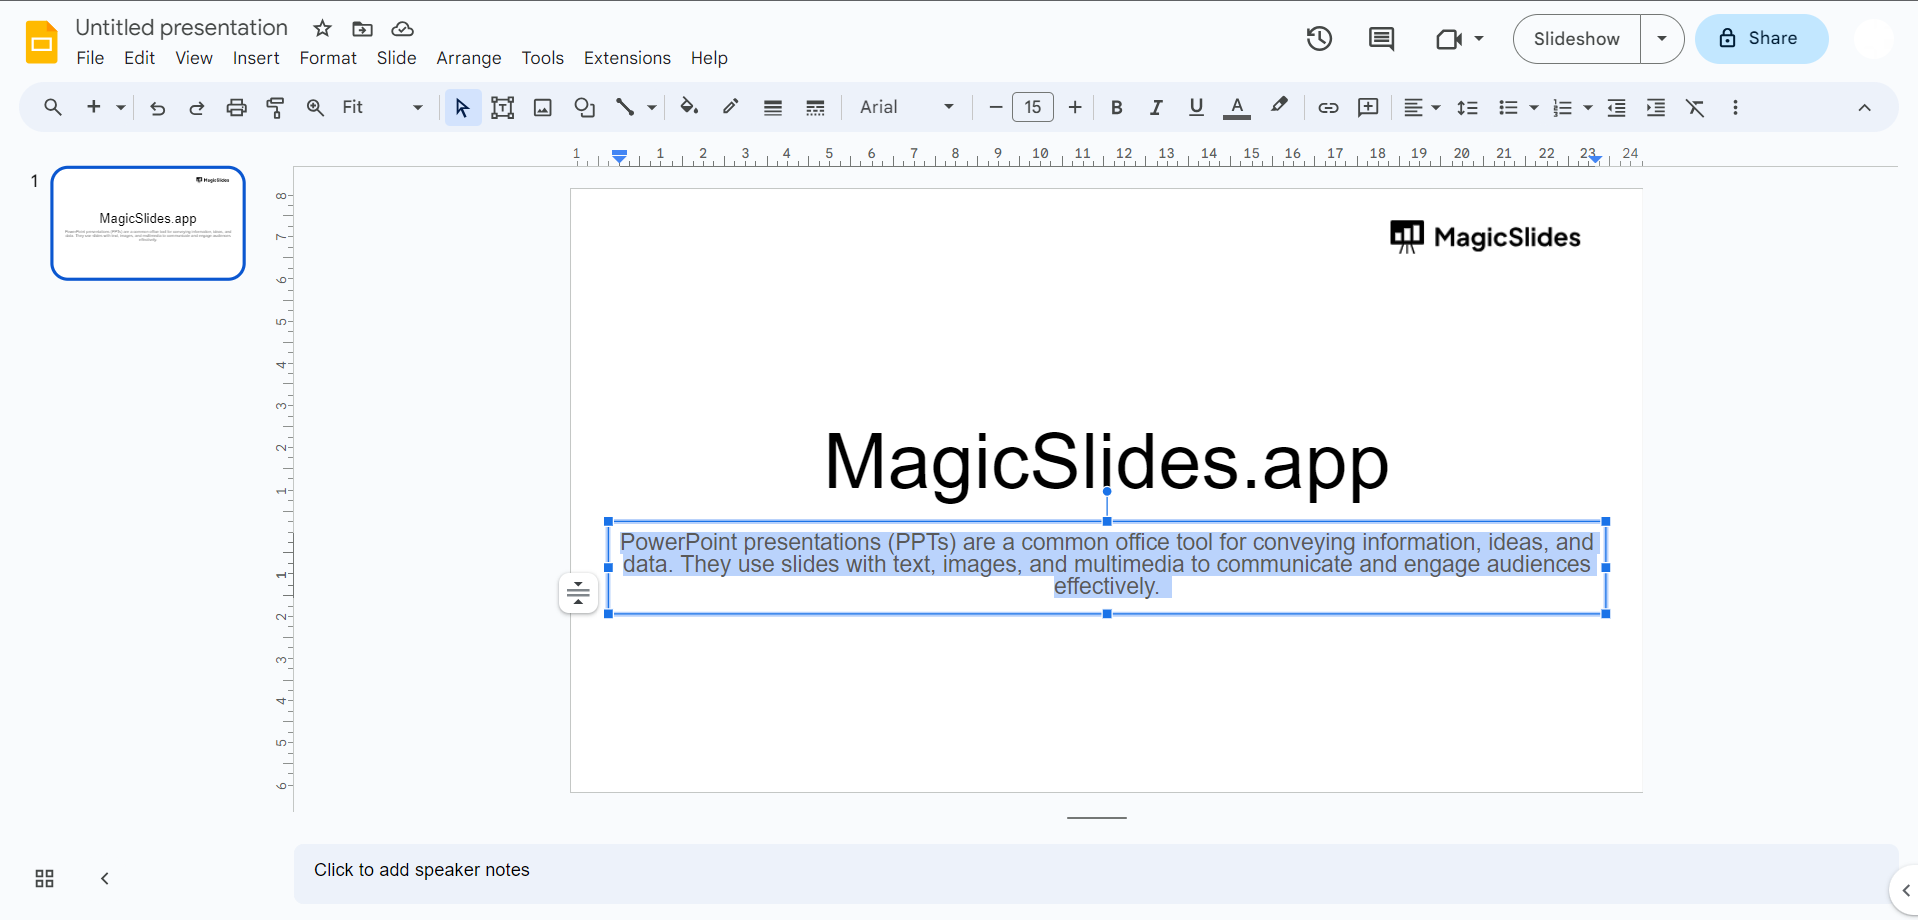
Step 2: Select All Text:
- Click and drag to select all the text in the presentation. You can also press
Ctrl + A(Windows) orCommand + A(Mac) to select all.
Step 3: Open the Font Menu:
- Click on the font selection dropdown menu in the toolbar. It typically displays the name of the current font.
Step 4: Choose a New Font:
- Scroll through the list of available fonts or use the search bar to find the font you want to use.
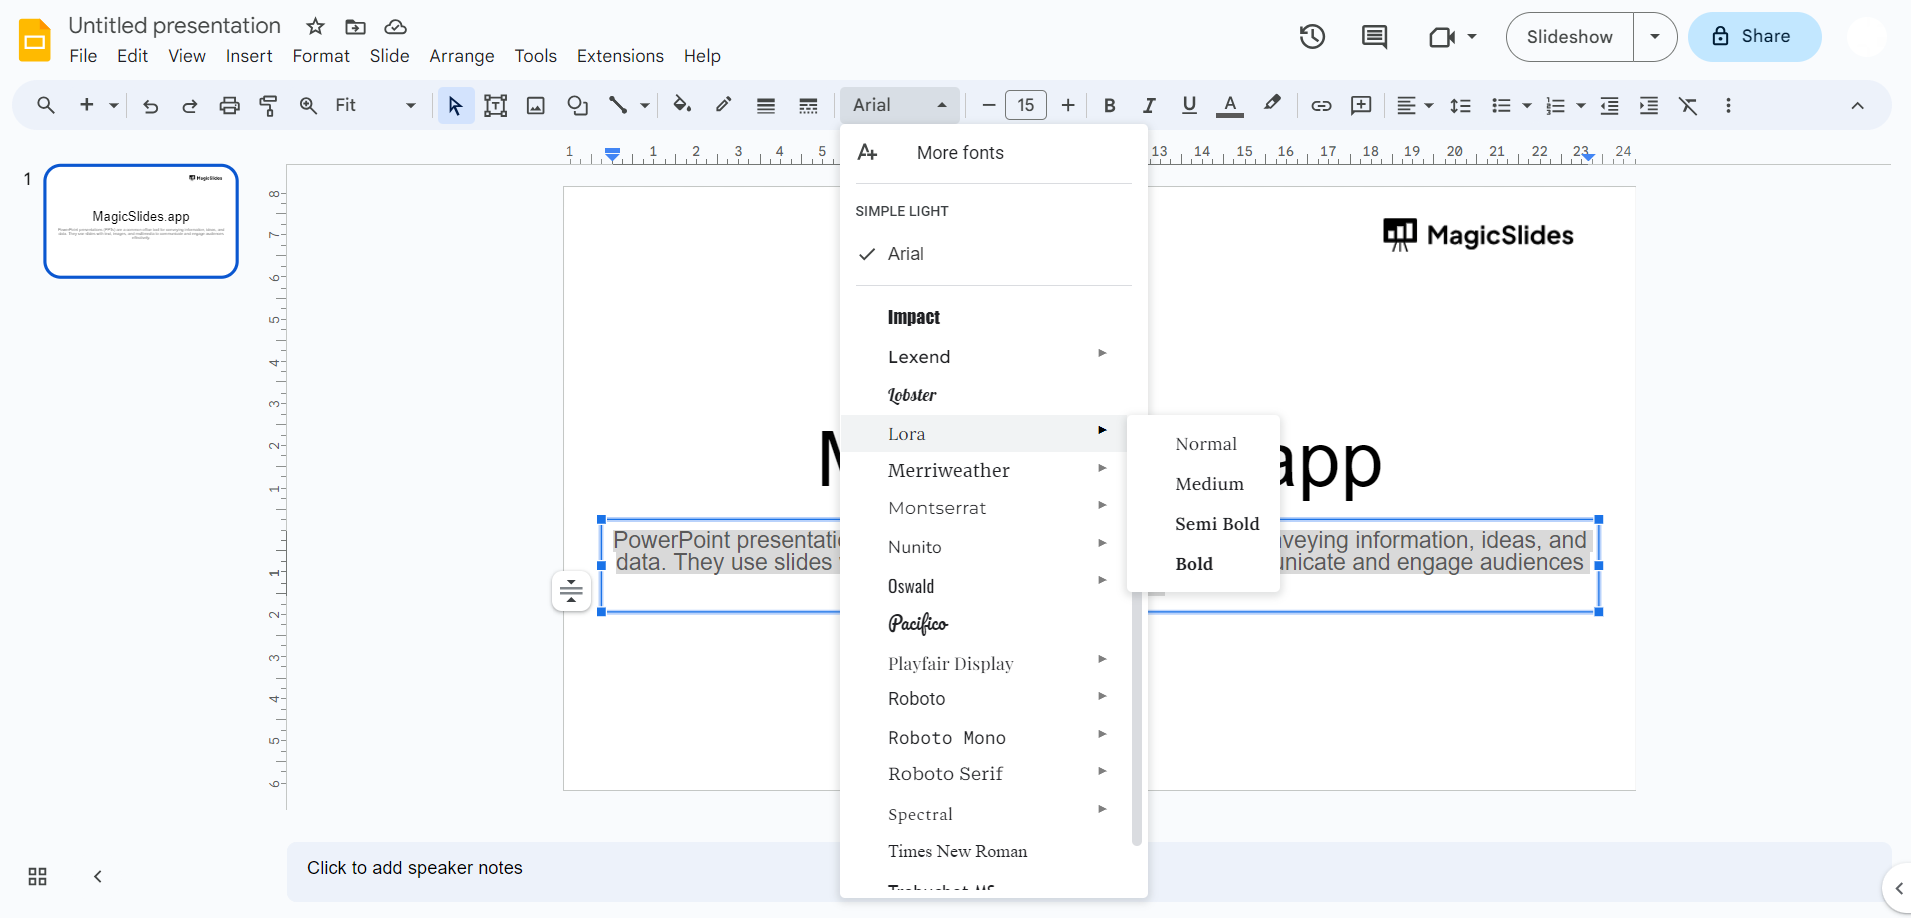
Step 5: Apply the New Font:
- Click on the font you've selected. All the selected text in your presentation will now be changed to the new font.

Step 6: Adjust Font Size and Style (Optional):
- You can also adjust the font size, make text bold, italicize, or underline using the toolbar options.
Step 7: Save Changes:
- Google Slides automatically saves your changes. However, if you want to be sure, you can click the "File" menu and select "Save" or use the keyboard shortcut
Ctrl + S(Windows) orCommand + S(Mac).
By following these steps, you can easily change the fonts for all text in your Google Slides presentation. Remember to choose fonts that enhance readability and overall design.


