How to make columns in Google Slides in few simple steps


make columns in google slides could be a very useful feature while making presentations, here is a guide to do so.
Step 1: Open Google Slides: Open your Google Slides presentation.
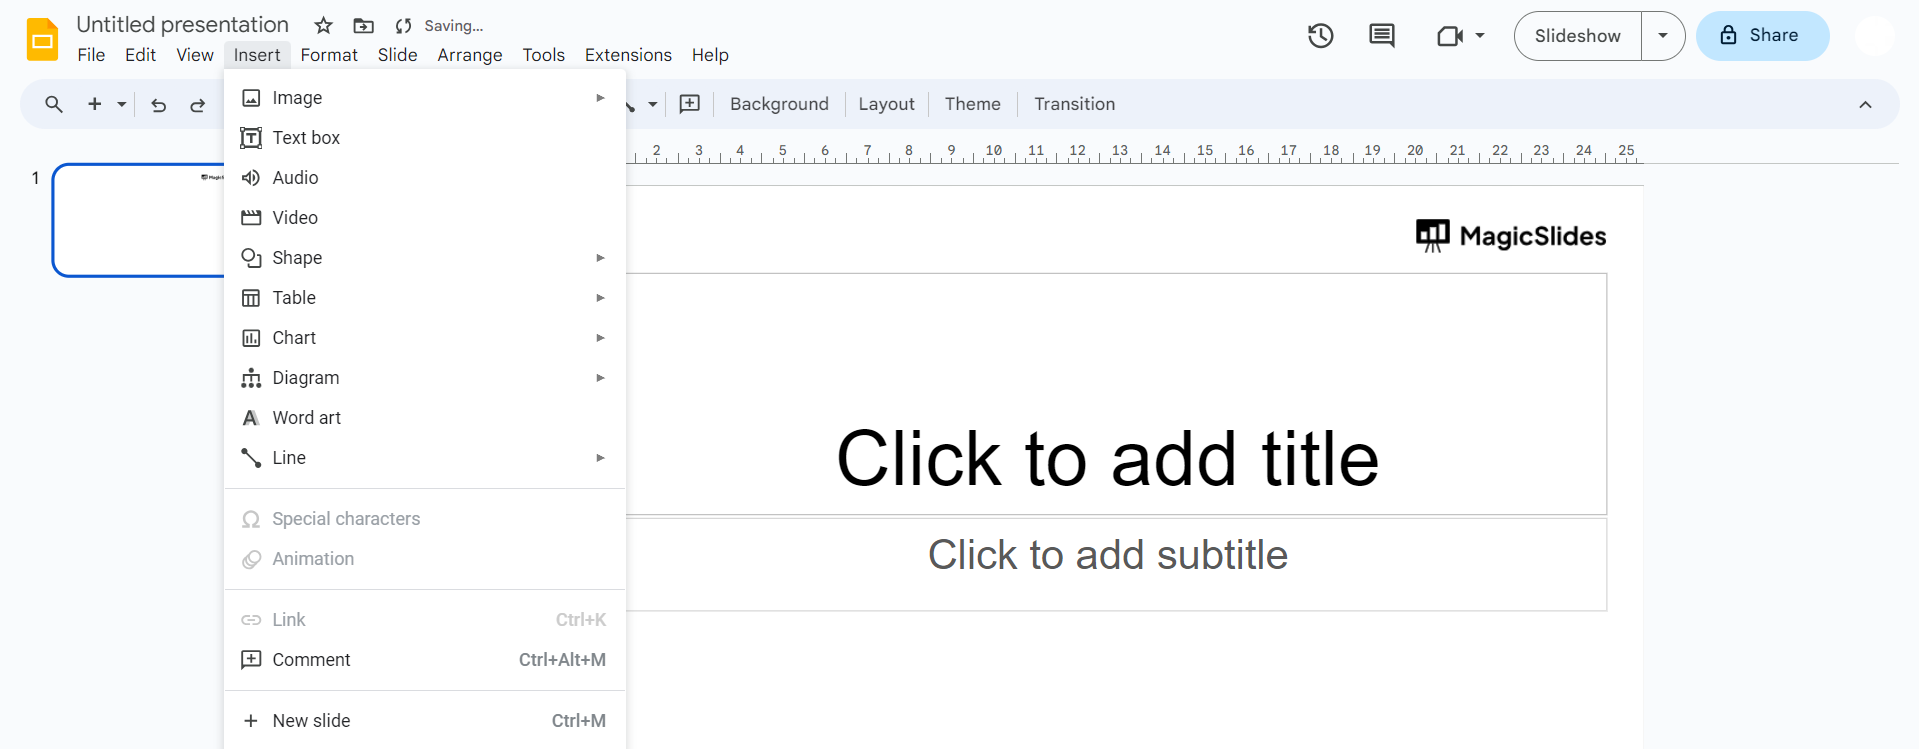
Step 2: Go to Insert: In the top menu, click on the "Insert" option.
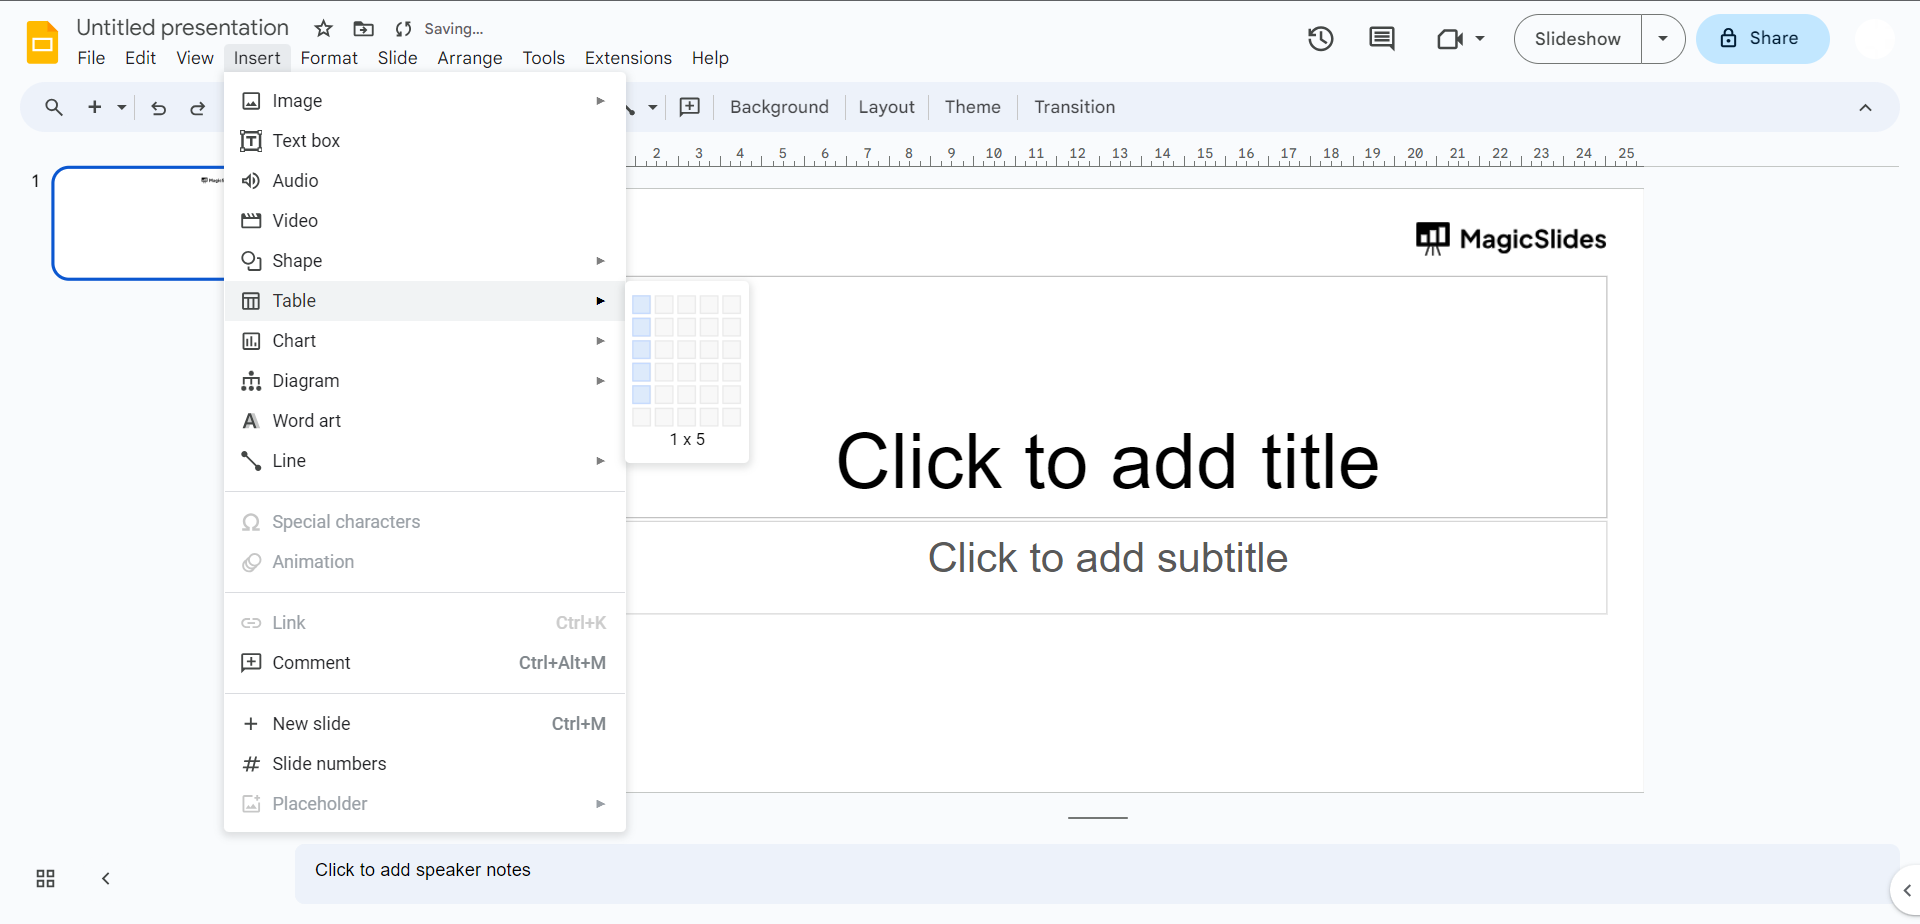
Step 3: Click Table: From the dropdown menu that appears when you click "Insert," select the "Table" option.
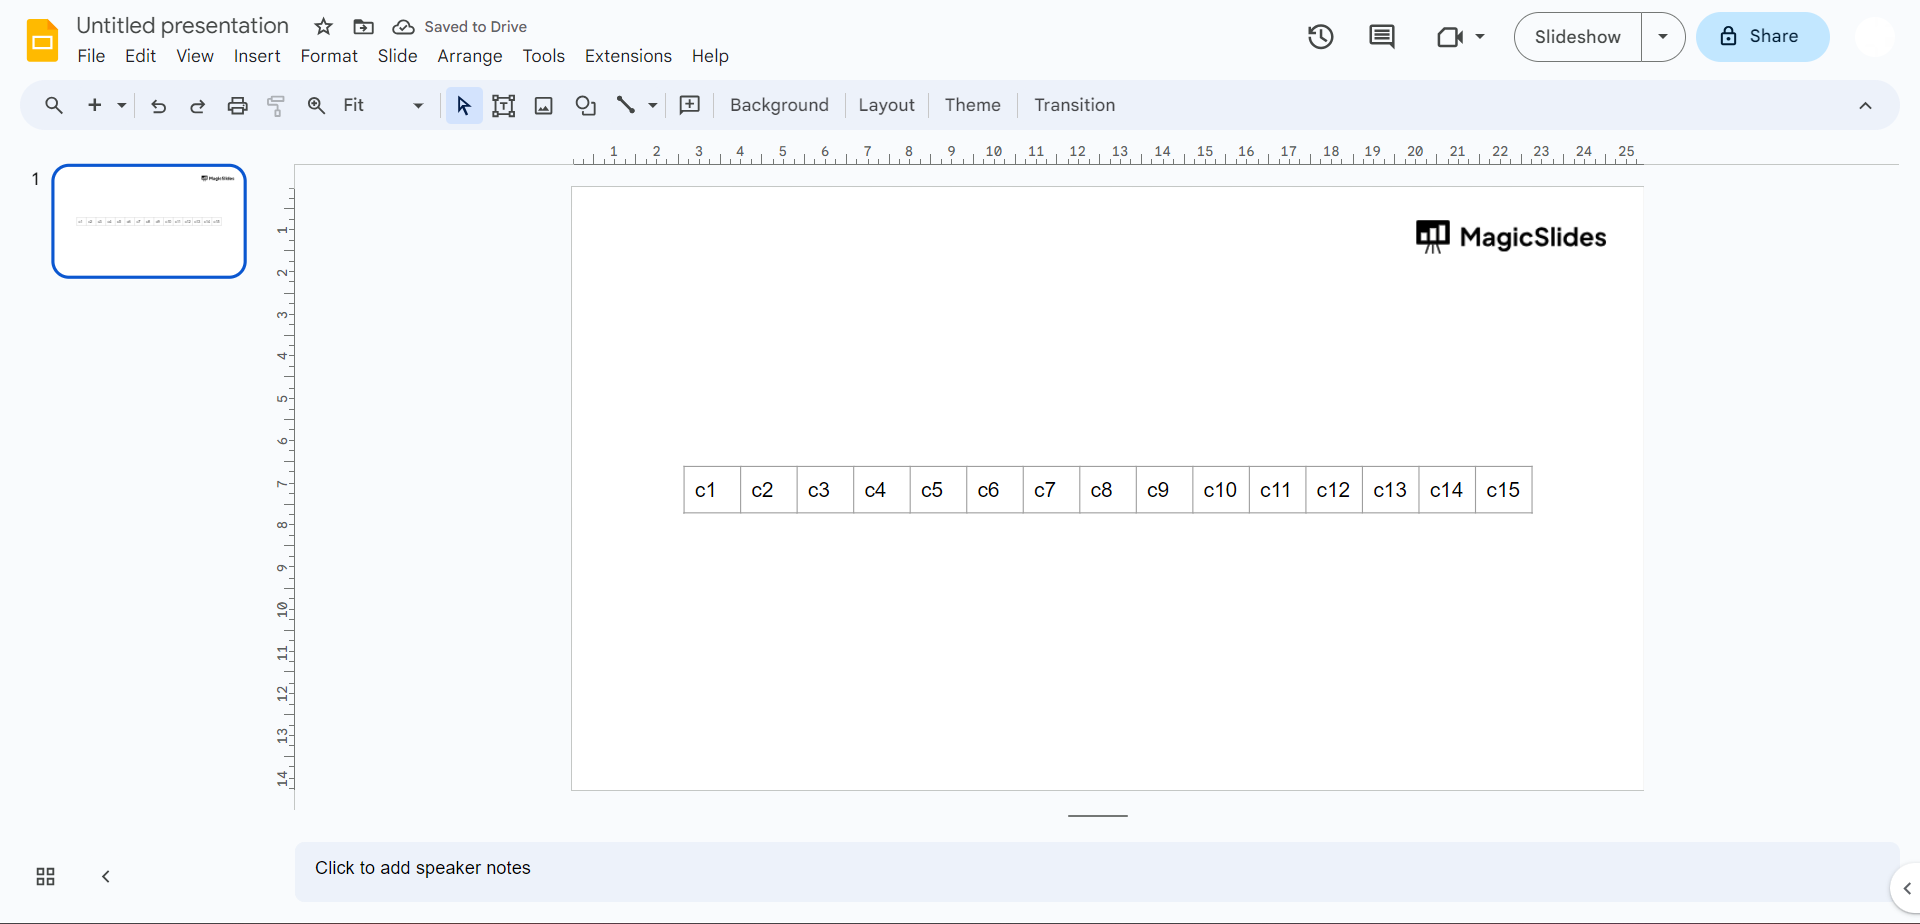
Step 4: Choose Columns: After clicking "Table," a grid will appear over your slide. Hover your cursor over the grid until you see a highlighted rectangle indicating the number of columns and rows. Click and drag to select the number of columns you want.
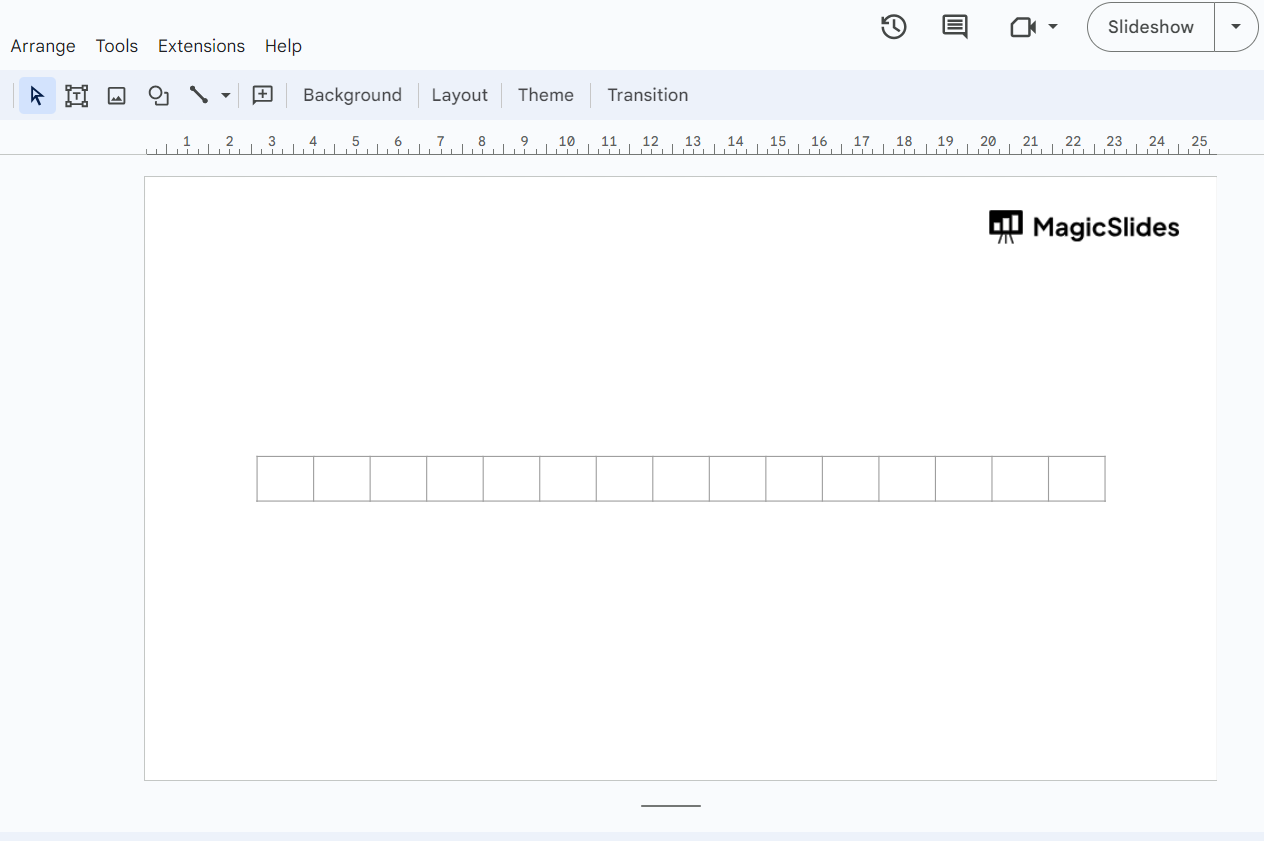
Step 5: Release and Adjust: Once you've selected the number of columns, release your mouse button. The selected columns will appear on your slide. You can now adjust the width of the columns by clicking and dragging the column borders.
Step 6: Add Content: Click inside each cell to add your content, such as text or images. You can also format the text within the cells using the formatting options available.
Step 7: Done: Once you've added your content and adjusted the columns as needed, you're done! Your slide now has a table with multiple columns.


