how to group things on Google Slides easily in just three simple steps


Grouping objects in Google Slides allows you to treat multiple objects as a single unit, making it easier to move, resize, and manipulate them together.
Step 1: Open Your Presentation: Open the Google Slides presentation that contains the objects you want to group.
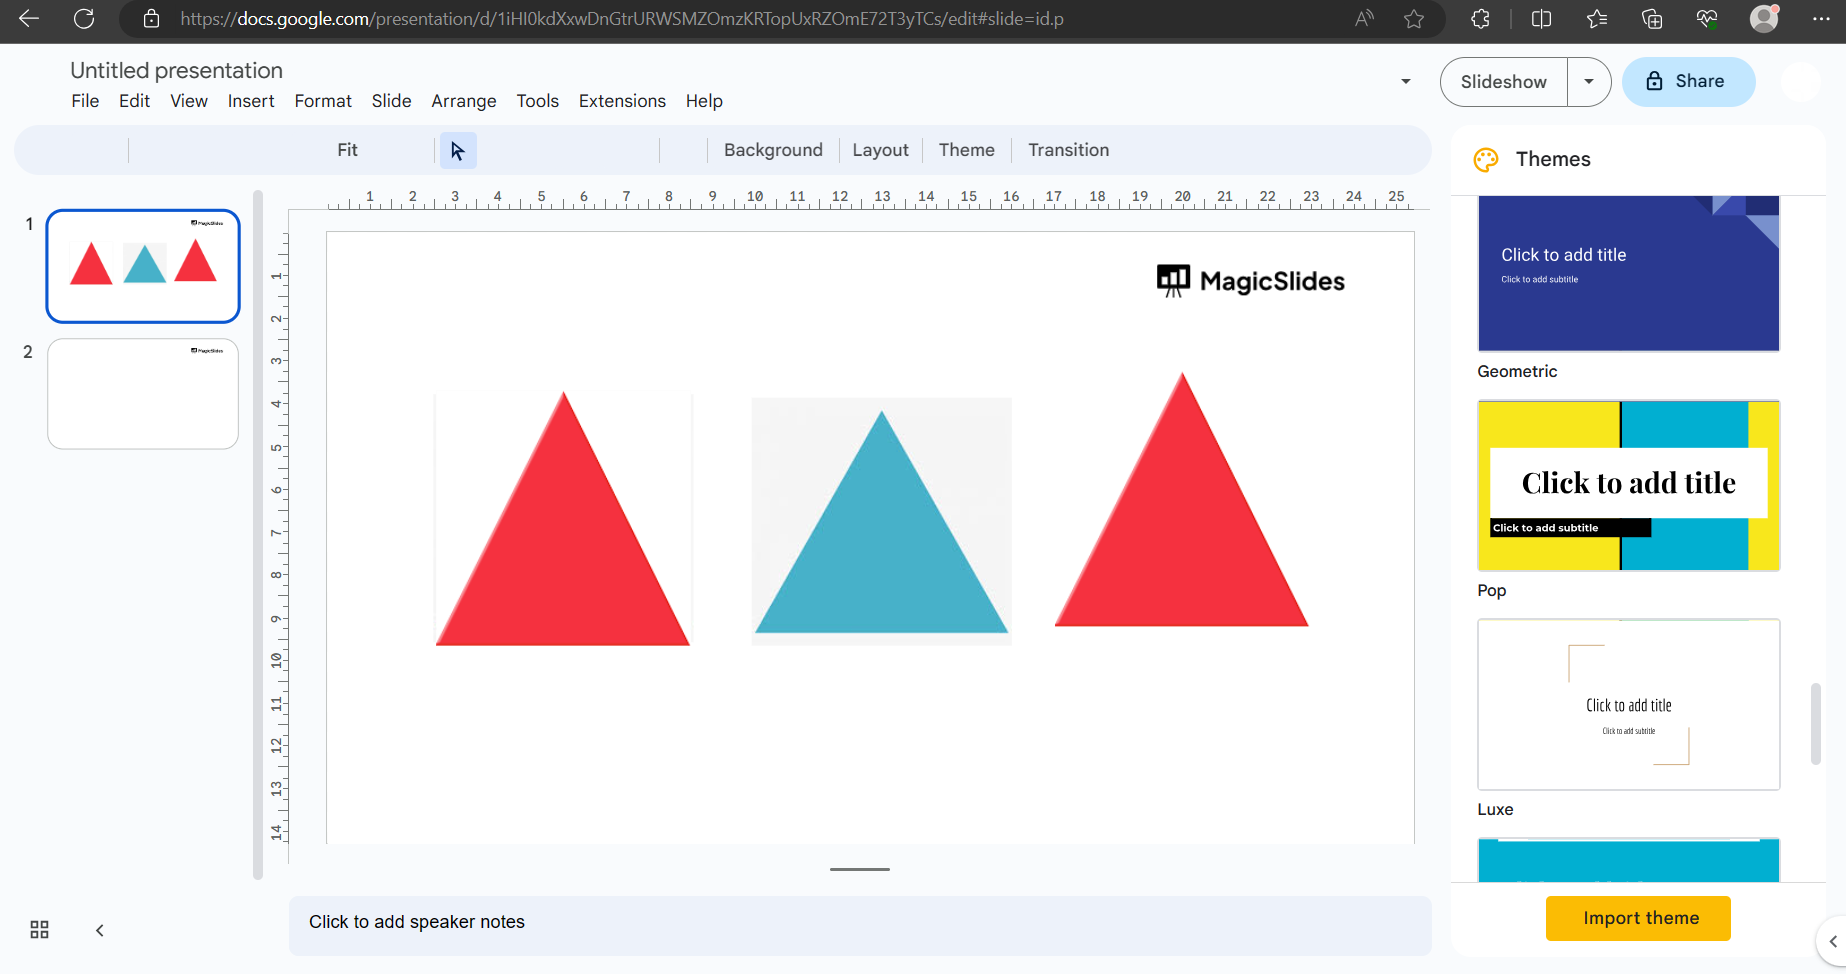
Step 2: Select Objects: Click and drag your cursor to select the objects you want to group. Hold down the "Shift" key while clicking to select multiple objects.
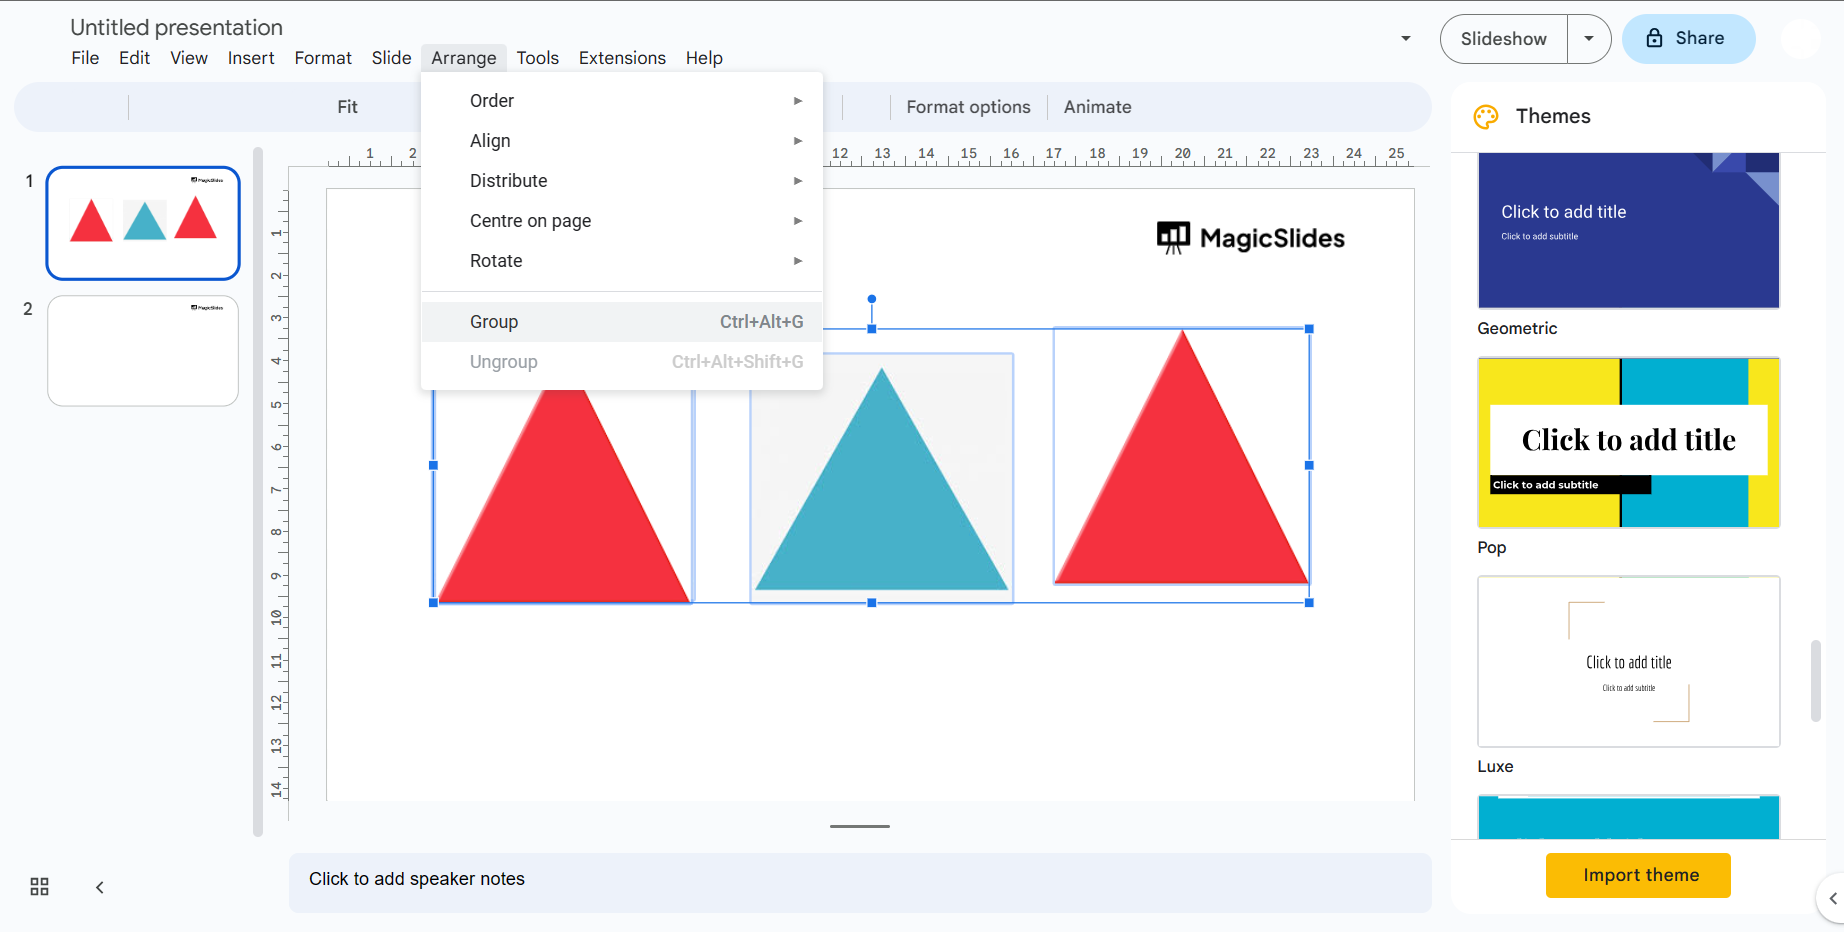
Step 3: Group Objects: Once the objects are selected, right-click on any of the selected objects, and from the context menu that appears, choose "Group" or "Grouping."
Alternatively, you can group the selected objects using the keyboard shortcut:
- Windows/Linux: Ctrl + G
- Mac: Command + G
Step 4: Ungroup Objects (if needed): If you later need to ungroup the objects to edit them individually, simply select the grouped object and use one of the following methods:
- Right-click and choose "Ungroup" from the context menu.
- Use the keyboard shortcut:

- Windows/Linux: Ctrl + Shift + G
- Mac: Command + Shift + G
Remember that grouping objects is a great way to keep your slides organized and manage complex layouts, but keep in mind that once objects are grouped, you can't edit them individually until you ungroup them.
Please note that user interfaces and features might change over time, so these instructions are updated timely. If you're using a newer version of Google Slides, the general process should still be similar, but the exact steps and locations of options might vary.


