How do I connect Text Boxes in Google Slides


Learn how to manually connect text boxes in Google Slides for a smooth and organized layout
How Do I Connect Text Boxes in Google Slides?
Google Slides allows you to add multiple text boxes to create visually engaging presentations.
However, if you want to link text boxes so that the text flows seamlessly between them, Google Slides does not offer a direct text-flow feature like in Microsoft PowerPoint or InDesign.
Instead, you can manually adjust and connect text boxes to maintain a structured layout. This guide will show you step-by-step how to connect text boxes in Google Slides for a professional-looking presentation.
Steps to Connect Text Boxes in Google Slides
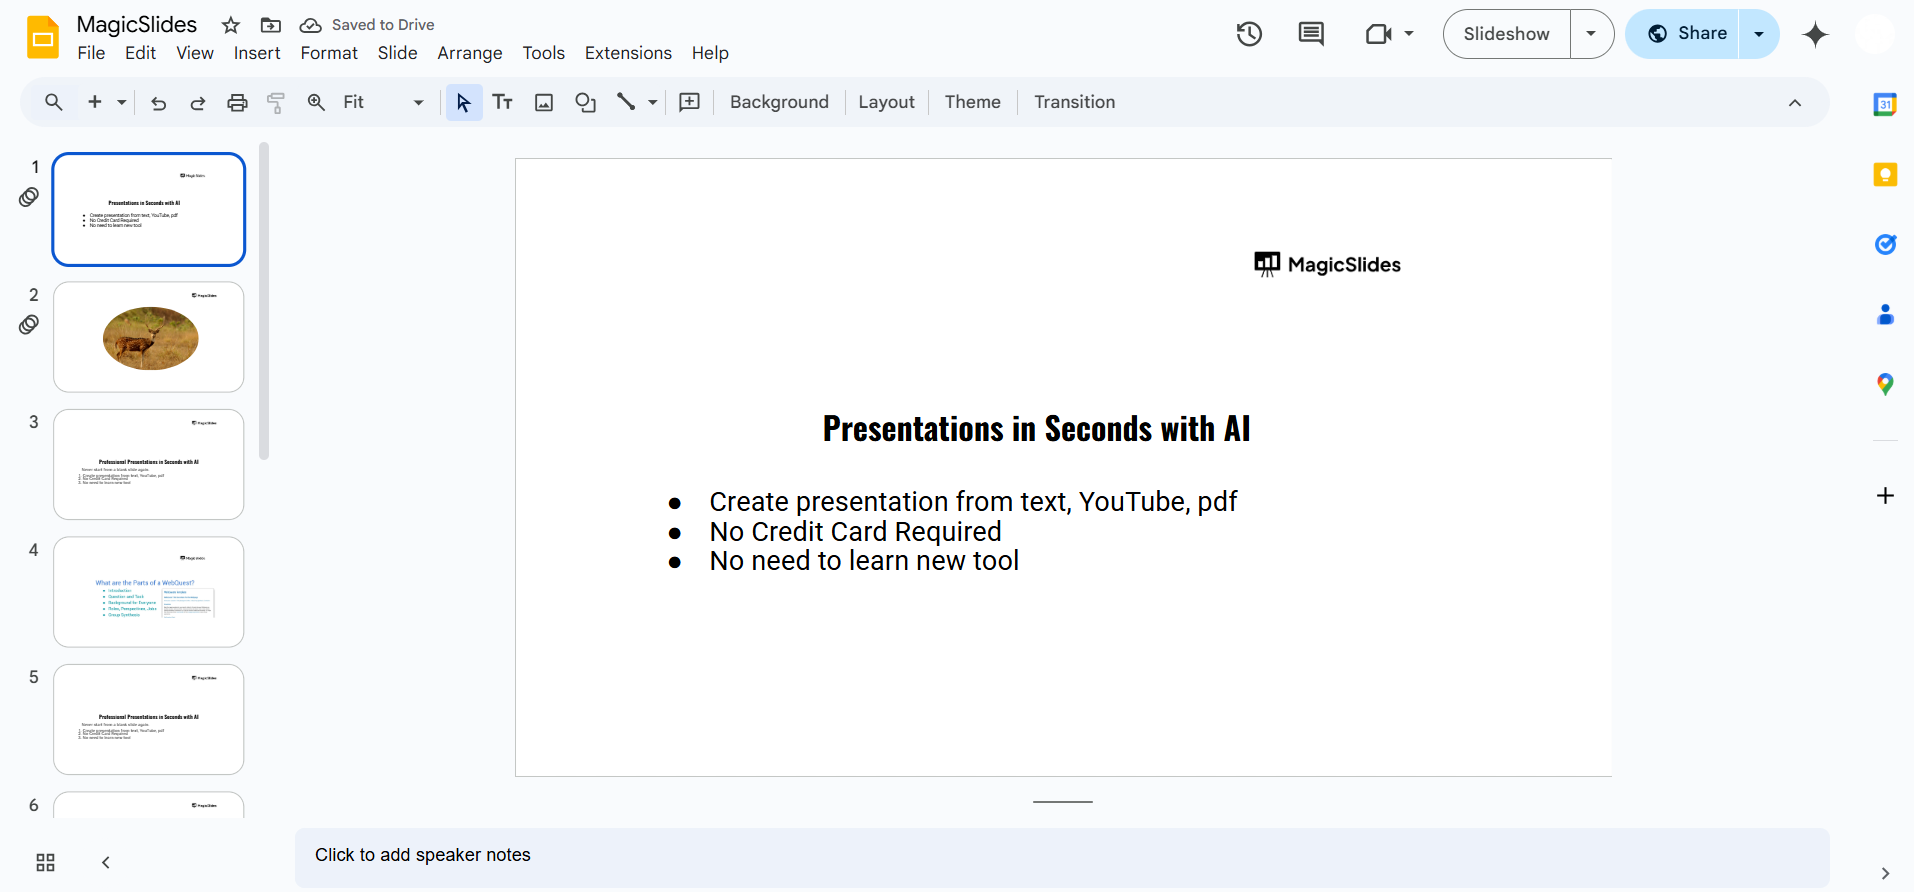
Step 1: Open Your Google Slides Presentation
Open Google Slides in your browser. Select the slide where you want to connect text boxes.
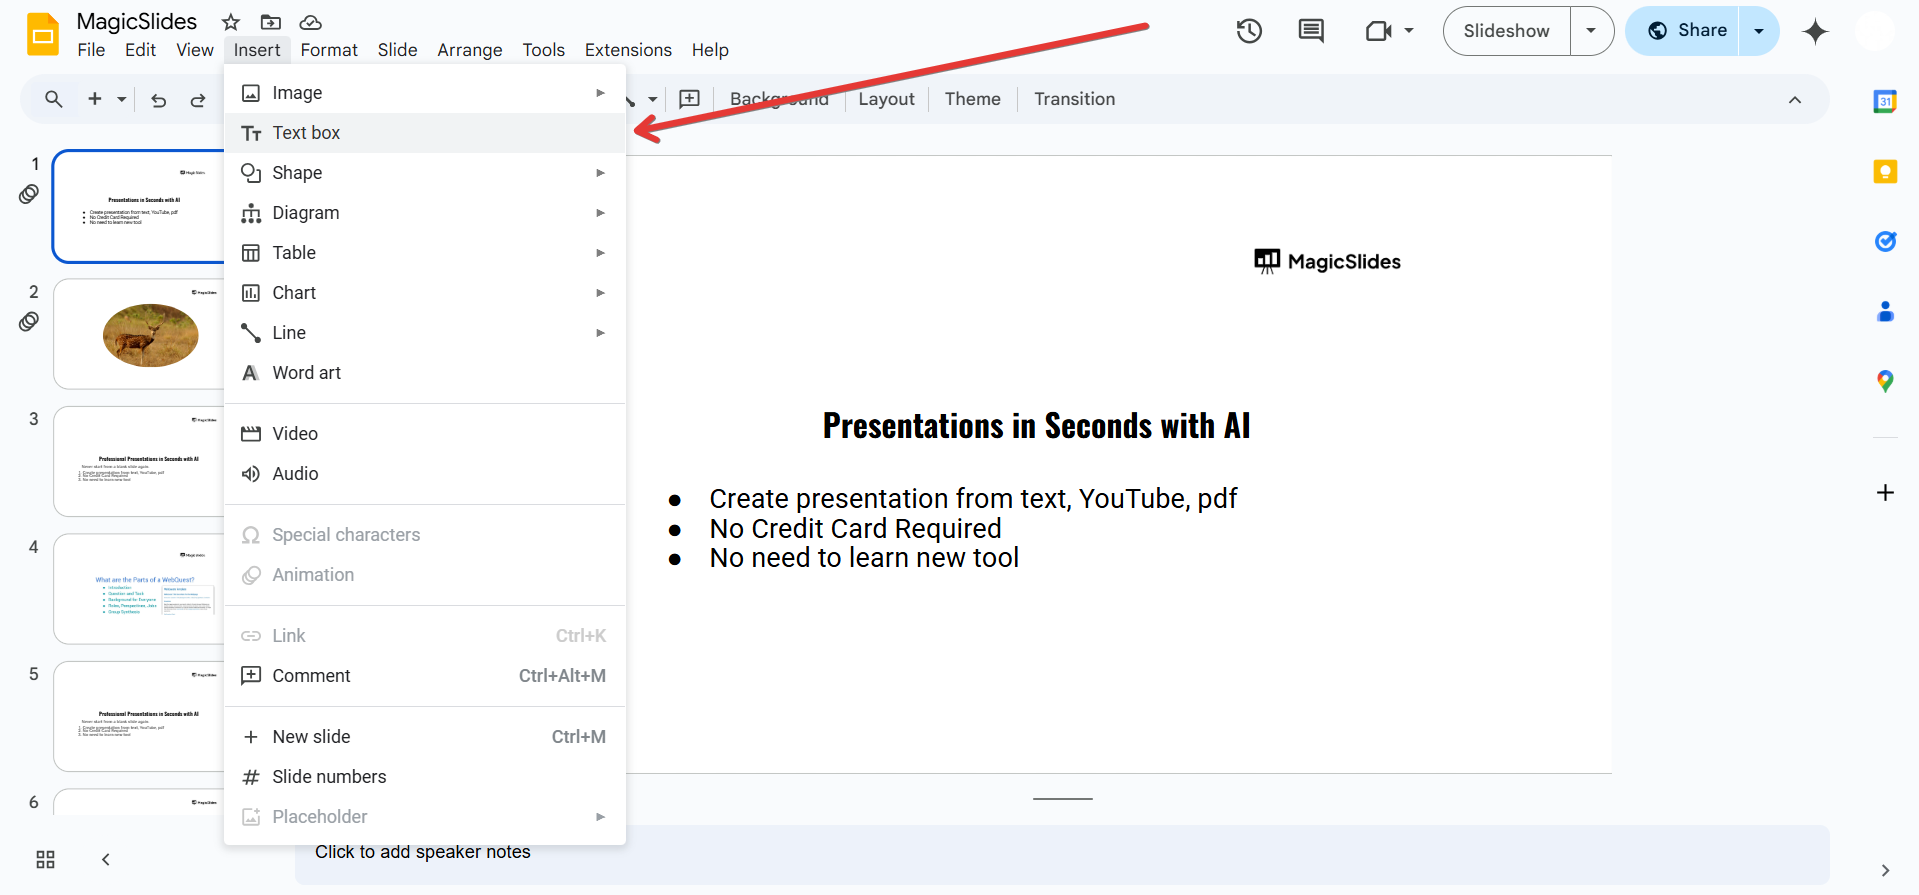
Step 2: Insert Multiple Text Boxes
Click on the Insert tab in the top menu. Select Text box from the dropdown.
Click and drag on the slide to create a text box.
Repeat the process to create another text box where the overflow text will continue.
Step 3: Manually Adjust the Text Flow
Since Google Slides doesn’t automatically flow text from one box to another, you need to manually copy and paste excess text into the second text box:
Type your content in the first text box. If the text exceeds the available space, select the overflowing text.
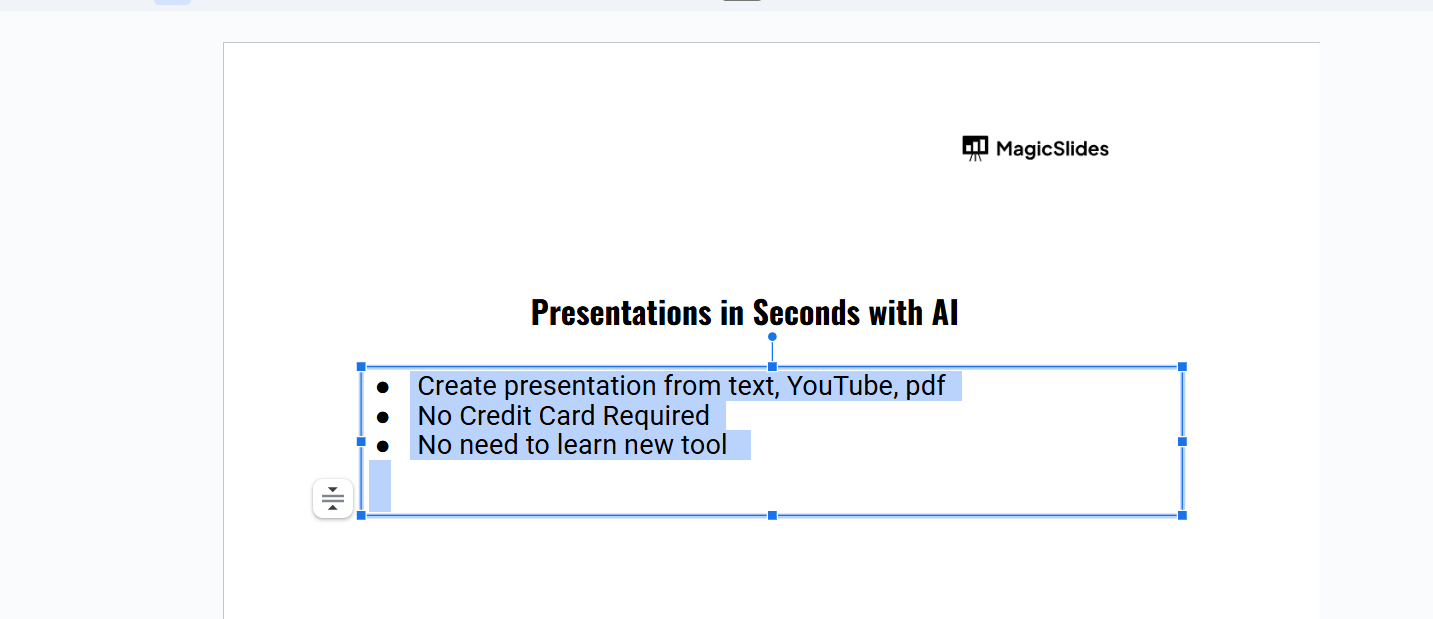
Cut (Ctrl + X / Cmd + X) the excess text. Paste (Ctrl + V / Cmd + V) it into the second text box.
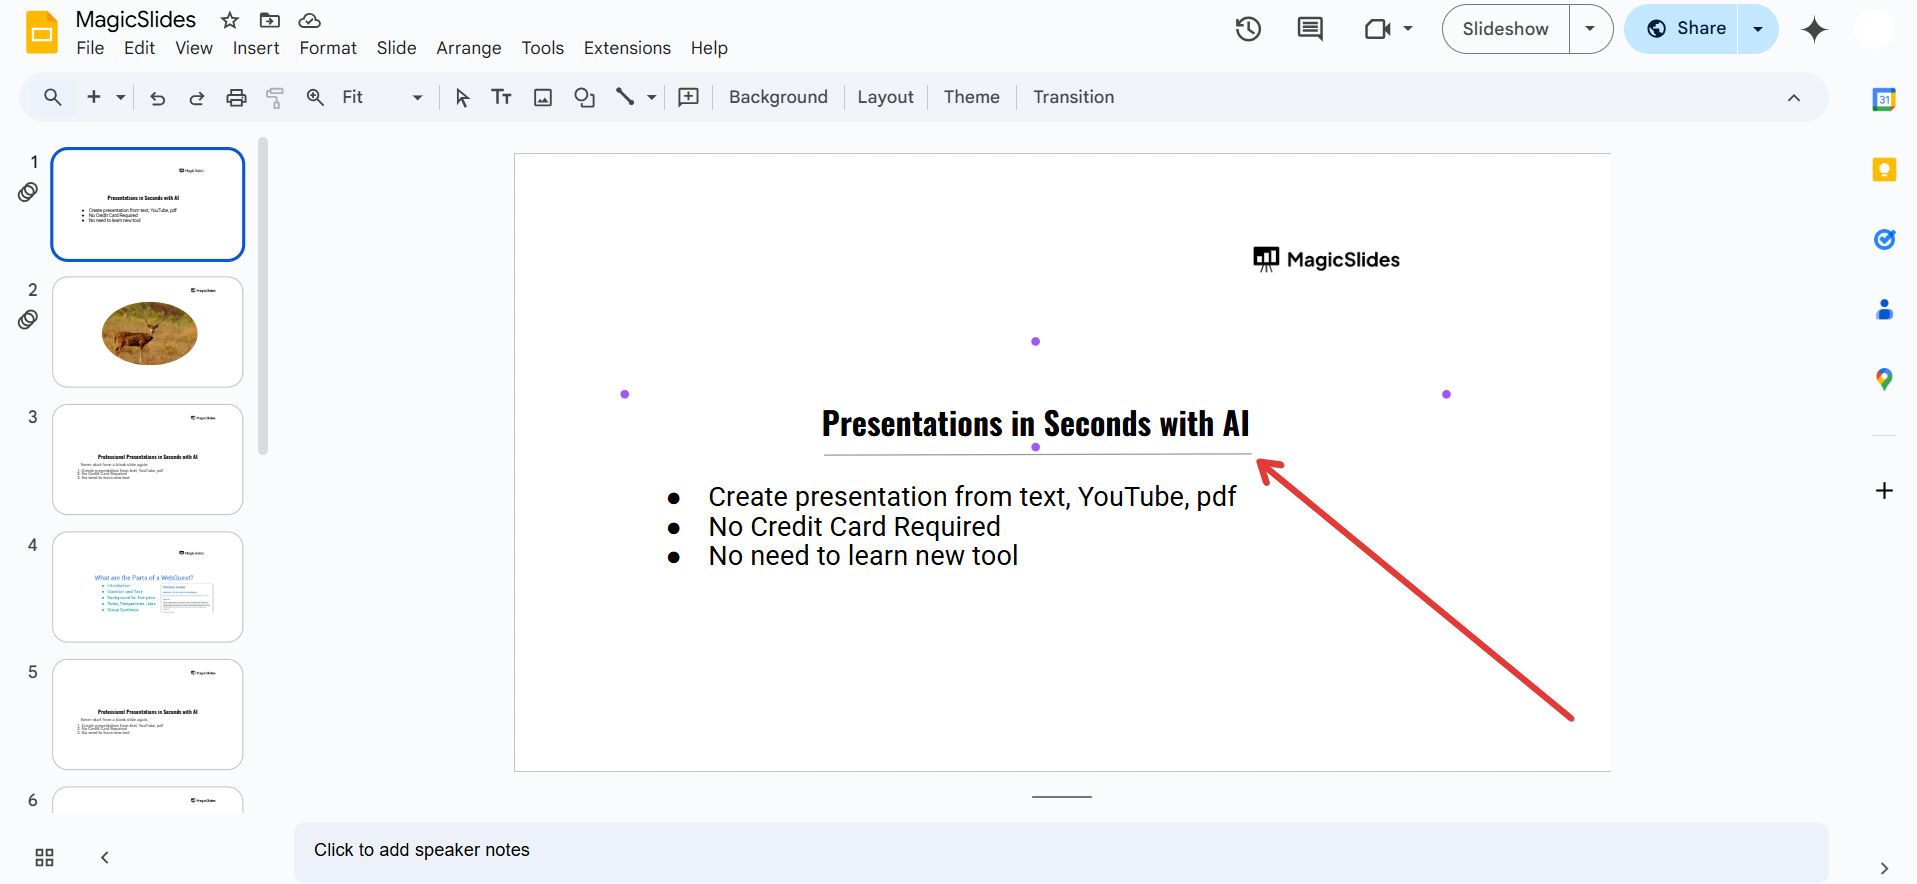
Step 4: Align and Position the Text Boxes
To create a smooth transition between text boxes:
Click and drag the second text box closer to the first. Use the alignment guides (red lines) to position them evenly.

Adjust the text box sizes so that they align perfectly.
Step 5: Use Lines or Arrows to Indicate Connection (Optional)
If you want to visually indicate the flow of text between text boxes:
Click on the Line tool from the toolbar. Draw a line or arrow from the bottom of the first text box to the second.
Change the line color or style for a clearer visual connection.
Now that you know how to connect text boxes in Google Slides, why not streamline your entire slide creation process with MagicSlides.app? Generate beautifully formatted presentations effortlessly with AI!
Conclusion
While Google Slides doesn’t provide an automatic way to link text boxes, you can still manually connect them by adjusting text placement and positioning them properly.
Using alignment guides and optional arrows can help maintain a structured and professional look.
FAQs About Connecting Text Boxes in Google Slides
Can I automatically link text between text boxes in Google Slides?
No, Google Slides does not support automatic text flow. You must manually cut and paste text.
How do I ensure my text boxes stay aligned?
Use Google Slides’ alignment guides (red lines) to position text boxes evenly.
Is there an alternative to linking text boxes in Google Slides?
Yes, you can adjust font size, use bullet points, or structure content in a single larger text box instead of splitting it.
Now you can efficiently manage text across multiple text boxes in Google Slides for a clean, organized presentation! 🚀


