How to Outline a Text Box in Canva for Professional Designs?


Learn how to outline a text box in Canva using shapes and borders. Follow this step-by-step guide to customize text box borders and improve designs.
To outline a text box in Canva, add a rectangle or shape from the Elements panel, make the fill transparent, apply a border, adjust the border thickness and color, and place your text inside the shape. Since Canva does not currently offer a built-in text box border feature, using shapes is the easiest and most effective way to create an outlined text box.
Adding a border to a text box in Canva enhances its visual appeal and helps emphasize your content.
Canva provides various customization options to create the perfect border that matches your design.
This step-by-step guide will walk you through adding and customizing text box borders in Canva.
Steps to Add a Border to a Text Box in Canva
Step 1: Open Canva and Create Your Design
Log in to your Canva account and open an existing design or create a new one.
Choose a template or start with a blank canvas based on your project requirements.
Step 2: Add a Text Box
Click on the Text option in the left-side panel. Select Add a heading, Add a subheading, or Add a little bit of body text based on your content needs.
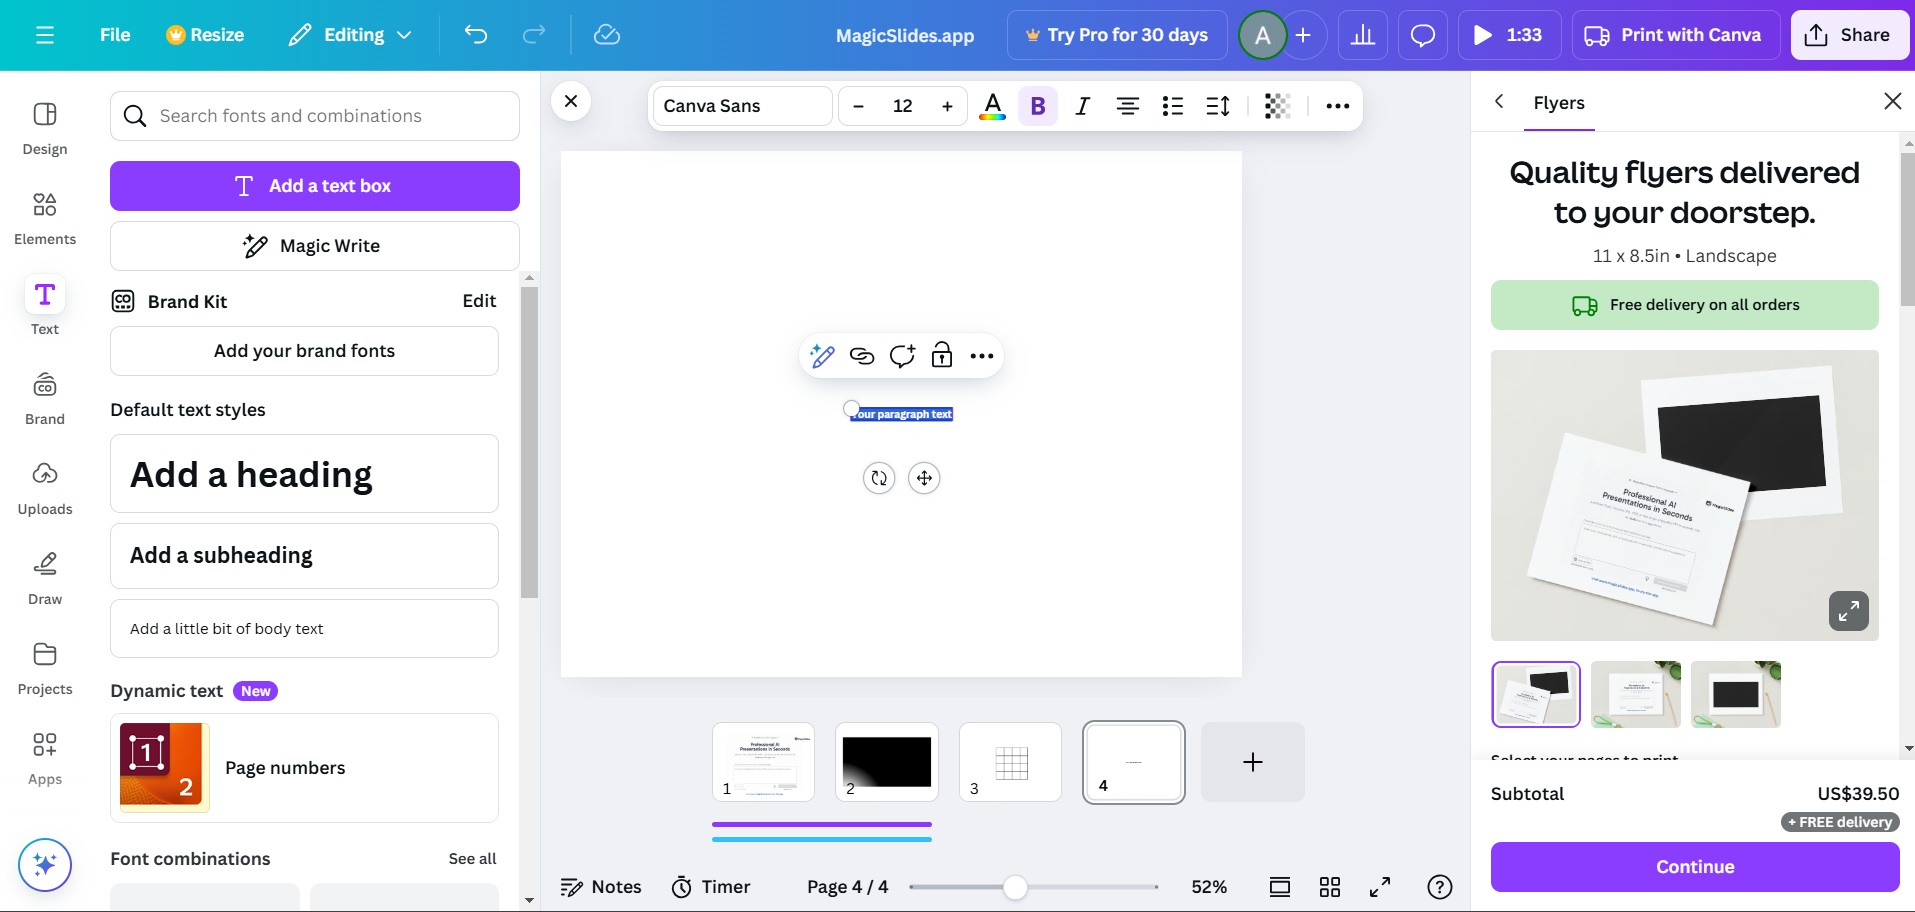
Position the text box on your design canvas.
Step 3: Add a Shape Around the Text Box
Go to the Elements tab in the left panel and search for “rectangle” or “square.”
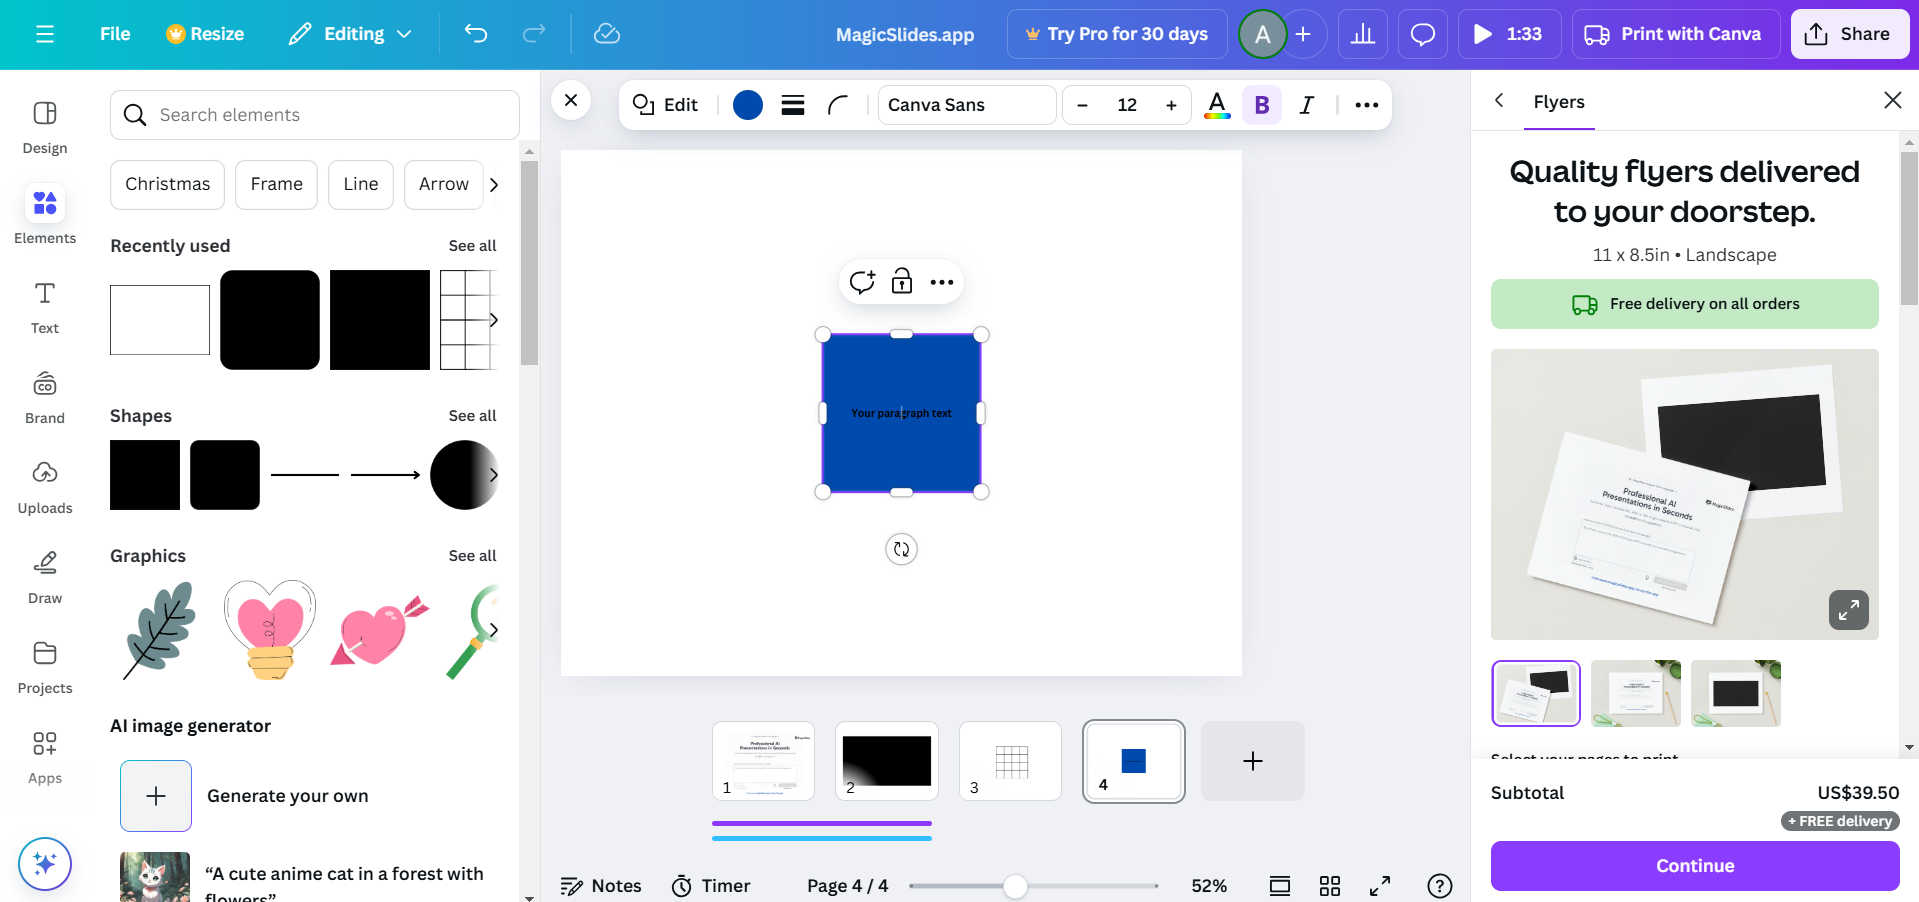
Drag the chosen shape onto your canvas and resize it to fit around your text box.
Adjust the shape’s dimensions to align with your text box perfectly.
Step 4: Customize the Border
With the shape selected, click on the Border Style option in the top menu.
Set the border width by adjusting the thickness slider.
Choose the desired border color using the color picker. You can also select dashed or solid styles, depending on your preference.
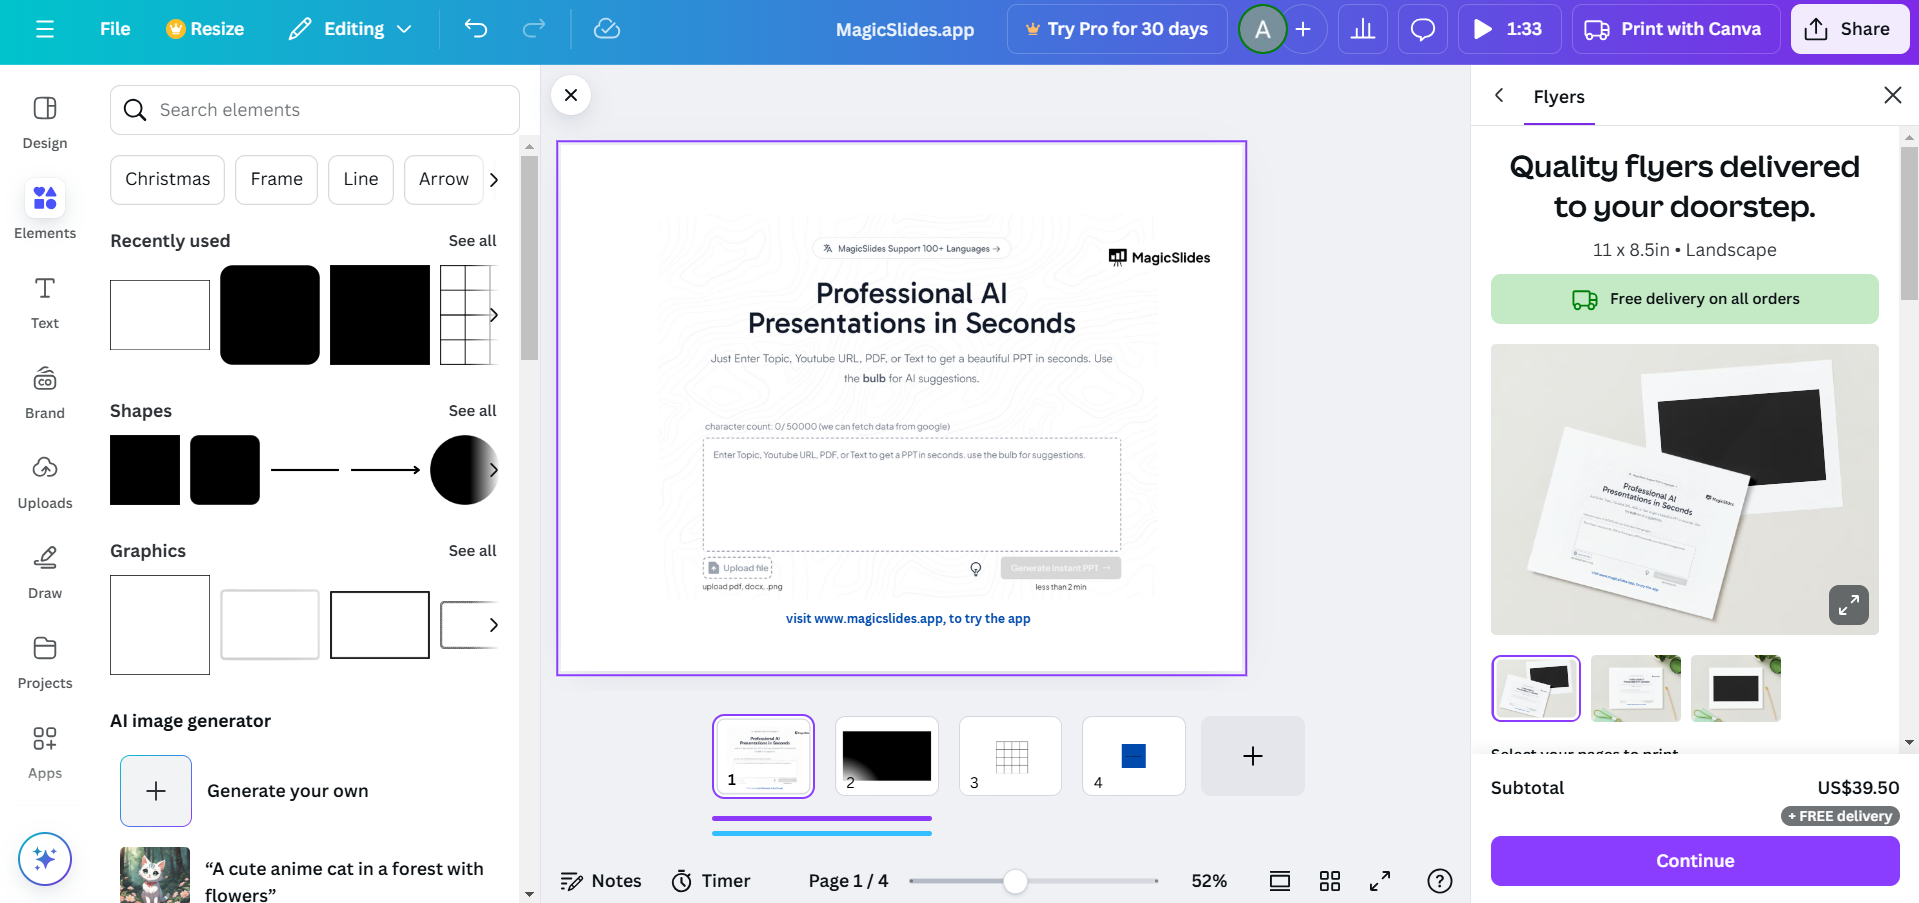
Step 5: Adjust Layering
Right-click on the shape and choose Send Backward to place it behind the text box.
Ensure the border doesn’t cover any part of your text by properly aligning it.
Step 6: Save Your Design
Once satisfied, click on Share or Download in the top-right corner of the screen.
Select your preferred file format (PNG, JPG, or PDF) and save your design.
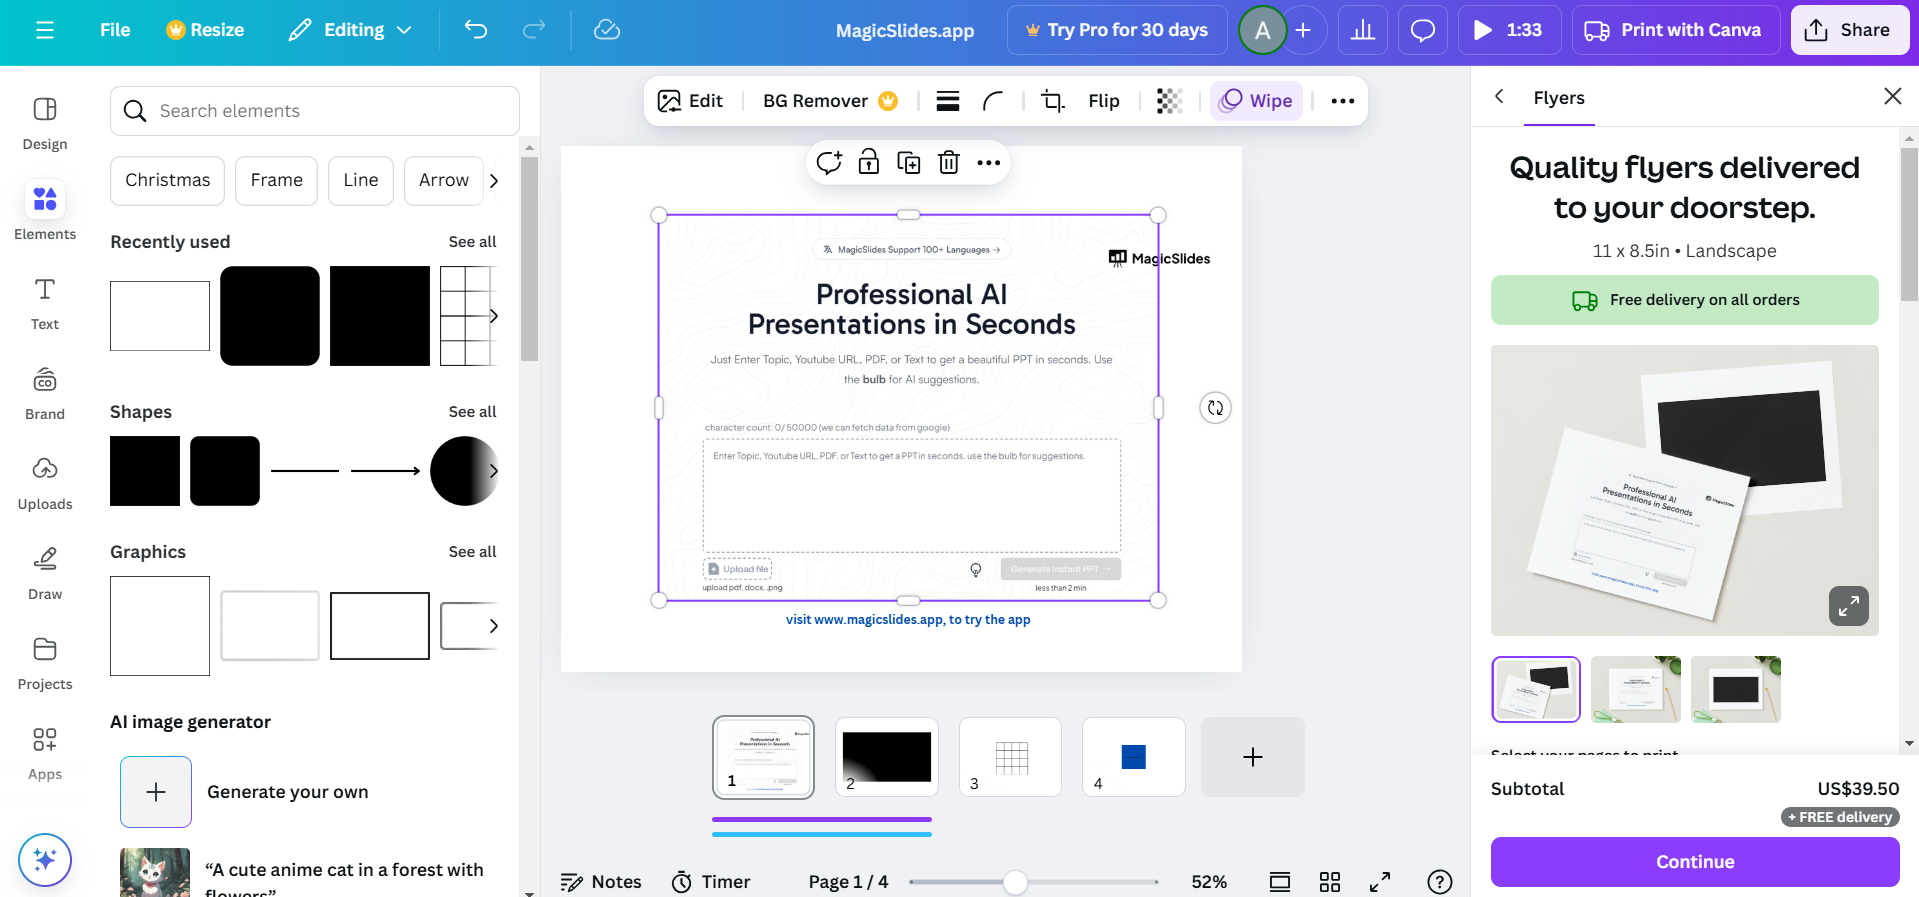
Advanced Tip-Create Professional Presentations Faster with AI
Once you’ve learned how to outline a text box in Canva, the next step is creating presentations that look polished and visually consistent. While Canva is excellent for designing individual graphics and slide elements, building an entire presentation from scratch can still take a significant amount of time.
That’s where MagicSlides can help.
MagicSlides is an AI presentation tool that helps users generate professional slide decks in minutes. Instead of manually designing every slide, you can create presentations from a topic, document, URL, PDF, YouTube video, or existing content and let AI handle the structure, formatting, and design.
Conclusion
Adding a border to a text box in Canva is a simple yet effective way to make your content stand out.
Whether you’re designing a social media post, flyer, or presentation, a well-designed border enhances readability and draws attention to key information.
Experiment with colors, styles, and shapes to create a design that resonates with your audience.
FAQs on Adding a Text Box Border in Canva
Can I change the border style in Canva?
Yes, Canva offers options like solid, dashed, or dotted styles, allowing you to customize your border.
Is it possible to apply a border directly to a text box without using shapes?
Currently, Canva doesn’t support direct text box borders, so using shapes is the best workaround.
Can I adjust the border’s opacity?
Yes, you can lower the shape’s transparency using the Transparency slider in the top toolbar.
Now you’re ready to elevate your Canva designs with perfectly styled text box borders!


