How to Add A Border in PowerPoint Presentation


Learn how to easily add and customize borders in PowerPoint to enhance your presentation’s design
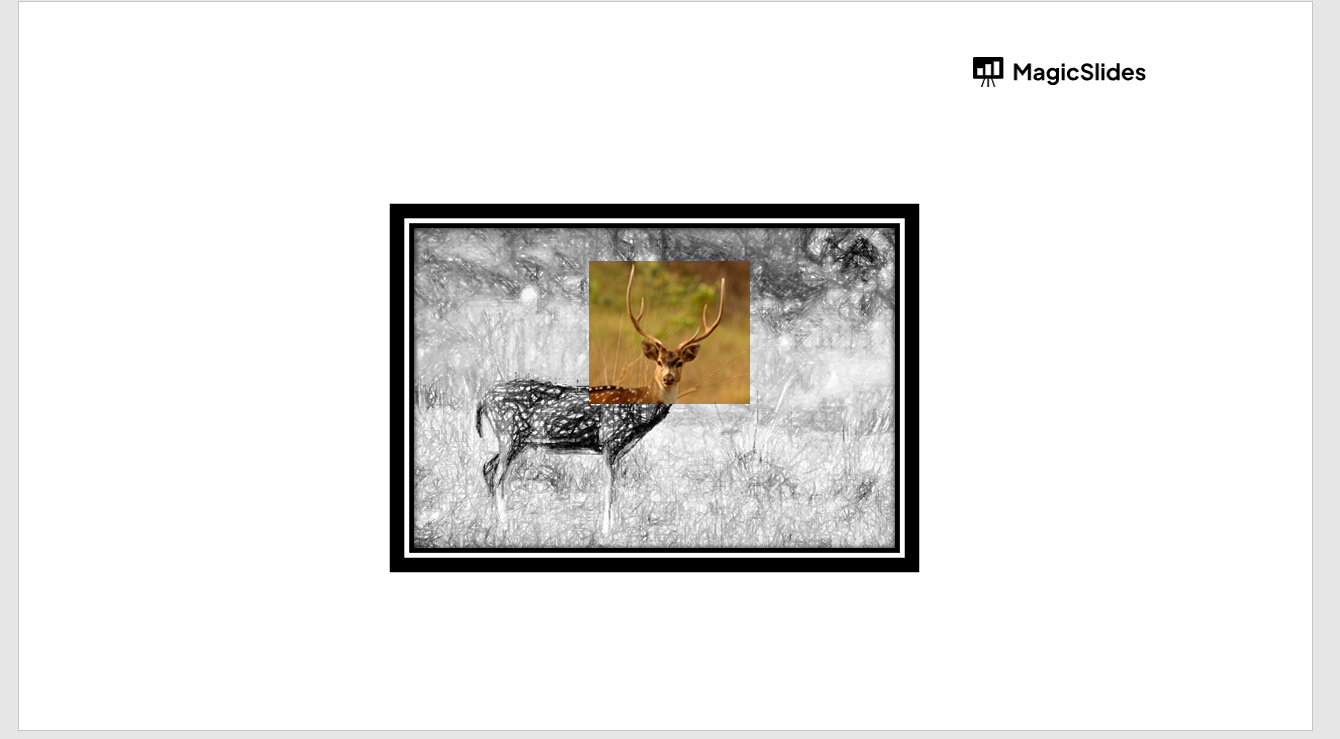
Adding a border to your images, shapes, or text boxes in PowerPoint is a simple yet effective way to enhance the visual appeal of your slides. Borders can help highlight important content, create separation between elements, or add a polished look to your presentation.
In this blog post, we'll guide you through the steps to add a border in PowerPoint. Whether you're a beginner or an experienced user, these instructions will help you customize your presentation with ease.
How to add border in powerpoint
Step 1: Select the Object
To start, open your PowerPoint presentation and navigate to the slide where you want to add a border.

Click on the object you want to add a border to this could be an image, shape, or text box.
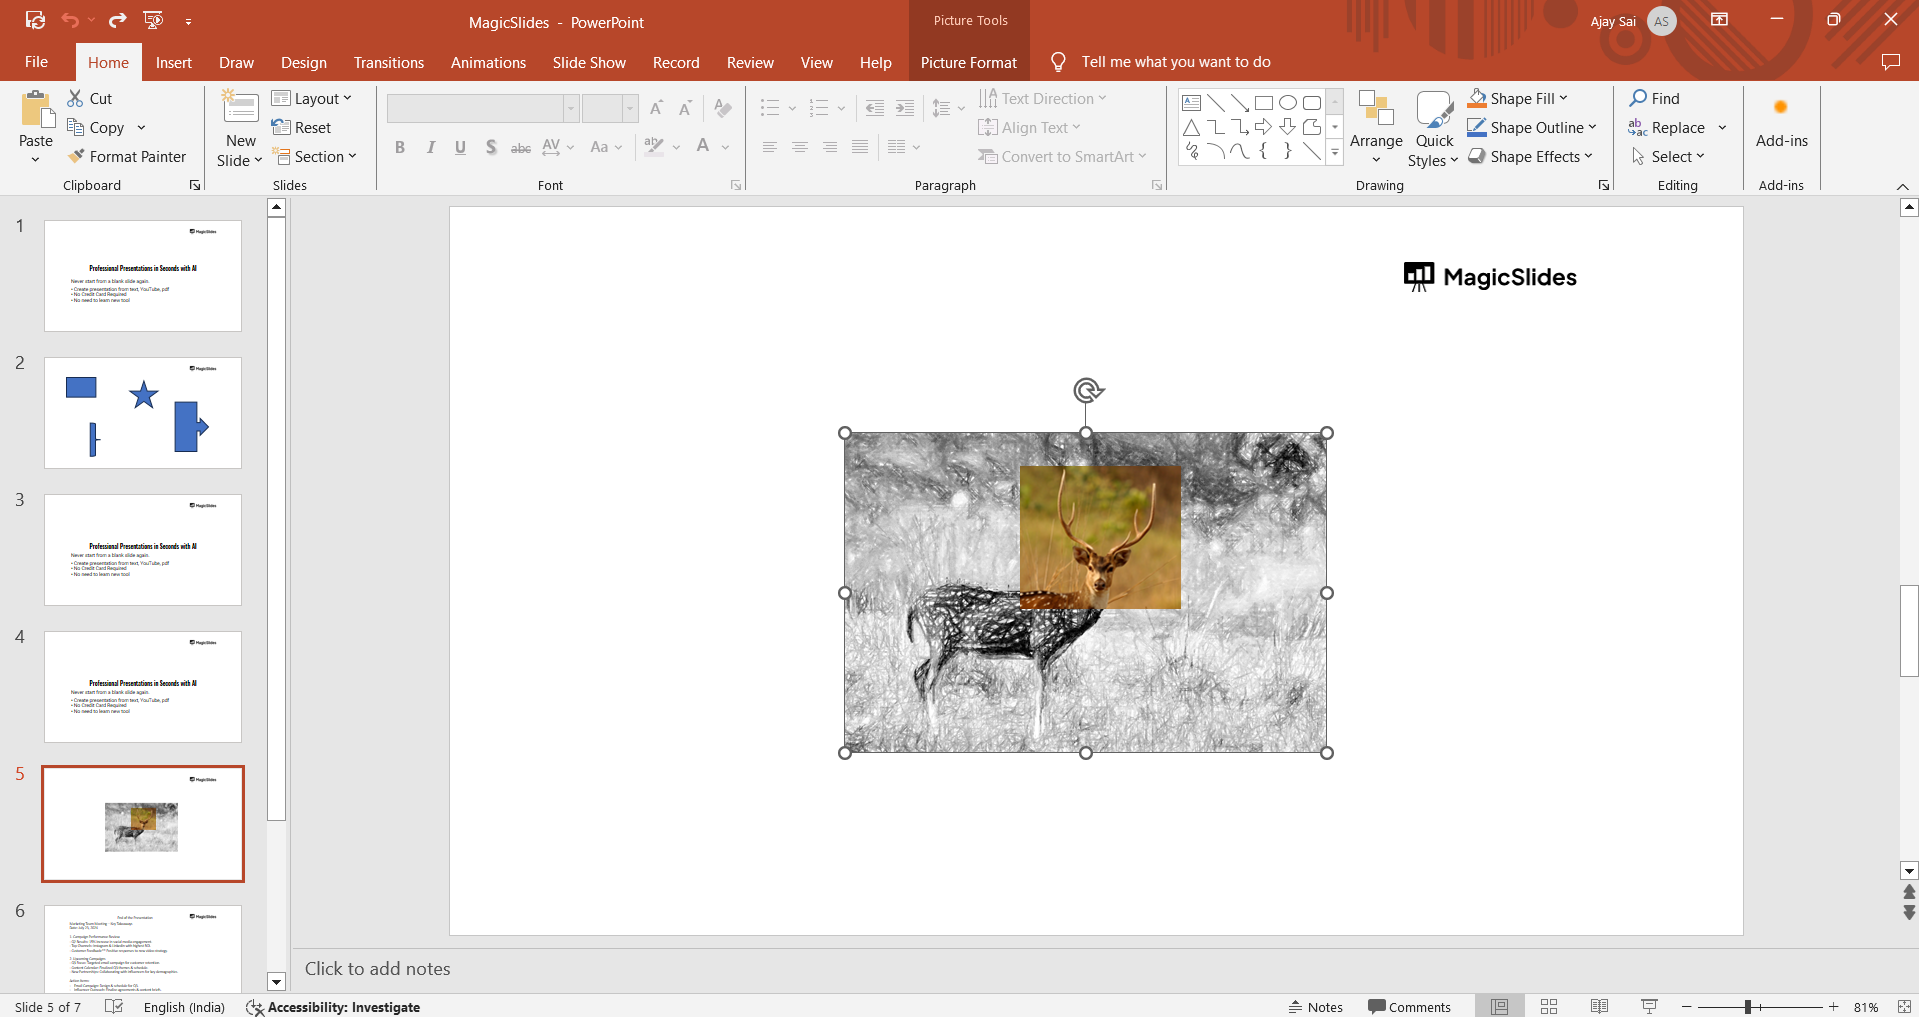
Once selected, you'll see the handles appear around the object, indicating that it's ready for editing.
Step 2: Open the Format Options
With the object selected, go to the "Format" tab on the PowerPoint ribbon at the top of the screen.
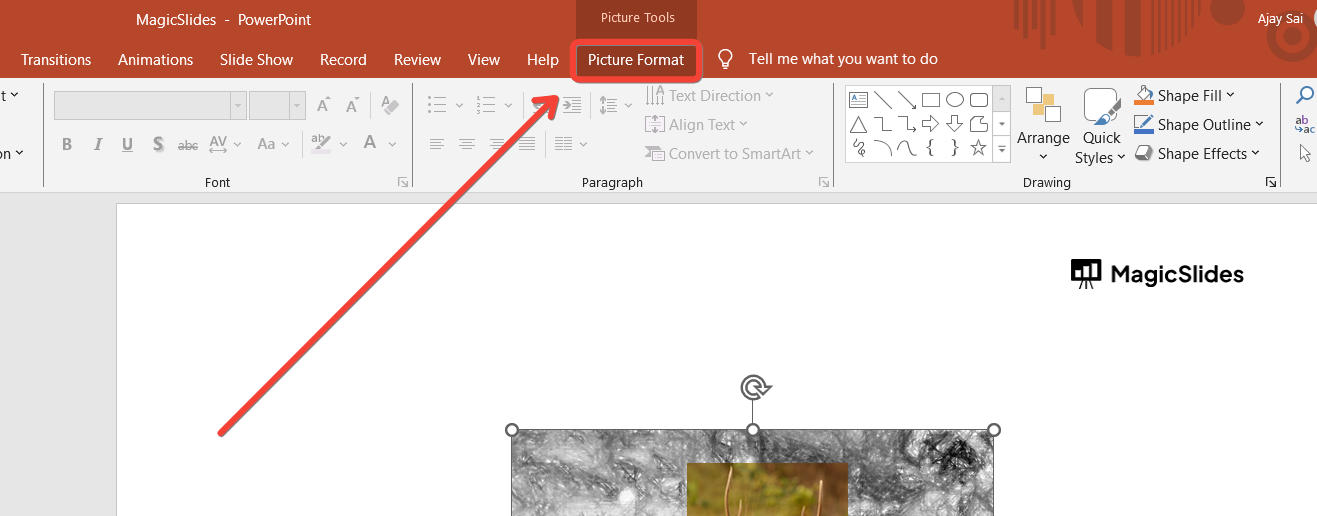
If you've selected an image, this tab will be labeled "Picture Format." For shapes or text boxes, it will be labeled "Shape Format."
Step 3: Choose a Border Style
In the "Format" tab, locate the "Shape Outline" or "Picture Border" option, depending on the type of object you're working with.
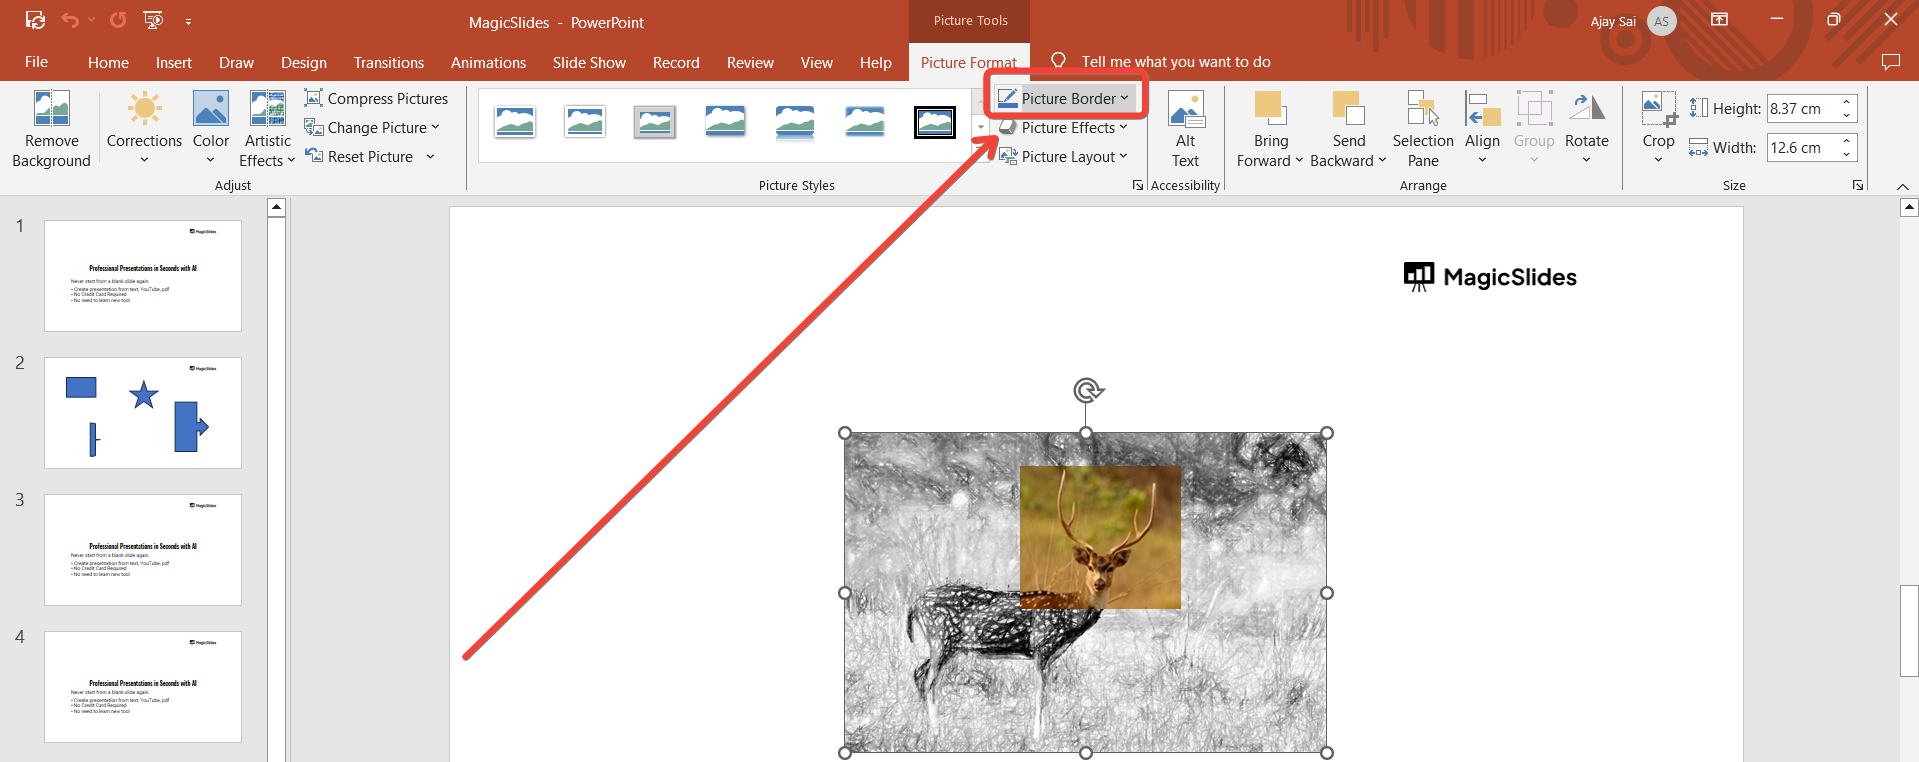
Click on this option to open a dropdown menu with various border styles. Here, you can choose the color, weight (thickness), and style (solid, dashed, etc.) of your border.
Step 4: Select Border Color
From the dropdown menu, hover over "Weight" to see the available options for border thickness.

Choose a weight that suits your design. If you want to change the color, click on "Color" and select a color from the palette, or choose "More Colors" to customize your own.
Step 5: Adjust Border Style (Optional)
If you'd like to customize the border further, you can adjust the style.
Click on "Dashes" from the same dropdown menu to choose from various dashed or dotted line styles. This can add a unique touch to your border.
Step 6: Apply the Border
Once you've selected your desired border settings, click outside the object to apply the changes.
Your object will now have the border you've designed, giving it a more defined and polished appearance.
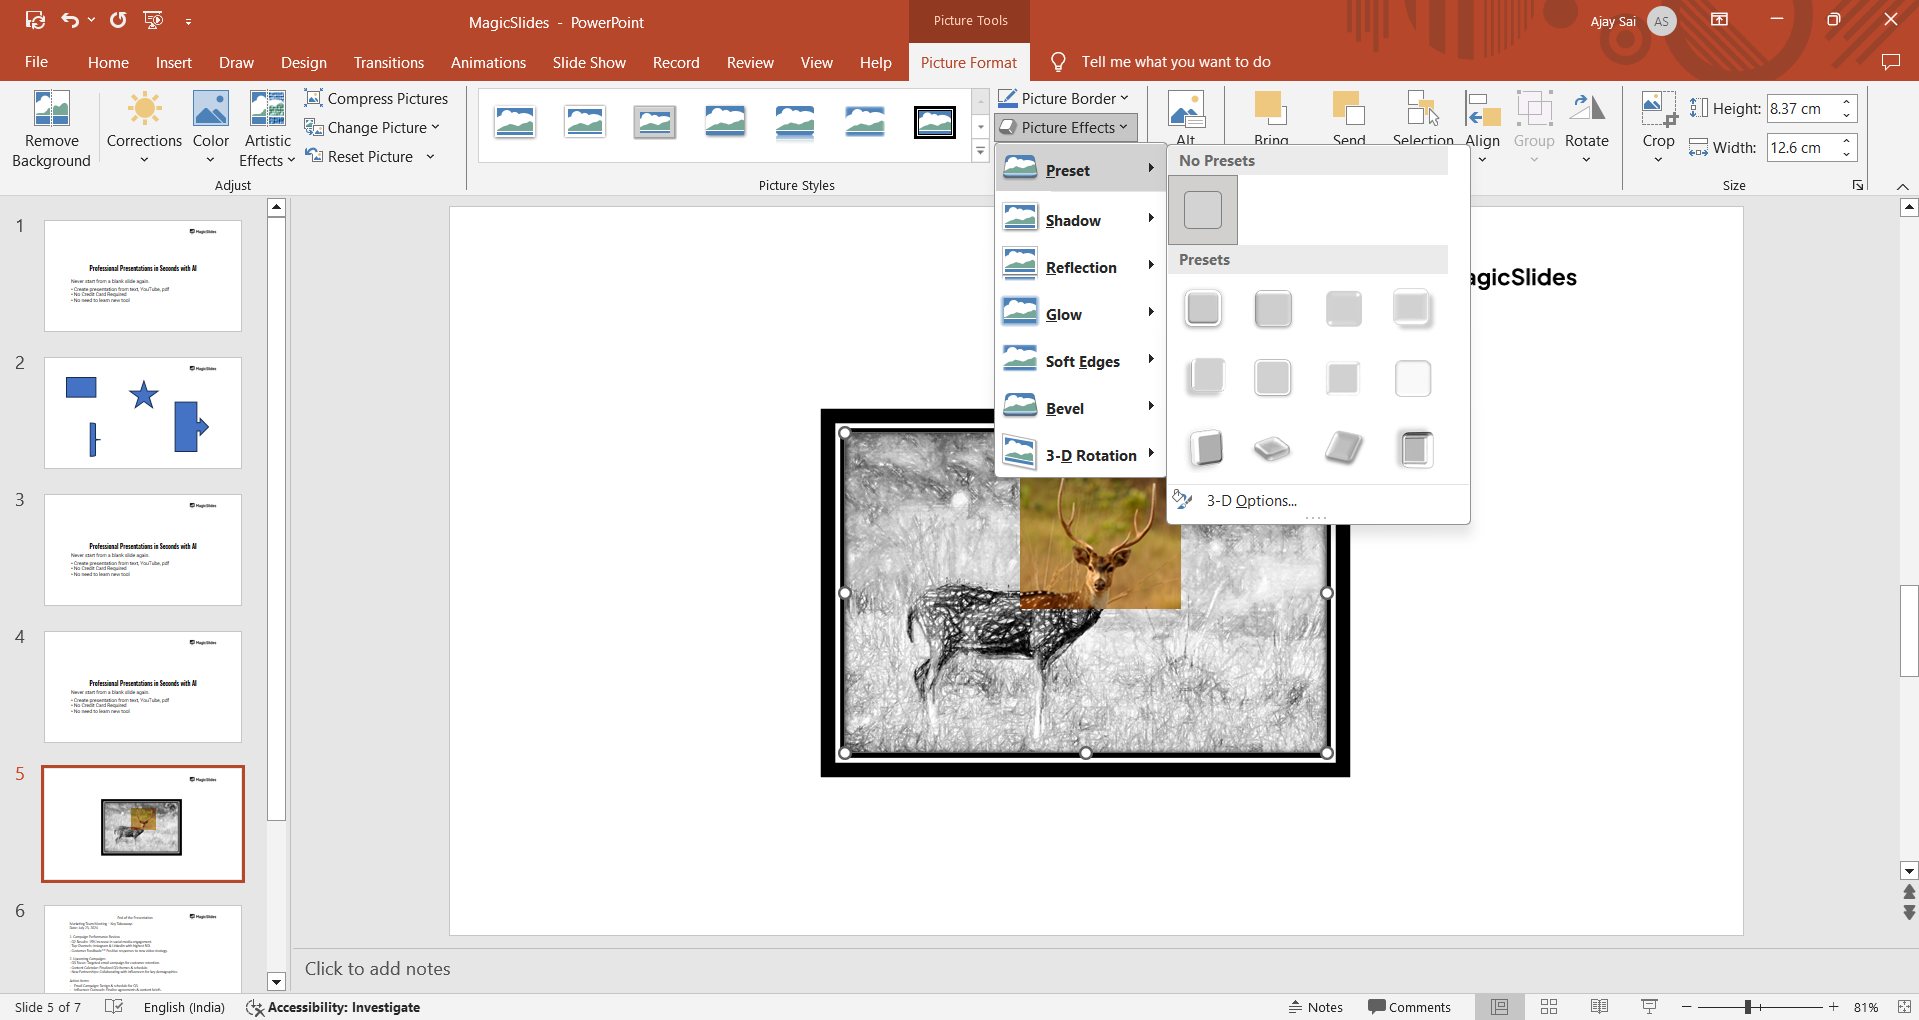
Step 7: Fine-Tune (Optional)
If needed, you can further fine-tune the border by returning to the "Format" tab and adjusting the settings.
You can also apply effects like shadows, reflections, or glows to enhance the border's visual impact.
Conclusion
Adding a border in PowerPoint is a quick and easy way to make your content stand out. Whether you're highlighting an image, emphasizing a shape, or framing a text box, borders can bring clarity and focus to your presentation.
By following these simple steps, you can customize your borders to match your presentation's theme and style, ensuring a cohesive and professional look. Experiment with different colors, weights, and styles to find the perfect border for your slides.
Tired of maing presentations? what if we tell you you can make presentation with just a prompt, convert YouTube videos to PPTs, convert website content to PPTs? Yes! checkout magicslides.app that does all and enjoy the free credits to make presentations in seconds.
FAQs can take you forward!
Can I add a border to any object in PowerPoint?
Yes, you can add a border to images, shapes, and text boxes in PowerPoint.
How can I change the color of a border in PowerPoint?
You can change the border color by selecting "Shape Outline" or "Picture Border" and choosing a color.
Can I create a dashed or dotted border in PowerPoint?
Yes, you can select a dashed or dotted style from the "Dashes" option in the border settings.
Is it possible to remove a border after adding it?
Yes, you can remove the border by selecting the object and choosing "No Outline" in the border options.


