How to Add checkbox in Google Slides


Easily add checkboxes to Google Slides using shapes, symbols, or images for organized, interactive presentations
Adding checkboxes in Google Slides is a great way to create interactive to-do lists, quizzes, or visually organized slides.
Although Google Slides doesn’t have a built-in checkbox tool, you can achieve this effect using shapes, symbols, or images.
This guide will show you step-by-step how to add checkboxes to your slides effectively.
How to Add a Checkbox in Google Slides | Steps to Add a Checkbox in Google Slides
Step 1: Open Your Google Slides Presentation
Log in to your Google account and open the presentation where you want to add checkboxes.
Navigate to the specific slide where you want to place the checkbox.
Step 2: Insert a Shape for the Checkbox
Click on the “Insert” menu in the top toolbar.
Select “Shape” > “Shapes” > “Rectangle” (or another shape of your choice).
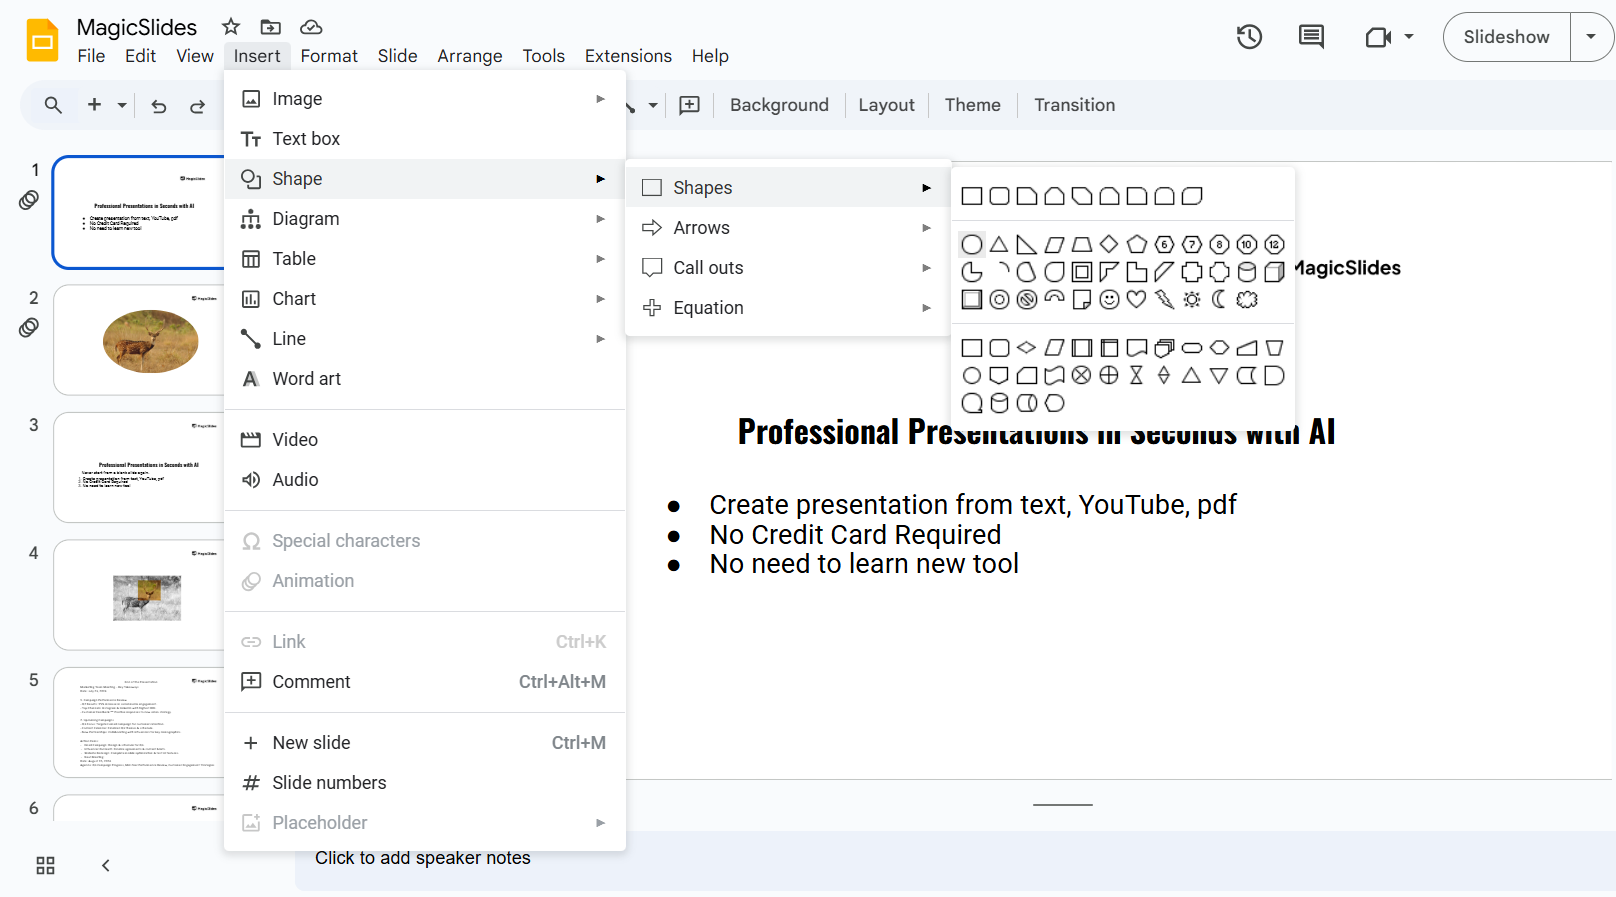
Draw a small square on the slide to act as your checkbox.
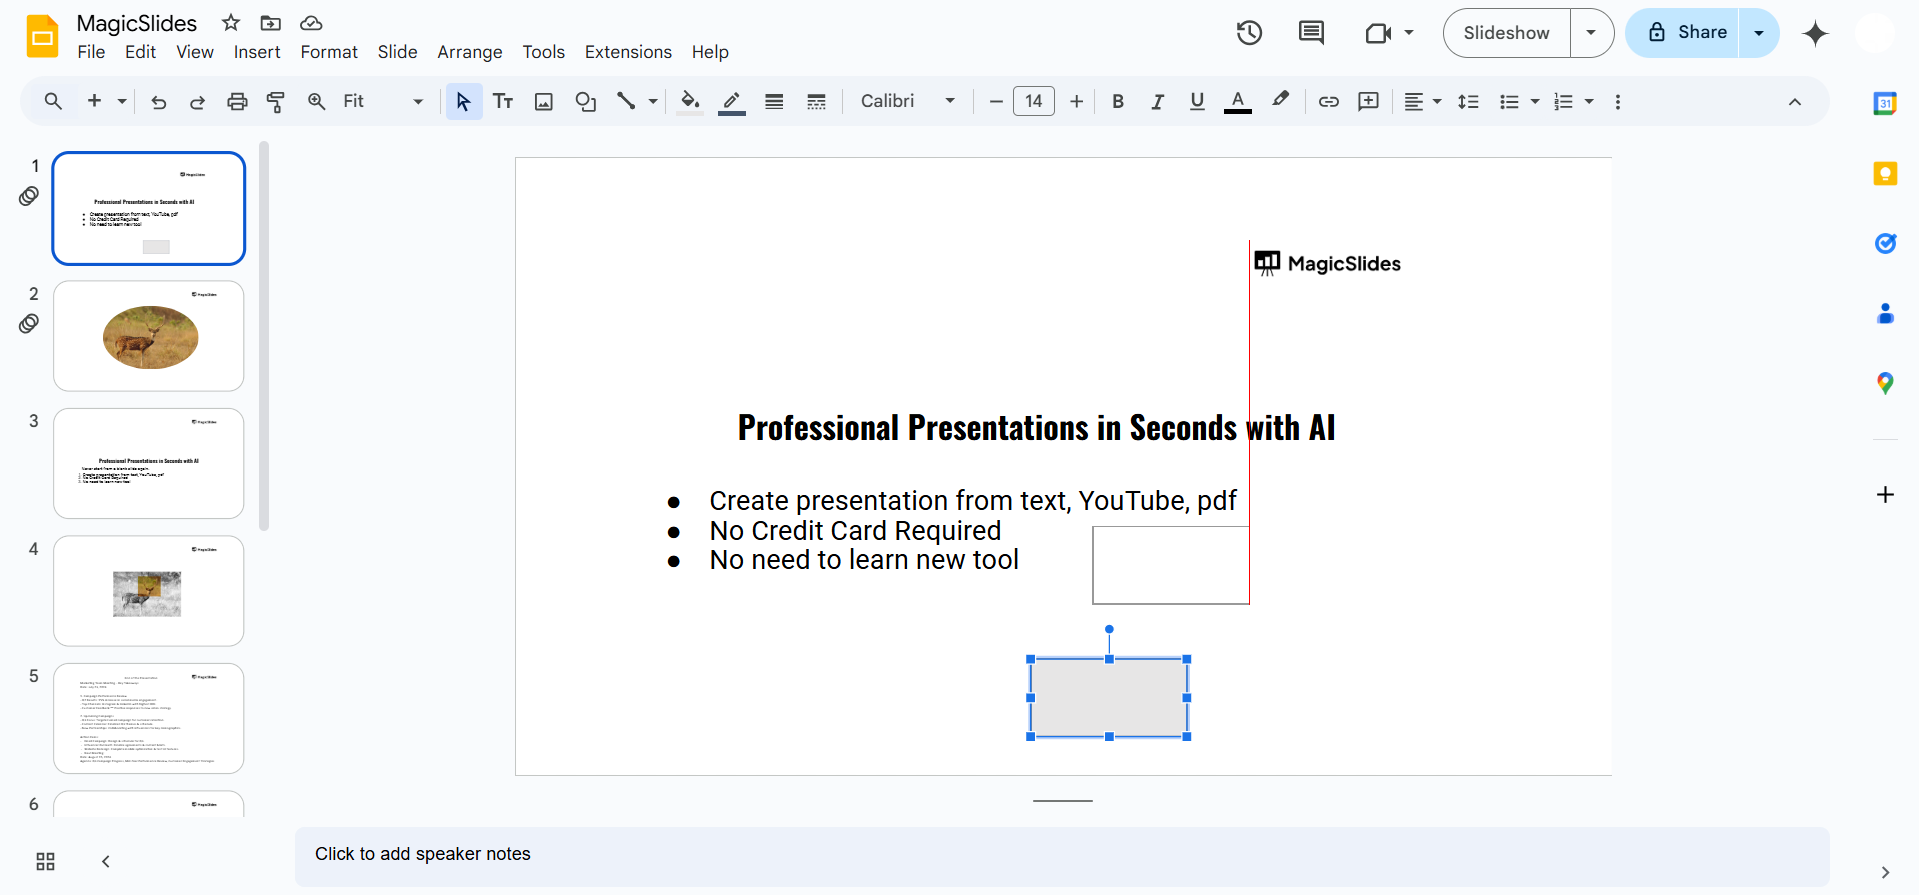
Step 3: Customize the Shape
Adjust the size of the shape to make it look like a checkbox.
Change the color and border of the shape using the Fill color and Border color options in the toolbar. For a standard checkbox look:
- Fill color: Transparent
- Border color: Black
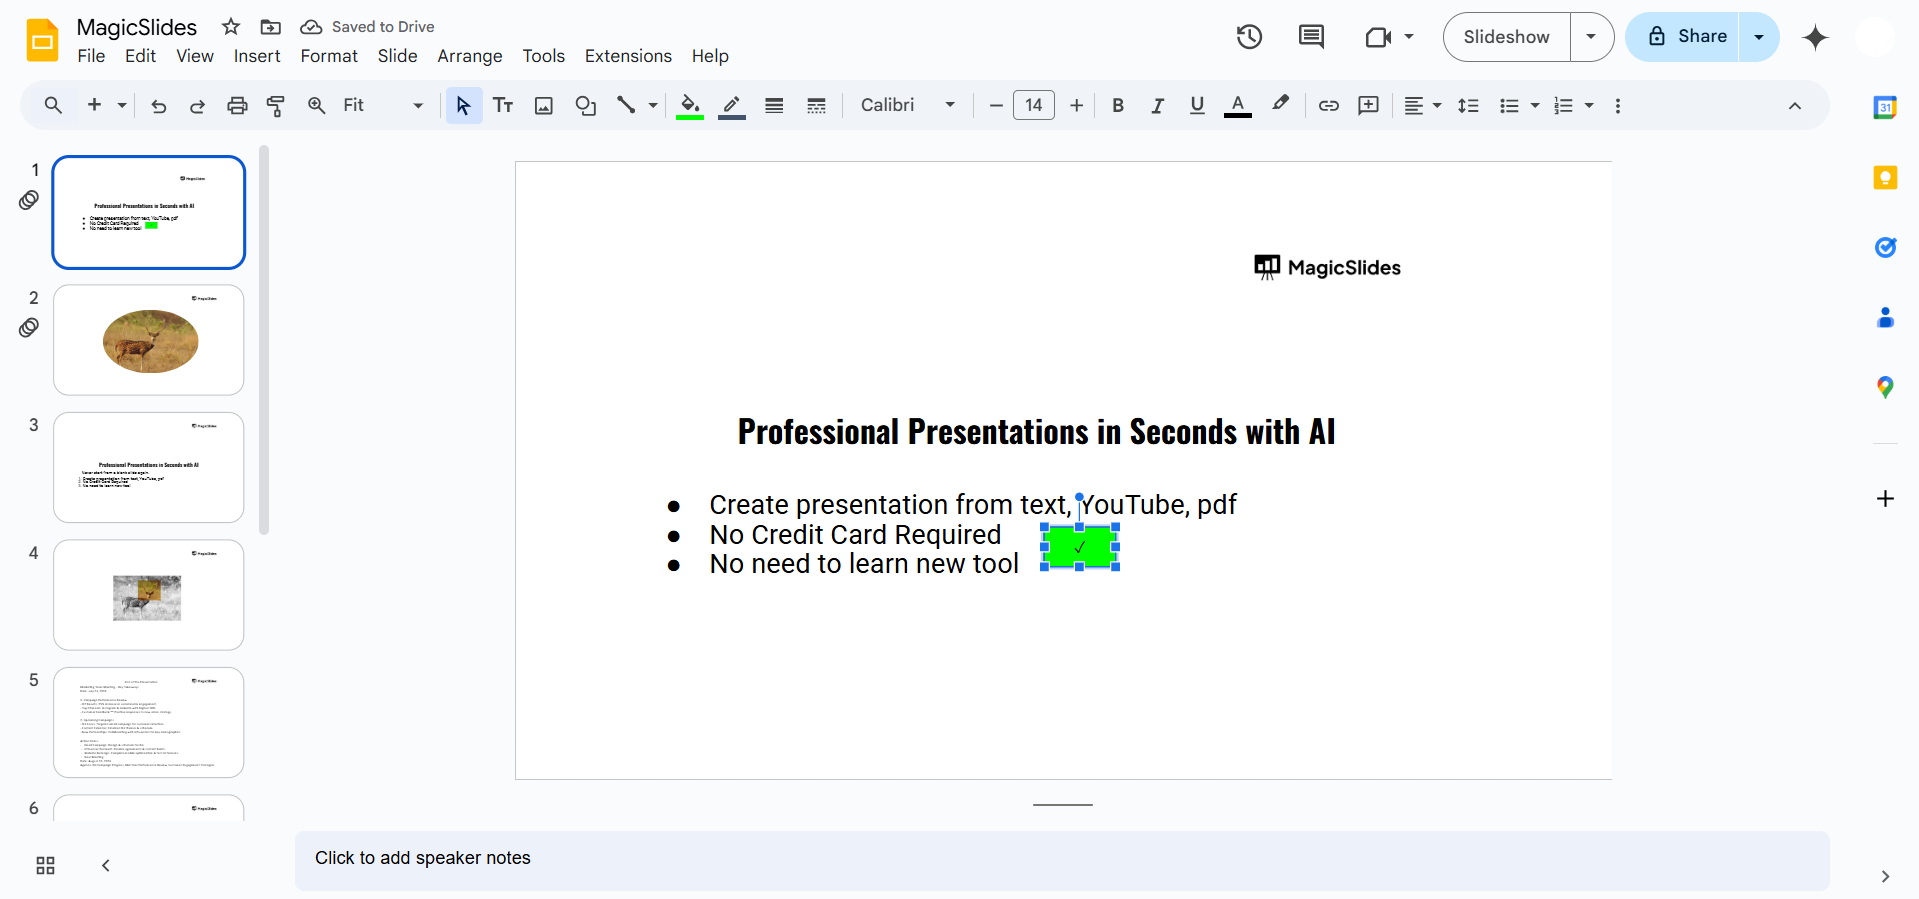
Step 4: Add a Check Symbol (Optional)
Click inside the shape to add text, or insert a separate text box near the checkbox.
Use a checkmark symbol (✓) by typing it directly or copying it from a symbol library.
- To add a checkmark from special characters: Go to Insert > Special Characters and search for “check.”
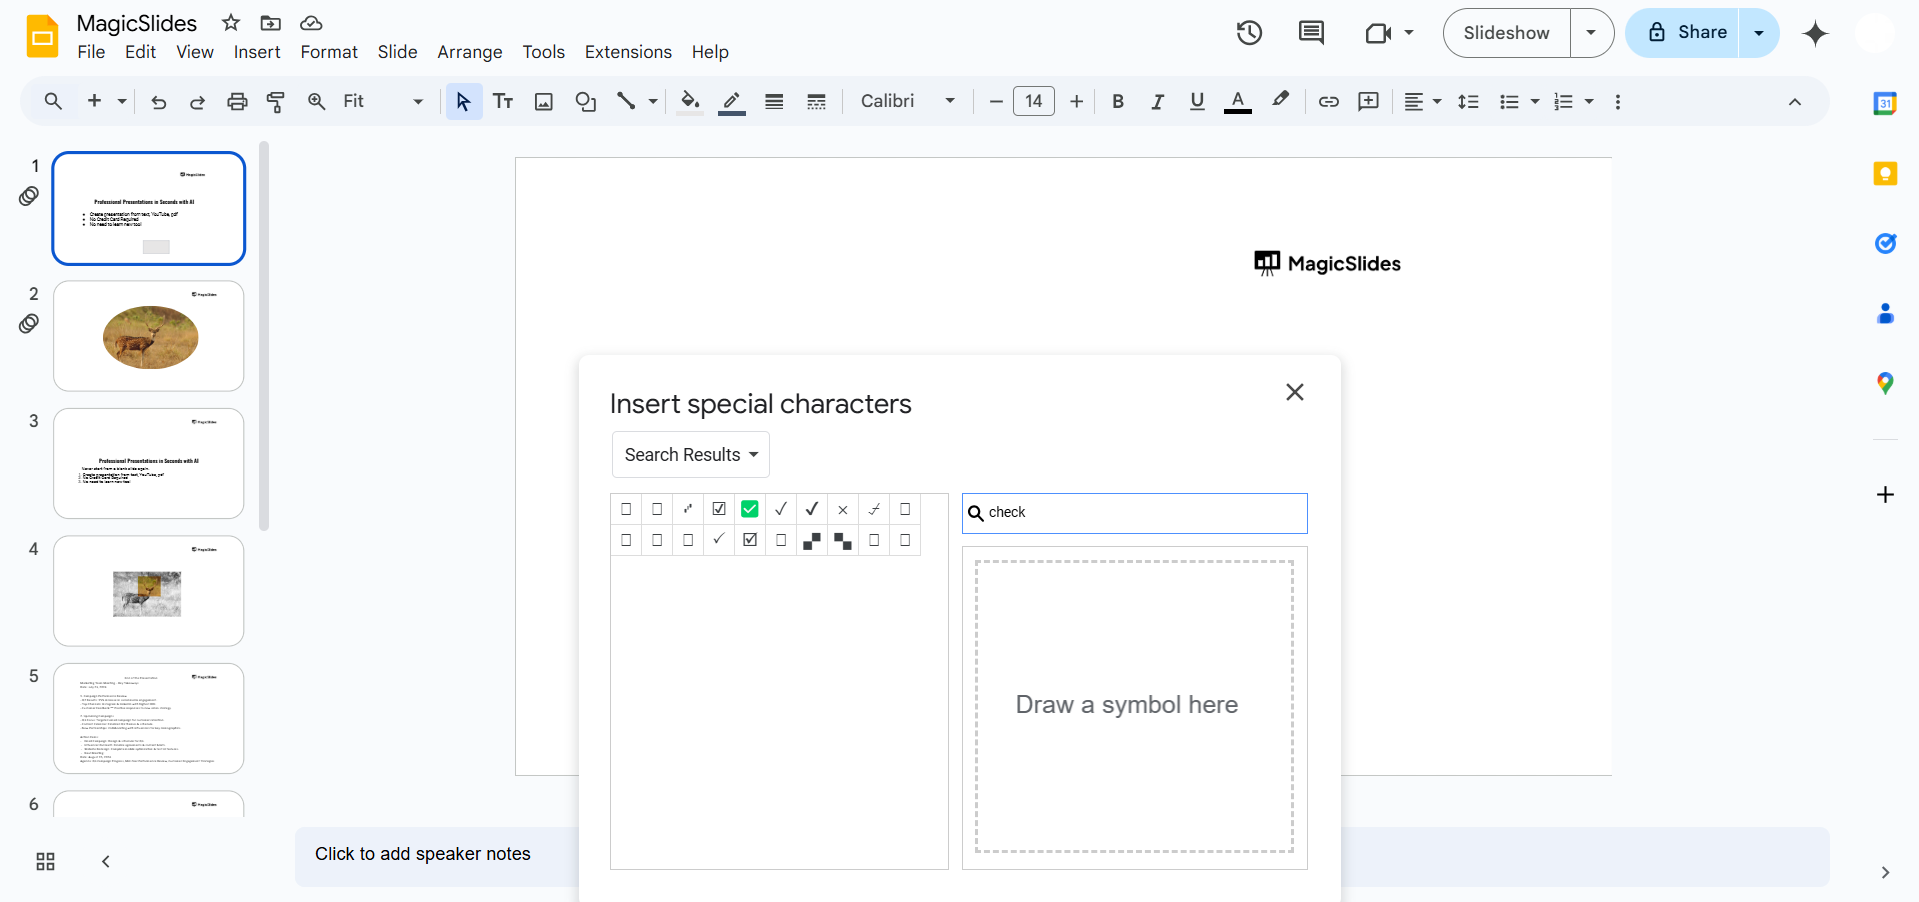
Position the checkmark symbol inside or next to the box.
Step 5: Duplicate the Checkbox
Once your first checkbox is ready, you can easily duplicate it.

Select the checkbox and press Ctrl + D (Windows) or Cmd + D (Mac) to create a copy.
Drag and position the duplicate checkboxes wherever needed.
Step 6: Use Images for Checkboxes (Optional)
If you prefer, you can insert checkbox images.
Go to Insert > Image > Search the web, and search for "checkbox icon."
Select an appropriate checkbox image and place it on the slide.
Conclusion
Adding checkboxes in Google Slides is a simple way to enhance your presentation’s functionality and interactivity.
Whether using shapes, symbols, or images, you can create professional checklists and organized layouts tailored to your needs.
Experiment with these methods to find the one that works best for your presentation.
FAQs on Adding Checkboxes in Google Slides
Can I make the checkboxes interactive in Google Slides?
No, Google Slides doesn’t support interactive checkboxes directly. However, you can manually add or remove checkmarks during editing.
Can I resize all checkboxes at once?
Yes! Select multiple checkboxes by holding Shift, then drag the edges to resize them uniformly.
Are there add-ons for adding checkboxes in Google Slides?
Yes, add-ons like “Icons for Slides” or “Noun Project” offer pre-designed checkbox icons that you can insert easily.
With this guide, you’re equipped to add checkboxes and elevate your Google Slides presentations!


