How to Align Text Boxes in PowerPoint


Aligning text boxes in PowerPoint helps give your slides a neat and professional appearance.
Aligning text boxes in PowerPoint is essential for creating professional and visually appealing presentations.
Whether you're working on a slide with multiple elements or ensuring that your text is perfectly positioned, aligning text boxes ensures your design looks clean and well-organized. PowerPoint offers several alignment tools to help you achieve this with ease.
In this step-by-step guide, I'll walk you through how to align text boxes in PowerPoint effectively.
How to Align Text Boxes in PowerPoint: A Step-by-Step Guide
Step 1: Open Your PowerPoint Presentation
Open your PowerPoint presentation and navigate to the slide where you want to align the text boxes.
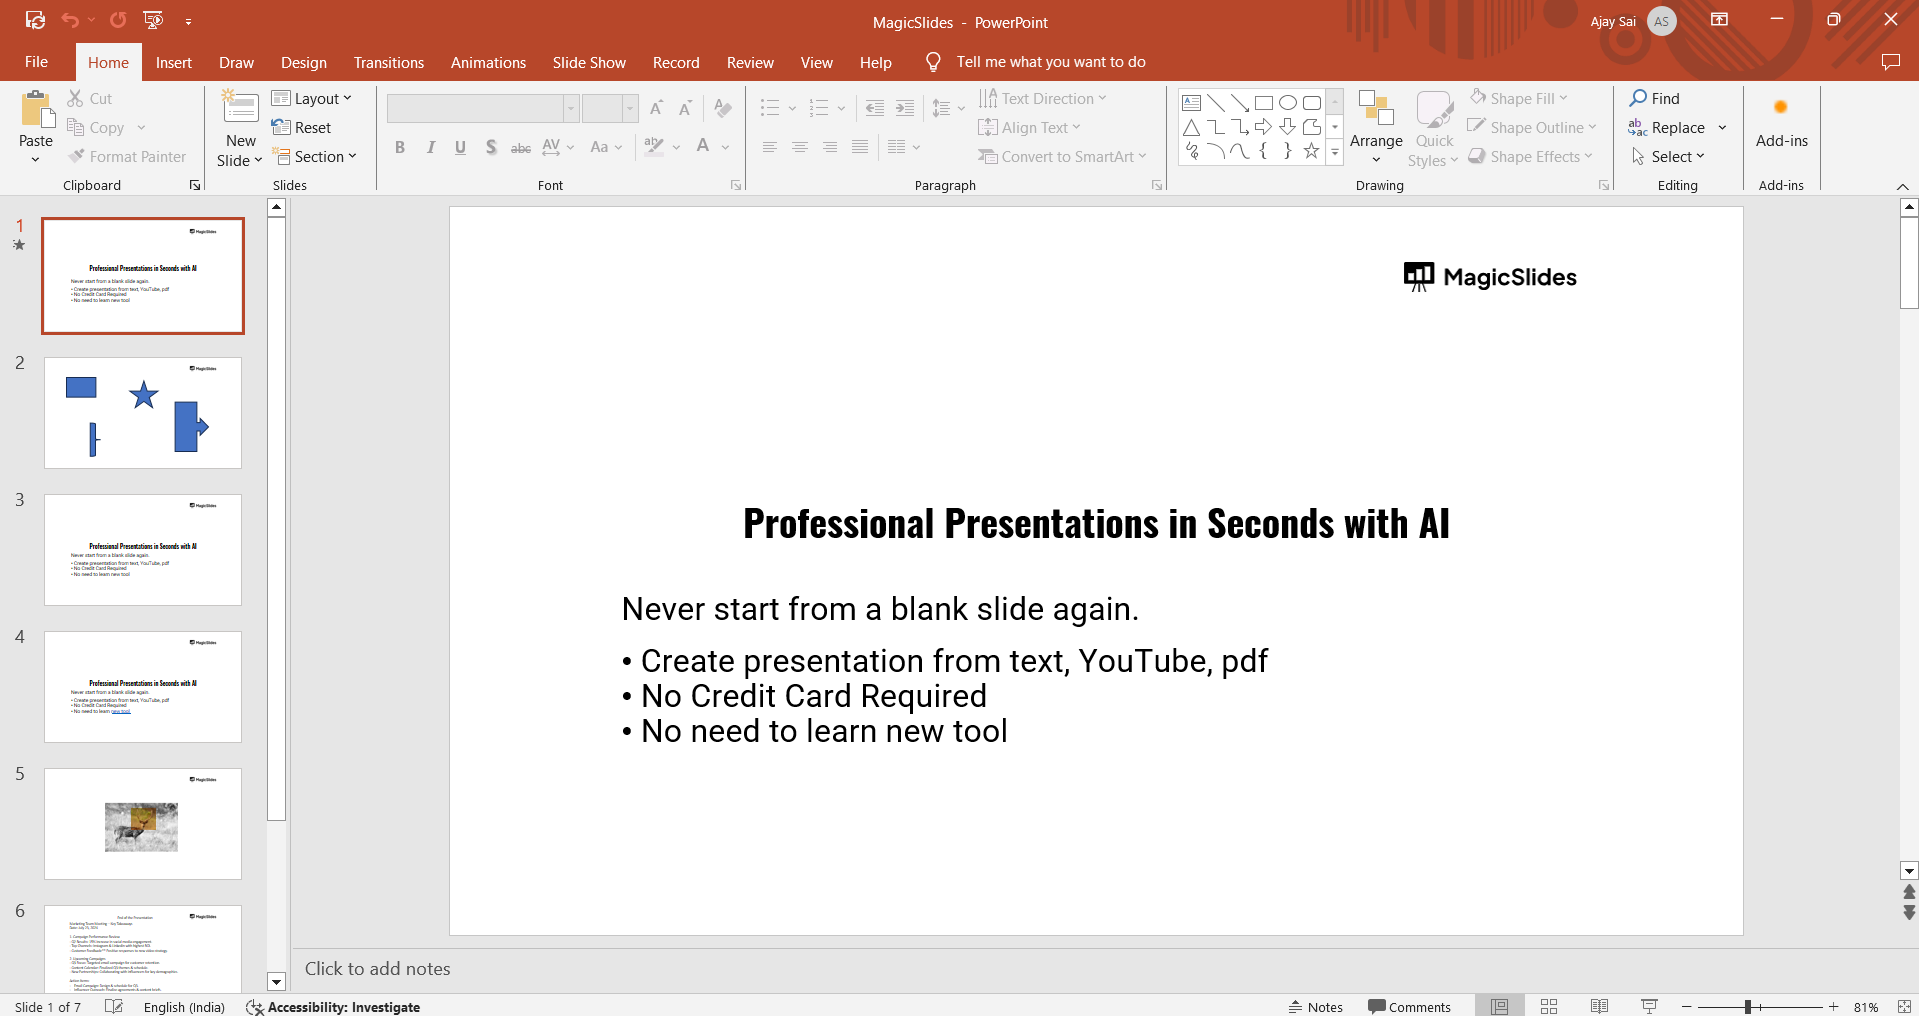
If needed, insert text boxes by going to the "Insert" tab and selecting "Text Box."
Step 2: Select the Text Boxes
Hold the "Shift" key and click on each text box you want to align, or press "Ctrl + A" to select all objects on the slide.
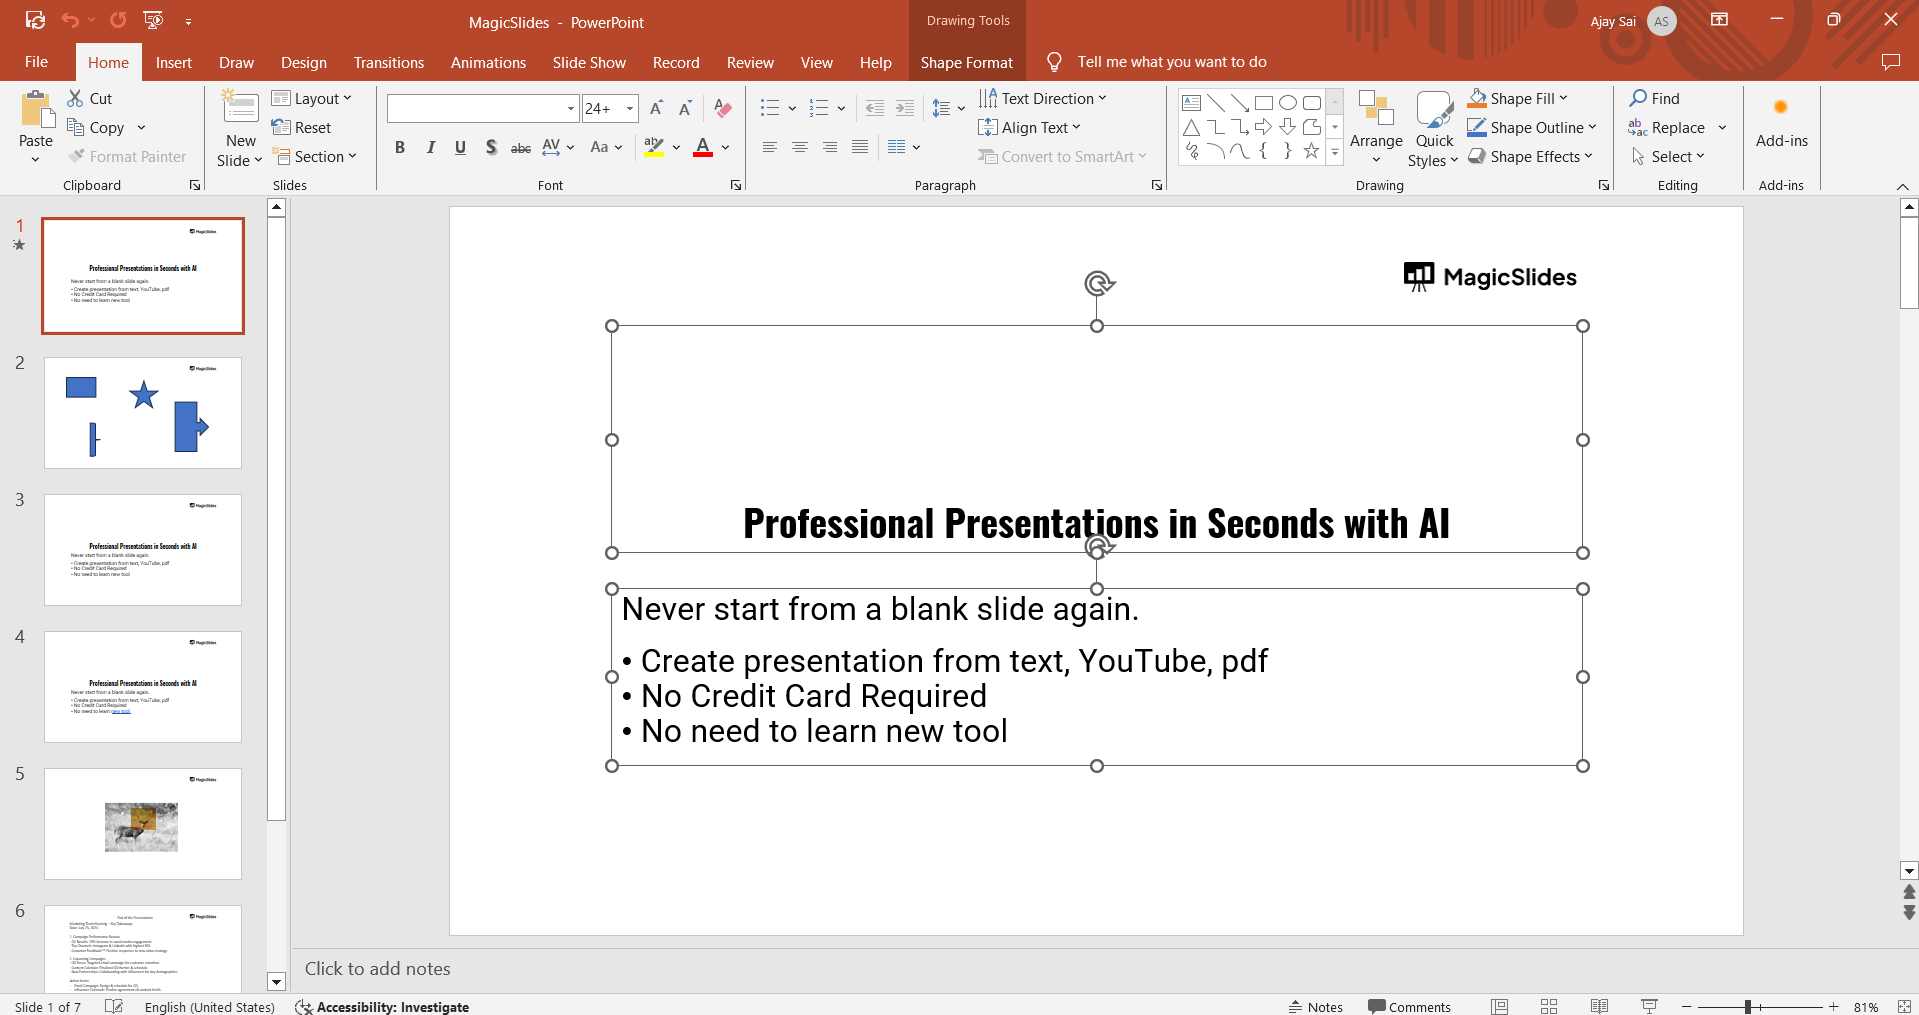
This allows you to align multiple text boxes simultaneously.
Step 3: Open the Alignment Tool
With the text boxes selected, go to the "Format" tab, and click the "Align" button in the "Arrange" section.
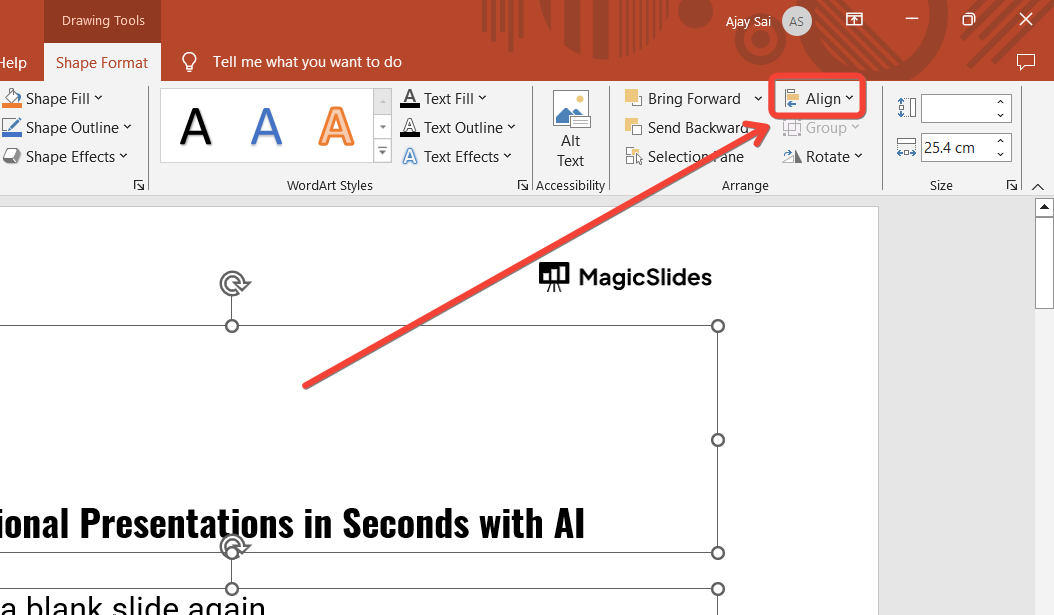
A dropdown menu will appear with various alignment options.
Step 4: Choose Your Alignment
Select your desired alignment from the menu, such as "Align Left," "Align Center," or "Align Top." PowerPoint will automatically align the text boxes based on your selection.
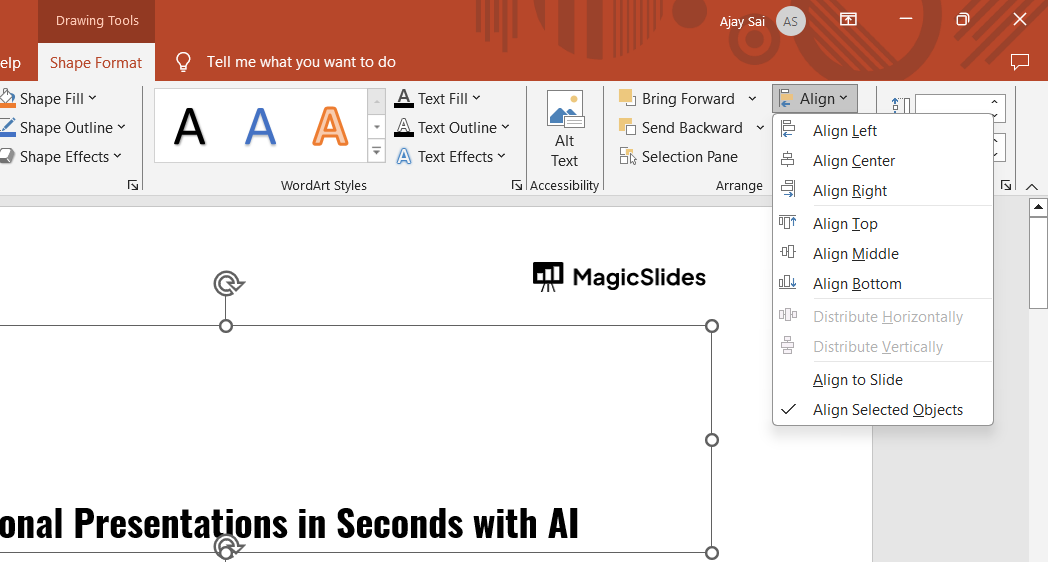
Step 5: Distribute Text Boxes Evenly (Optional)
If you want equal spacing between text boxes, choose "Distribute Horizontally" or "Distribute Vertically" from the "Align" menu.
This ensures even spacing between all selected objects.
Step 6: Group the Text Boxes (Optional)
To keep aligned text boxes together, right-click and select "Group," or press "Ctrl + G."
This will allow you to move or resize the text boxes without losing their alignment.
After aligning your text boxes in PowerPoint, you might want to consider using an AI-powered tool that not only enhances text alignment but also helps generate complete, well-organized slide layouts. This approach ensures your presentations remain visually balanced and engaging with minimal manual adjustments
💡
Conclusion
Aligning text boxes in PowerPoint is a simple yet powerful way to ensure that your presentations look polished and professional.
By using PowerPoint’s built-in alignment and distribution tools, you can create slides that are well-organized and visually pleasing.
Whether you're working on a business presentation or an academic project, these alignment techniques will help you make an impactful impression.
FAQs are here to help!
Can I align text boxes manually without using the alignment tool?
Yes, you can manually drag text boxes into position, but using the alignment tool ensures precise alignment.
Can I align text boxes with other elements like images or shapes?
Yes, PowerPoint’s alignment tool works for text boxes, images, shapes, and other objects within your slide.
How do I undo the alignment if I don't like the result?
You can press "Ctrl + Z" to undo the alignment or manually adjust the text boxes by dragging them.


