How to Animate in Canva? Top Canva Animation Tutorial


Learn how to animate in Canva with this step-by-step guide. Add animations to text, images, and graphics, then export your designs with ease.
Animations can add life and dynamism to your designs, making them more engaging and interactive.
Canva, a user-friendly design platform, allows you to animate elements such as text, images, and graphics with just a few clicks.
Whether you’re working on social media posts, presentations, or promotional content, adding animations in Canva can enhance your visuals significantly.
In this step-by-step guide, I’ll walk you through the process of animating elements in Canva easily and efficiently.
How to Animate in Canva? A Step-by-Step Guide
Step 1. Open Canva and Choose Your Design
Start by logging into Canva and selecting the design project where you want to add animations.
You can either open an existing project or create a new one by clicking on the “Create a Design” button.
Select the design type like “Instagram Post,” “Presentation,” or any custom dimensions for your project.
Step 2. Select the Element to Animate
Once your design is open, click on the element you want to animate. This could be text, an image, or a shape.
Make sure the element is highlighted by clicking on it before you proceed to add animation.
Step 3. Open the Animation Menu
With the element selected, navigate to the top toolbar and click on the “Animate” button that appears.
This will open up a list of animation options that you can apply to the selected element, ranging from simple fades and zooms to more dynamic effects like bounce and spin.
Step 4. Choose Your Animation Style
In the animation menu, you’ll see various animation options, each with a preview.
Hover over each one to see a live preview of how the animation will look. Once you’ve decided which animation suits your design, click on it to apply.
You can animate the element’s entrance, exit, or continuous loop effect depending on your needs.
Step 5. Adjust Animation Speed and Duration
After selecting an animation, Canva allows you to customize the speed and duration.
You can slow down or speed up the animation by adjusting the timing slider available in the animation menu.
Make sure to preview the animation to ensure that it flows smoothly within your design.
Step 6. Animate Multiple Elements (Optional)
To animate more than one element, repeat the process for each object on your design.
You can use the same animation effect for all elements, or choose different ones to create a more dynamic visual effect.
Canva allows you to animate individual elements independently or together as a group.
Step 7: Preview and Export Your Animated Design
Once you’re satisfied with your animations, click on the “Play” button at the top-right corner to preview how your design looks with the animations.
If everything looks good, you can export the design by clicking on the “Share” button and choosing the “Download” option.
Make sure to download the file as an MP4 video or GIF format to preserve the animations.
With animation skills in hand, you may also want to discover how to add background music to PowerPoint presentation to create an immersive experience across both platforms.
Turn Your Canva Designs into Professional Presentations Faster
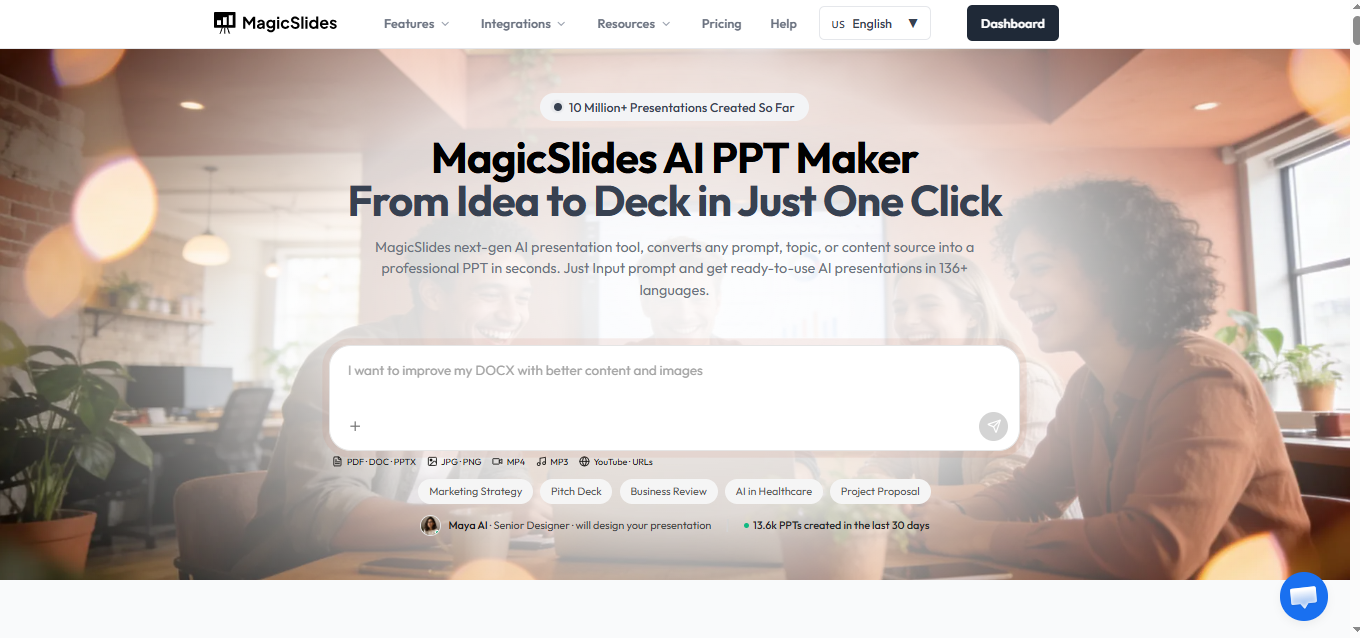
If you’re creating animated graphics in Canva for a presentation, manually arranging every slide can still take a lot of time. Instead of building an entire presentation from scratch, you can use MagicSlides AI Presentation Maker to generate a polished presentation in minutes.
MagicSlides lets you create complete presentations from a topic, text, PDF, YouTube video, URL, or document. Once your presentation is ready, you can easily enhance it by adding your Canva animations, graphics, or exported videos to make the slides more engaging.
Whether you’re a student, marketer, educator, or business professional, MagicSlides helps you focus on your content while AI takes care of the slide design and structure. It’s an excellent companion for Canva users who want to create professional presentations without spending hours formatting slides.
Conclusion
Animating on Canva is an easy way to enhance the appeal of your designs and capture your audience’s attention.
Whether you’re using subtle animations or vibrant effects, the process is intuitive and flexible.
With just a few clicks, you can transform static designs into animated visuals that stand out, making your content more engaging and impactful.
FAQs are here to help!
Can I animate text and images at the same time in Canva?
Yes, Canva allows you to animate multiple elements, such as text and images, simultaneously. You can apply the same animation to different elements or use different effects for each.
Is there a way to customize the animation further, like adding delay?
While Canva offers limited customization, you can adjust the speed and duration of the animation. However, features like delay or staggered animations are not yet available.
In what formats can I download animated designs from Canva?
You can download animated designs in MP4 video format or as GIFs. Both formats preserve the animations for sharing on various platforms.


