How to Compress Photos in PowerPoint (Easy Guide)


Learn how to compress photos in PowerPoint to reduce file size, improve presentation performance, and maintain image quality with simple step-by-step instructions.
Large, high-resolution photos can make your PowerPoint presentation unnecessarily large, slowing down loading, editing, sharing, and presenting. The good news is that you can reduce the file size directly in PowerPoint by compressing your images and removing unnecessary picture data. In this guide, you’ll learn how to compress photos in PowerPoint step by step, which compression settings to choose, and how to reduce file size without sacrificing too much image quality.
How to Compress Photos in PowerPoint
Compressing photos in PowerPoint can help reduce your presentation’s file size while keeping your slides looking sharp. PowerPoint includes a built-in compression tool that lets you adjust image quality and remove unnecessary picture data. Follow these simple steps to compress your photos quickly and efficiently.
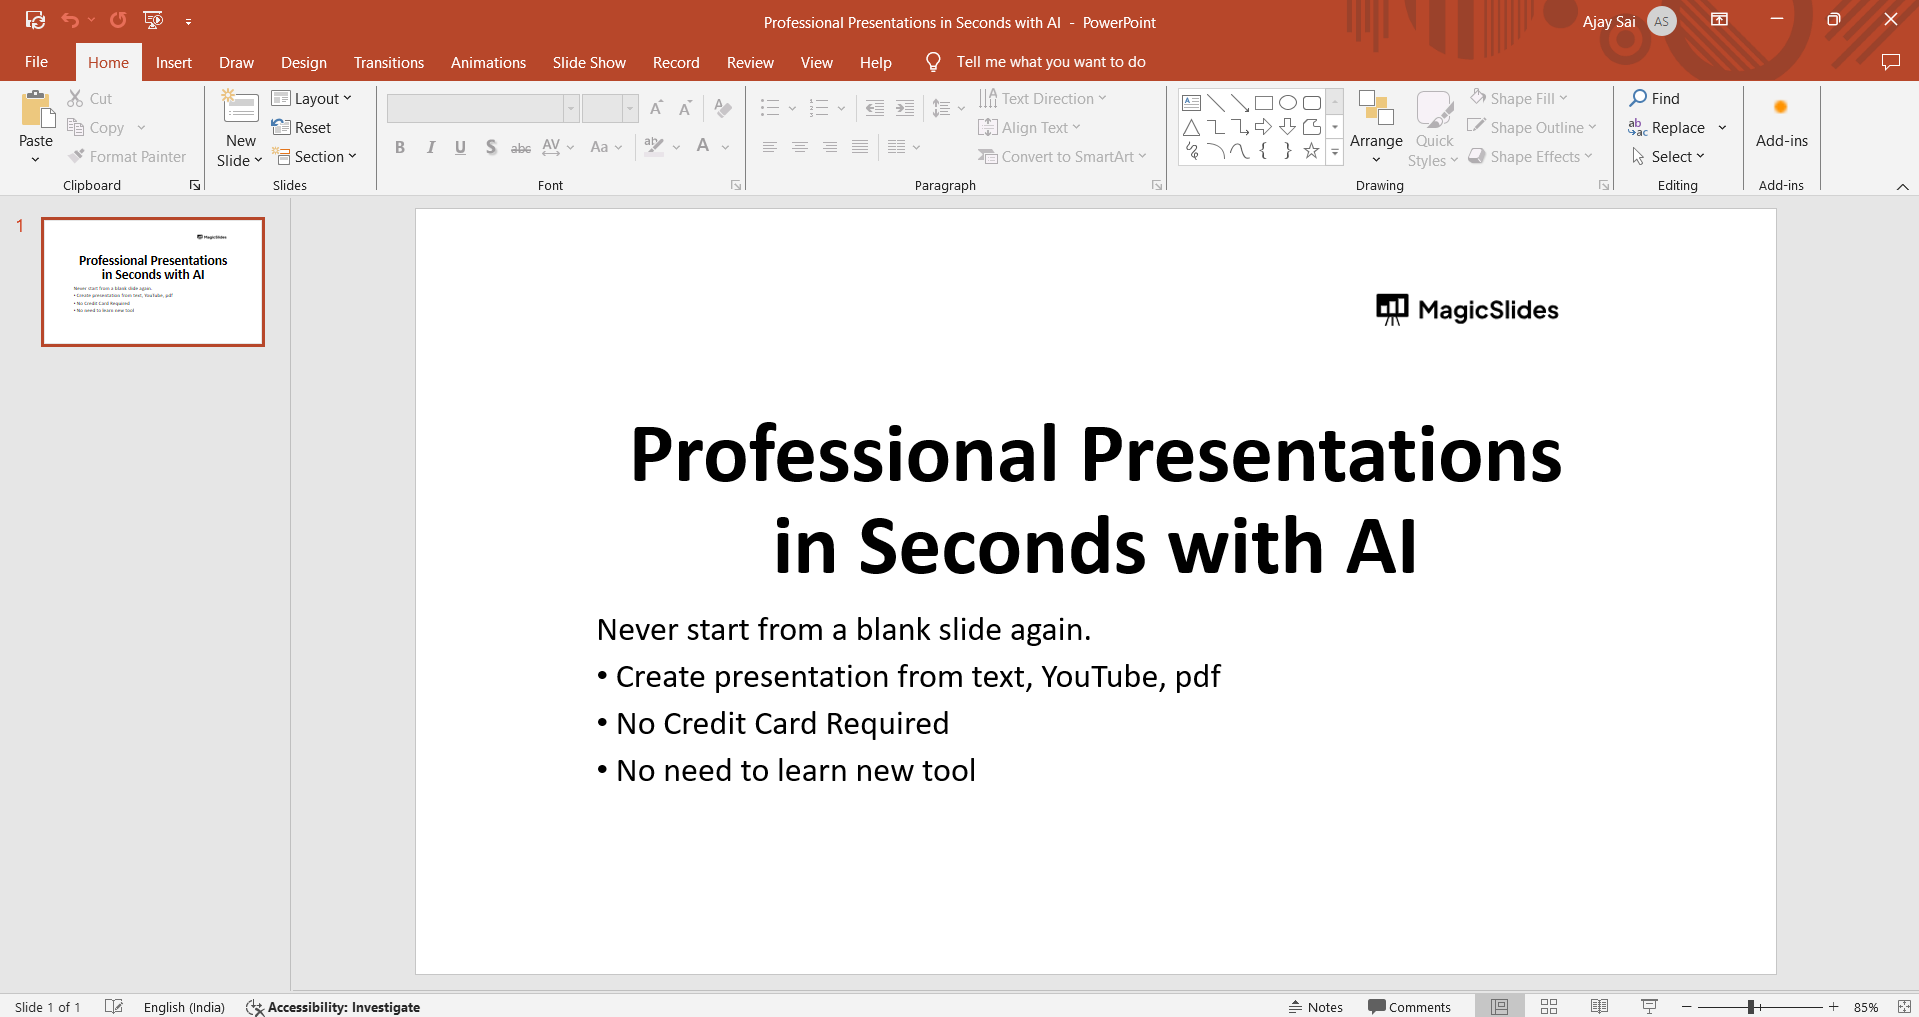
Step 1: Open Your PowerPoint Presentation
Begin by opening the PowerPoint presentation containing the photos you wish to compress. Locate the slide with the images and ensure you’re ready to enhance the overall performance of your presentation.
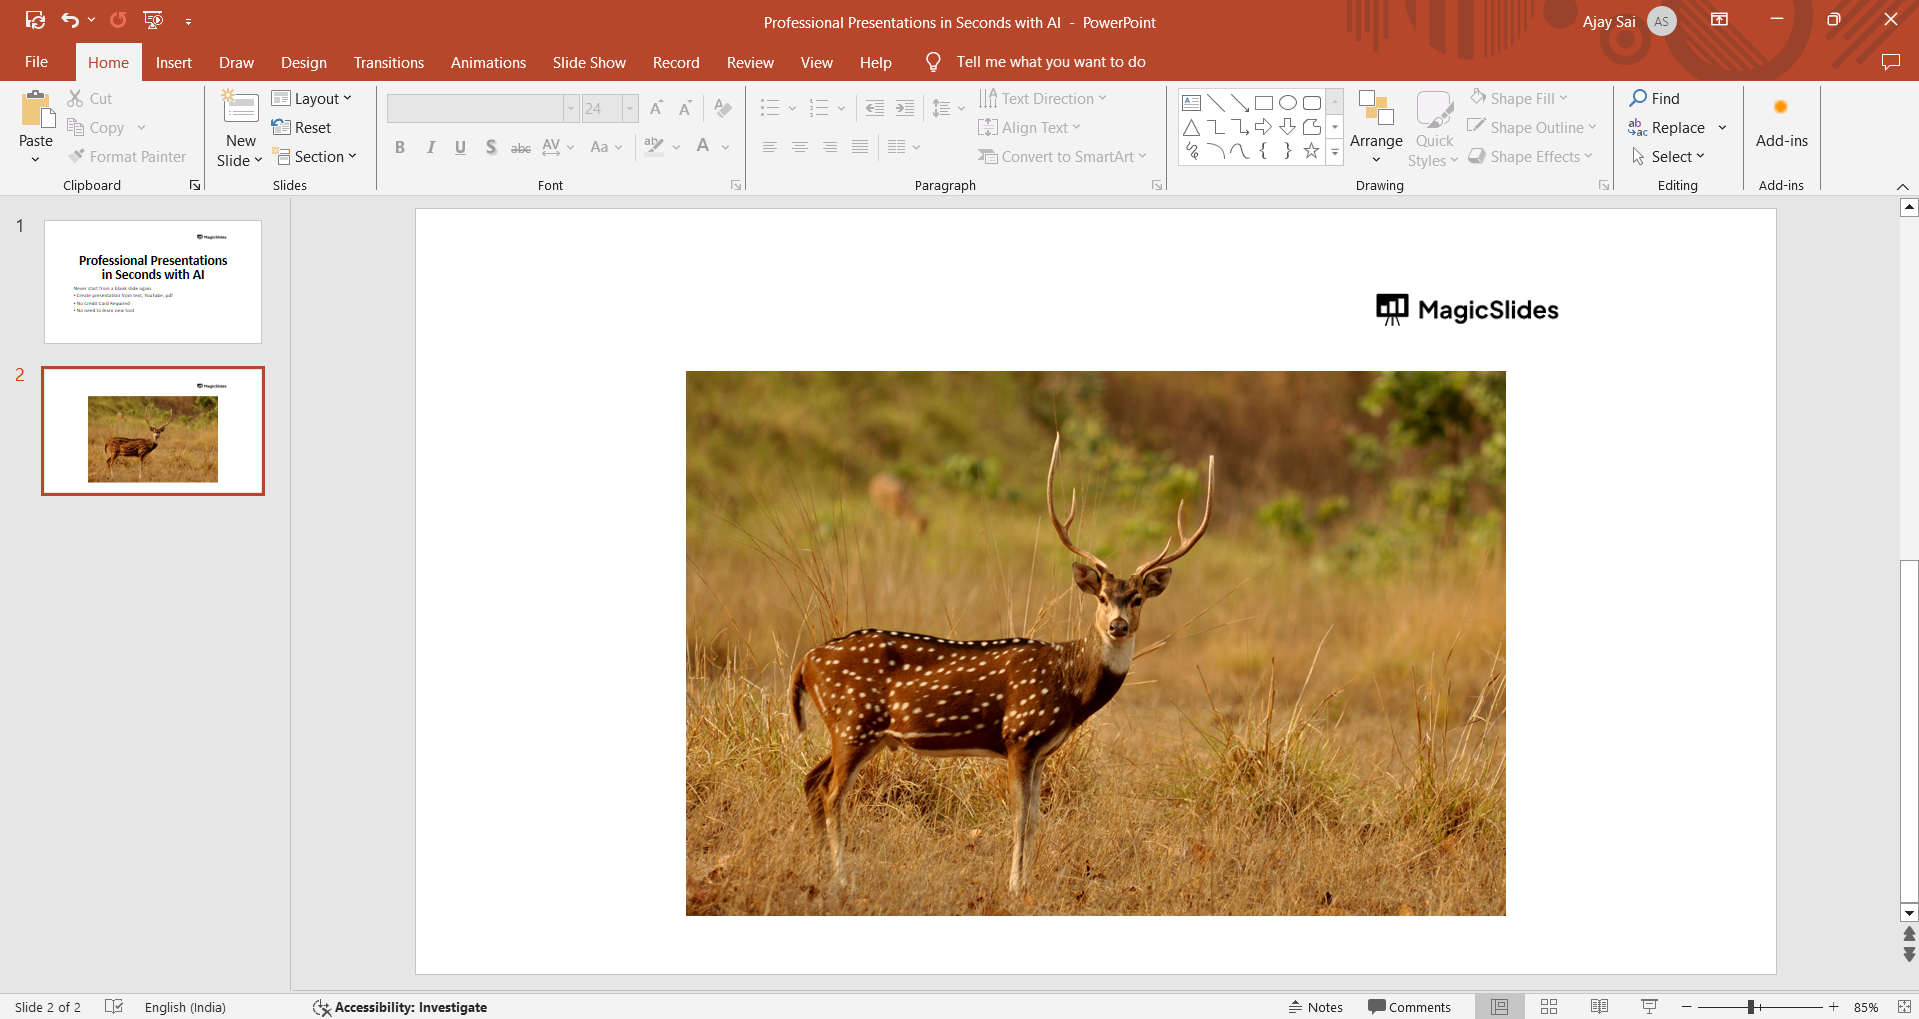
Step 2: Select the Image(s) to Compress
Click on the slide containing the photos you want to compress. Hold down the “Shift” key while clicking on each image to select multiple photos if necessary. Alternatively, you can press and hold “Ctrl” while clicking on individual images.
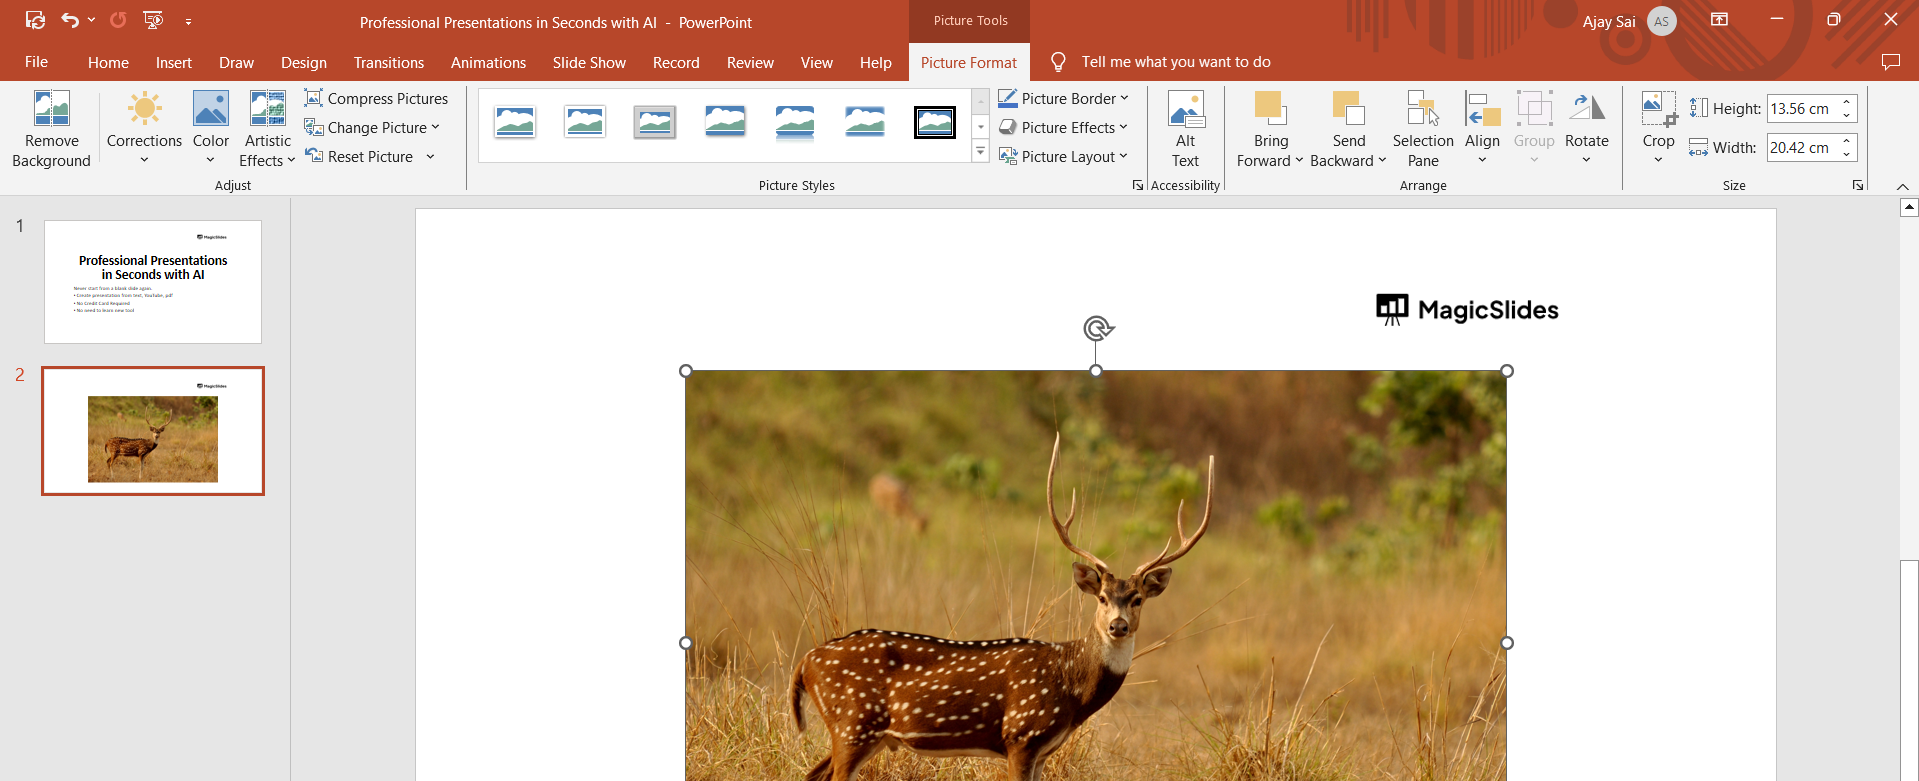
Step 3: Navigate to the “Format” Tab
Once your images are selected, navigate to the “Format” tab on the PowerPoint ribbon. This tab houses various image editing and formatting options to enhance the visual aspects of your slides.
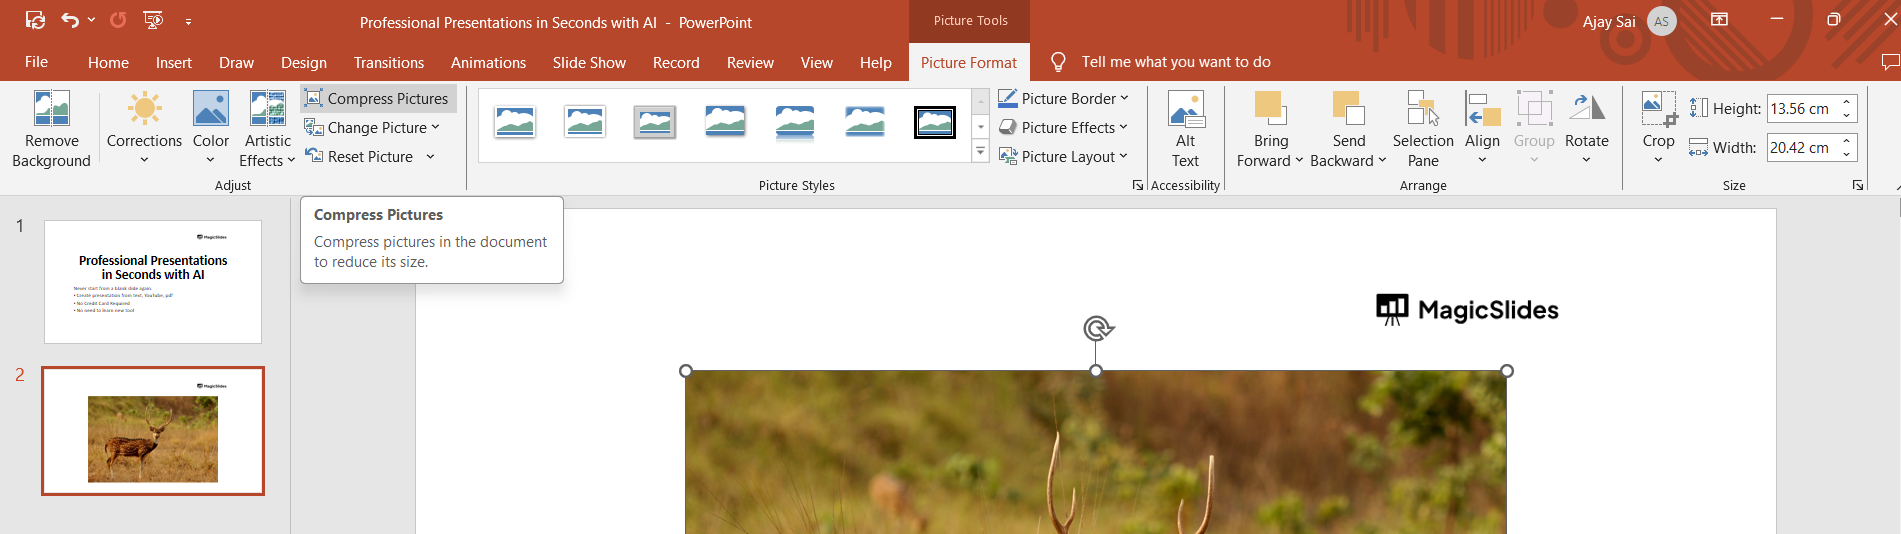
Step 4: Click on “Compress Pictures”
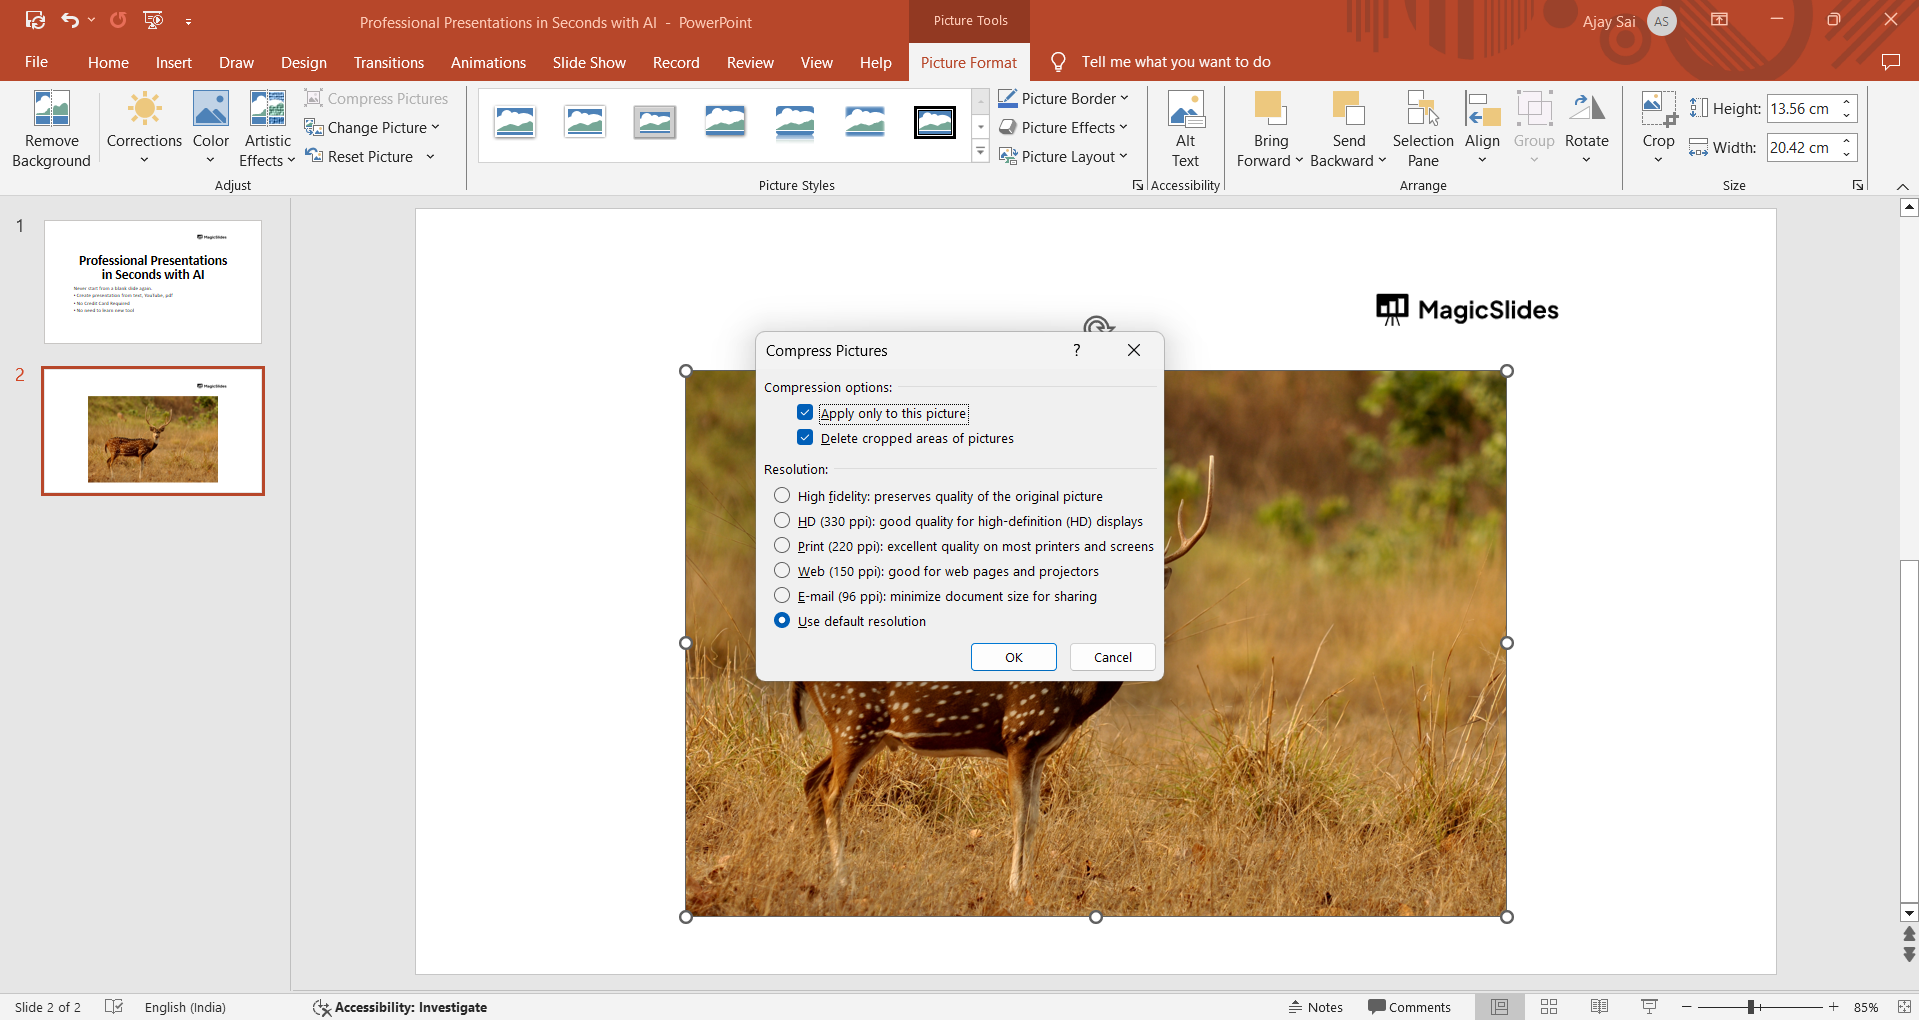
Within the “Format” tab, look for the “Compress Pictures” option. Click on it to open the compression settings dialog box.
Step 5: Choose Compression Options
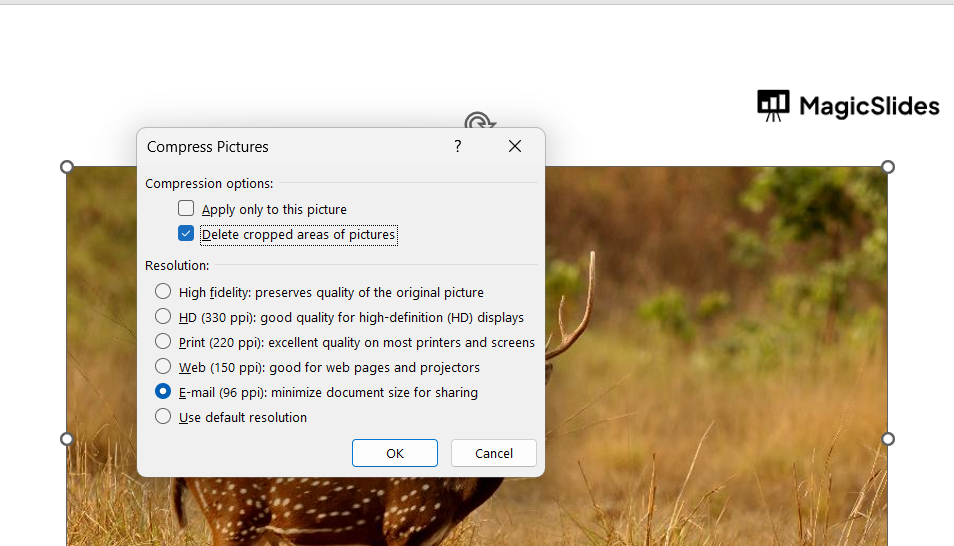
In the compression settings dialog box, you’ll be presented with options for compression. Select your preferred target output quality, such as “Print” or “Web/E-mail,” depending on your presentation’s intended use.
Step 6: Opt for Deleting Cropped Areas
To maximize compression efficiency, consider checking the “Delete cropped areas of pictures” option. This removes any unnecessary data from cropped portions of images, further reducing the file size.
Step 7: Click “OK” to Apply Compression
Once you’ve chosen your compression settings, click the “OK” button to apply the changes. PowerPoint will automatically compress the selected images based on your specifications.
How to Compress All Pictures in PowerPoint
If your presentation contains many high-resolution images, compressing them individually can take time. PowerPoint lets you apply compression settings to all pictures in the presentation at once, which can significantly reduce the overall file size.
- Select any picture in your presentation.
- Open the Picture Format tab.
- Click Compress Pictures.
- In the dialog box, uncheck “Apply only to this picture”. This applies the compression settings to all pictures in the presentation.
- Choose your preferred picture resolution.
- Select Delete cropped areas of pictures if you want to remove hidden image data.
- Click OK to apply the changes.
Tip: Save a copy of your presentation before compressing all pictures. Once PowerPoint removes cropped areas or reduces image resolution, restoring the original image quality may not be possible without replacing the images.
Which Compression Setting Should You Choose?
PowerPoint offers different resolution options when you compress pictures. The best choice depends on how you plan to use your presentation and how much you need to reduce the file size.
| Resolution | Best for | File size |
|---|---|---|
| 96 ppi | Email, screen sharing, and online presentations | Smallest |
| 150 ppi | General presentations and sharing | Small |
| 220 ppi | Presentations where image quality is important | Larger |
| High fidelity | Maximum image quality | Largest |
For most presentations viewed on a computer, 150 ppi is a good balance between image quality and file size. If your presentation needs to be as small as possible for email or online sharing, 96 ppi can be a better choice.
If you’re presenting slides on a large screen or need to preserve fine image details, consider using 220 ppi or High fidelity instead.
How to Reduce PowerPoint File Size Further
If your PowerPoint file is still too large after compressing photos, try these quick fixes:
- Delete unused images and duplicate pictures.
- Delete cropped areas when compressing pictures.
- Compress large videos and audio files.
- Avoid unnecessarily high-resolution images.
- Save the presentation after making these changes and check the new file size.
Compress Photos in PowerPoint With MagicSlides
If you regularly work with image-heavy presentations, MagicSlides can help simplify your PowerPoint workflow. Instead of spending time manually optimizing every slide, you can use AI-powered presentation tools to create, edit, and improve presentations more efficiently.

For presentations that contain many large images, it’s still a good idea to use PowerPoint’s Compress Pictures feature after creating your slides. This helps keep the final file smaller and easier to share.
Conclusion
Compressing photos is a simple way to reduce PowerPoint file size and improve presentation performance. Use Compress Pictures to choose the right resolution, remove unnecessary cropped data, and keep image quality at a level that suits your presentation. For most presentations, moderate compression offers a good balance between file size and visual quality.
Frequently Asked Questions
Q1. How do I compress pictures in PowerPoint?
Select a picture, go to Picture Format → Compress Pictures, choose your preferred resolution, and click OK.
Q2. Does compressing pictures reduce image quality?
It can. Lower compression resolutions reduce file size but may also reduce image quality. Choose a resolution that fits your presentation needs.
Q3. Can I compress all pictures in PowerPoint at once?
Yes. In the Compress Pictures dialog box, uncheck Apply only to this picture to apply the settings to all pictures.
Q4. How can I reduce the size of a PowerPoint file without losing quality?
Use a moderate resolution, such as 150 or 220 ppi, remove cropped image areas, and delete unnecessary images or media.


