How to create a Google Slides Presentation from very Scratch


Learn how to create a professional, engaging Google Slides presentation completely from scratch with simple steps
Creating a Google Slides presentation from scratch gives you full control over your content, design, and delivery style.
Whether you're preparing for a school project, business meeting, or personal portfolio, starting from a blank slide deck allows you to build a unique and impactful presentation.
This step-by-step guide walks you through the complete process from opening Google Slides to customizing your content and finalizing your slides for presentation.
How to Create a Google Slides Presentation from Scratch | Step-by-Step Guide
Step 1: Open Google Slides
- Go to https://slides.google.com.
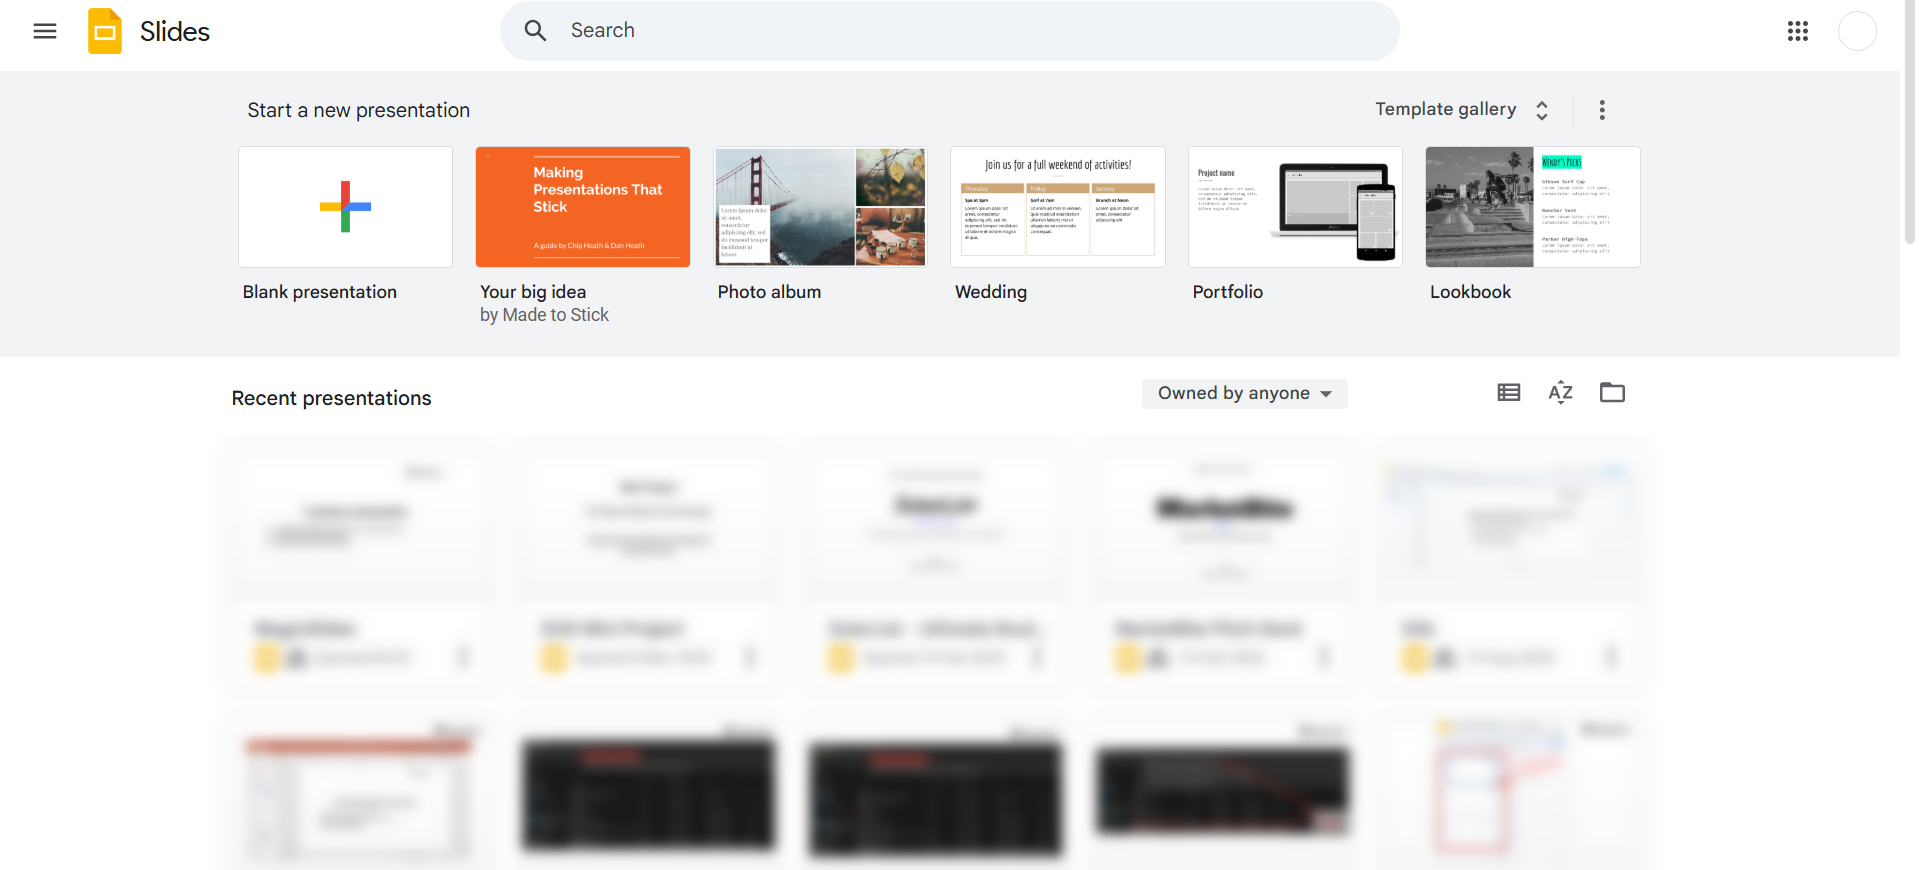
- If you're logged into your Google account, you’ll land on the Google Slides homepage.
- Click on the “Blank” option to start a new presentation from scratch.
- Alternatively, type
slide.newin your browser for a shortcut to open a blank deck.
Step 2: Name Your Presentation
- Click on the default title in the top-left corner (e.g., “Untitled presentation”).
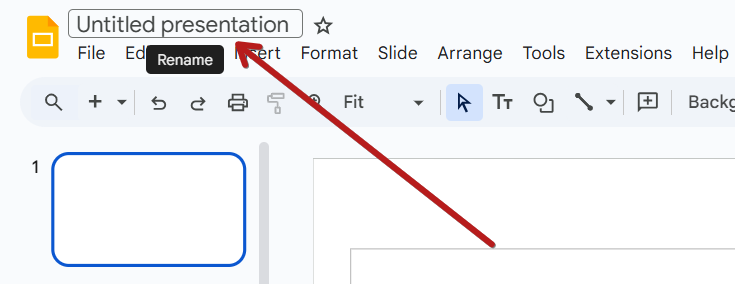
- Rename it to something relevant, such as “Marketing Strategy Q1” or “Physics Project.”
Step 3: Choose or Skip a Theme
- A theme sidebar will appear on the right.
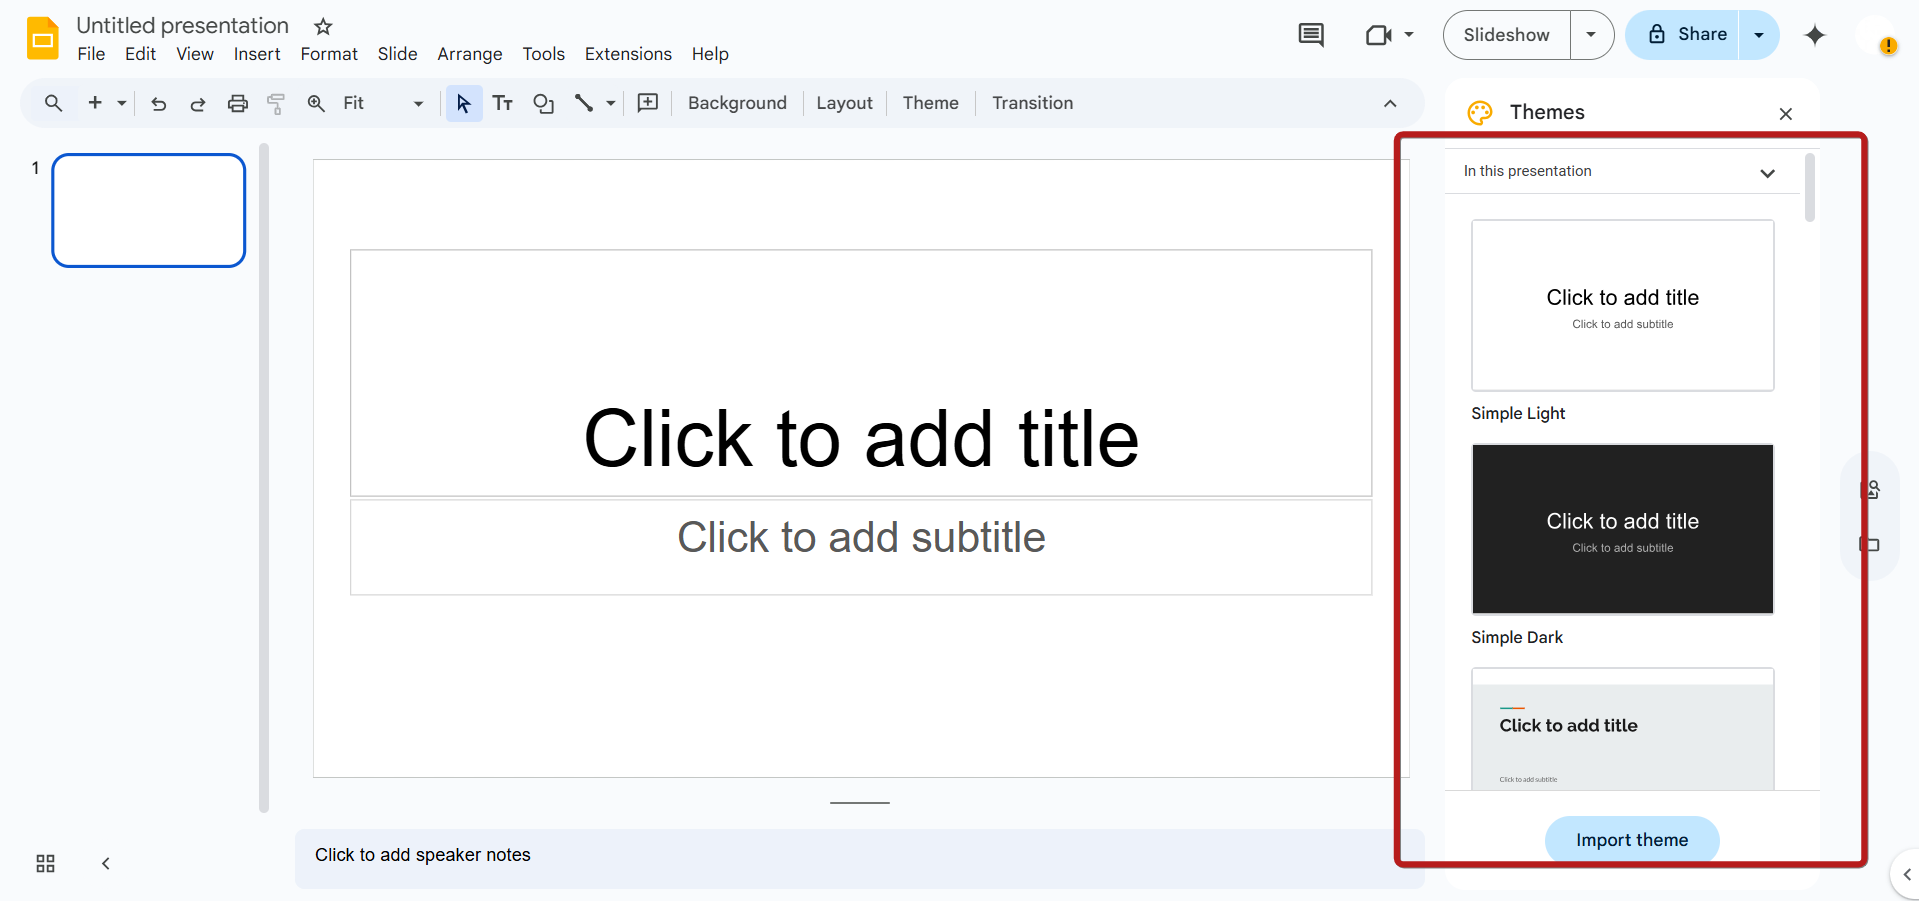
- Choose a predefined theme if you want a quick design layout.
- Or click the “X” on the theme panel to build your design completely from scratch.
Step 4: Add a Title Slide
- Click on the first slide and edit the placeholders to include:
- Title of your presentation
- Subtitle or your name, date, or subject
- Use formatting tools in the toolbar to adjust font, color, and alignment.
Step 5: Add New Slides
- Click the “+” icon in the top-left or press Ctrl + M to insert a new slide.

- Use the dropdown arrow next to the “+” to choose different layouts like Title and Body, Title Only, or Blank.
Step 6: Add Content to Slides
- In each slide, insert your content such as:
- Headings and bullet points
- Images (Insert > Image)
- Charts, tables, and diagrams (Insert > Chart/Table/Diagram)
- Keep slides focused on one idea per slide for clarity.
Step 7: Format and Customize Slides
- Change background colors using Background in the toolbar.
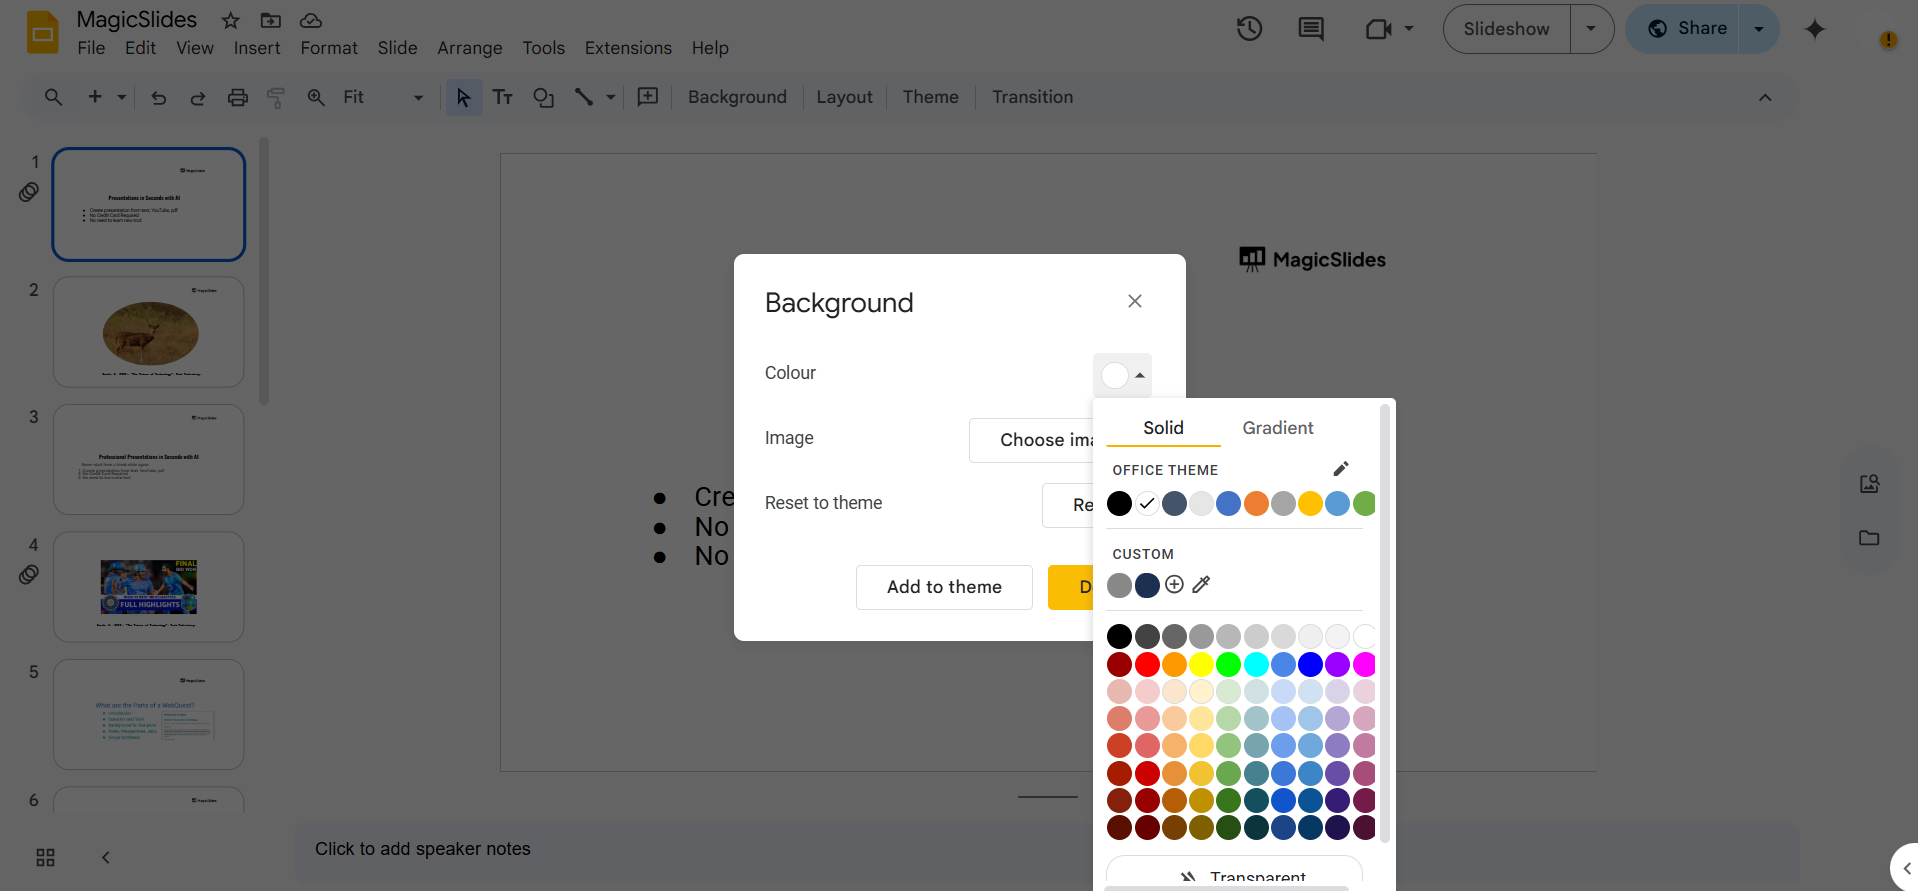
- Customize fonts, sizes, and alignments using the top toolbar.
- Use the Slide > Apply Layout option if you want to apply a consistent layout.
Step 8: Add Transitions and Animations
- Go to Slide > Transition.
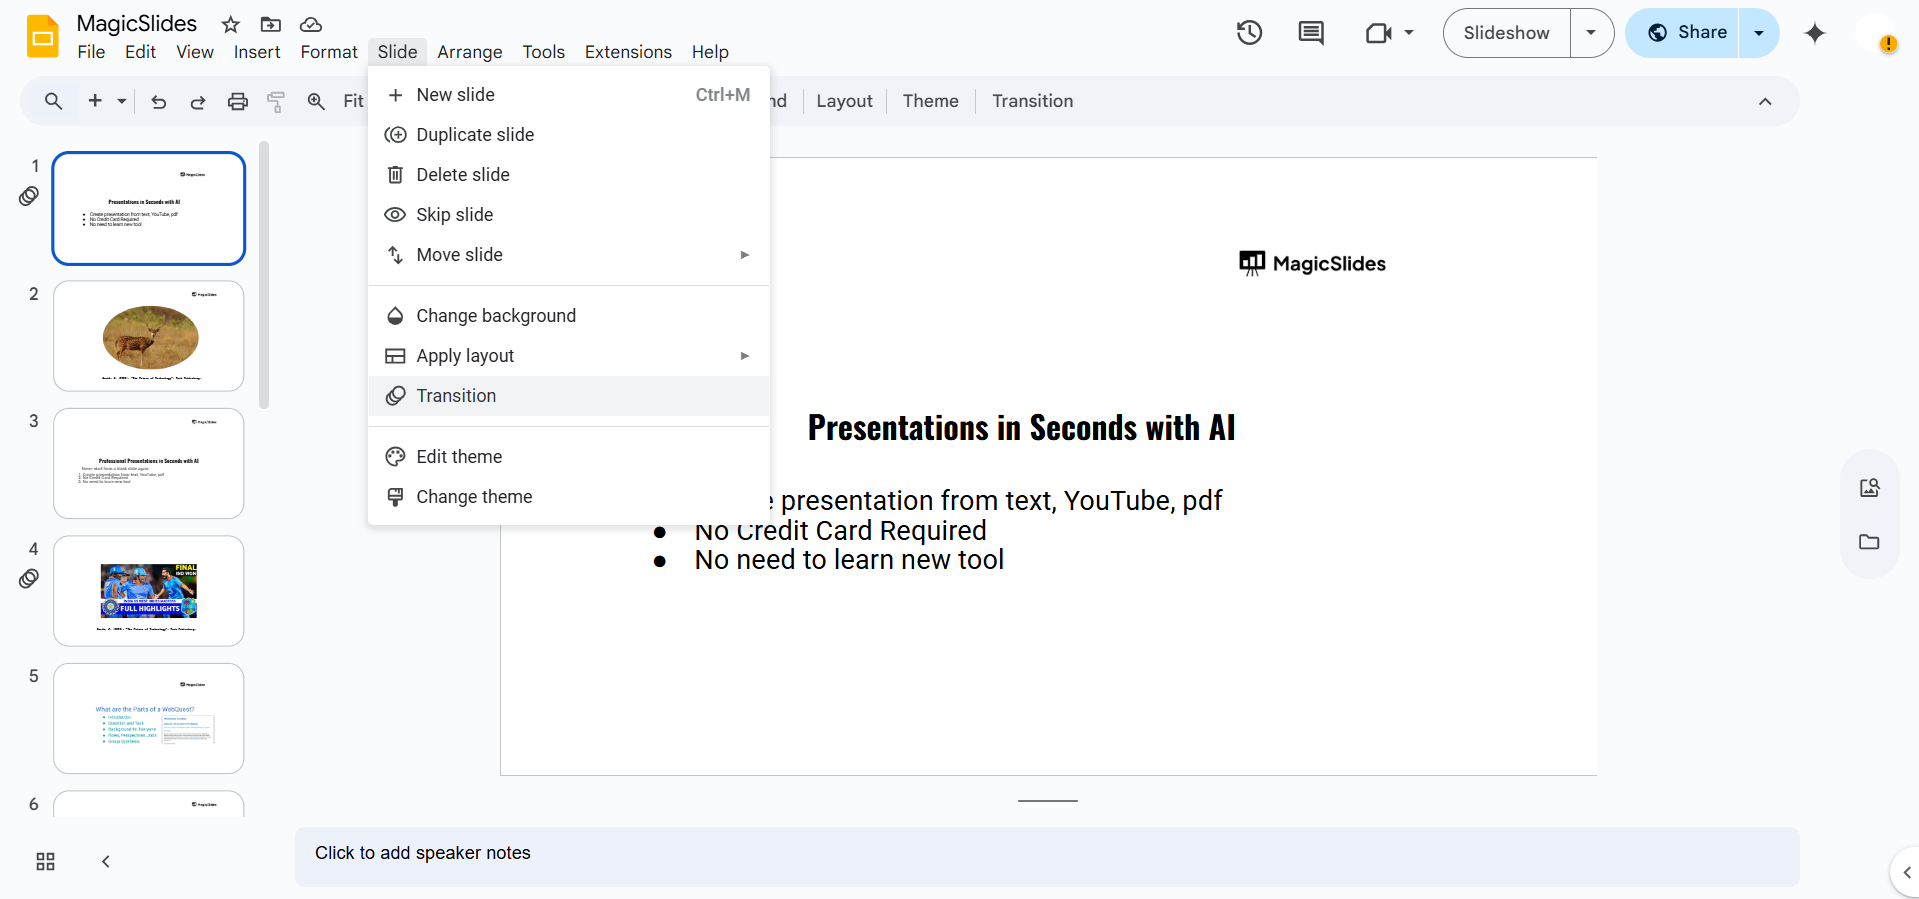
- Choose transitions between slides for a smoother flow.
- Click on individual elements in slides to add entrance or exit animations.
Step 9: Reorder or Delete Slides
- In the left-side slide panel, drag and drop slides to change the order.
- Right-click on a slide to delete, duplicate, or skip it.
Step 10: Present Your Slides
- Click the Present button in the top right to view your presentation full screen.
- Use arrow keys or your mouse to navigate slides during your presentation.
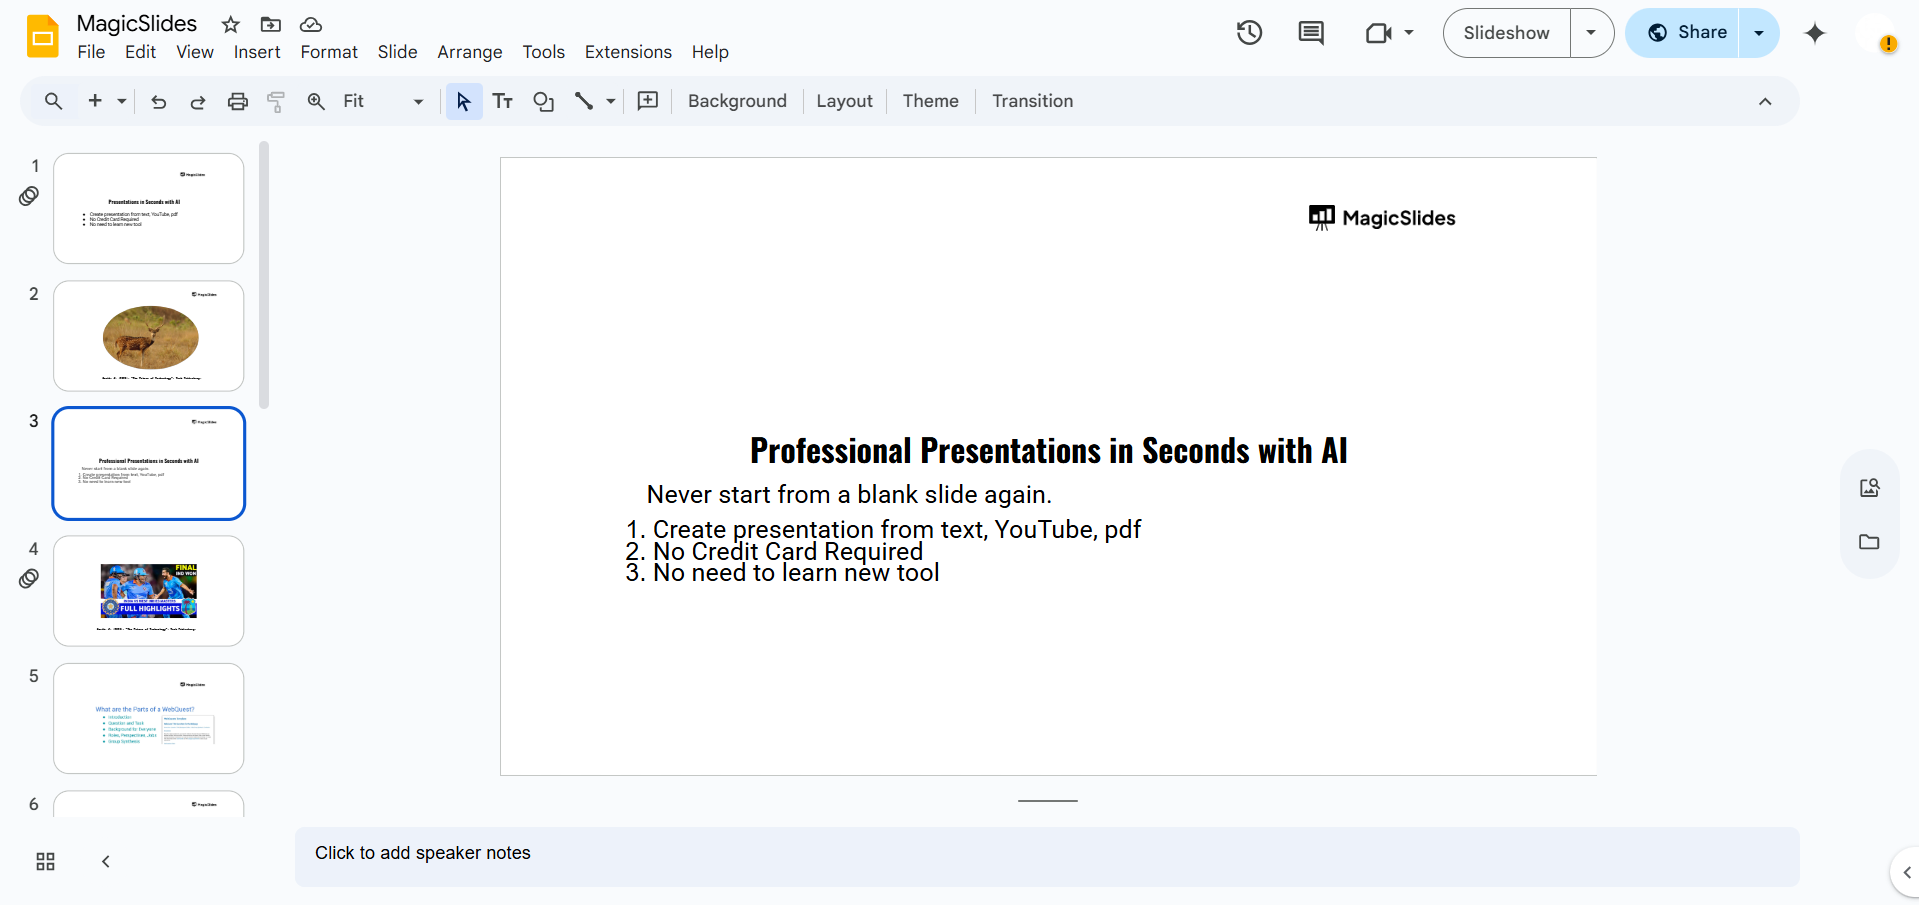
Tired of spending hours crafting a presentation? Here’s a smarter solution MagicSlides
Whether it’s for work, school, or a pitch deck, building a presentation from scratch can take hours from researching and organizing content to designing each slide. But what if you could skip all that and have your presentation ready in under a minute? That’s exactly what MagicSlides does for you.
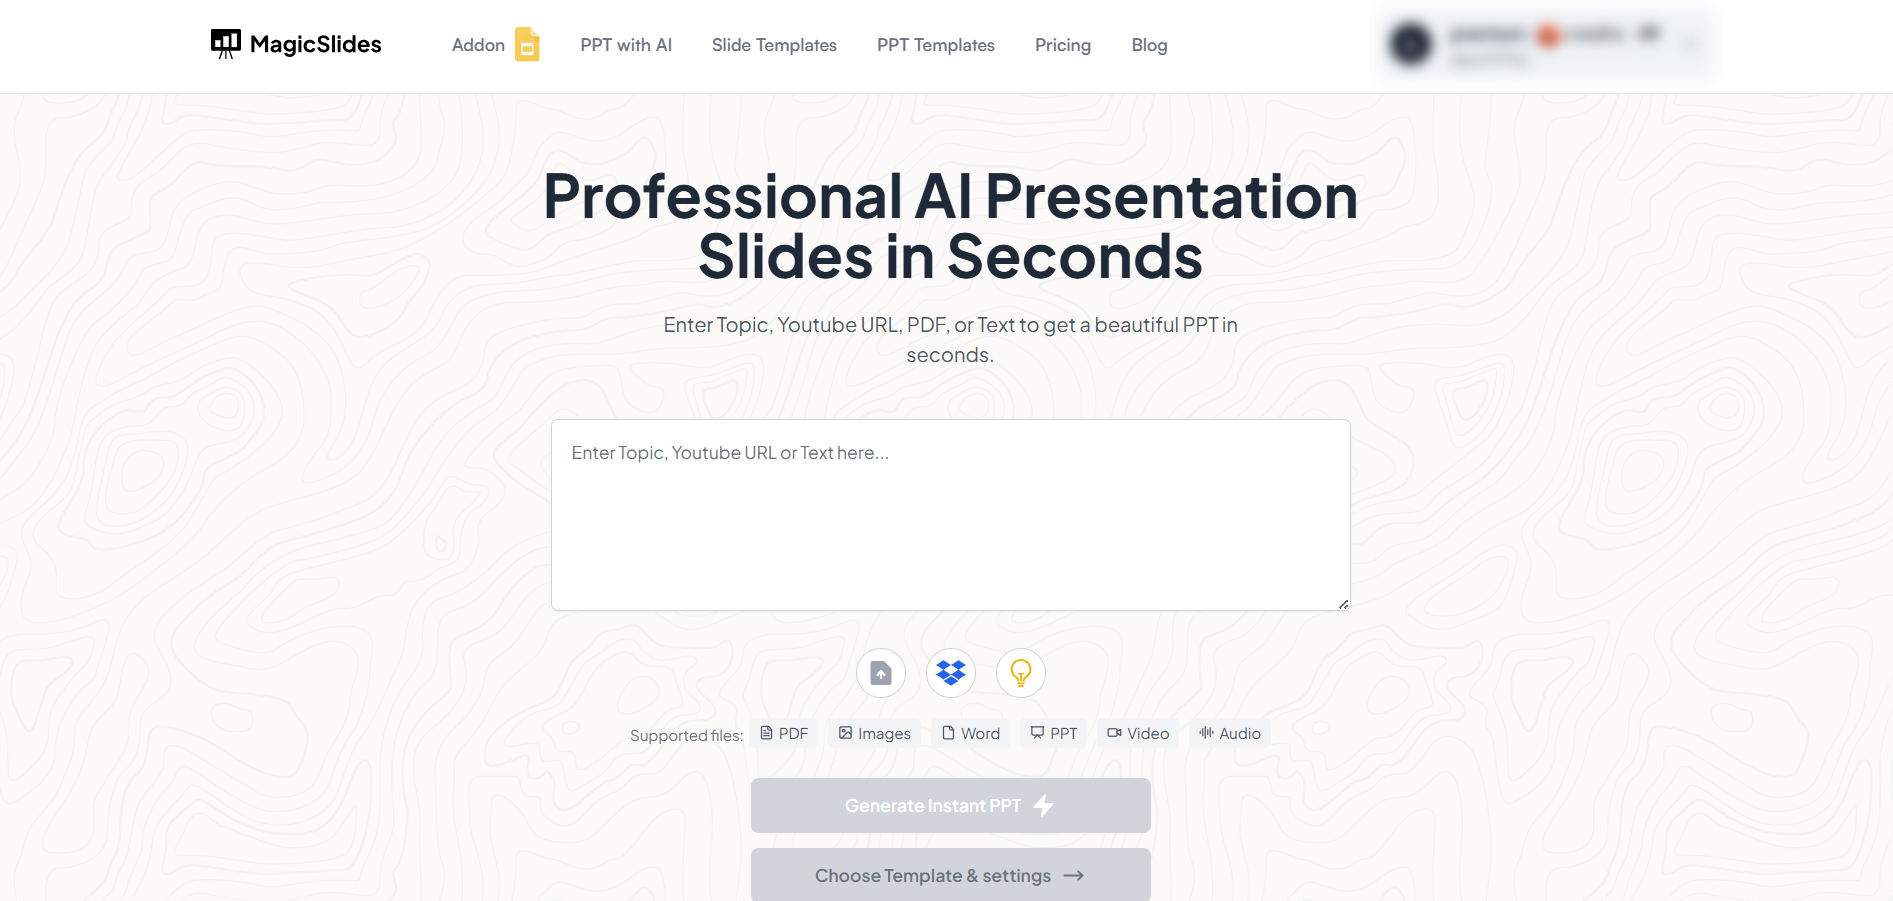
MagicSlides is an AI-powered tool that creates professional, engaging presentations with just one prompt. Simply enter your topic, and the platform will generate a full deck complete with structured content, design elements, and suggested visuals.
Here’s what you’ll love about MagicSlides:
- Instant slide generation with just one prompt
- Smart content organization and bullet points
- Visually polished designs, no design skills needed
- Multiple formats: Download as PowerPoint, use in Google Slides
- Supports customization, edits, and re-generation
- Converts YouTube videos, URLs, or text into full presentations
- Perfect for business, education, content creation, and more
Want to try it yourself? Click here to start creating your first presentation for free!
Conclusion
Starting a Google Slides presentation from scratch gives you complete freedom to shape your message and design.
By following these steps, you can create a clean, well-structured, and visually appealing slide deck that effectively communicates your ideas.
With time and practice, building presentations from a blank slate will become second nature, enabling you to present like a pro.
FAQs are here to guide!
Do I need a Google account to use Google Slides?
Yes, a Google account is required to access and save presentations created with Google Slides.
Can I use custom fonts in Google Slides?
Google Slides supports only web-safe fonts by default, but you can explore more via the “More Fonts” option in the font dropdown.
Is it possible to collaborate with others on the same presentation?
Absolutely! Click the “Share” button in the top-right corner to invite others via email or share a link for real-time collaboration.


