how to create a power point template


Boost your presentation game with a unique PowerPoint template. Learn how to craft one in seconds!
Designing Excellence: A Step-by-Step Guide on How to Create a PowerPoint Template
Your presentations are a reflection of your brand, and a custom PowerPoint template is the key to a consistent and professional image. Crafting a unique template can save you time, maintain your visual identity, and elevate your communication game.
In this blog post, we'll unveil the secrets to creating a PowerPoint template that stands out and resonates with your audience. Whether you're a business professional, educator, or creative storyteller, mastering the art of template creation is essential.
Let's delve into the step-by-step process and unlock the potential of your presentations.
Creating Your Custom PowerPoint Template
Creating a custom PowerPoint template involves several crucial steps:
→ Set Your Goals: Begin by defining your presentation's purpose and target audience. Knowing your objectives will guide your template design.
→ Gather Branding Elements: Collect your company's or personal branding assets such as logos, color schemes, fonts, and imagery to ensure consistency.
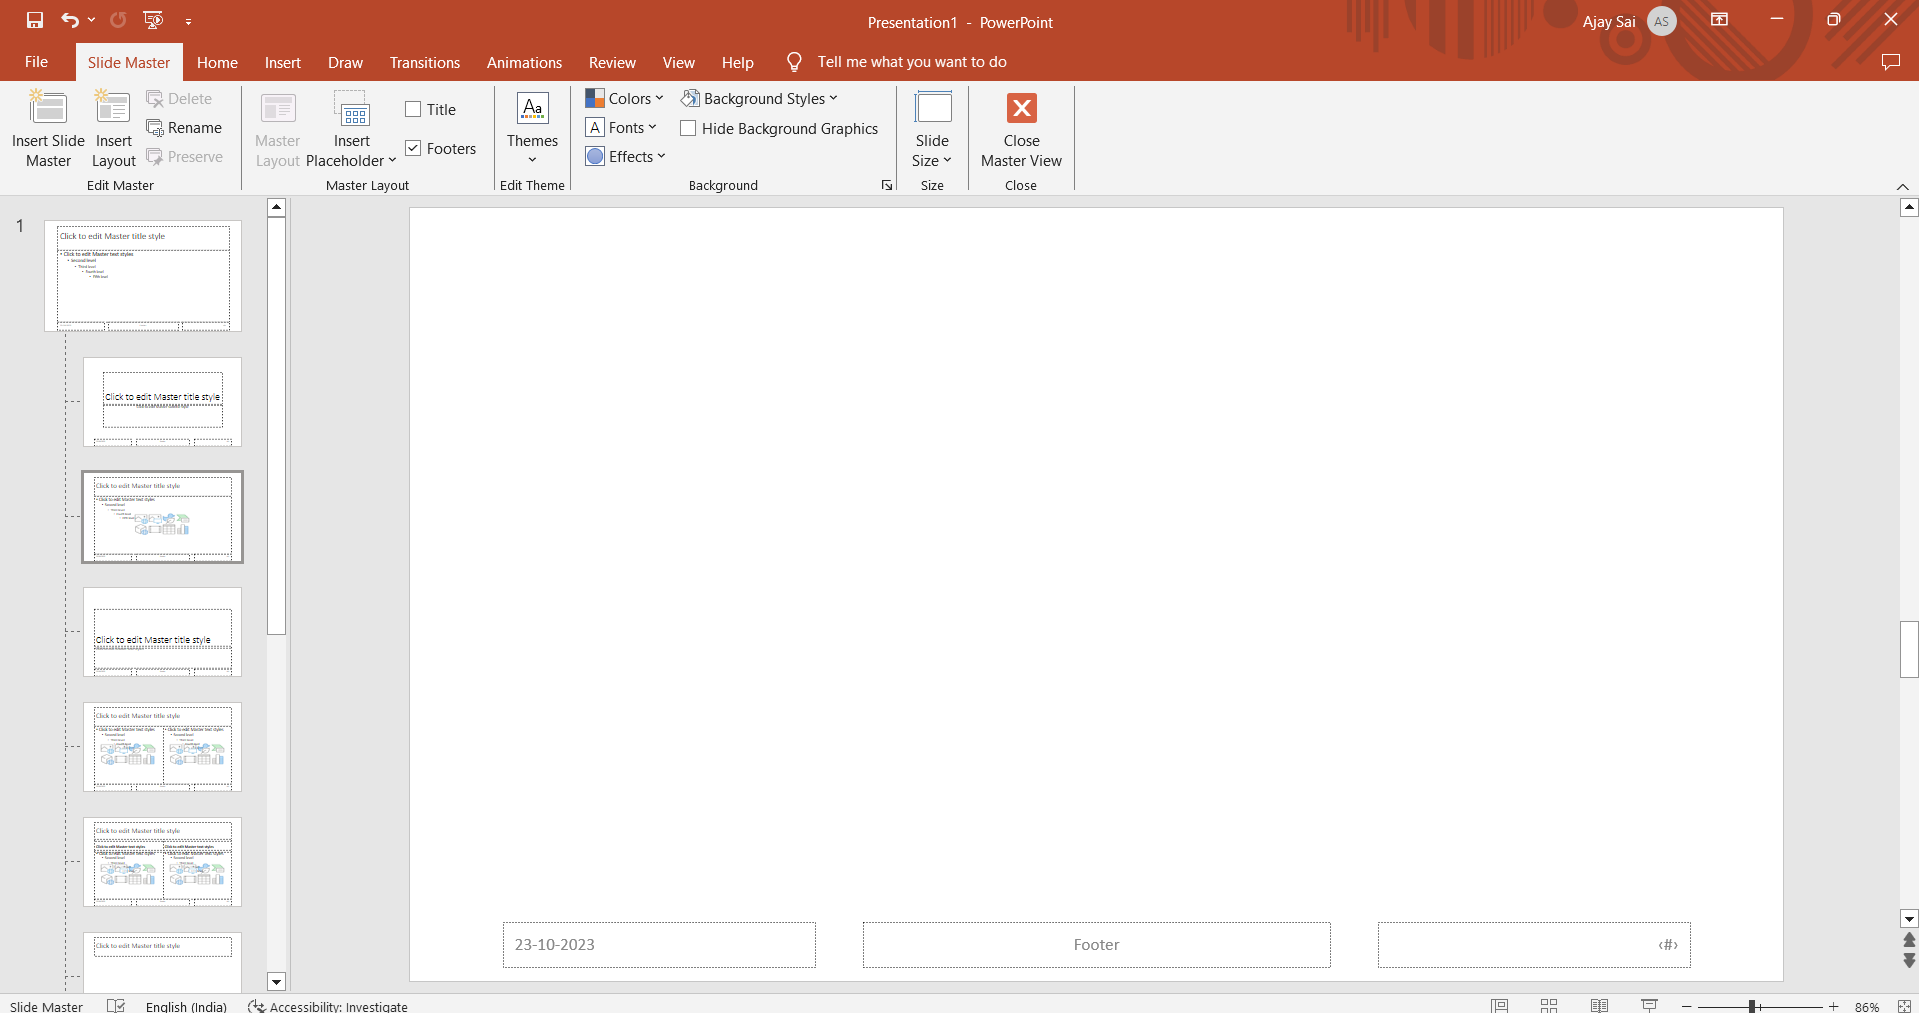
→ Slide Master View: Access the Slide Master view by clicking "View" in the PowerPoint menu and selecting "Slide Master."
→ Edit Slide Master: Customize the Slide Master by applying your chosen fonts, colors, and background styles. Make sure to keep it clean and consistent.
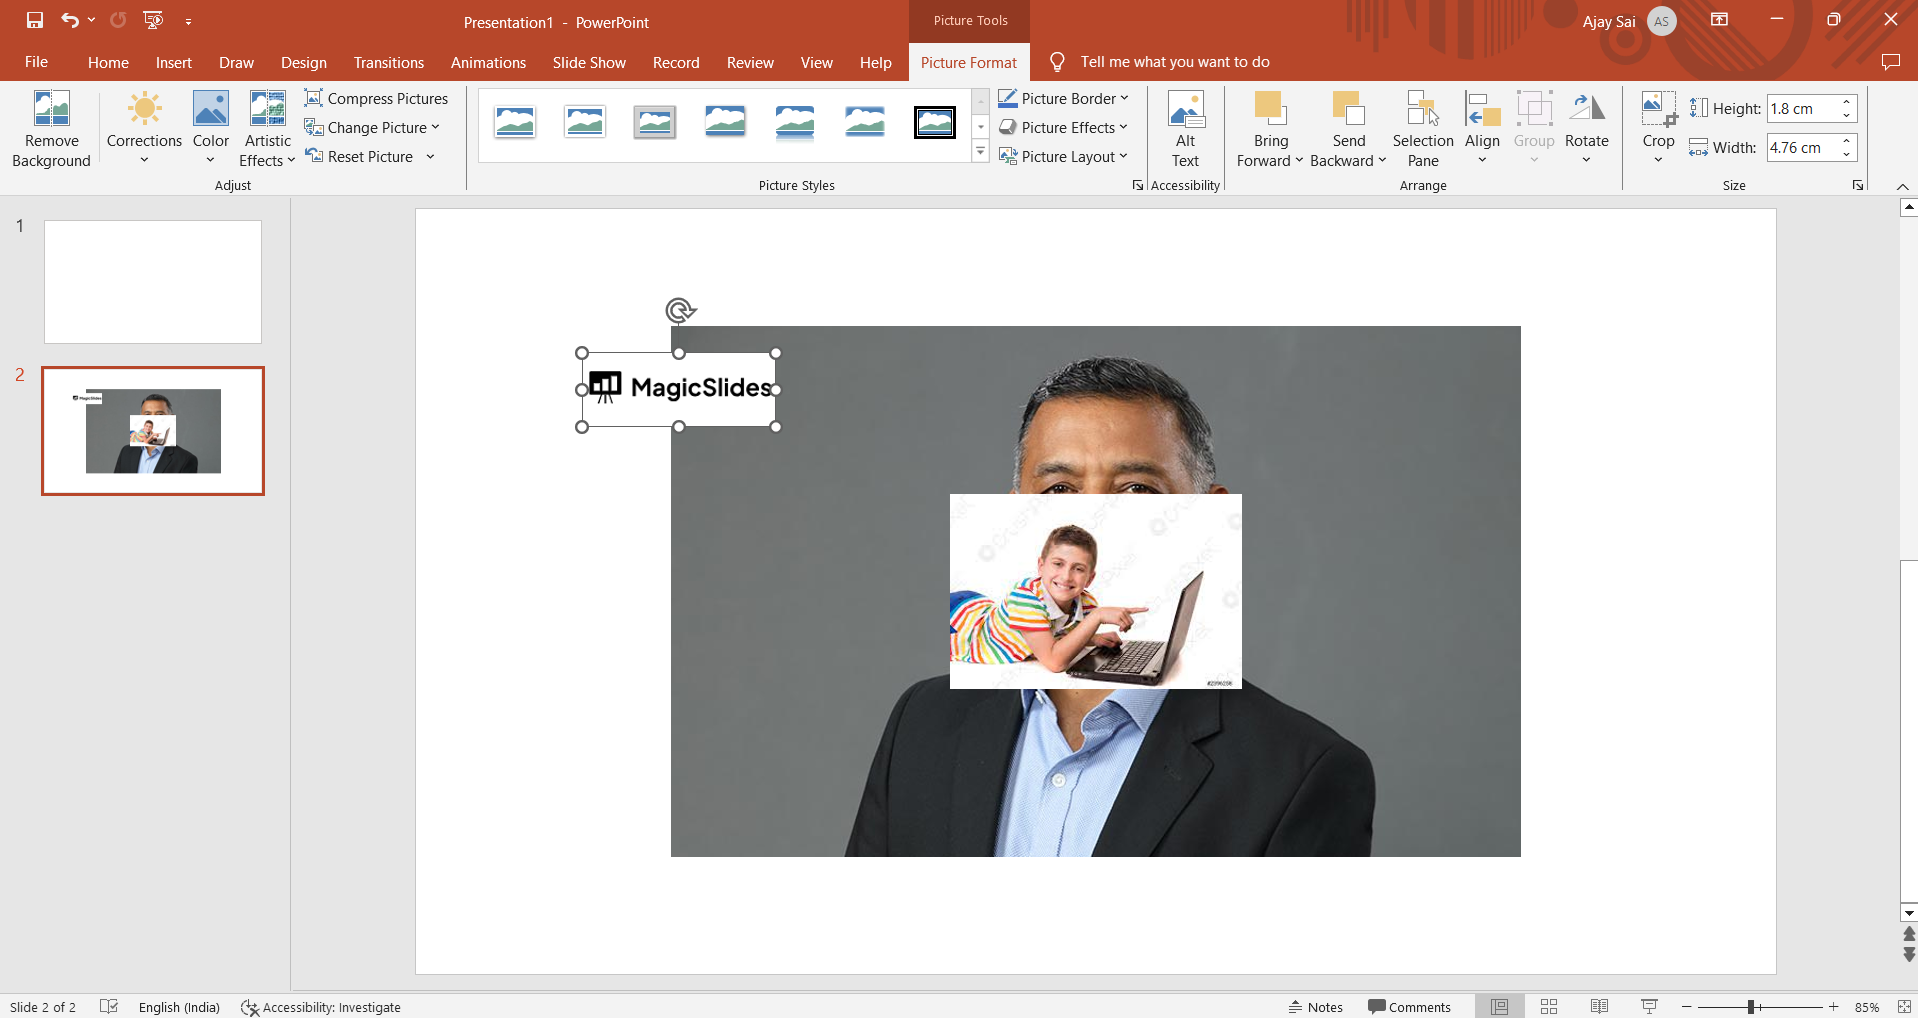
→ Add Placeholder Elements: Insert content placeholders for titles, subtitles, text, images, and any other elements that will appear in your slides.
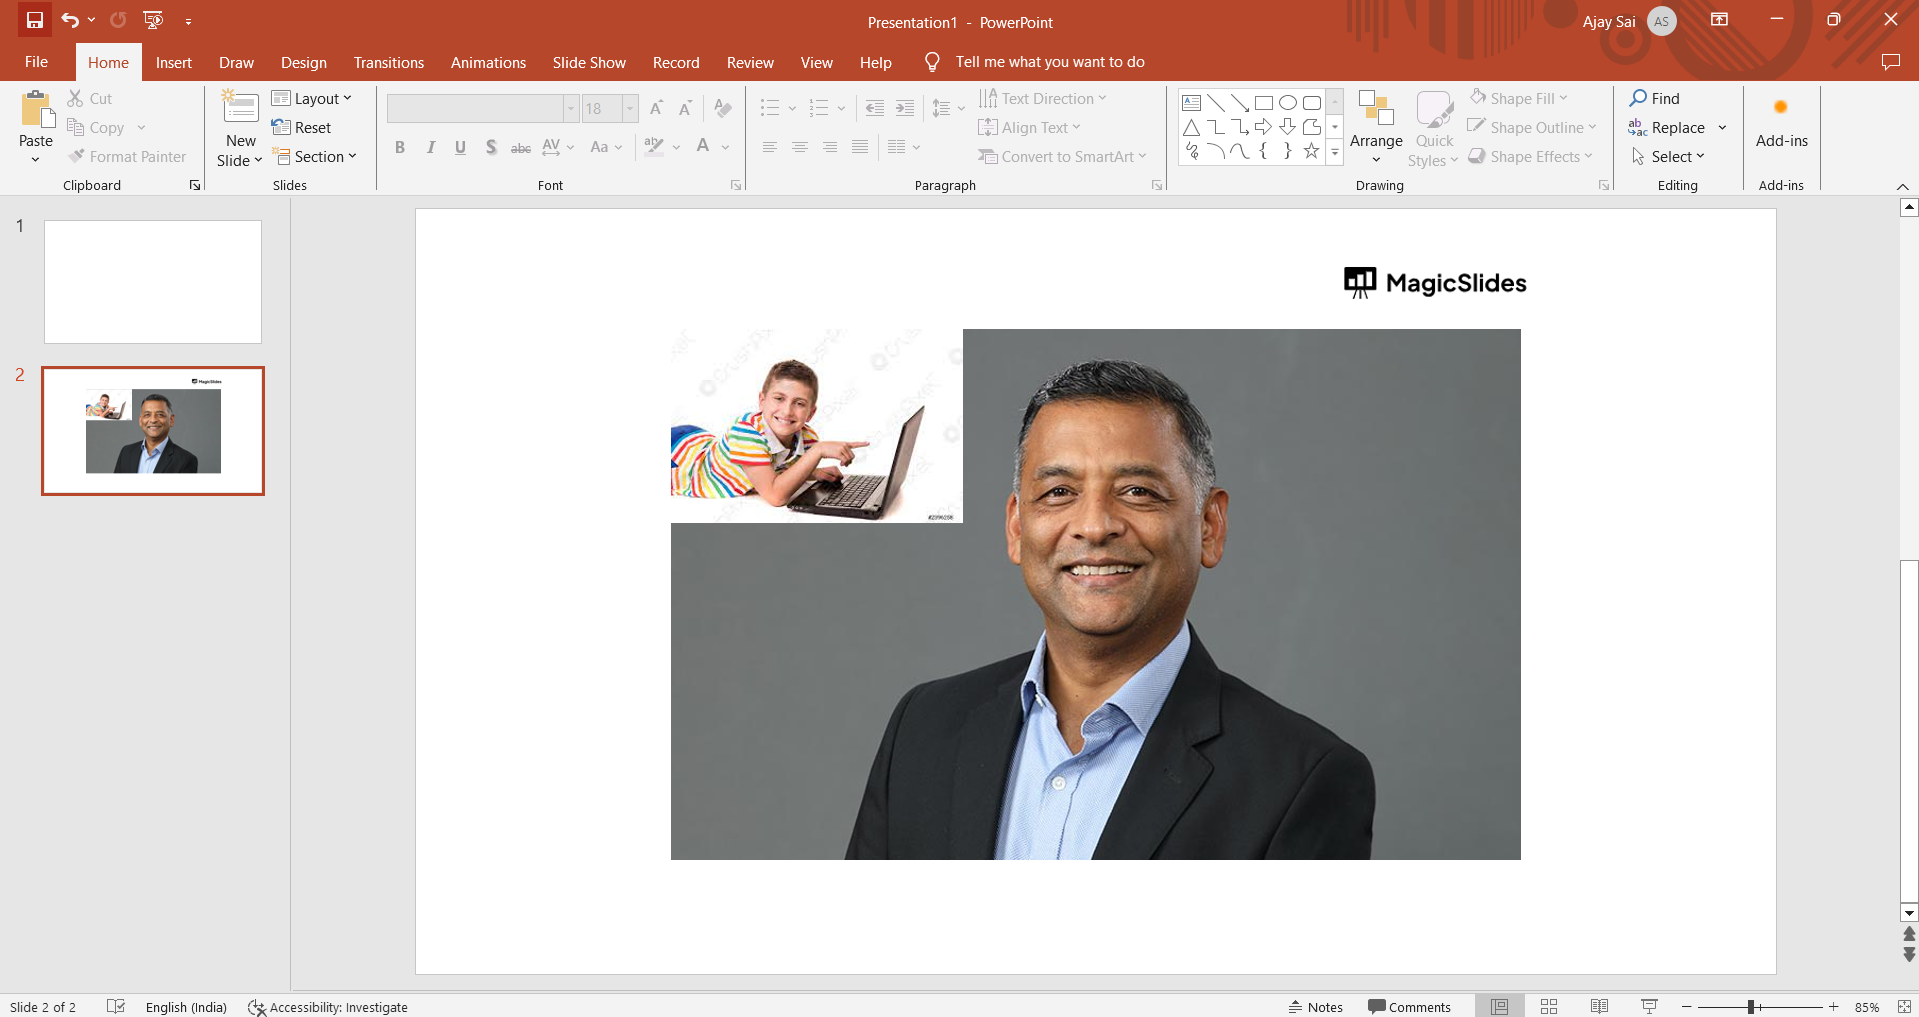
→ Design Layouts: Create different slide layouts to accommodate various content types (e.g., title slides, content slides, and section headers).
→ Apply Transitions (Optional): If you want to add transitions to your slides, do so in the Slide Master view for a uniform effect across all slides.
→ Customize Footers and Headers: Add any necessary information like date, slide number, or footer text to the Slide Master.
→ Save as a Template: After perfecting your design, save it as a PowerPoint template by going to "File," selecting "Save As," and choosing the file format ".pptx."
→ Testing and Feedback: Test your template by creating sample slides to ensure everything appears as intended. Seek feedback from colleagues or peers for fine-tuning.
→ Distribution and Usage Guidelines: Share the template with your team, along with clear guidelines on how to use it effectively.
→ Regular Updates: As your branding evolves, update your PowerPoint template accordingly to maintain consistency.
Conclusion:
Designing your own PowerPoint template isn't just about aesthetics; it's about creating a powerful tool that reinforces your message and brand identity.
With a well-crafted template, you can save time, maintain consistency, and leave a lasting impression on your audience. No matter your profession, the ability to create a custom PowerPoint template is a valuable skill.
This guide has outlined the essential steps, from defining your goals to distributing the template. Now, it's your turn to put these principles into practice and create a template that sets you apart. Elevate your presentations, engage your audience, and reinforce your brand – all with the power of a custom PowerPoint template.


