How to get Text Boxes to Line up in PowerPoint


Easily align text boxes in PowerPoint using the Align tool, gridlines, and guides for professional presentations
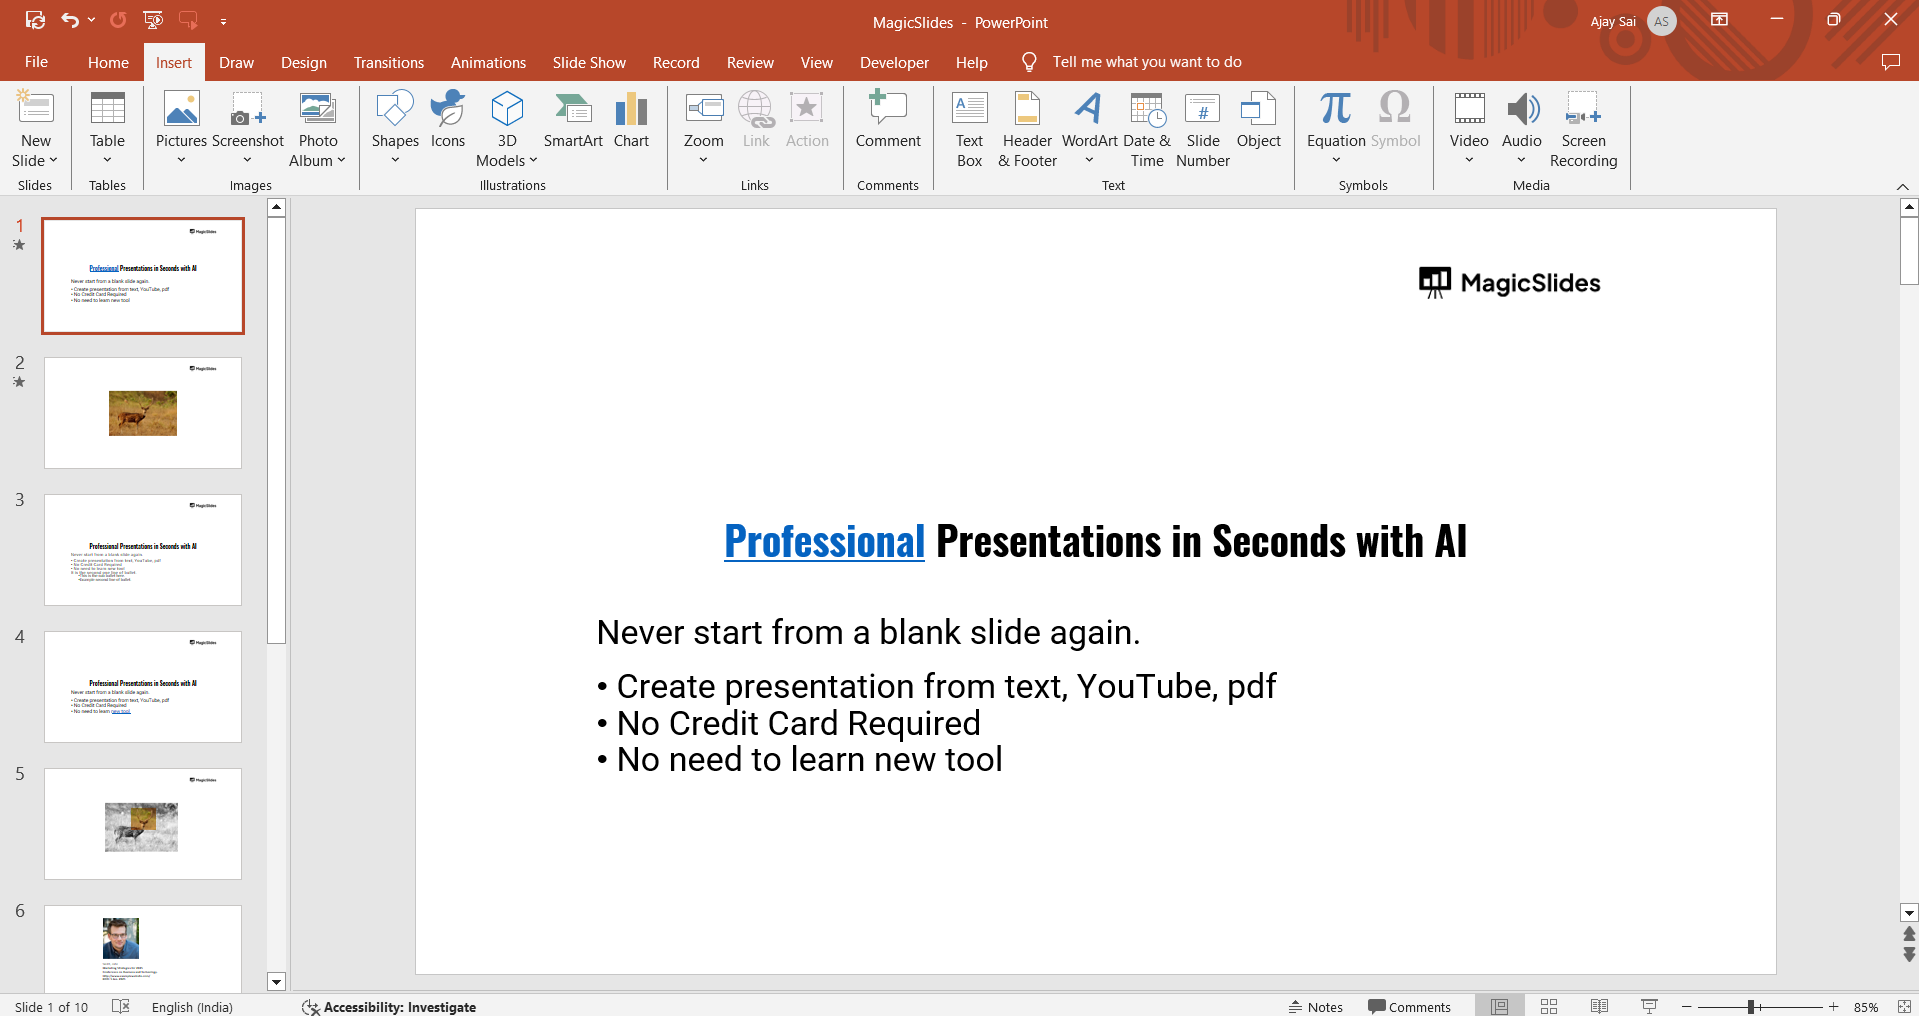
How to Get Text Boxes to Line Up in PowerPoint
Aligning text boxes in PowerPoint ensures a clean, professional, and visually appealing presentation.
Whether you're creating slides for business, education, or personal use, maintaining proper alignment enhances readability and aesthetics.
PowerPoint offers built-in tools to help you align text boxes quickly and precisely. Follow this step-by-step guide to line up text boxes perfectly.
Step-by-Step Guide to Lining Up Text Boxes in PowerPoint
Step 1: Open Your PowerPoint Presentation
Launch Microsoft PowerPoint and open an existing presentation or create a new one.
Navigate to the slide where you want to align text boxes.
Step 2: Select Multiple Text Boxes
Click on the first text box. Hold down the Shift key (Windows/Mac) and click on each additional text box you want to align.
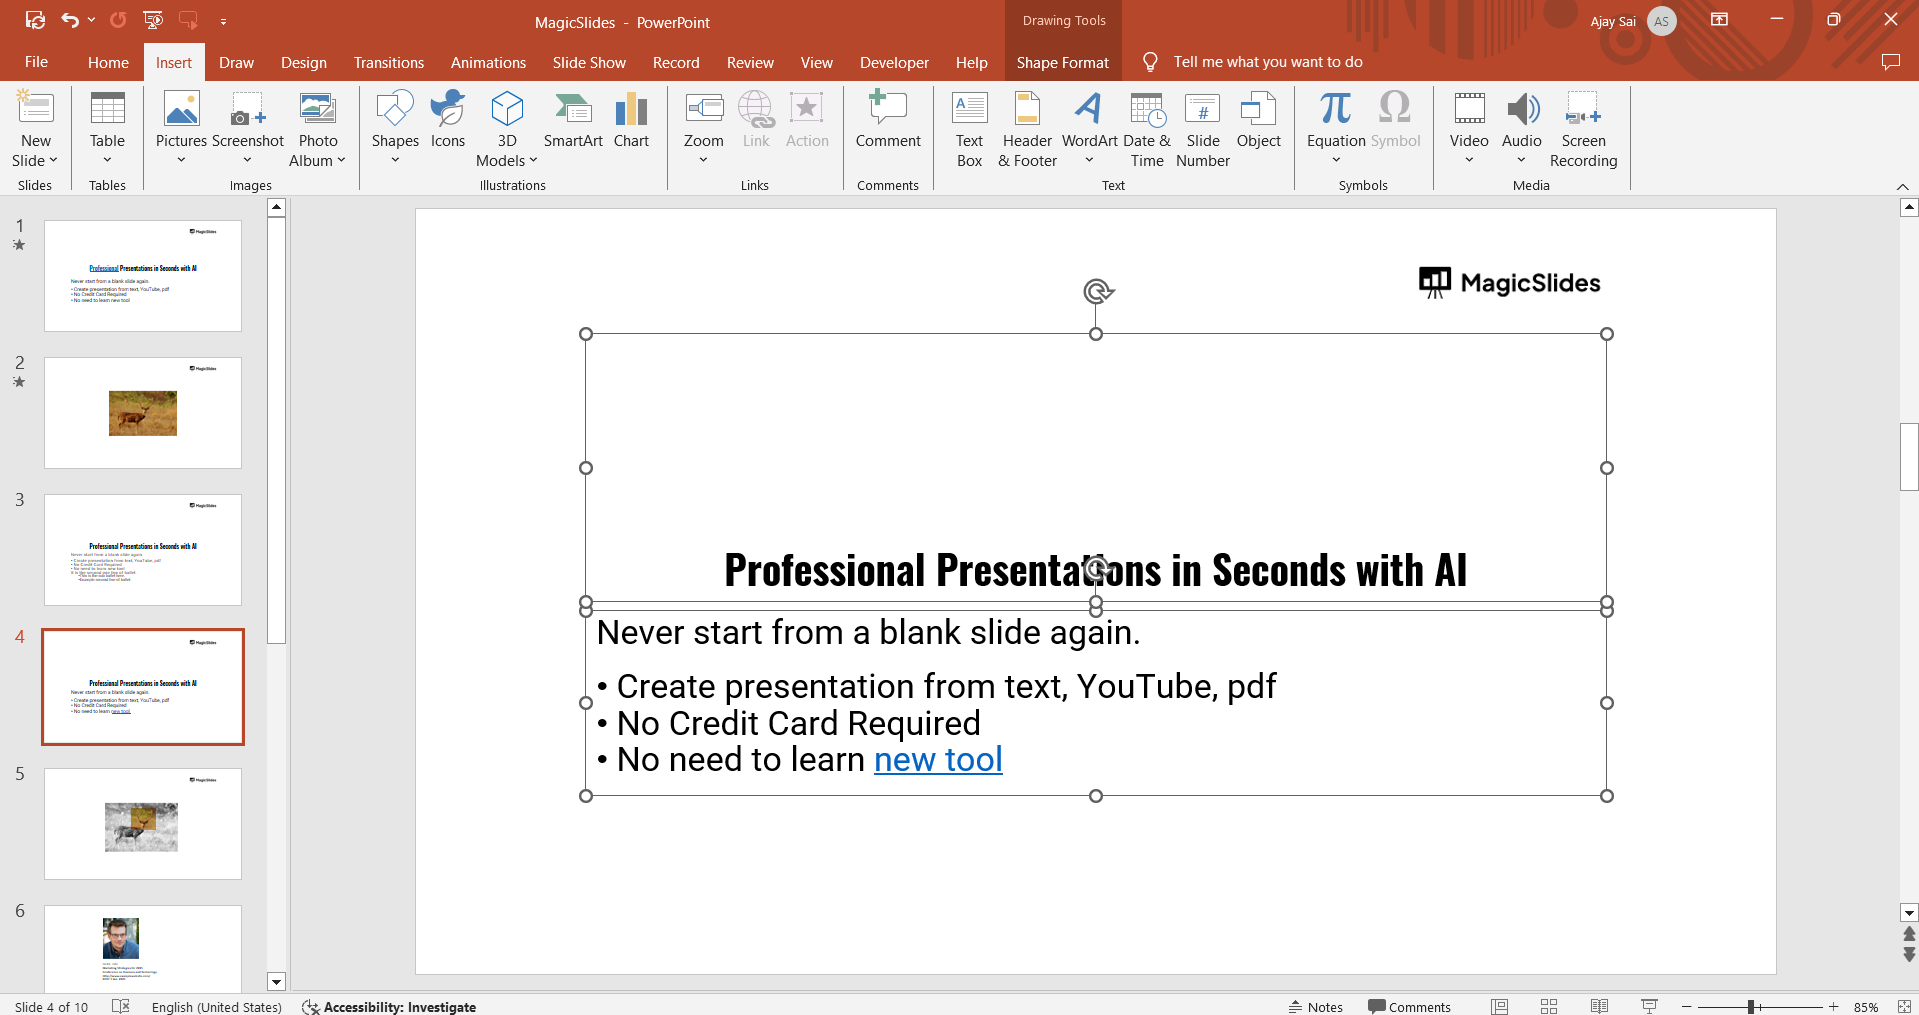
Once selected, a bounding box will appear around all the text boxes.
Step 3: Use the Align Tool to Line Up Text Boxes
Go to the Home tab in the top menu. Click on the Arrange button (in the Drawing section).
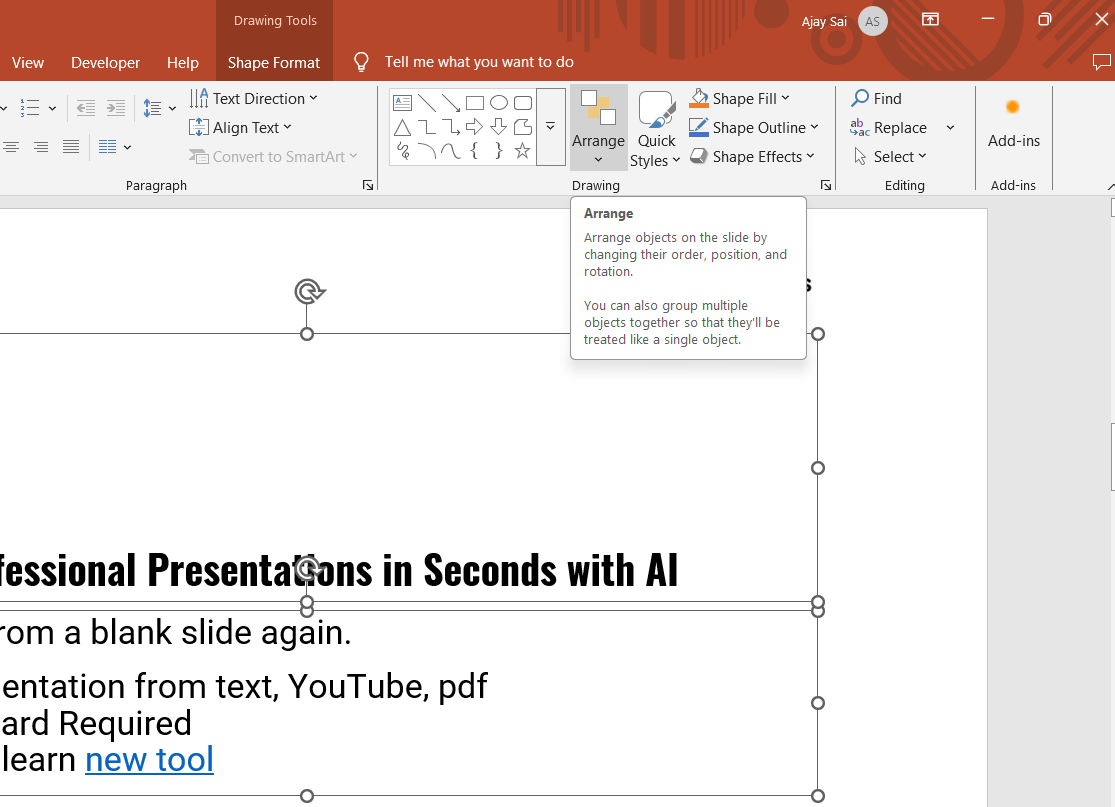
Hover over Align, and a dropdown menu will appear.
Choose an alignment option based on how you want your text boxes to line up:
- Align Left – Aligns all selected text boxes to the leftmost one.
- Align Center – Centers all selected text boxes horizontally.
- Align Right – Aligns all selected text boxes to the rightmost one.
- Align Top – Aligns text boxes to the highest one.
- Align Middle – Centers all selected text boxes vertically.
- Align Bottom – Aligns text boxes to the lowest one.
Step 4: Distribute Text Boxes Evenly (If Needed)
With all text boxes still selected, go back to the Align menu. Choose Distribute Horizontally to space them evenly across the slide.
Choose Distribute Vertically to ensure equal spacing from top to bottom.
Step 5: Use PowerPoint’s Grid and Guides for Precise Alignment
Go to the View tab in the top menu. Check the boxes for Gridlines and Guides to help manually align elements.
Drag and position text boxes along the grid or guides for a well-structured layout.
Step 6: Group Aligned Text Boxes (Optional)
Once aligned, you can keep the text boxes together by grouping them. Right-click on the selected text boxes.
Click Group > Group to merge them into a single unit. This ensures they stay aligned even if moved.
Aligning text boxes manually can be tedious. For a faster way to create well-structured presentations, try MagicSlides.app AI-powered slides generated with perfect formatting in seconds!
Conclusion
Lining up text boxes in PowerPoint is simple with the Align tool, Gridlines, and Guides. Whether you need left, center, or right alignment, PowerPoint provides several ways to achieve a neat and professional look.
By following these steps, your slides will have a clean and polished appearance.
FAQs are here to guide!
How do I align text within a text box?
Click inside the text box, go to the Home tab, and use the Align Text options to align text to the left, center, or right within the box.
Can I align text boxes across multiple slides?
PowerPoint does not have a built-in multi-slide alignment feature, but you can manually copy and paste aligned text boxes across slides for consistency.
Why are my text boxes not aligning properly?
Ensure you have selected all relevant text boxes before using the Align tool. Also, check if Snap to Grid is enabled under the View tab, which can affect positioning.


