how to make google slides play automatically


In this article we will explore how to make google slides play automatically in few simple steps
Google Slides is a powerful tool for creating visually engaging presentations. Whether you're preparing a business pitch, a school project, or a blog post presentation, you can enhance your slides by making them play automatically. In this step-by-step guide, we'll walk you through the process of setting up your Google Slides to play automatically, ensuring a seamless and engaging experience for your audience.
Step 1: Create Your Presentation Before we dive into automatic playback, make sure you've created your presentation in Google Slides. Add all the content, text, images, and slides you need to convey your message effectively. Once your slides are ready, it's time to set them in motion.
Step 2: Set Slide Transitions To make your Google Slides play automatically, you'll need to set slide transitions. Here's how:
a. Open your presentation in Google Slides. b. Click on "Slide" in the top menu. c. Select "Transition."
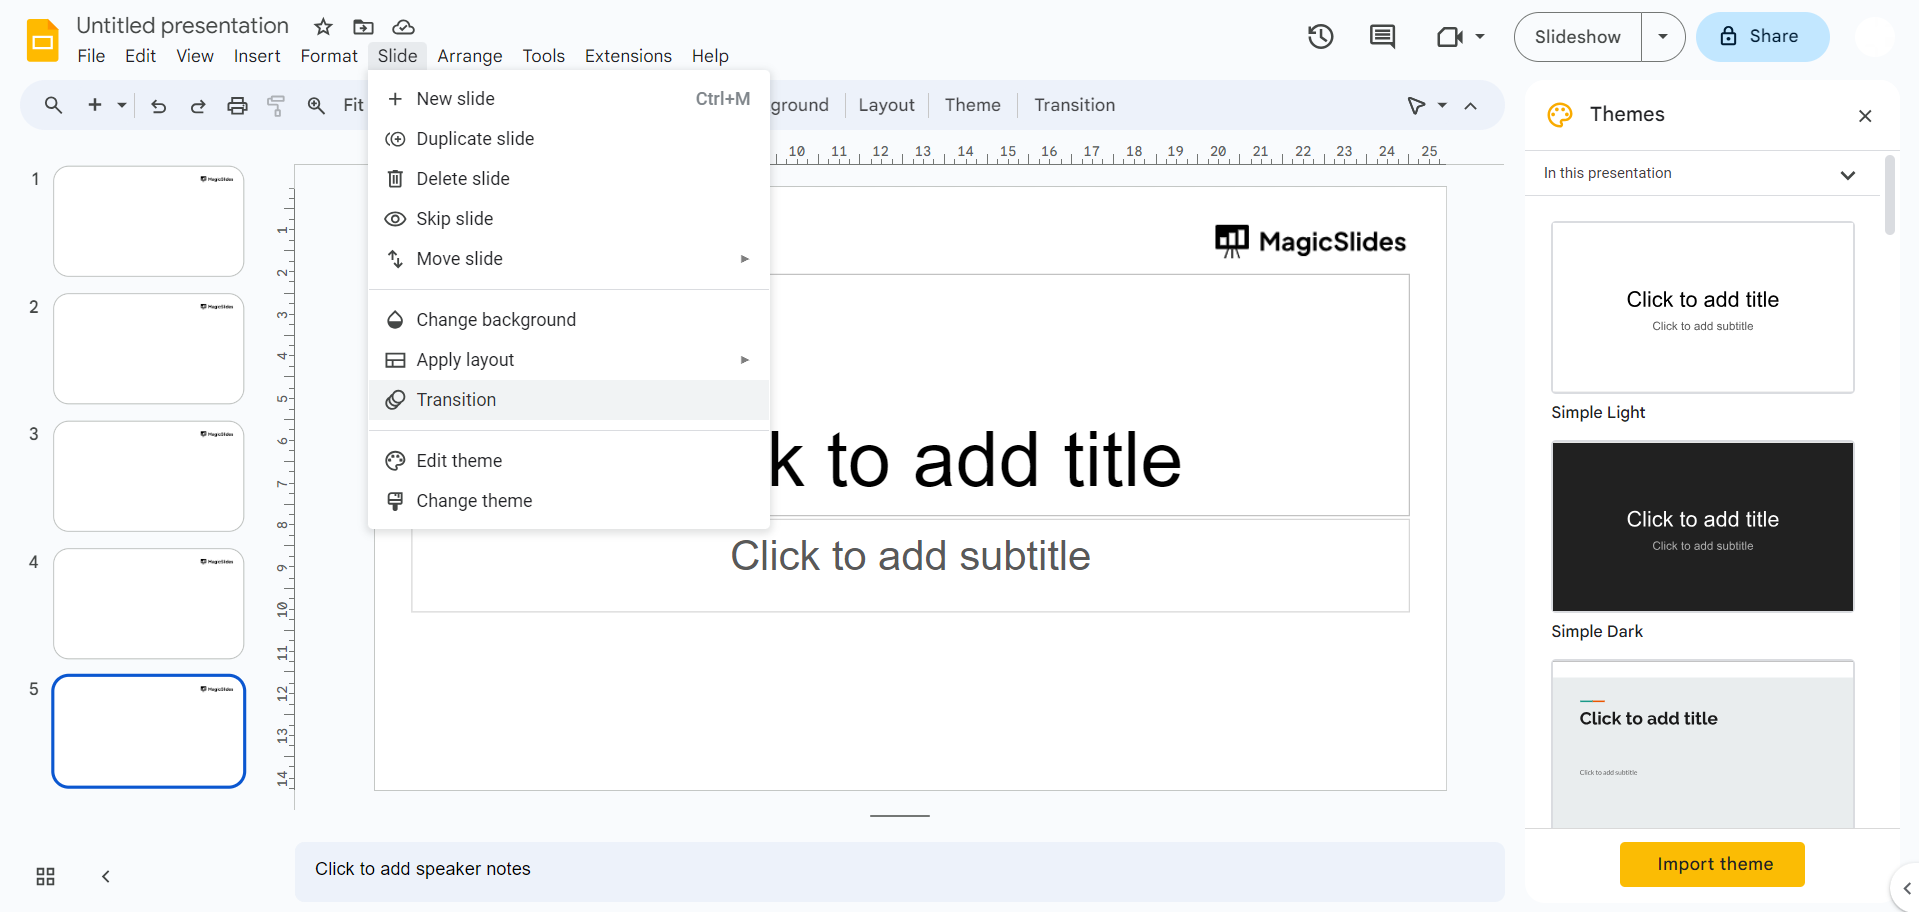
You will see the Transition panel on the right side of your screen.
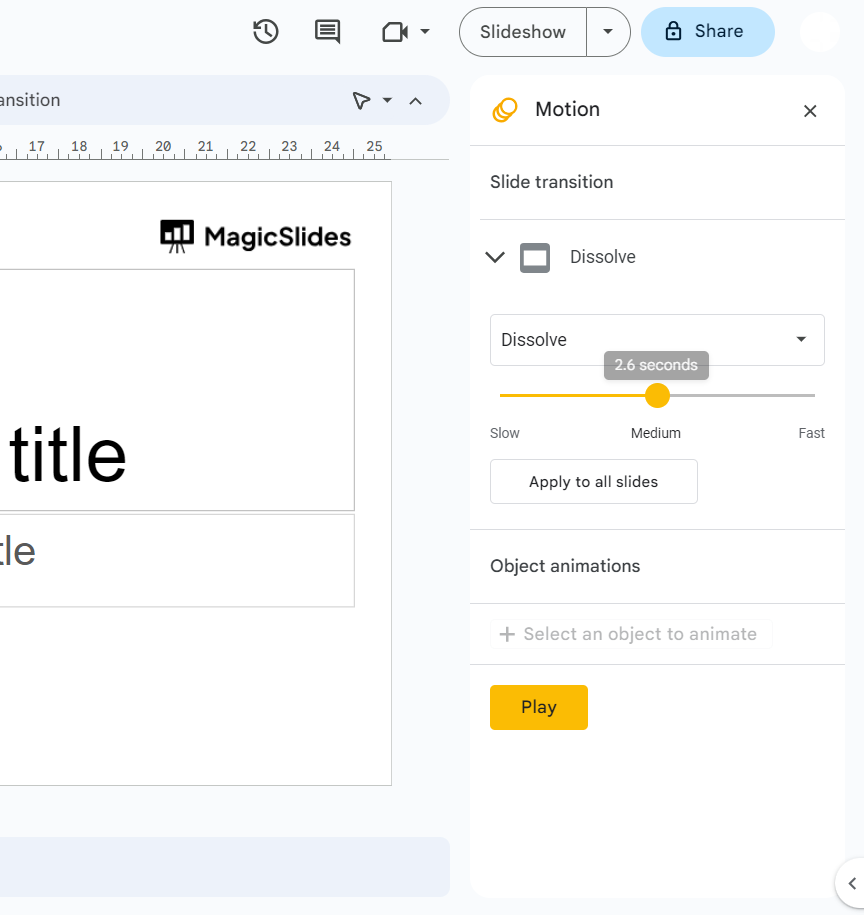
d. Choose a transition effect from the dropdown menu. This effect will determine how your slides transition from one to the next.
e. Set the "Duration" for each slide. This determines how long each slide will be displayed before moving to the next one. Adjust this timing based on your content and pacing preferences.
f. Check the "Auto-advance" box. This is crucial to ensure your slides play automatically.
g. Repeat these steps for each slide in your presentation.
Step 3: Test Your Presentation Once you've set the transitions and auto-advance for all your slides, it's important to test your presentation to make sure everything flows as expected:
a. Click on the "Present" button in the top-right corner of your screen.
Your presentation will start in full-screen mode.
b. Observe how each slide transitions automatically according to the settings you've configured.
If you notice any issues, go back to the Transition panel and adjust the settings as needed.
Step 4: Save and Share With your Google Slides presentation playing automatically, you're ready to save and share it with your audience:
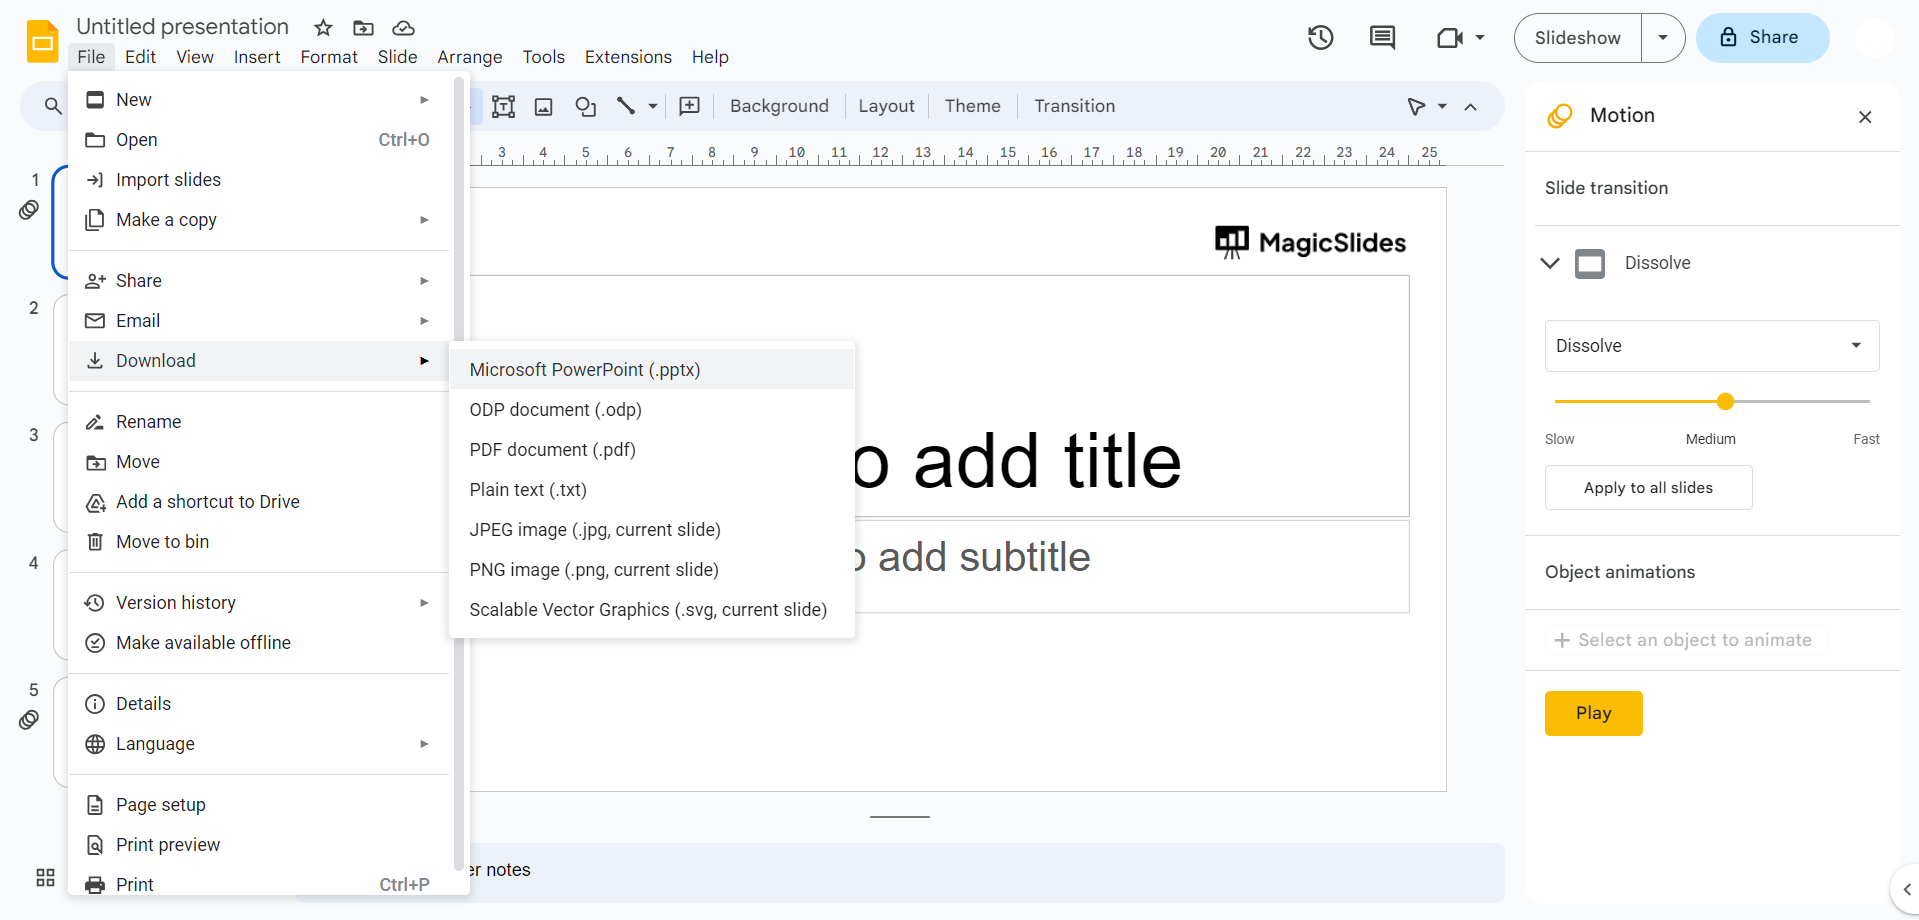
a. Click on the "File" menu in the top-left corner.
b. Select "Publish to the web."
c. Click the "Publish" button.
d. Copy the generated link or embed code and share it with your intended audience, if you wish not to publish you can download in a suitable format depending on your requirement.
By following these four simple steps, you can make your Google Slides presentation play automatically, creating a dynamic and engaging experience for your viewers. Whether you're creating a blog post presentation, a sales pitch, or an educational lecture, automatic playback can help you captivate your audience and deliver your message seamlessly. So go ahead and enhance your presentations with this valuable feature in Google Slides.


