How to Put a Chromebook Audio on Google Slides


Learn how to add, customize, and play audio on Google Slides using your Chromebook easily
How to Put Chromebook Audio on Google Slides
Adding audio to Google Slides enhances presentations by making them more engaging and interactive.
If you're using a Chromebook, you can insert audio files into your slides easily, whether it's background music, voice recordings, or sound effects.
In this guide, we’ll walk you through the steps to add Chromebook audio to Google Slides.
Step-by-Step Guide to Adding Chromebook Audio to Google Slides
Step 1: Record or Upload Your Audio File
Since Google Slides does not have a built-in recorder, you need to record audio separately and save it to Google Drive.
Use Chromebook’s built-in recorder:
- Open the Recorder app on your Chromebook.
- Click the Record button and speak or play the sound you want.
- Click Stop when done, and save the file.
Upload an existing audio file:
- If you already have an audio file, upload it to Google Drive by dragging and dropping it into your Drive folder.
Step 2: Insert Audio into Google Slides
Once your audio file is in Google Drive, follow these steps to add it to Google Slides:
Open your Google Slides presentation. Click on the slide where you want to add the audio.
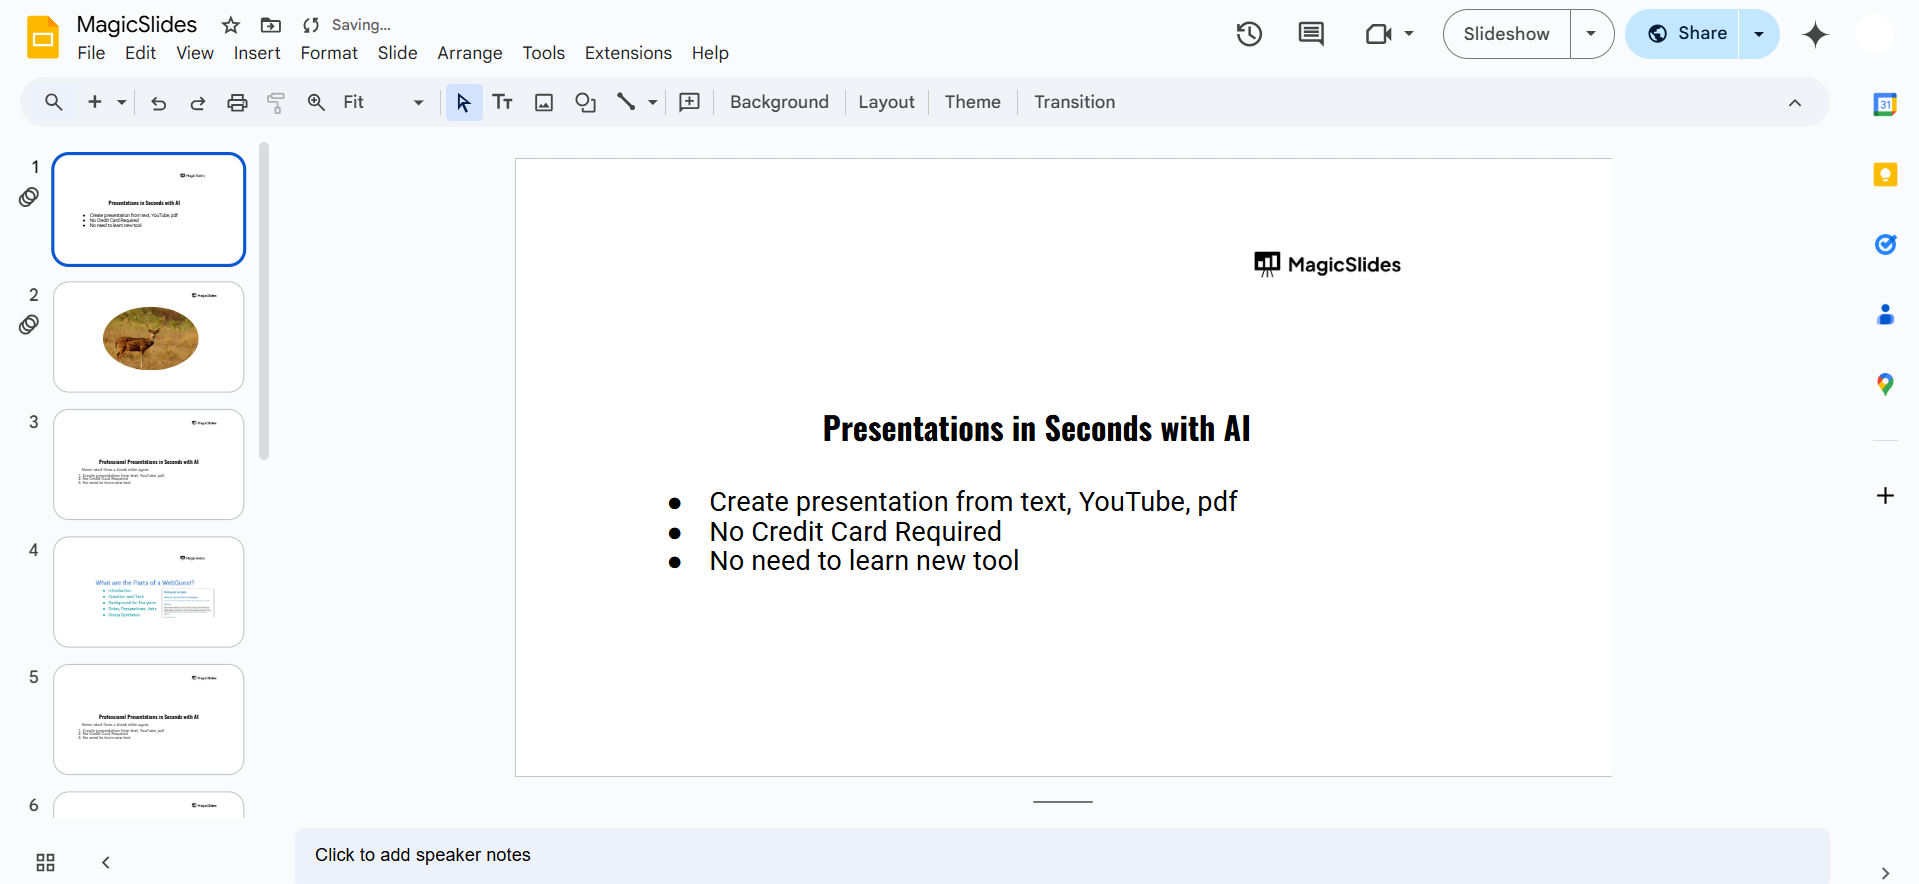
Select Insert from the top menu. Click on Audio from the dropdown menu.
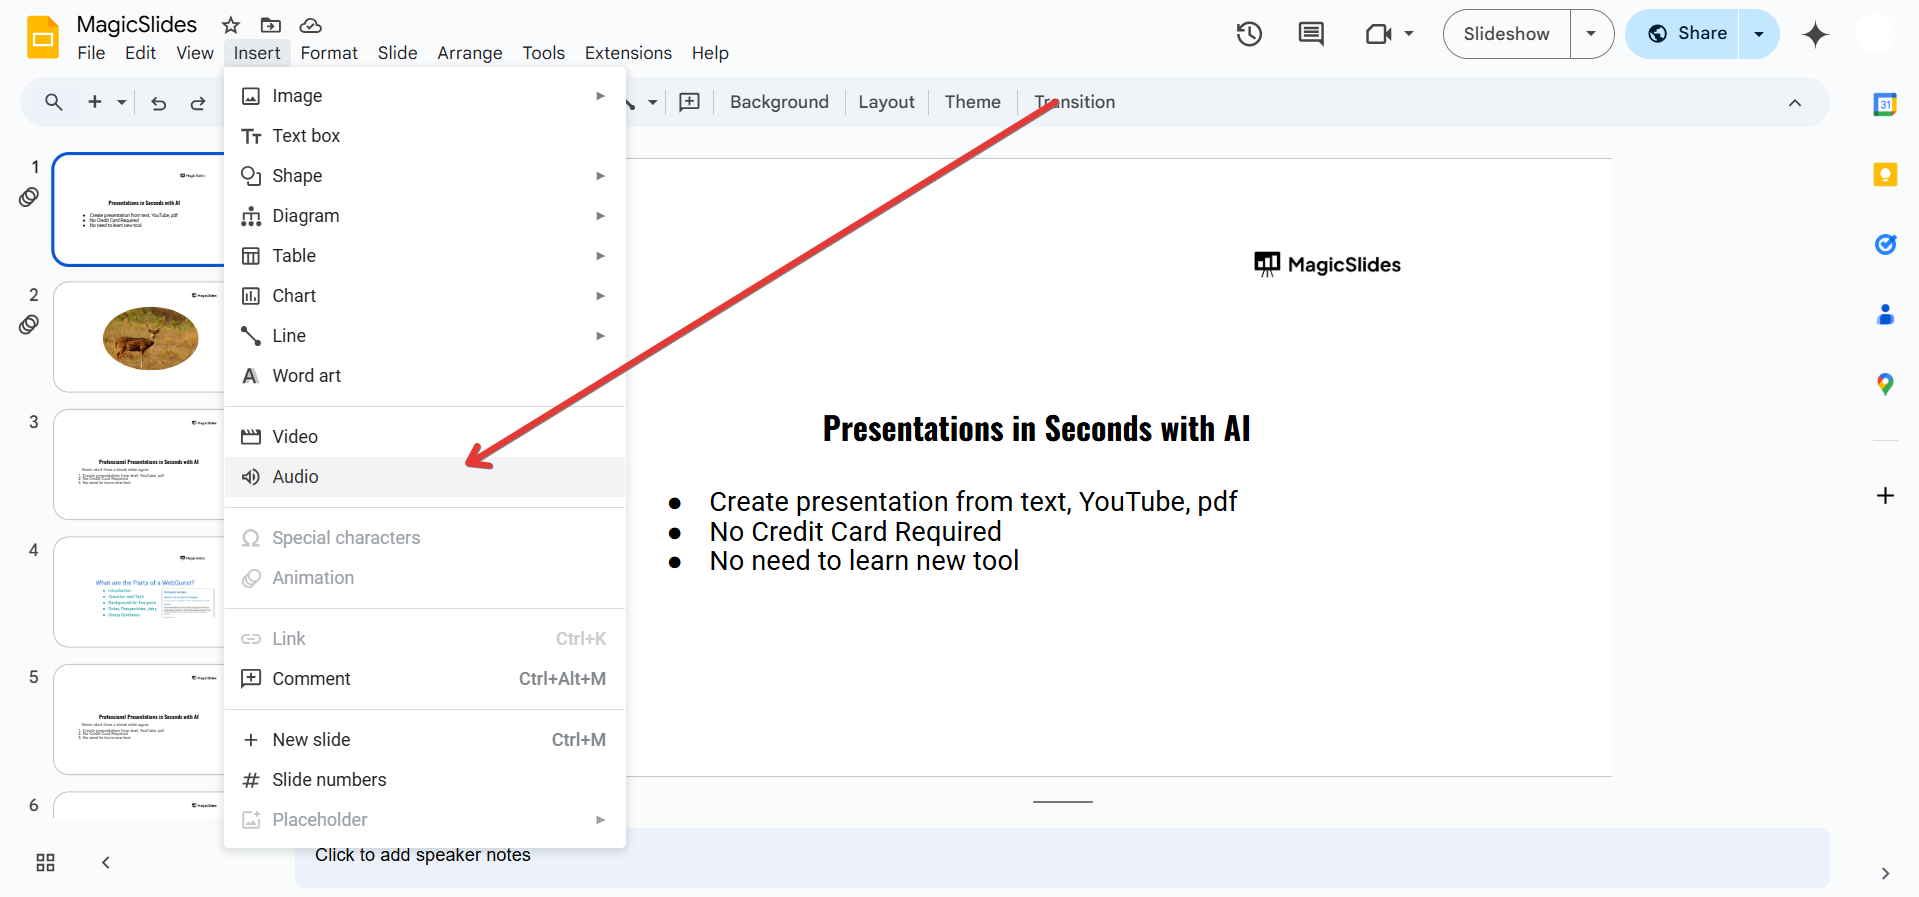
Choose the audio file you uploaded to Google Drive. Click Select to insert the audio into your slide.
Step 3: Adjust Audio Playback Settings
After inserting the audio, you can customize how it plays during your presentation.
Click on the audio icon in your slide.
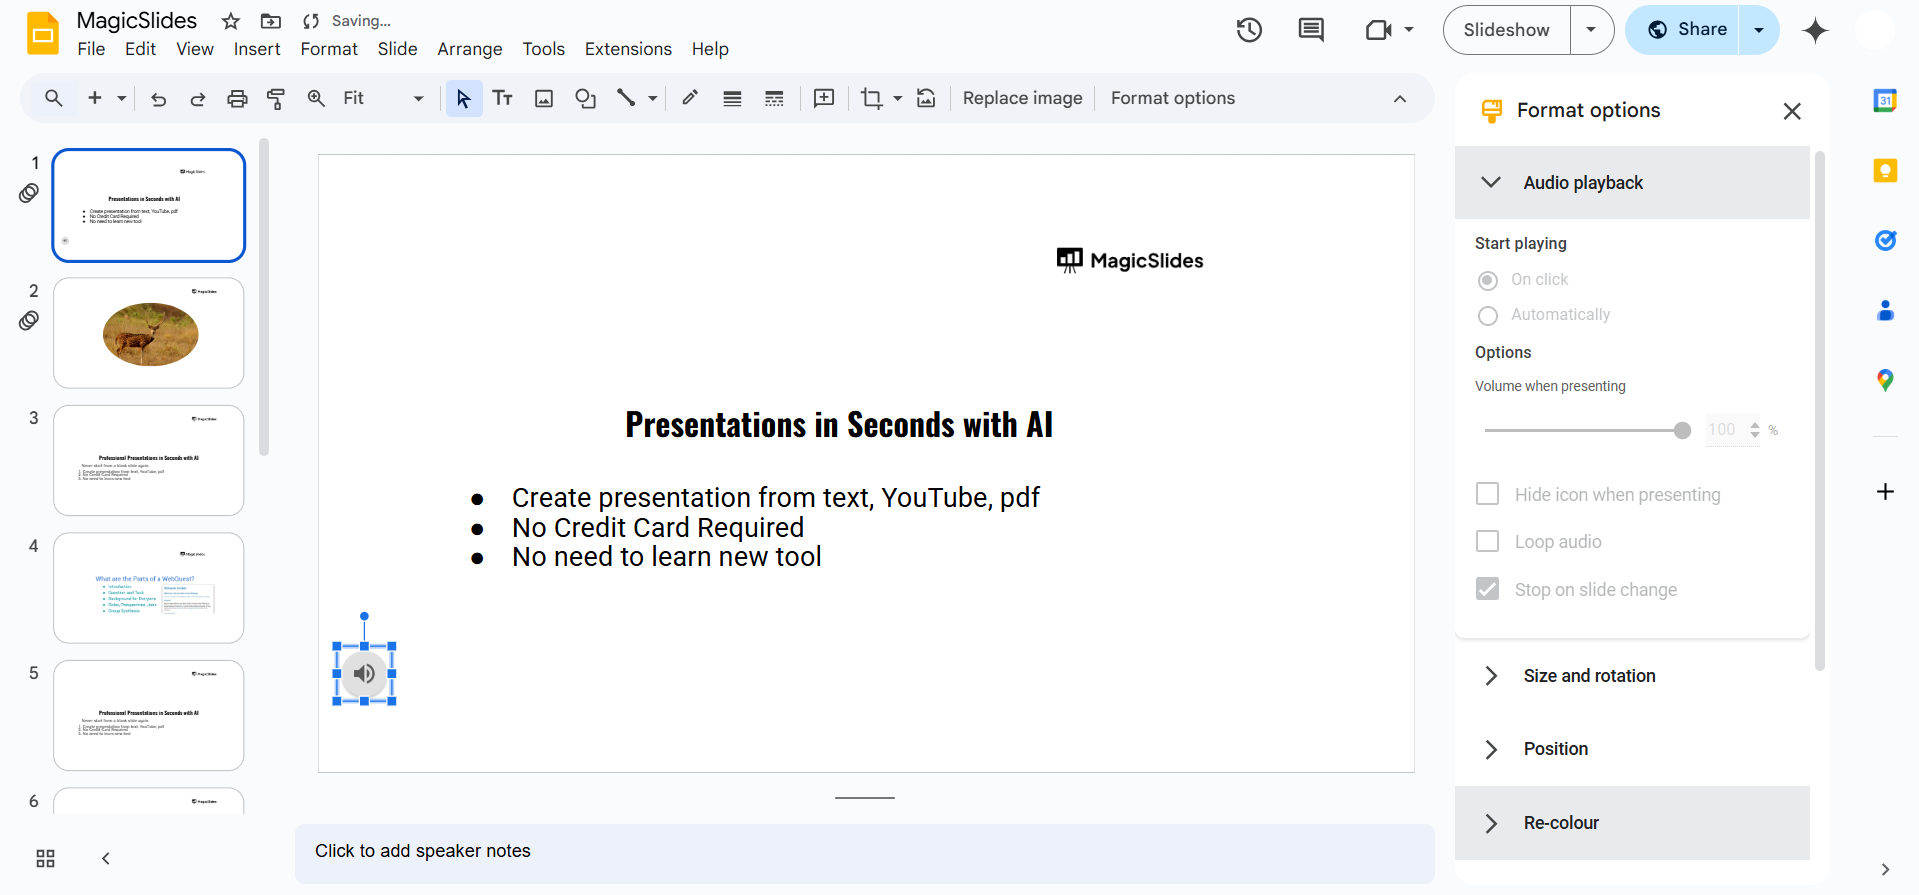
A toolbar will appear; click on Format options.
Adjust the following settings:
- Play Automatically: Starts playing when the slide opens.
- On Click: Plays only when you click on the icon.
- Loop Until Stopped: Keeps the audio playing repeatedly.
- Adjust Volume: Set the playback volume.
Step 4: Test Your Audio in Presentation Mode
Before finalizing your slides, preview your audio to ensure it works correctly:
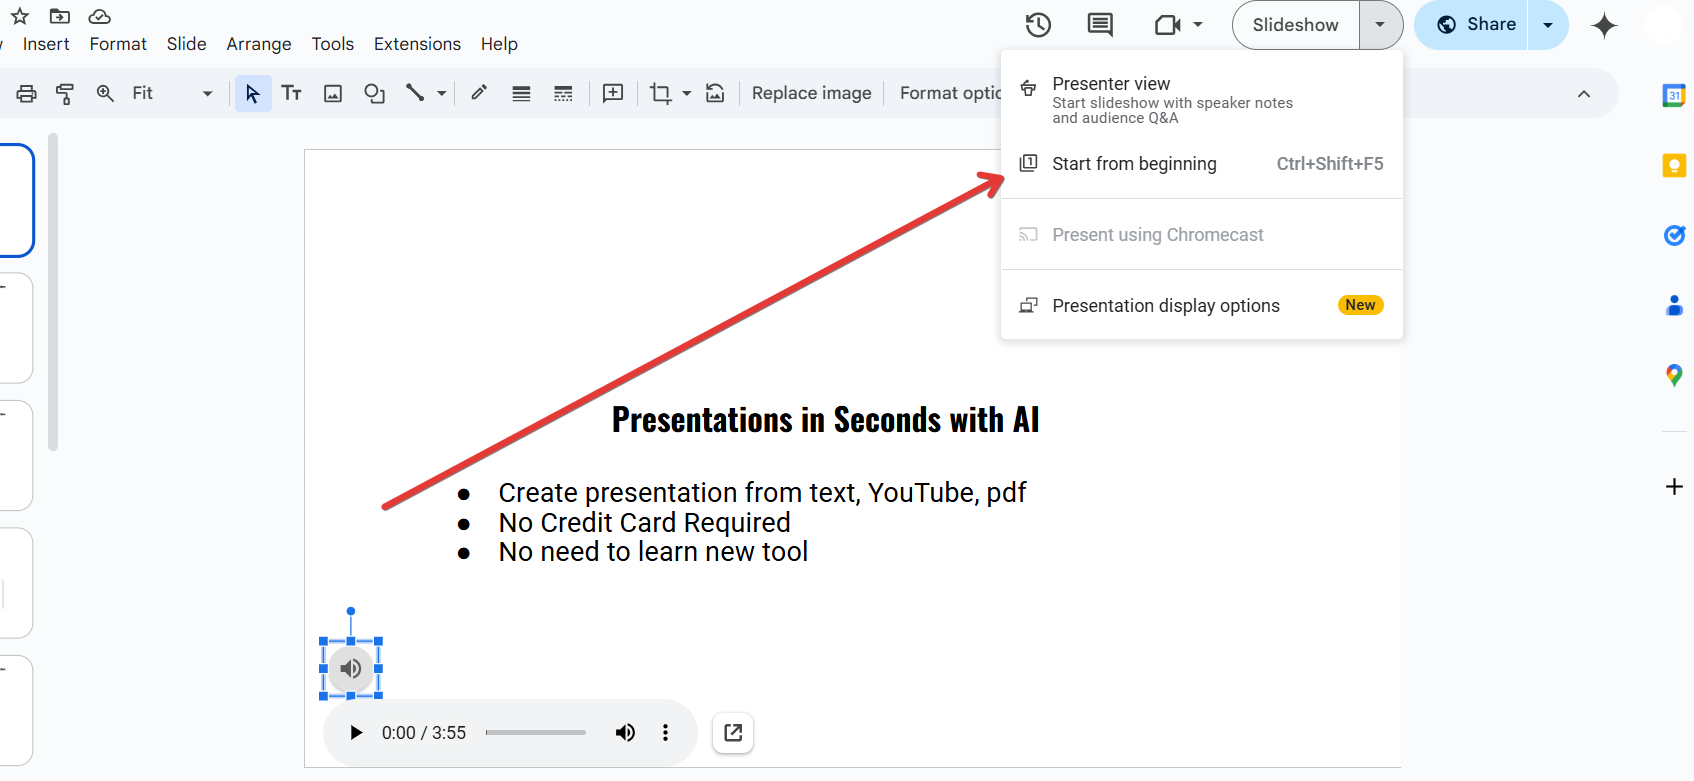
Click Slideshow in the top-right corner. Navigate to the slide with the audio and check if it plays properly. Adjust the settings if needed.
Adding audio to Google Slides on a Chromebook is simple, but if you're looking for an even easier way to create engaging presentations with multimedia, try MagicSlides.app. It lets you generate AI-powered slides in seconds, saving you time and effort!
Conclusion
Adding Chromebook audio to Google Slides is simple with Google Drive integration.
Whether you're recording voiceovers or adding background music, following these steps ensures a smooth presentation experience.
FAQs About Adding Audio to Google Slides on Chromebook
What audio file formats are supported in Google Slides?
Google Slides supports MP3 and WAV audio files uploaded from Google Drive.
Why can’t I see the audio option in Google Slides?
Ensure your audio file is in Google Drive and that you have editor access to the presentation.
Can I add audio directly from YouTube to Google Slides?
No, but you can insert a YouTube video with sound or extract the audio and upload it separately.
Now, you can easily add and manage audio in Google Slides on your Chromebook! 🎵🚀


