How to put Google Slide onto USB Drive


Easily save your Google Slides presentation to a USB drive for offline access and sharing anytime
How to Put a Google Slide onto a USB Drive
Transferring your Google Slides presentation to a USB drive allows you to access and present it on different devices without needing an internet connection.
Whether you need to share your slides or have a backup, saving them onto a USB is a simple process.
Follow this step-by-step guide to download and store your Google Slides presentation on a USB drive.
Step-by-Step Guide to Saving Google Slides to a USB Drive
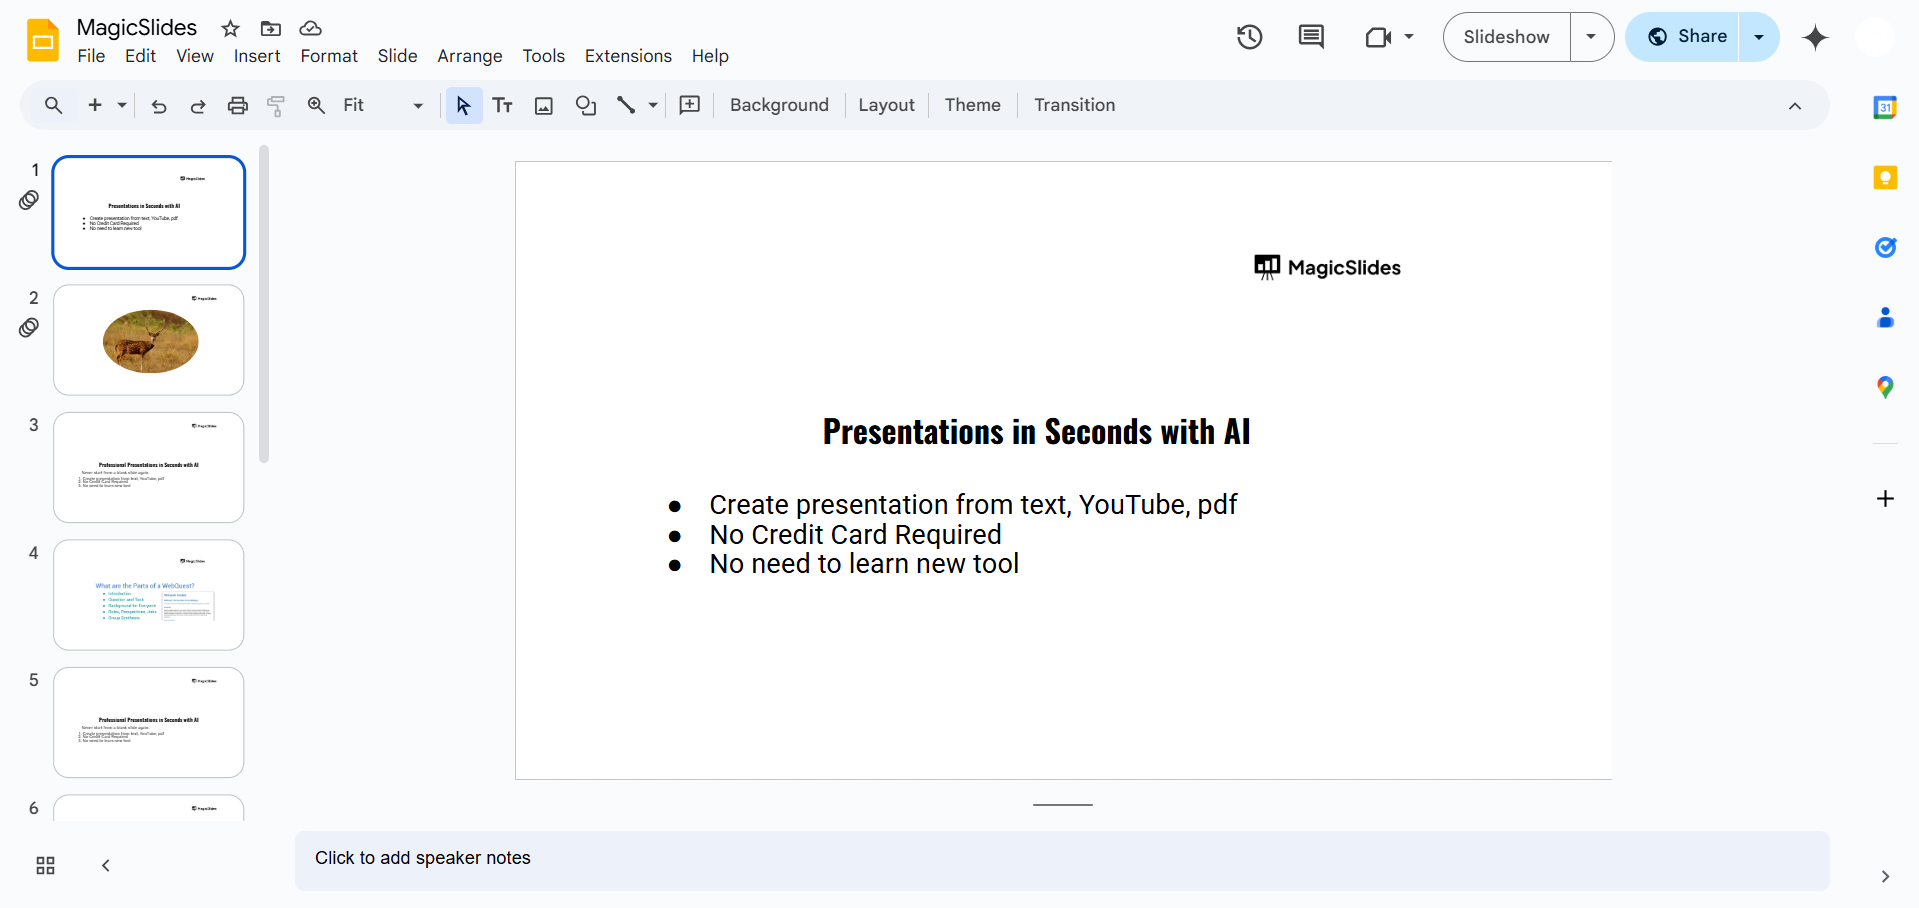
Step 1: Open Your Google Slides Presentation
Go to Google Slides and sign in to your Google account. Open the presentation you want to save.
Step 2: Download the Presentation
Click on File in the top-left menu. Hover over Download from the dropdown menu.
Choose your preferred format:
- Microsoft PowerPoint (.pptx) – Best for editing on another device.
- PDF Document (.pdf) – Ideal for printing or sharing as a read-only file.
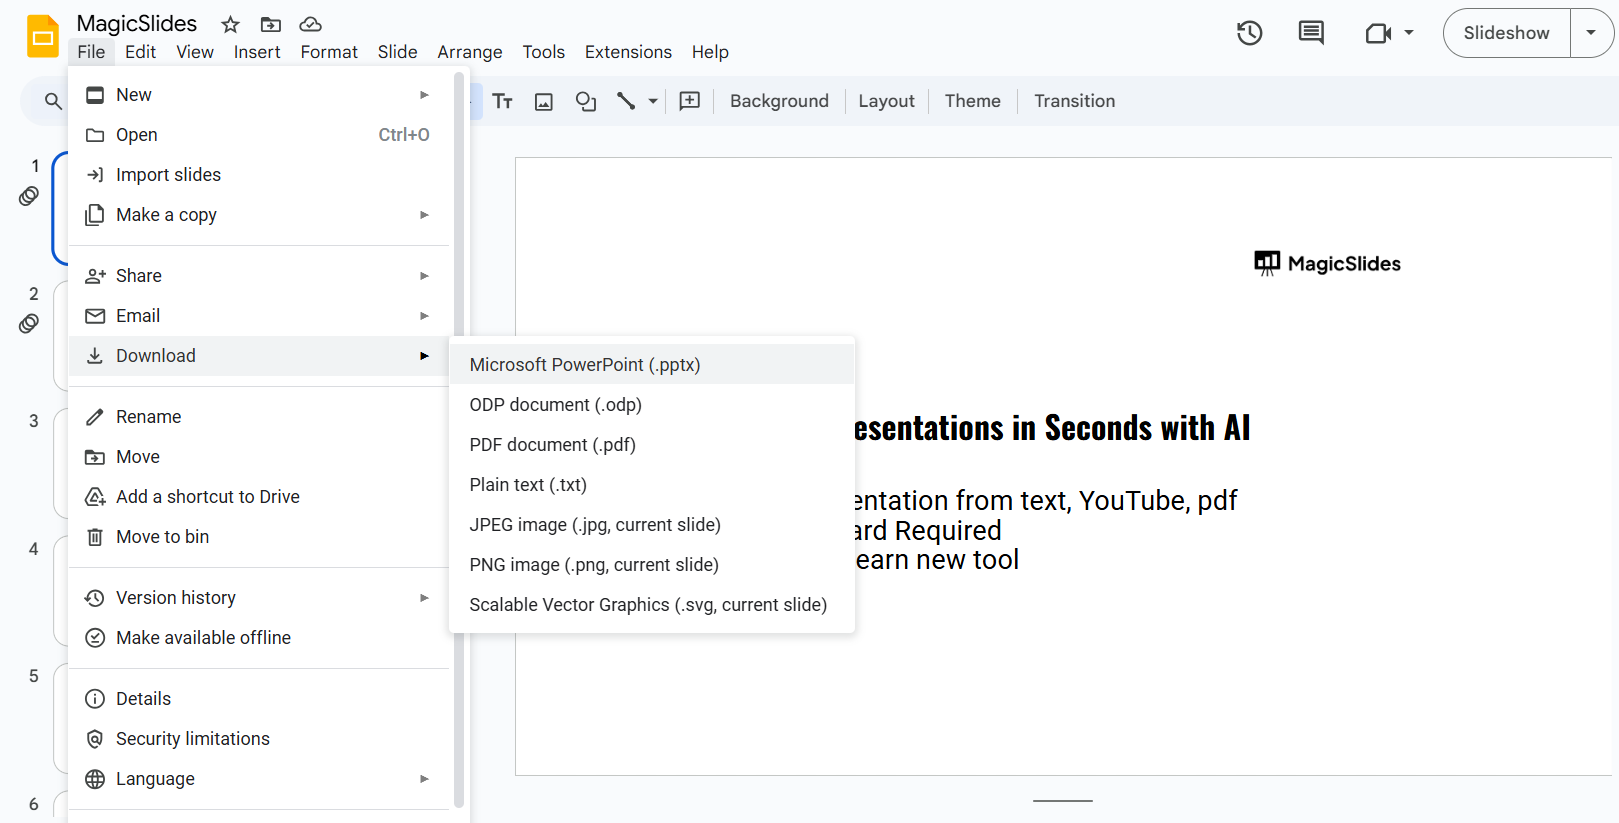
- JPEG/PNG Images – Saves each slide as an image.

Step 3: Connect Your USB Drive
Insert your USB drive into a USB port on your computer. Open File Explorer (Windows) or Finder (Mac) to locate your USB drive.
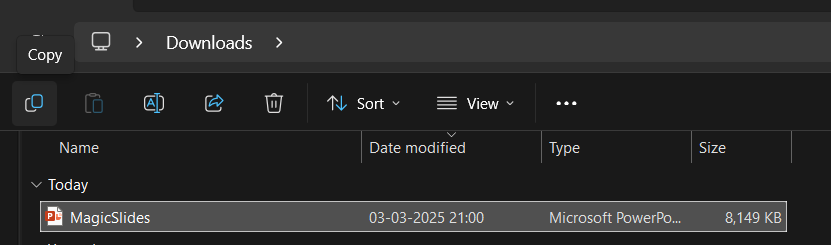
Step 4: Transfer the File to the USB Drive
Locate the downloaded Google Slides file in your Downloads folder.
Right-click the file and select Copy (or press Ctrl + C on Windows / Command + C on Mac).
Open your USB drive folder, right-click inside it, and select Paste (or press Ctrl + V / Command + V).
Step 5: Safely Eject the USB Drive
Click the USB drive icon in the system tray (Windows) or Finder sidebar (Mac).
Select Eject before physically removing the USB drive to prevent file corruption.
Now that you know how to save your Google Slides to a USB drive, why not simplify your entire presentation process? With MagicSlides.app, you can generate professional presentations in seconds from topics, PDFs, or even YouTube videos!
Conclusion
Saving your Google Slides presentation onto a USB drive is an easy way to access your slides offline or present on another device.
By downloading the file in the correct format and safely transferring it to a USB drive, you ensure your presentation is ready whenever needed.
FAQs About Saving Google Slides to a USB Drive
Can I edit my Google Slides presentation after saving it to a USB drive?
Yes, if you downloaded it as a PowerPoint (.pptx) file, you can edit it in Microsoft PowerPoint or other compatible software.
Can I transfer my Google Slides to a USB drive without downloading?
No, Google Slides is an online tool, so you must first download the file to your computer before transferring it.
What happens if I remove my USB drive without ejecting it?
Removing a USB drive without ejecting it properly can corrupt your files or cause transfer errors, so always eject safely.
Now you're ready to store and share your Google Slides presentation with ease! 🚀


