How to send to back in Google Slides


Easily organize layered content in Google Slides by learning how to send objects to the back
How to Send to Back in Google Slides
When working with multiple layers of images, shapes, or text in Google Slides, things can quickly get cluttered.
That’s where the “Send to back” feature comes in handy. It allows you to move any object behind other elements on your slide.
This is especially useful when you're designing layouts, overlapping images, or adding background decorations. Mastering this feature will give you more control over how your presentation looks and help you build cleaner, more professional designs.
https://guidejar.com/guides/d40b011f-aa04-4dc8-ac0a-655ad0b0c2a5
Step-by-Step: How to Send to Back in Google Slides
Step 1: Open Your Google Slides Presentation
- Head to https://slides.google.com.
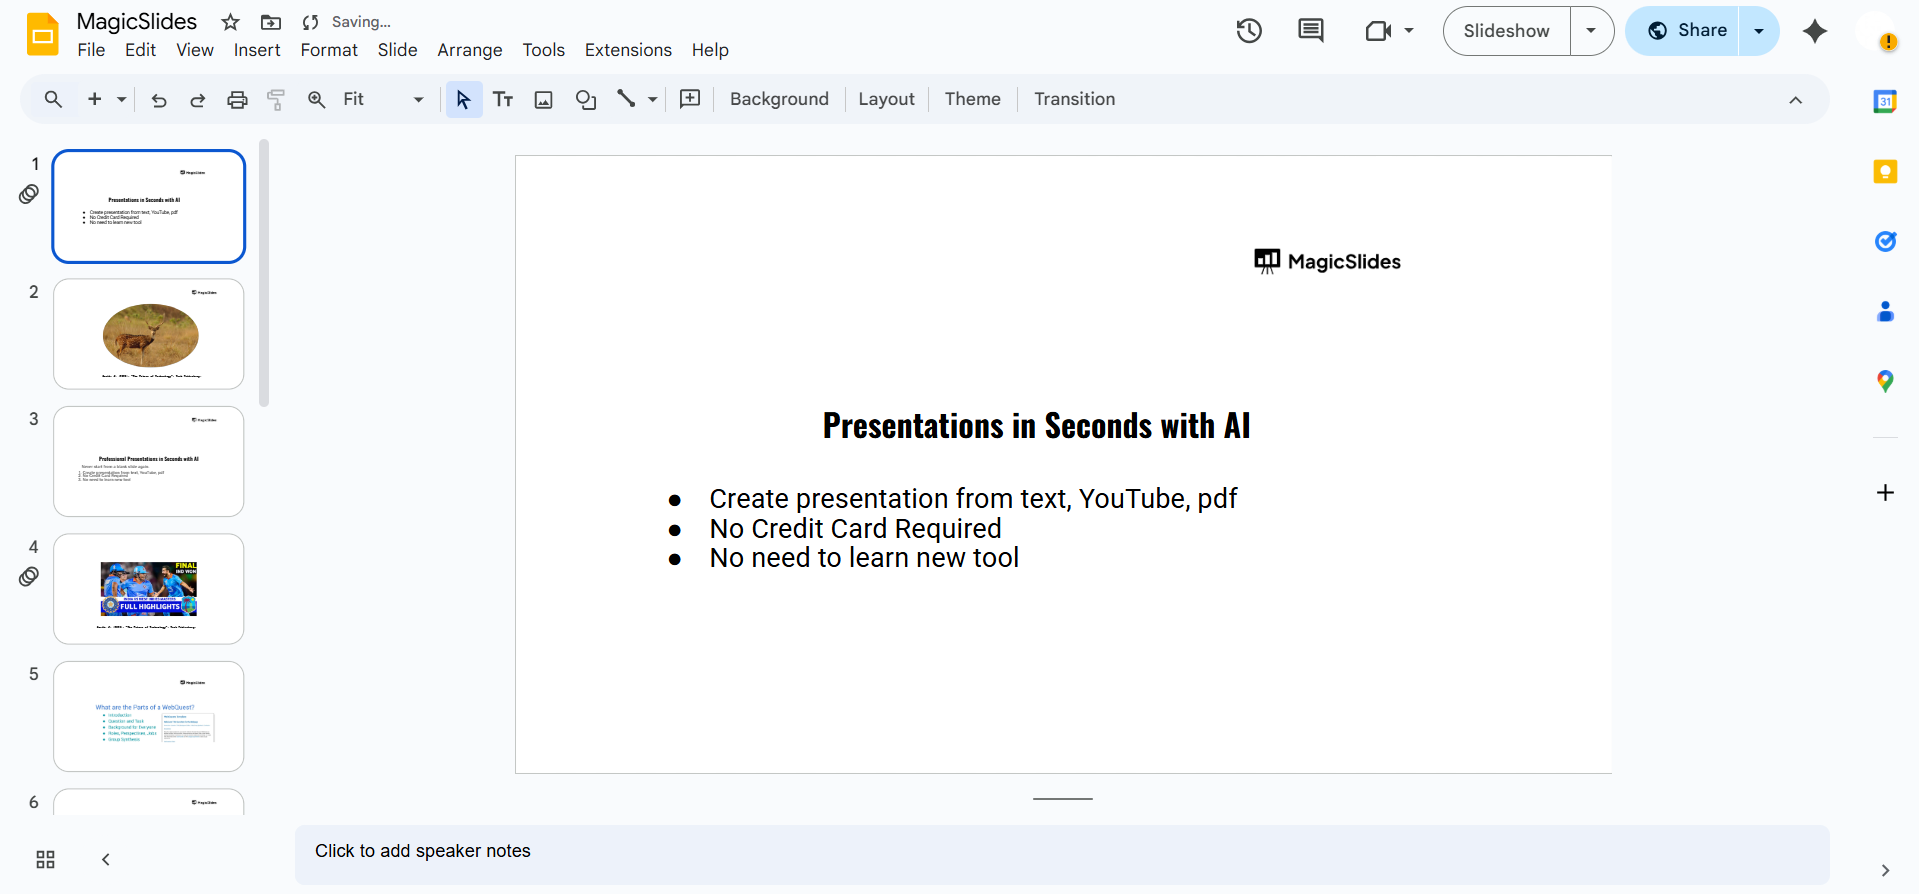
- Open your existing presentation or start a new one.
Step 2: Select the Object You Want to Move
- Click on the image, shape, text box, or element that you want to send to the back.
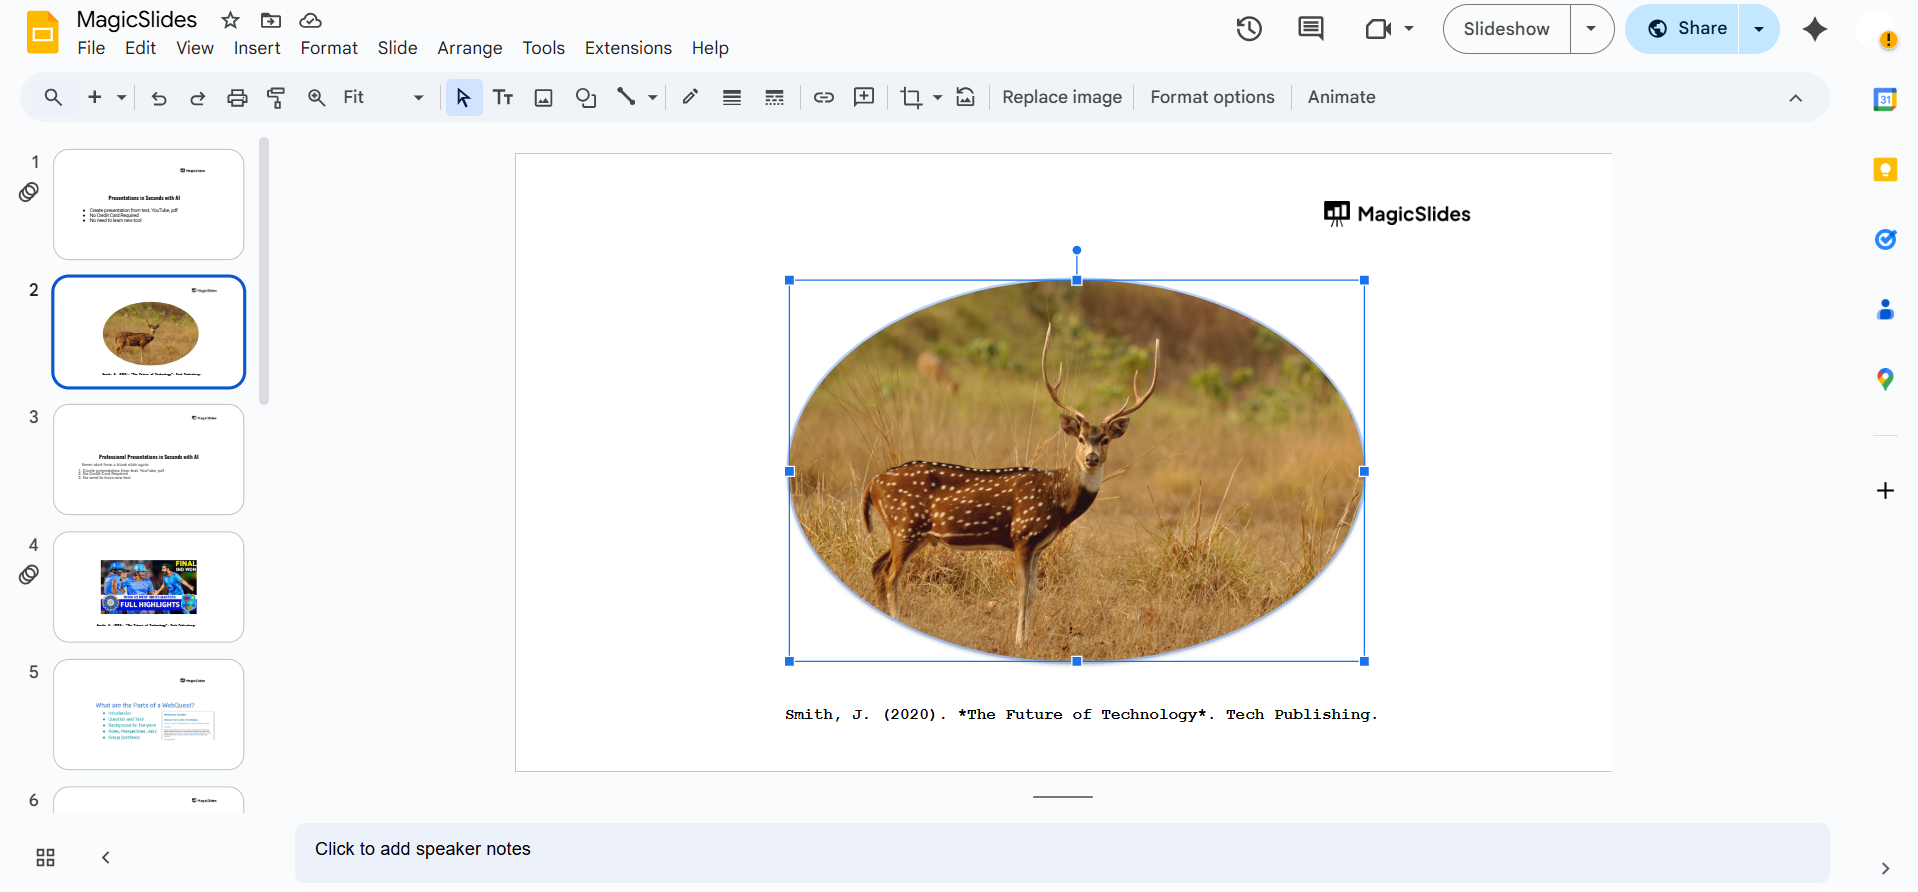
- You’ll see a blue outline appear around the selected object.
Step 3: Right-Click the Object
- Right-click on the selected object to open a menu.
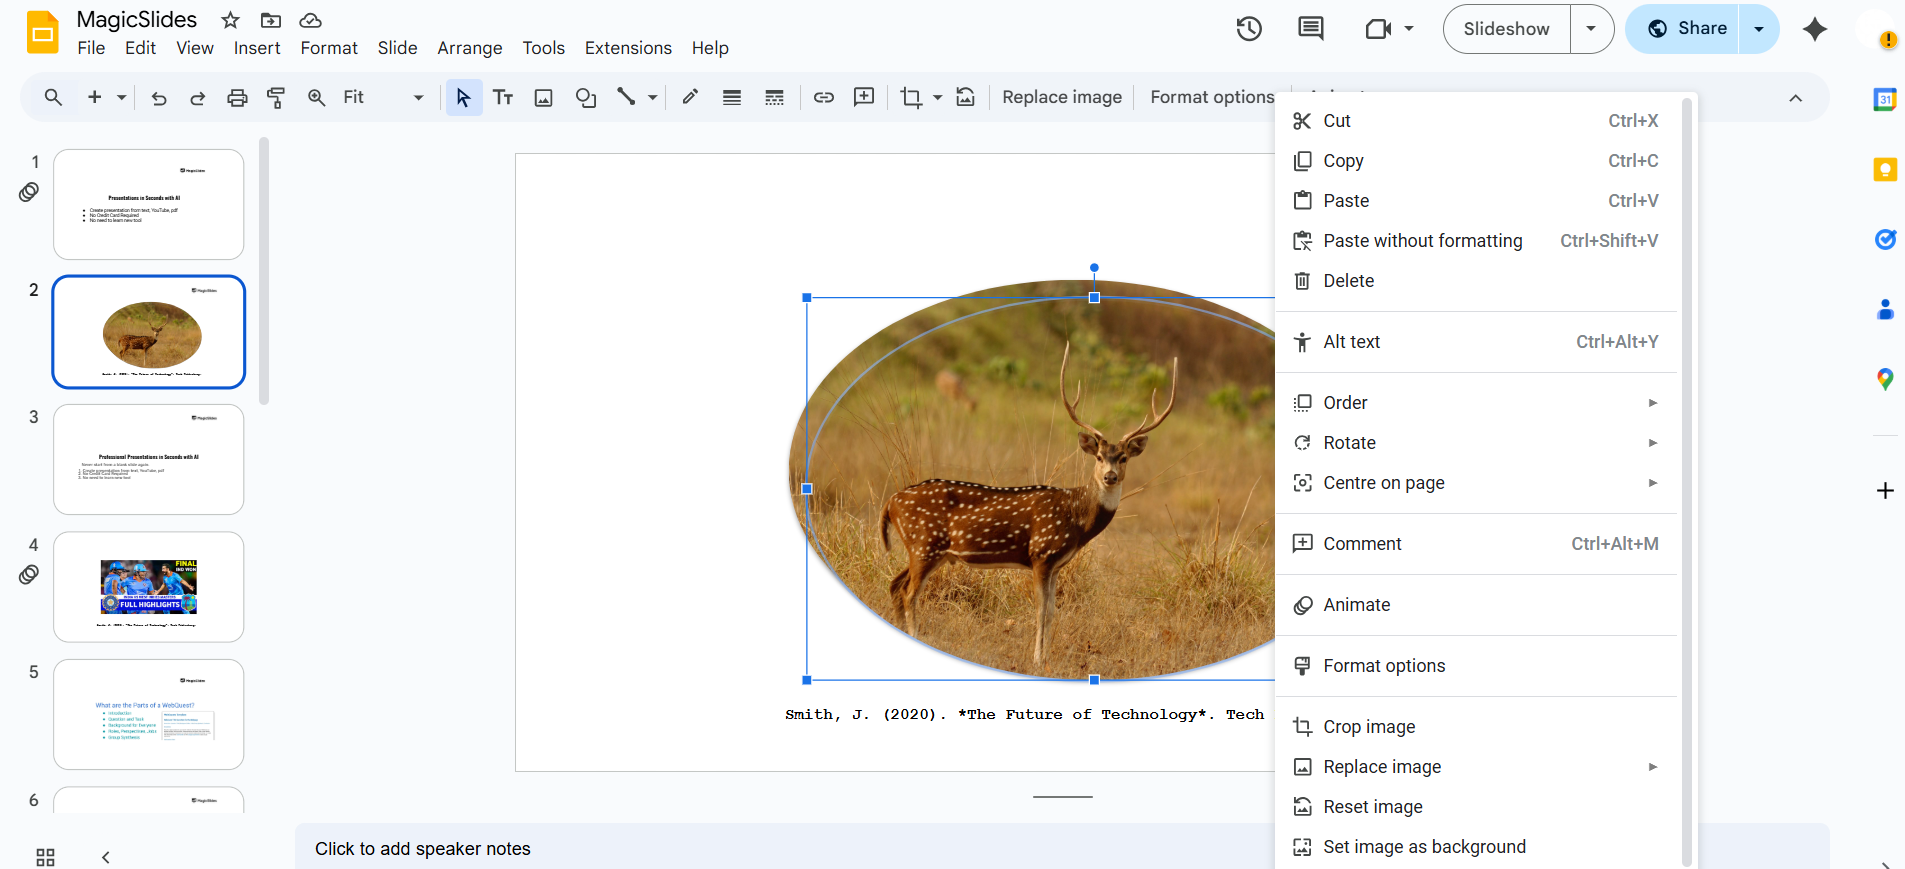
- A list of editing options will appear.
Step 4: Choose “Order” > “Send to Back”
- Hover over the “Order” option in the menu.
- Click “Send to back” to move the object behind all other items on the slide.
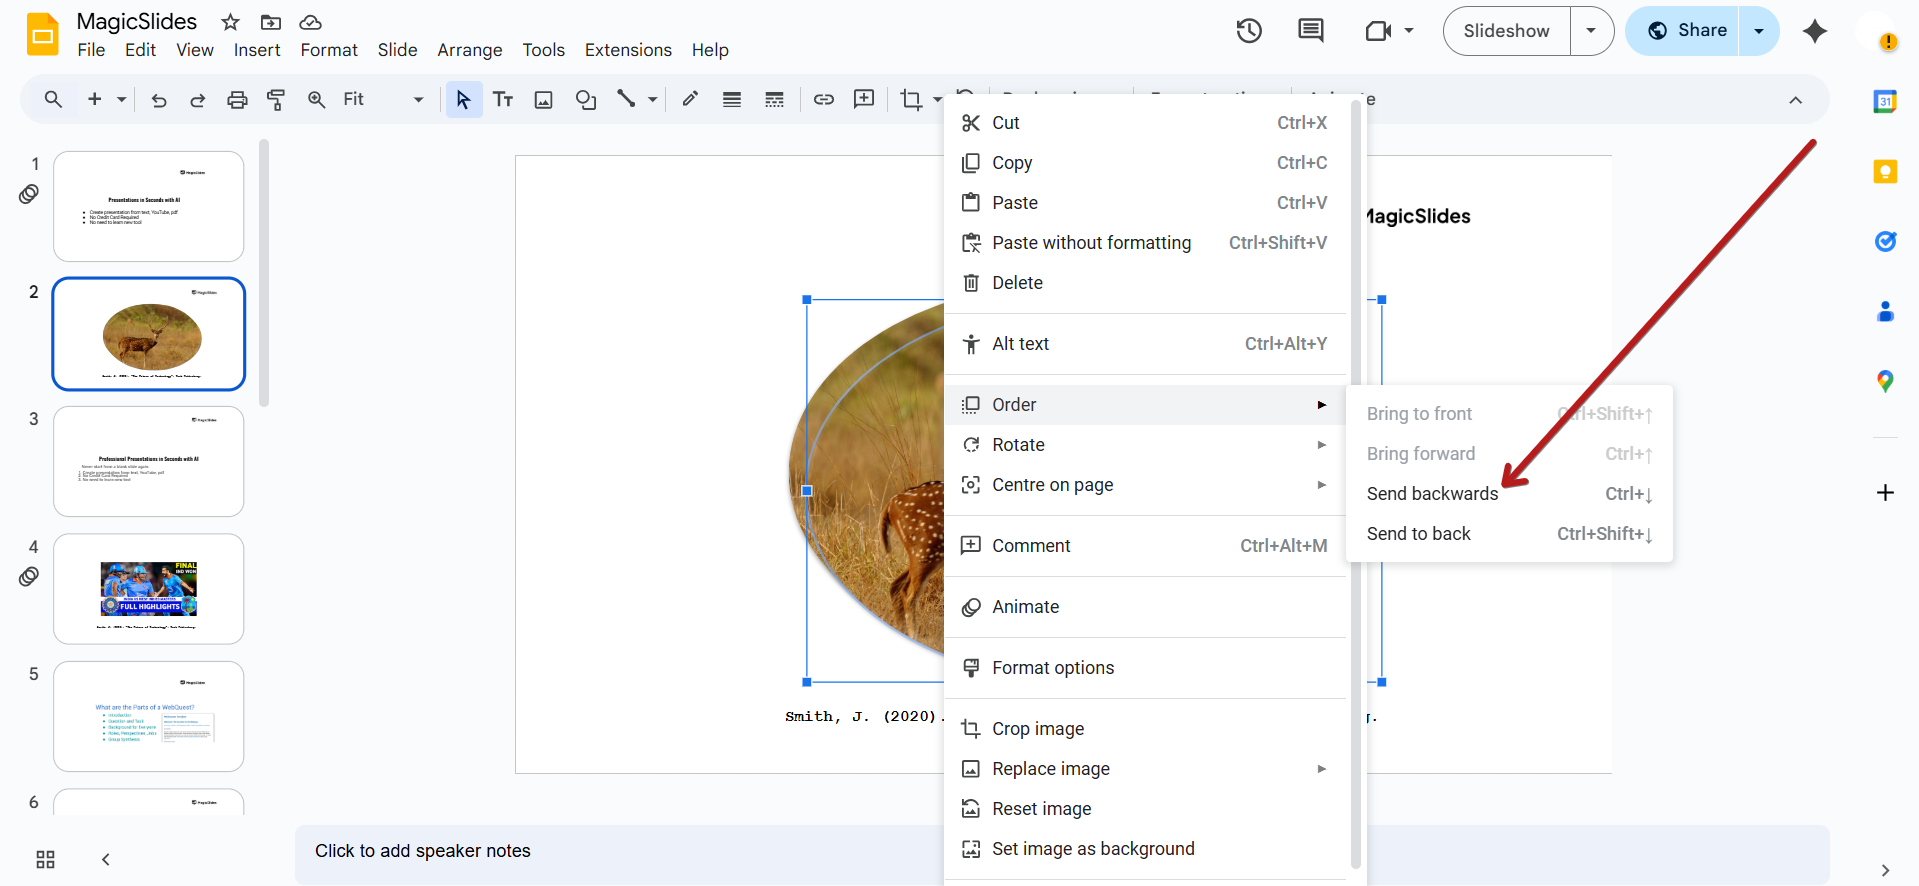
💡 Tip: If you only want to move the object one layer back (instead of all the way), choose “Send backward” instead.
Step 5: Confirm the Position
- Click around or move other objects to ensure your element is now at the back.
- Adjust layering as needed using “Bring forward” or “Send backward” for finer control.
Reordering layers is great for clean designs. Want to skip manual formatting altogether? Use MagicSlides.app to generate beautiful, AI-crafted presentations in just seconds!
Conclusion
Using the “Send to back” feature in Google Slides can help you better organize and layer your content to create polished, professional presentations.
Whether you're placing text over images or creating a layered graphic design, understanding object order is key to great visual storytelling. Now that you’ve got it down, go ahead and create with confidence!
FAQs can come handy!
What’s the difference between “Send to back” and “Send backward”?
“Send to back” moves the object behind everything, while “Send backward” moves it back one layer at a time.
Can I bring an object forward again after sending it to the back?
Yes! Just right-click it again, go to “Order,” and choose “Bring to front” or “Bring forward.”
Why can’t I see my object after sending it to the back?
It may be hidden behind a solid element. Use “Bring forward” to move it up a layer until it’s visible.


