How to Upload fonts to Canva


Uploading custom fonts to Canva enhances brand consistency and gives your designs a unique touch
Custom fonts can significantly enhance the uniqueness and consistency of your brand. Canva allows you to upload and use your own fonts in your designs, giving you even more creative control over your projects.
Whether you're working on social media posts, presentations, or promotional materials, uploading custom fonts is a great way to align your designs with your brand identity.
In this blog post, we will walk you through the steps to upload fonts to Canva and integrate them seamlessly into your designs.
How to Upload fonts to Canva: Step-by-Step Guide
Step 1: Open Canva Homepage
To get started, navigate to www.canva.com and log into your Canva account. If you haven’t already signed up, create a free account or log in to your Canva Pro account to enable font uploads.

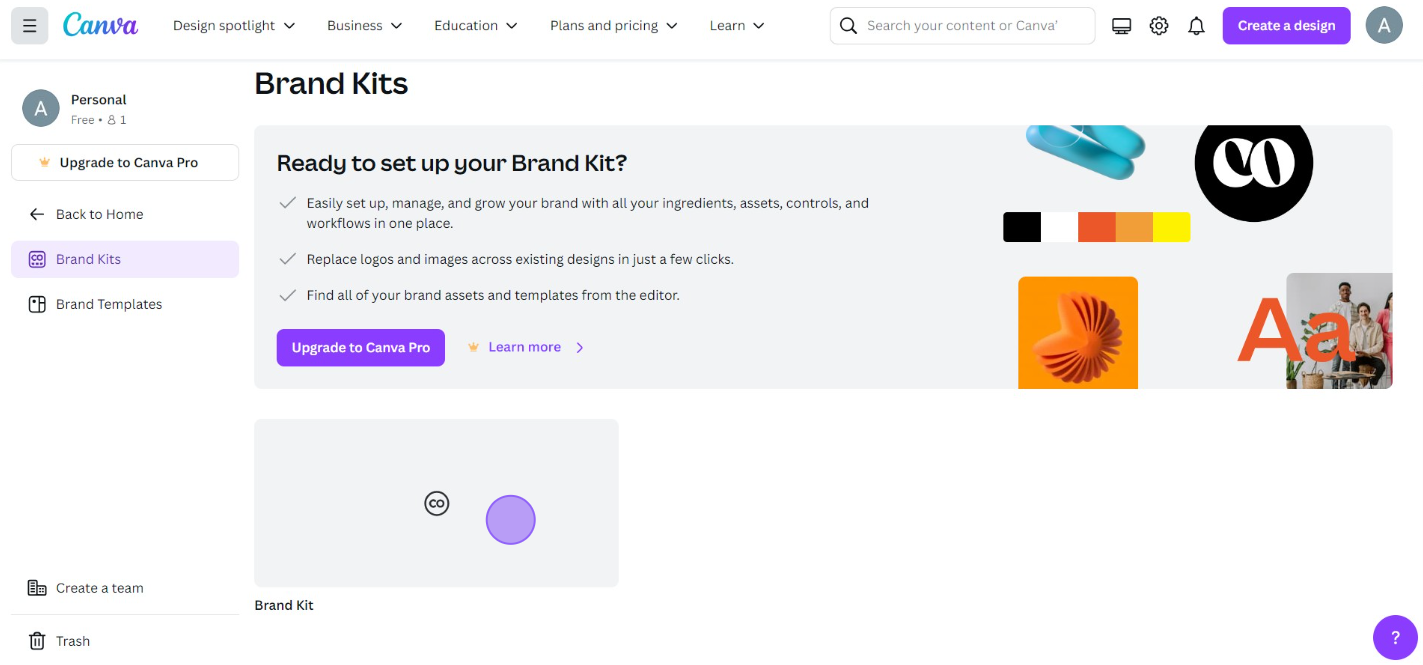
Step 2: Choose "Brand" From the Options
Once you’re on the Canva homepage, look at the sidebar on the left side of the screen. From the menu options, select the "Brand" tab.
This section allows you to manage and customize your brand elements, including logos, colors, and fonts.

Step 3: Select the "Brand Kit" Tab
Within the "Brand" section, you'll see the "Brand Kit" tab. Click on it to access your brand assets.
If you have multiple brand kits, choose the one you want to customize. Each brand kit can have its own set of fonts, logos, and color schemes to match different projects or clients.
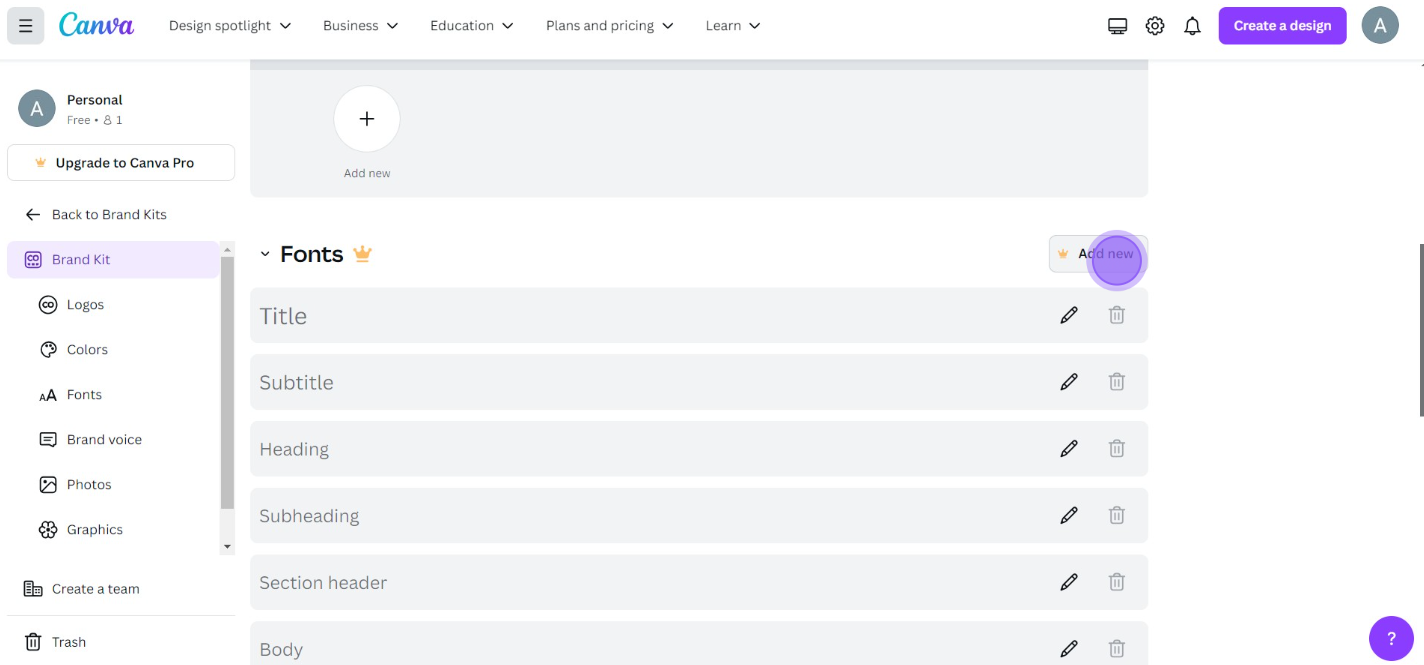
Step 4: Upload a Font
In the "Brand fonts" section, you will see an option to "Upload a font." Click on this button, and a file dialog will pop up.
Browse your computer for the font file you want to upload (supported file types include OTF, TTF, and WOFF). Select the font, and Canva will begin uploading it to your brand kit.
Step 5: Confirm and Use the Uploaded Font
Once the upload is complete, Canva will prompt you to confirm that you own the font and have the right to use it.
Check the box to confirm and proceed. Now, the font is successfully uploaded and can be used across all your designs by selecting it from your brand font options.
Conclusion
Uploading custom fonts to Canva gives your designs a personalized touch and keeps your branding consistent.
By following these simple steps, you can easily integrate your favorite fonts into Canva, making it easier to maintain brand identity across various projects.
Take advantage of this feature to give your designs a unique, professional look that stands out.
FAQs can clear queries
Can I upload fonts to Canva with a free account?
No, uploading fonts is only available to Canva Pro, Enterprise, and Education users.
What font file types does Canva support?
Canva supports OTF, TTF, and WOFF font file formats for uploads.
Can I delete or replace an uploaded font in Canva?
Yes, you can delete or replace an uploaded font from your Brand Kit at any time.


