How to Autoplay Google Slides [Updated 2026]


How to autoplay Google Slides for automatic slide shows. This guide explains how to make Google Slides autoplay and keep playing without stopping.
How to Autoplay Google Slides With 5 Quick Methods
Google Slides autoplay allows presentations to run automatically without any clicks. You are here, which means you're probably wondering the same. In this guide, I’ll explain how to autoplay Google Slides using five different tricks, with a simple set of instructions.
So, look no further, just start learning what Google Slides autoplay is.
What Does Autoplay in Google Slides Mean?
Autoplay means your Google Slides presentation runs automatically without anyone clicking Next. Slides move forward based on a timer you choose.
Enabling autoplay is necessary when:
- Display slides on a TV
- Embed presentations on websites
- Share self-running presentations with clients
In simple words, Google Slides autoplay means a slideshow where the presentation automatically runs after starting it.
The sections are dedicated to explain you how to do so. But before, I have a question for you: do you have Google Slides, or are you making it regularly?
If yes, then setting up autoplay is time-consuming if you do it manually. For the same, I use MagicSlides AI PPT Generator because it saves time formatting and creating professional slides. It simply gives you a ready-made Google Slides file that you can edit like any normal presentation.
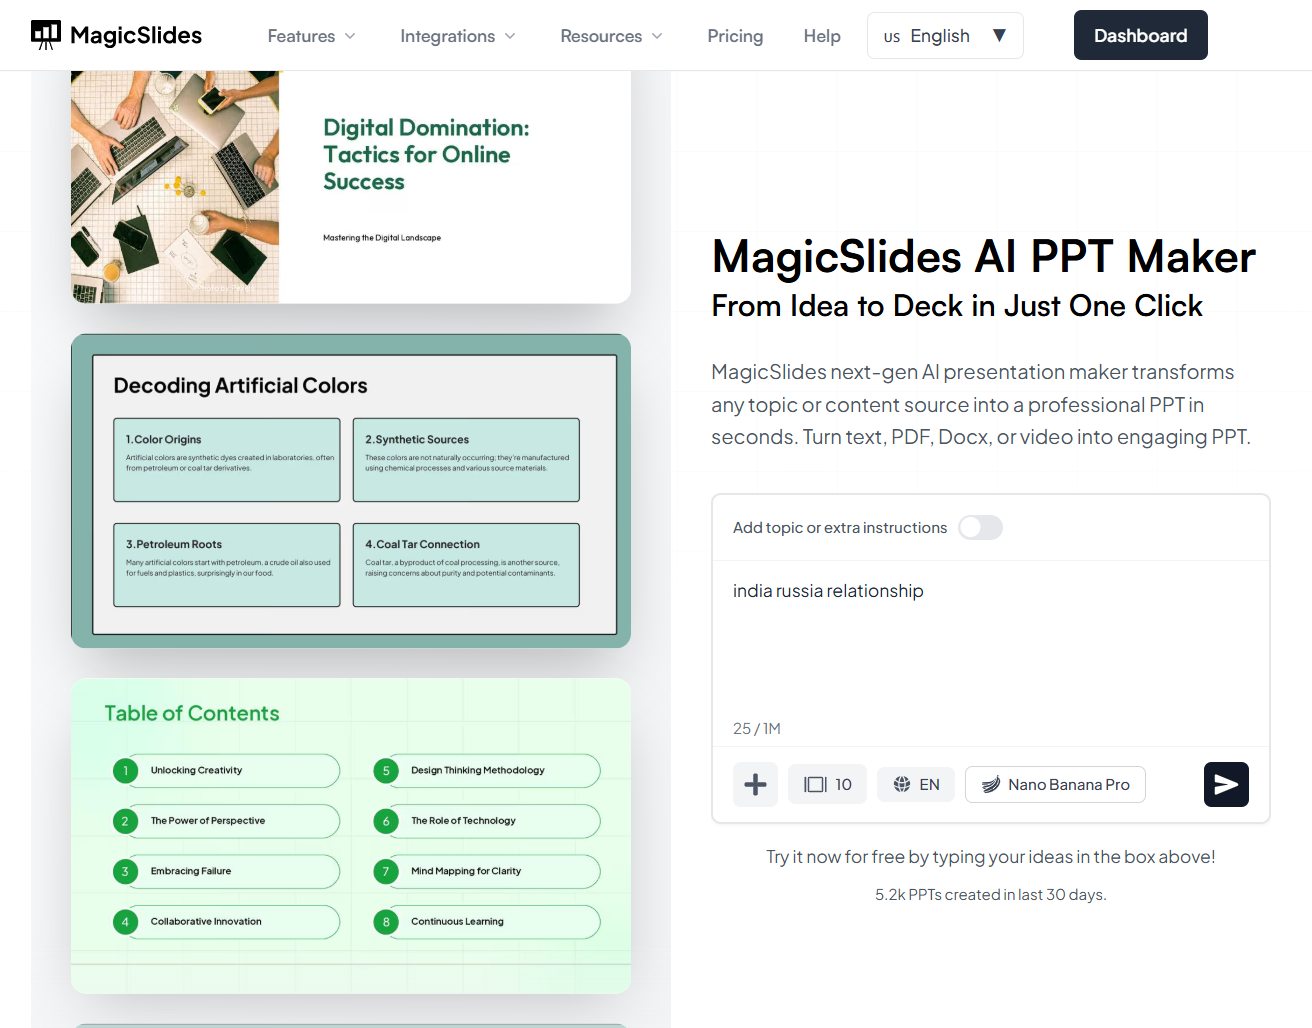
Just sign in for free, enter your topic, export it to Google Slides, and now the file is in your Google Drive.
Apart from this, if you are building slides with AI before enabling autoplay, knowing how to create a PowerPoint presentation in ChatGPT is another effective way.
How to Autoplay Google Slides – Step by Step
As I’ve been using Google Workspace for over 12+ years, I know how to set autoplay in Google Slides in five different ways. So, let me explain all of them with simple guidelines, i.e.
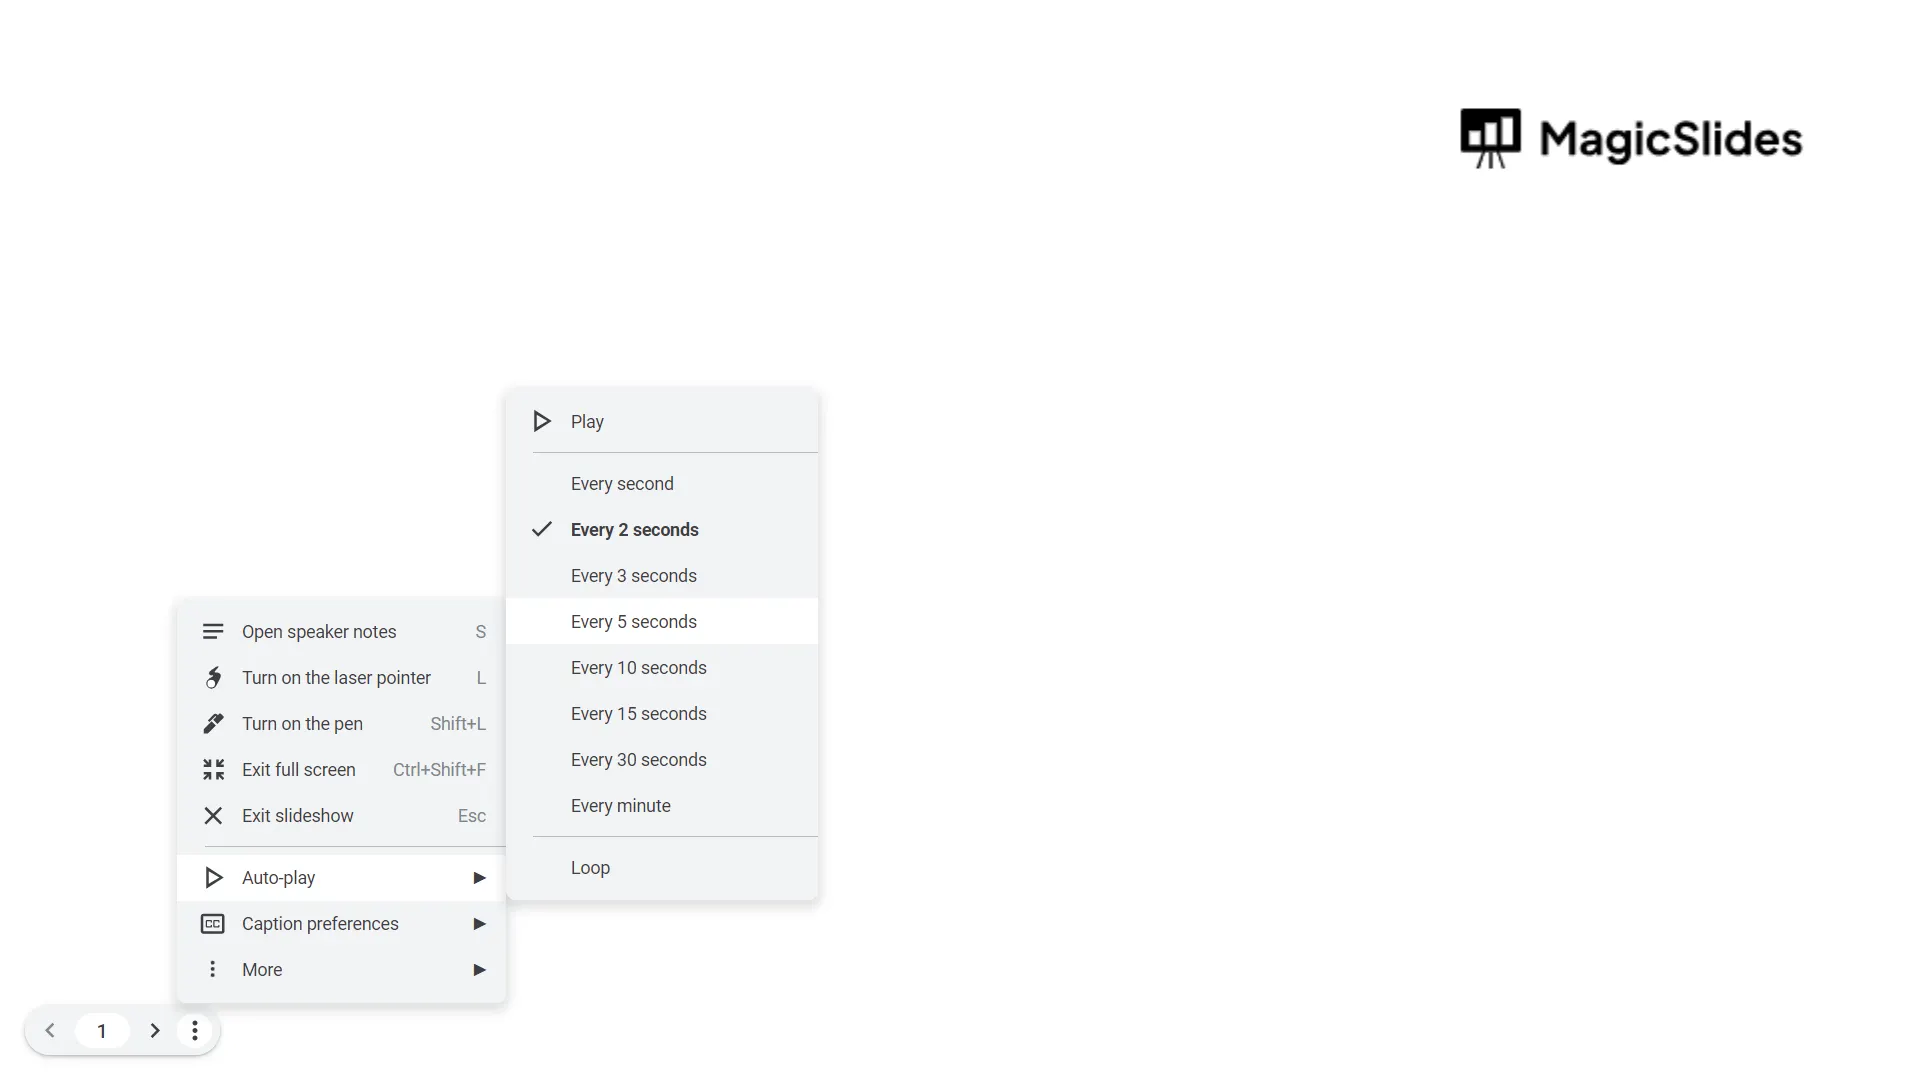
#Method 1. Set Google Slides Autoplay in Presenter Mode
This method is best when you’re presenting live. To do so:
Step 1: Open Your Google Slides Presentation
Access the latest version of your Google Slides presentation, setting the stage for the autoplay magic.
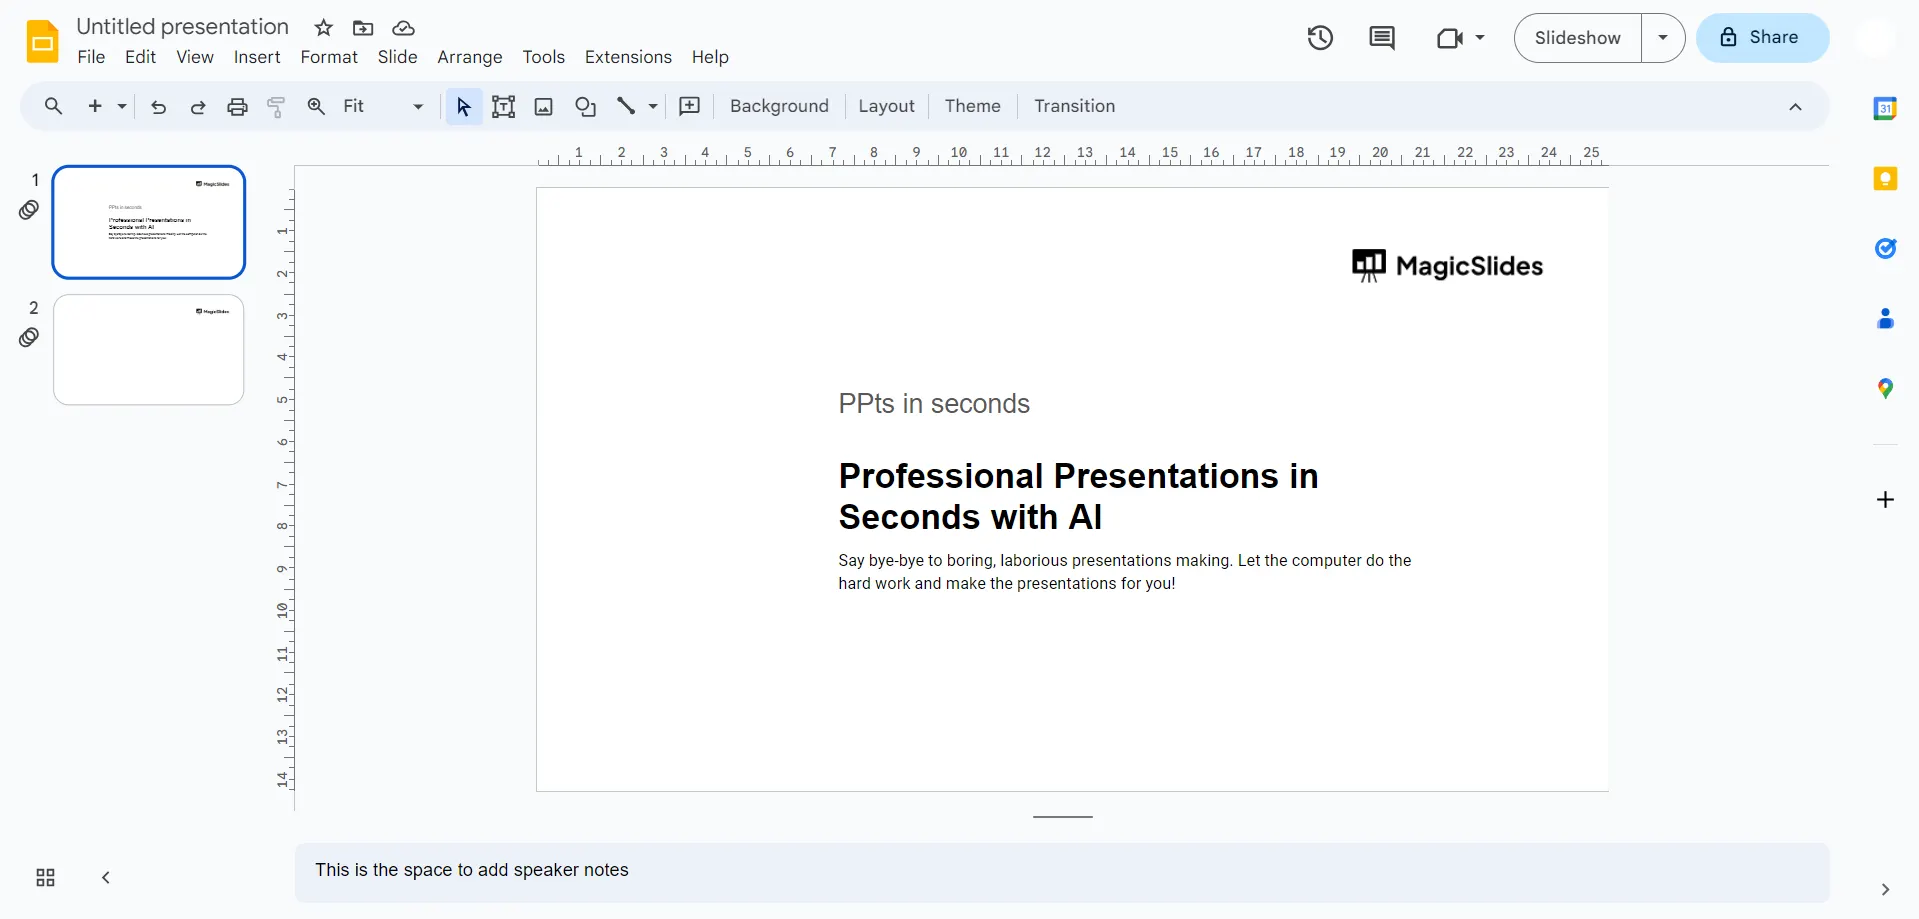
Step 2: Navigate to Slideshow Mode
In the top-right corner of your Google Slides interface, locate and click on "Slideshow" mode to enter the immersive presentation view.
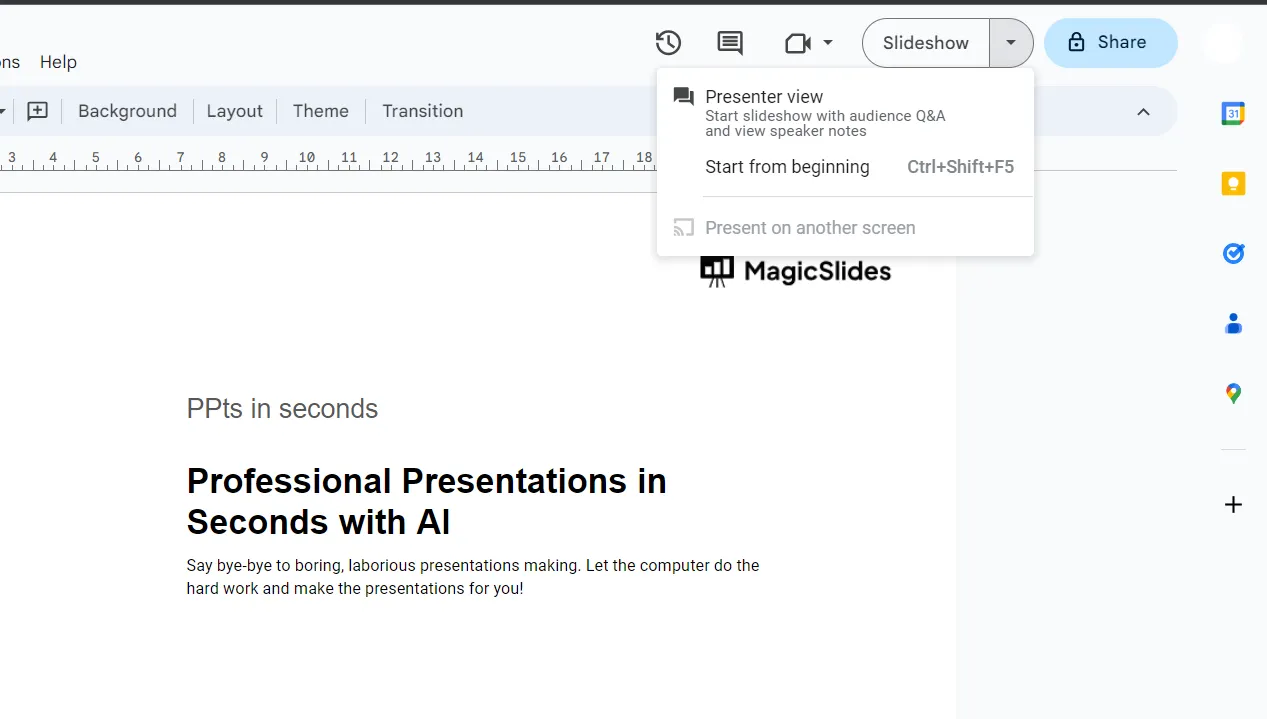
Step 3: Access the Three-Dot Menu
Once in Slideshow mode, direct your cursor to the bottom left corner of the presentation. Click on the three-dot menu, unlocking a plethora of options.
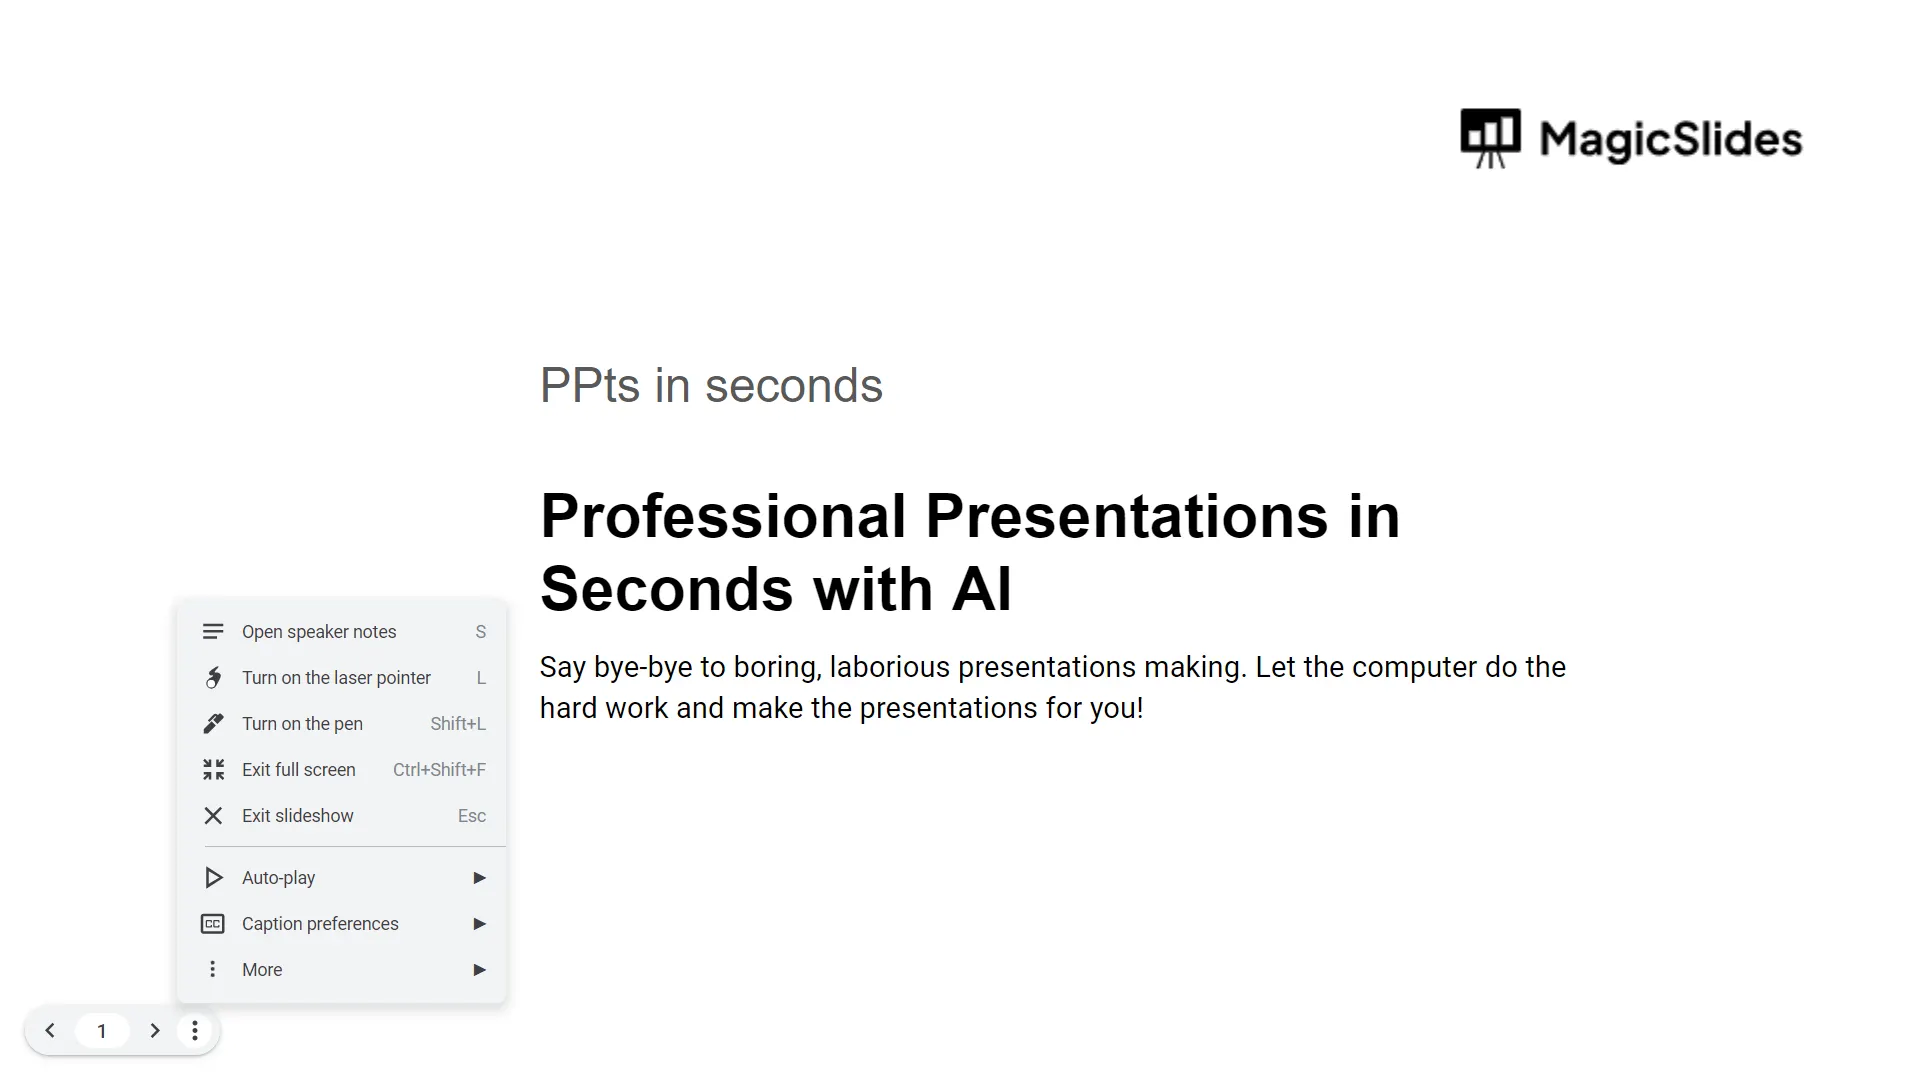
Step 4: Choose Autoplay
Within the three-dot menu, opt for the "Autoplay" feature. A pop-up menu will appear, allowing you to select a specific time duration for each slide to play automatically.
Step 5: Set Time and Initiate Playback
Customize the time duration according to your preferences, ensuring a seamless transition between slides. Once configured, hit the "Play" button to commence the autoplay journey.
Step 6: Enjoy the Automatic Playback
Sit back and watch as your Google Slides presentation unfolds automatically, engaging your audience with a hands-free, fluid experience.
#Method 2. How to Autoplay Google Slides When Sharing a Link
If you are setting up autoplay to collaborate with your clients efficiently, without clicking anything, then this trick works best for you. For the same:
- Open the Google Slides file
- Click File > Share > Publish to web
- Click the Link tab
- Set:
- Auto-advance: choose time
- Loop: enable if needed
- Restart slideshow after last slide: optional
- Click Publish
- Copy the generated link
Now, anyone opening that link sees an automatically playing slideshow. As per my experience, this method is useful when you are sharing your presentation with your clients or providing training sessions to your team or colleagues.
If your audience needs the same autoplay presentation in PowerPoint, you can move files between formats by learning how to convert PPT to Google Slides.
#Method 3. Autoplay When Embedding Google Slides on a Website
If you need your slides to run automatically inside a webpage, then this will be your go-to:
- Open Slides
- Click File > Share > Publish to web
- Open the Embed tab
- Set:
- Auto-advance speed
- Loop
- Restart after the last slide
- Click Publish
- Copy the iframe code
- Paste it into your website HTML
That’s all! Now the slides run on your own inside the website.
Before embedding, I always make sure the slides look clean and professional, which is why I follow this guide on how to make PPT attractive to improve engagement.
#Method 4. How to Autoplay Google Slides in Full-Screen Kiosk Mode
When you need to present your slides on large screens like office screens or TVs, then:
- Publish the presentation (Method 2)
- Take the published link
- Add this at the end of the URL:
&rm=minimal
This helps to make it behave like a kiosk. Afterwards, you can open this link on Chrome, Edge, or any other browser.
#Method 5. Set Individual Slide Timings
This is the most crucial method for users who are wondering how to set a specific time on each slide. To do this:
- Click Slide > Change background > Animation
- Add an animation to an object
- Set After previous with a delay
- Repeat for each slide
This especially works well when I need to sync slides with videos.
Author’s Verdict
These are all tried and tested methods and are used by businesses for marketing displays and team training. I hope that at this point you have clearly understood how to autoplay Google Slides. If you like this information, then bookmark this guide page, so you will not forget to set up Google Slides autoplay in future.
People Also Ask
Q1. Is it possible to autoplay Google Slides without publishing?
Yes, but only in slideshow mode (Method 1).
Q2. Can I make Google Slides loop forever?
Yes. You can enable Loop when publishing or during autoplay settings.
Q3. Can autoplay work on mobile?
Yes. Published links autoplay in mobile browsers, too.
Q4. Does autoplay work after sharing the file normally?
No. Normal share links require clicking. Only Publish to web links autoplay.
Q5. Can I remove controls from Google Slides autoplay?
Yes. I use &rm=minimal in the URL.


