How to Convert a Blog Post or Web Content into a PowerPoint for a Presentation?


Learn the art of transforming your written content into engaging presentations! Convert blog posts into powerful PowerPoint slides with ease.
In the fast-paced digital world, repurposing your valuable blog content into a dynamic PowerPoint presentation is an excellent way to engage your audience visually. This guide will take you through the process step by step, making it easy for anyone to transform written content into an impactful presentation using the MagicSlides tool.
How to Convert a Blog Post or Web Content into a PowerPoint for a Presentation?
Step 1: Visit Google Slides
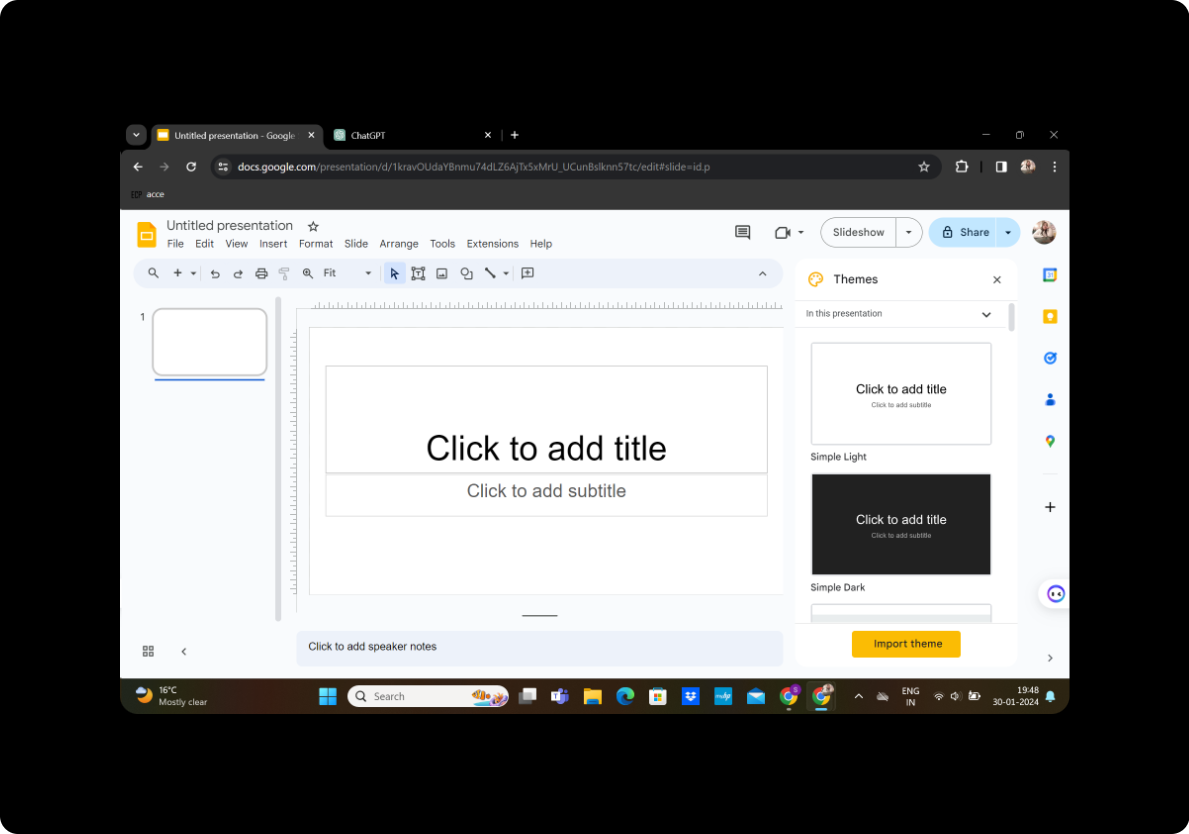
Begin by visiting Google Slides, Google's user-friendly presentation software. If you don't have a Google account, create one, and then navigate to Google Slides to start your presentation.
Step 2: Sign In with Google to Google Slides
Sign in with your Google account to access the full suite of features in Google Slides. This will ensure that your work is automatically saved and easily accessible.
Step 3: Download MagicSlides GPT Extension (If Not Downloaded)
In the extensions menu, click on "MagicSlides GPT" to check if it's already downloaded. If not, download it as an extension and open it.
Step 4: Click on "Generate PPT" in MagicSlides GPT
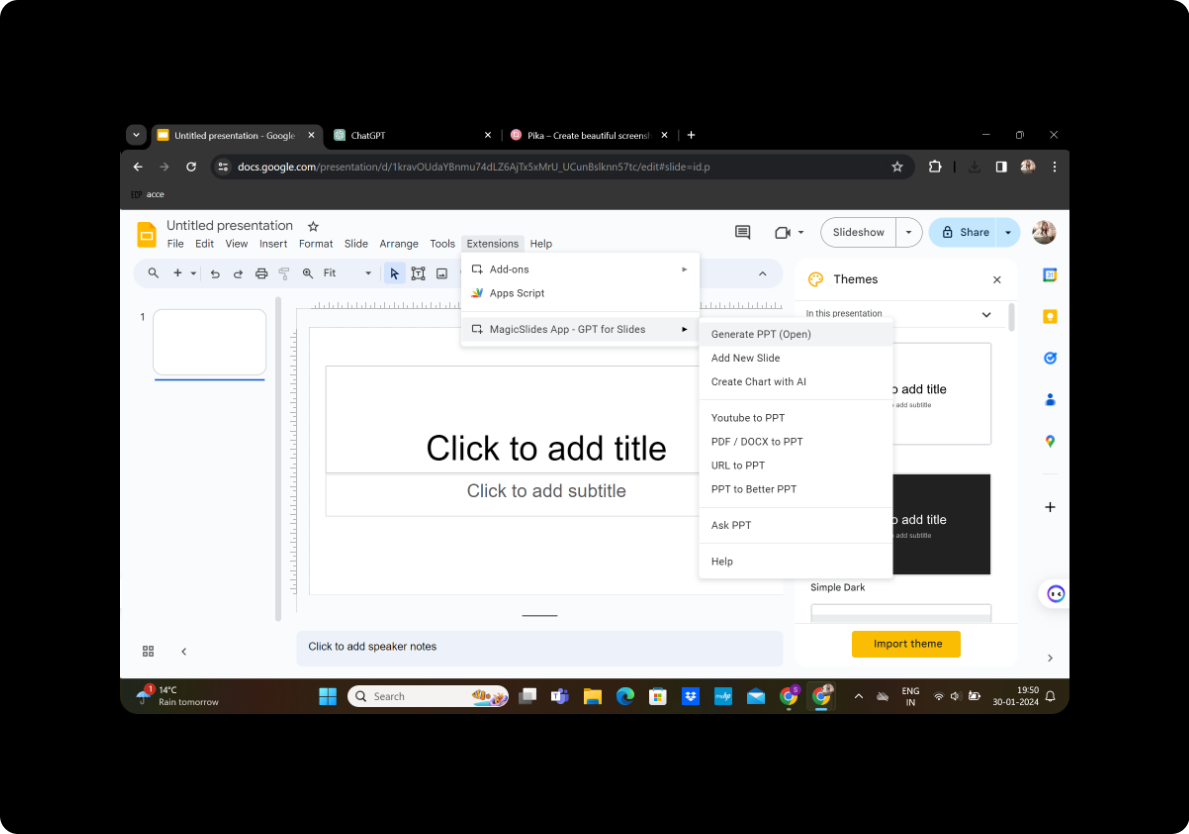
Activate the MagicSlides GPT extension. Click on "Generate PPT" to initiate the process of converting your blog post or web content into PowerPoint slides.
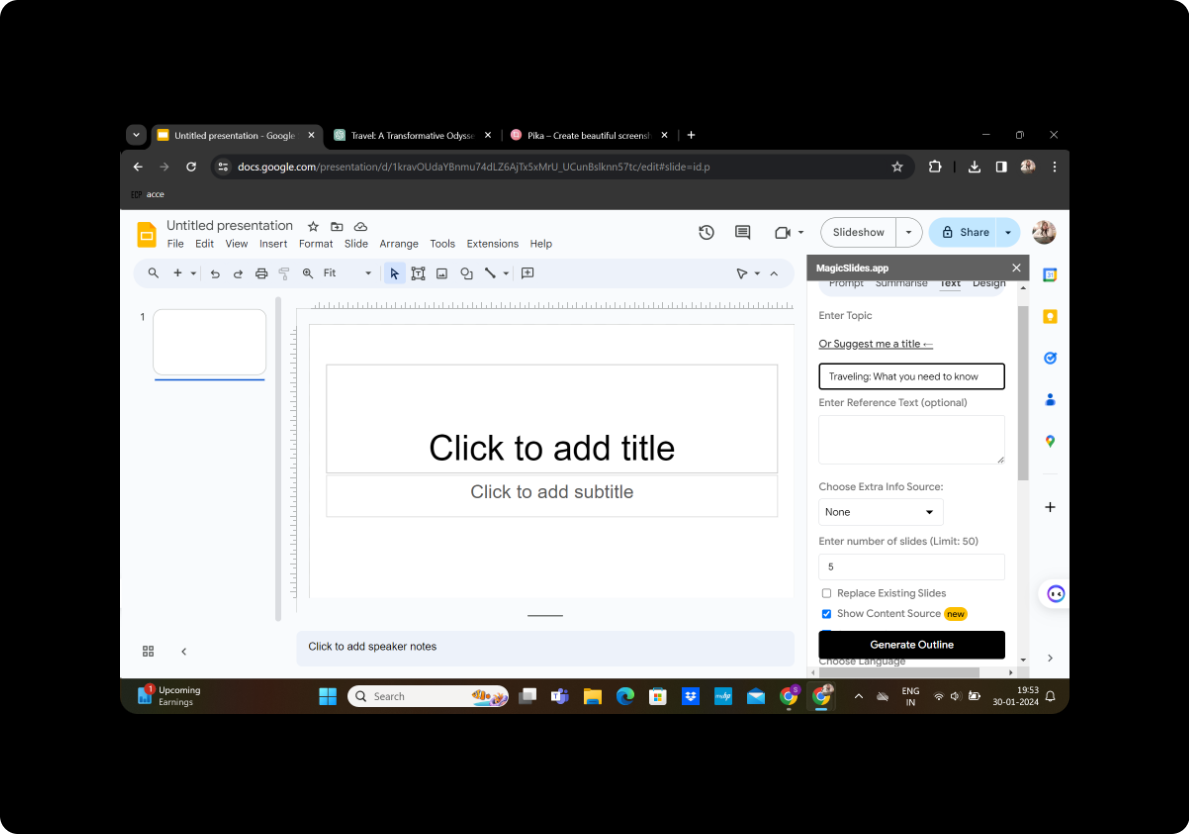
Step 5: Add Title and Content
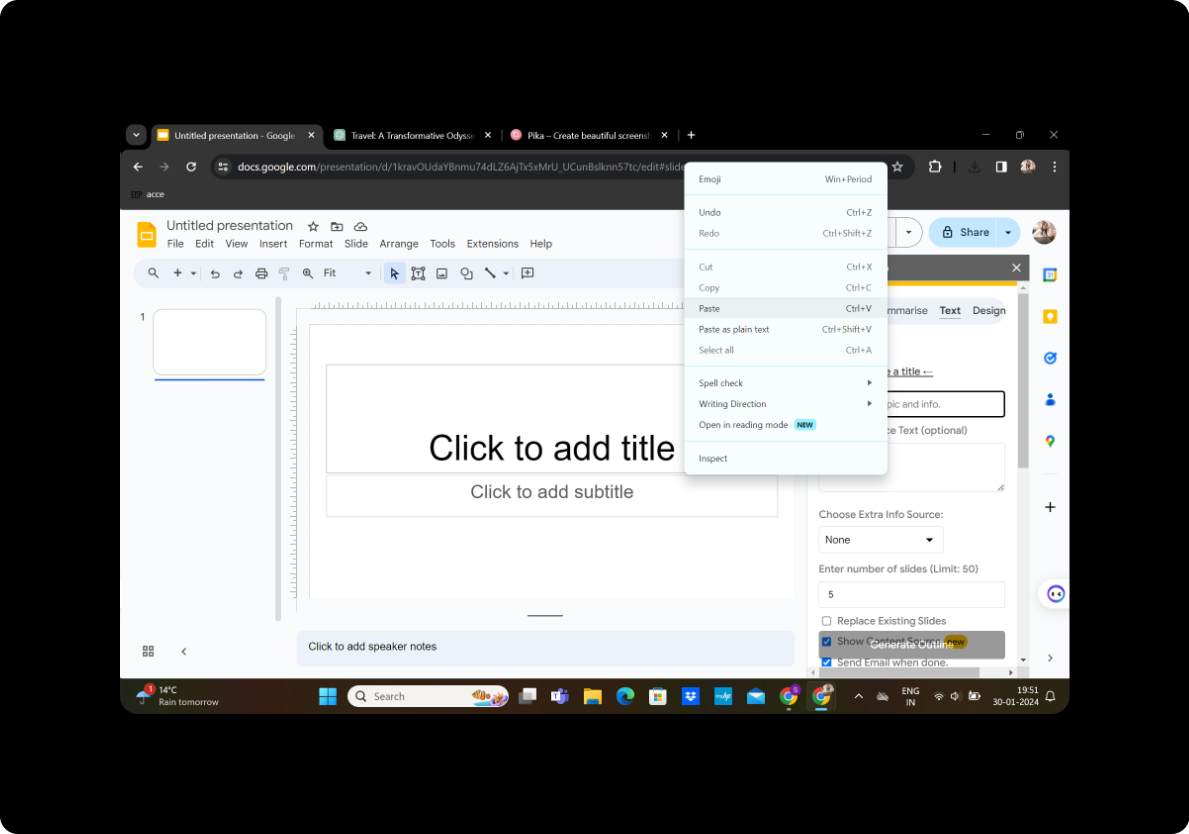
In the MagicSlides GPT interface, add your presentation title in the designated box. Copy and paste your blog content into the text box provided.
Step 6: Select Number of Slides
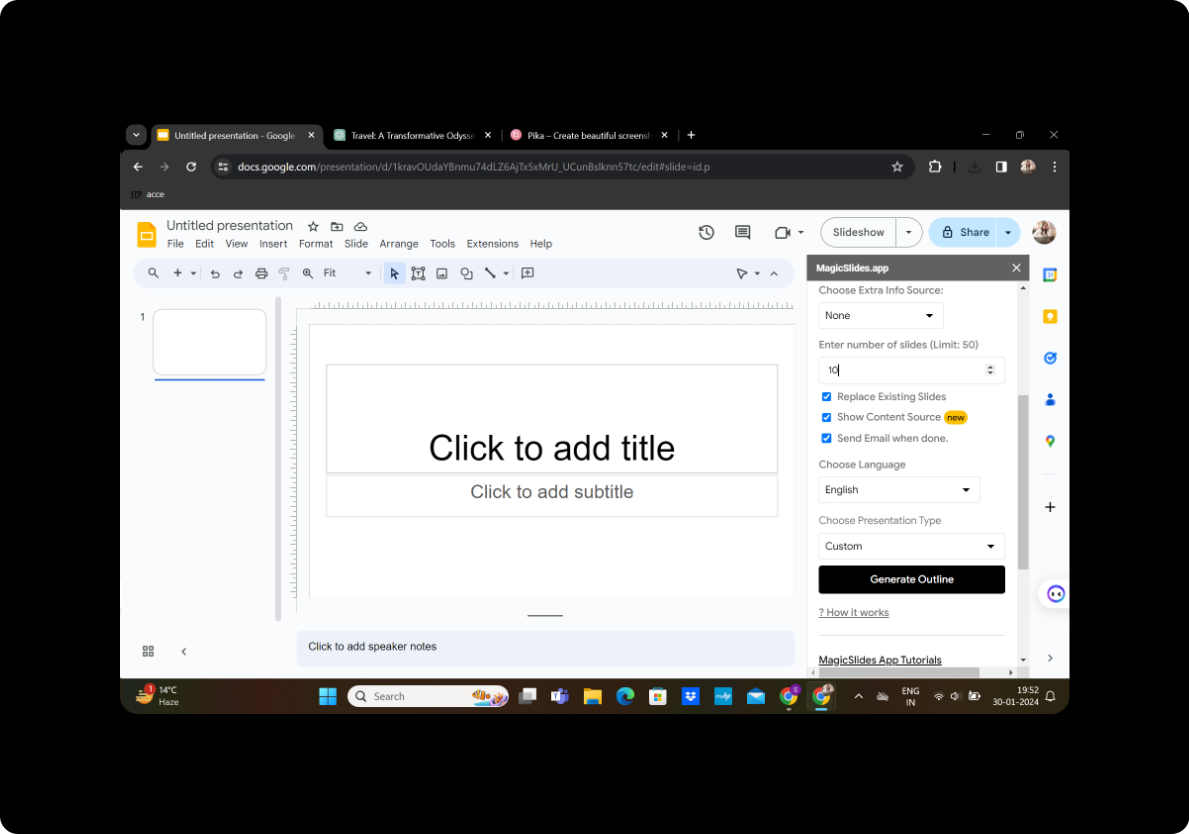
Choose the number of slides you want for your presentation. This step allows you to control the granularity of your content.
Step 7: Generate Outline
Click on "Generate Outline" to let MagicSlides create a preliminary outline for your presentation based on your content.
Step 8: Modify as Per Preference
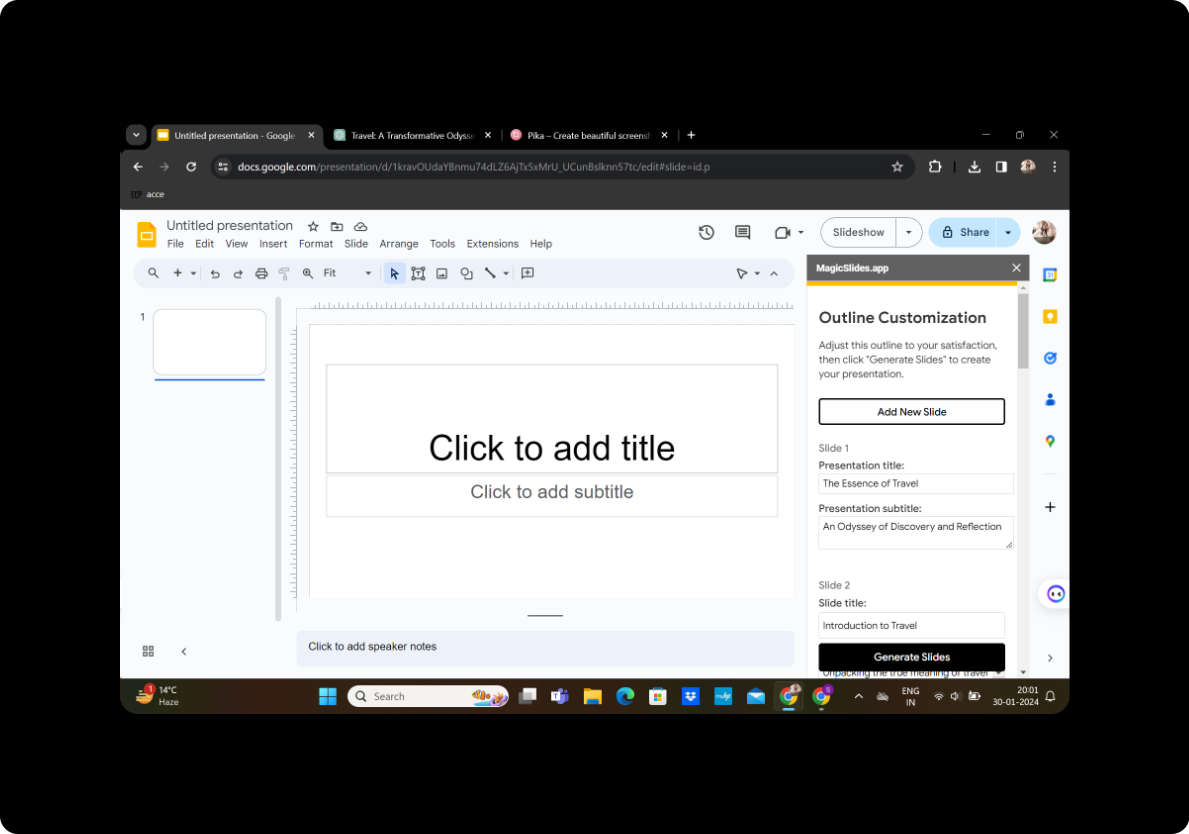
Review the generated outline and modify it according to your preferences. Adjust slide titles, content placement, and any other elements to enhance the visual appeal.
Step 9: Click on "Generate Presentation"
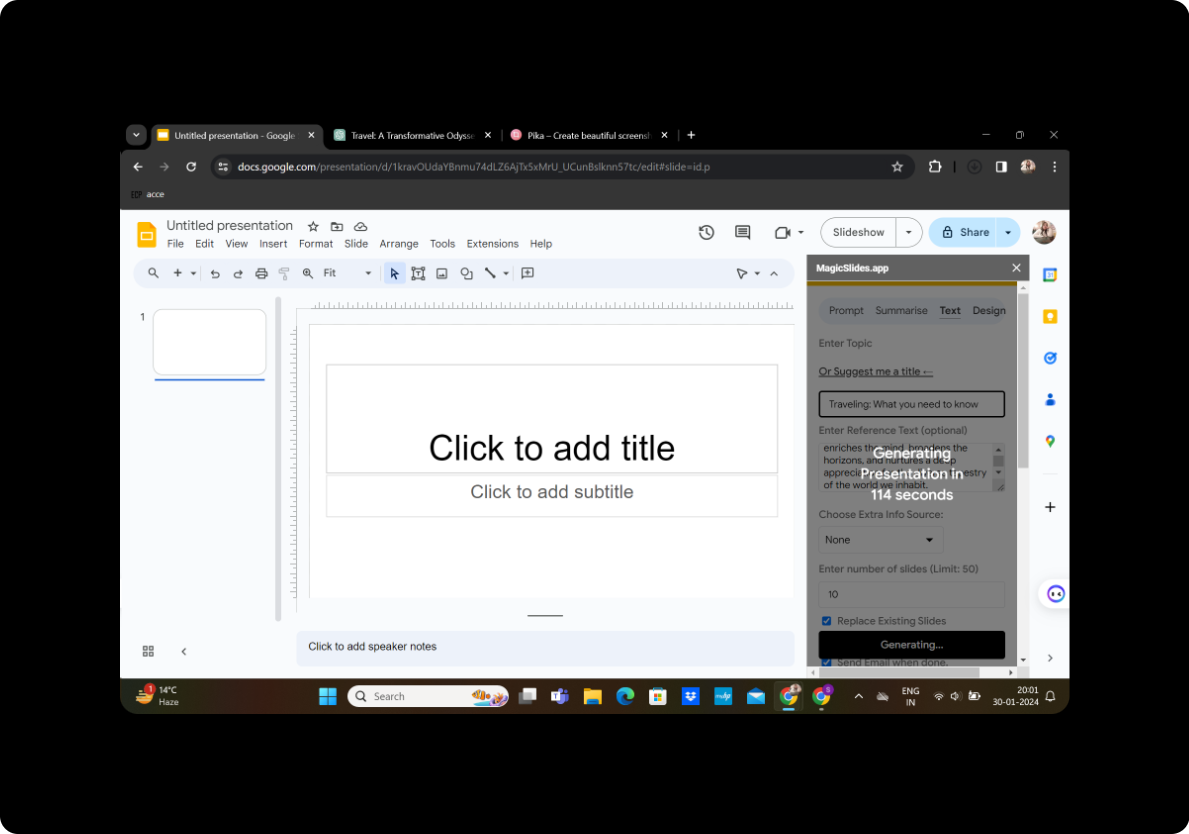
Once satisfied with your modifications, click on "Generate Presentation" in MagicSlides GPT. This will compile your customized PowerPoint presentation.
Conclusion
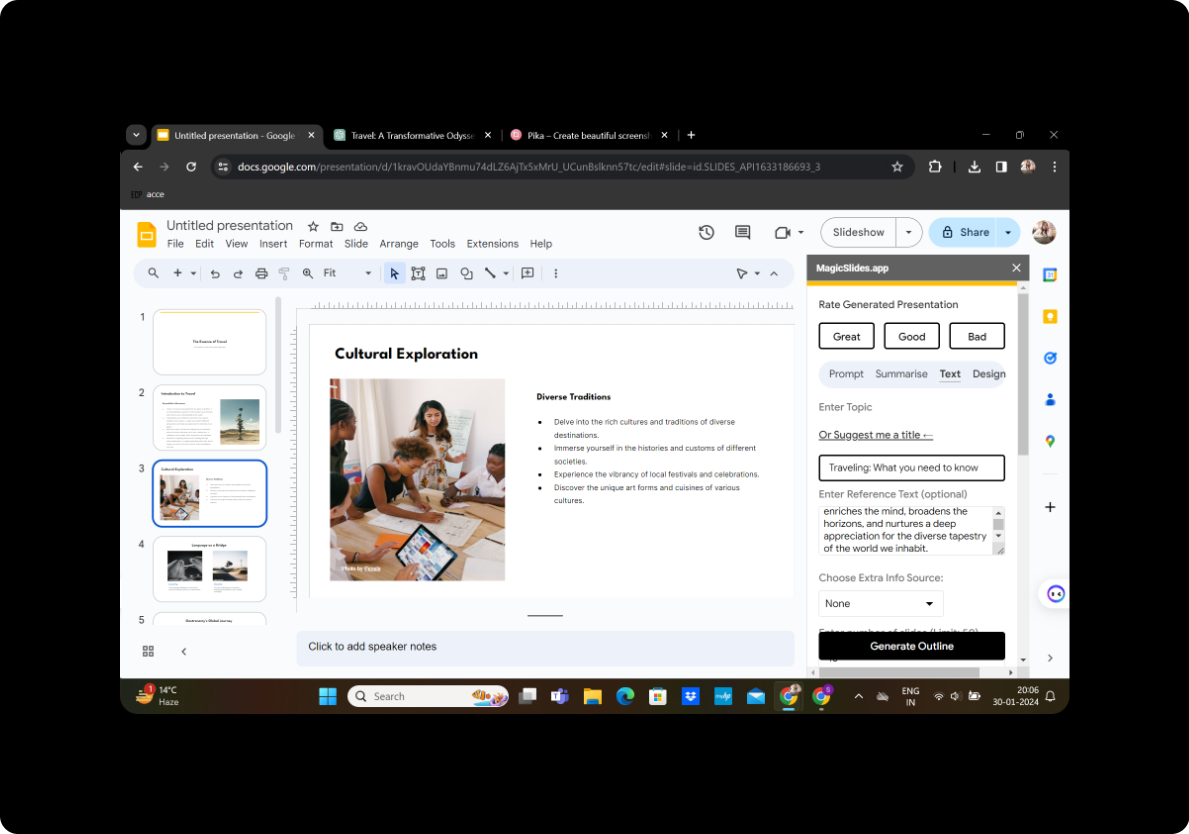
Your presentation is now ready to captivate your audience with visually appealing slides that bring your blog content to life. This simple process ensures a seamless transition from written articles to dynamic presentations, making your information more accessible and engaging.
Frequently Asked Questions
Can I use MagicSlides GPT without downloading it as an extension?
Yes, you can use MagicSlides GPT as an online tool without downloading the extension. Simply visit their website and follow the same steps.
Are there any limitations to the number of slides I can generate?
MagicSlides GPT allows flexibility in choosing the number of slides, making it suitable for various presentation lengths.
Can I change the design of the slides after generation?
Absolutely! MagicSlides GPT provides customization options to modify the design, layout, and content placement as per your preferences.
Is MagicSlides GPT free to use?
Basic features of MagicSlides GPT are free, but there may be additional premium features available for a fee.
Can I collaborate with others on the same presentation?
Yes, Google Slides allows for real-time collaboration, enabling multiple users to work on the presentation simultaneously.


