How to create columns in google slides


Elevate your Google Slides presentations with ease by mastering the art of creating dynamic columns.
In the dynamic world of presentations, visual appeal plays a crucial role in capturing and retaining the audience's attention. Google Slides, a powerful tool in this realm, offers a variety of features to enhance the visual storytelling experience. One such feature is the ability to create columns, providing a sleek and organized layout for your content.
This guide walks you through the steps of harnessing the potential of columns in Google Slides to elevate your presentations.
Step-by-Step Guide: Creating Columns in Google Slides
Step 1: Open Your Google Slides Presentation
Begin by accessing your Google Slides presentation. If you're starting a new one, click on the '+ Blank' option to open a new, empty presentation. If you're working on an existing presentation, open the desired file.
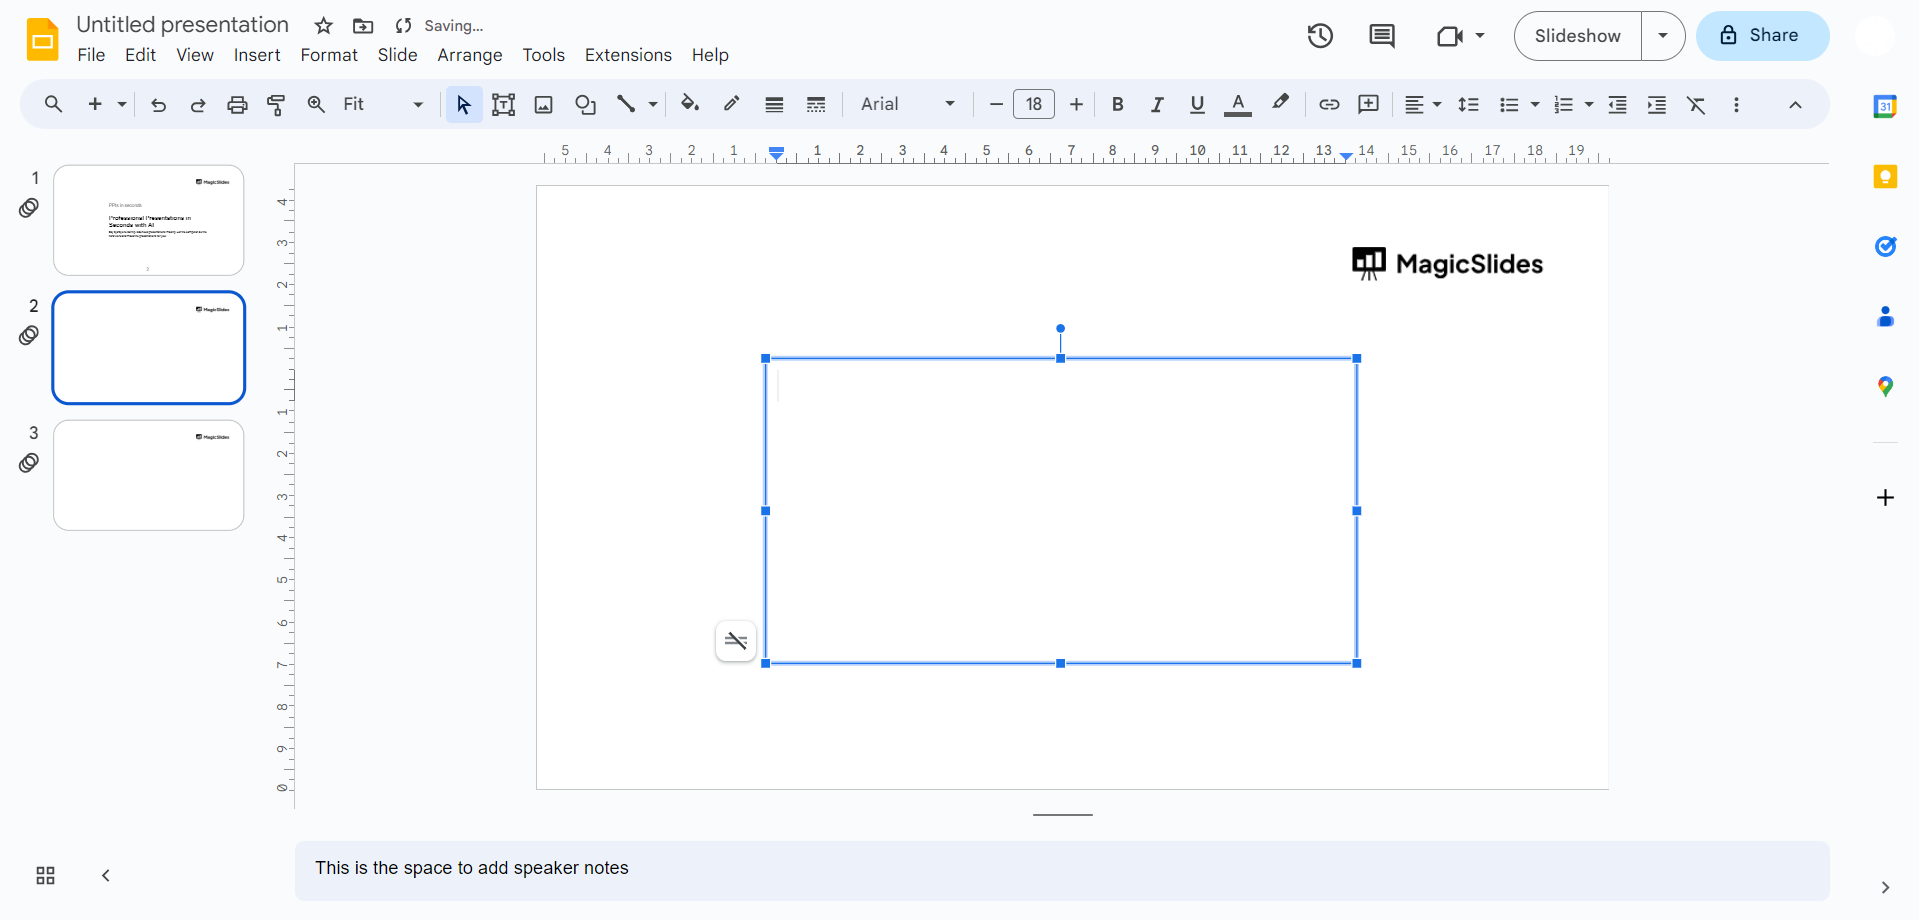
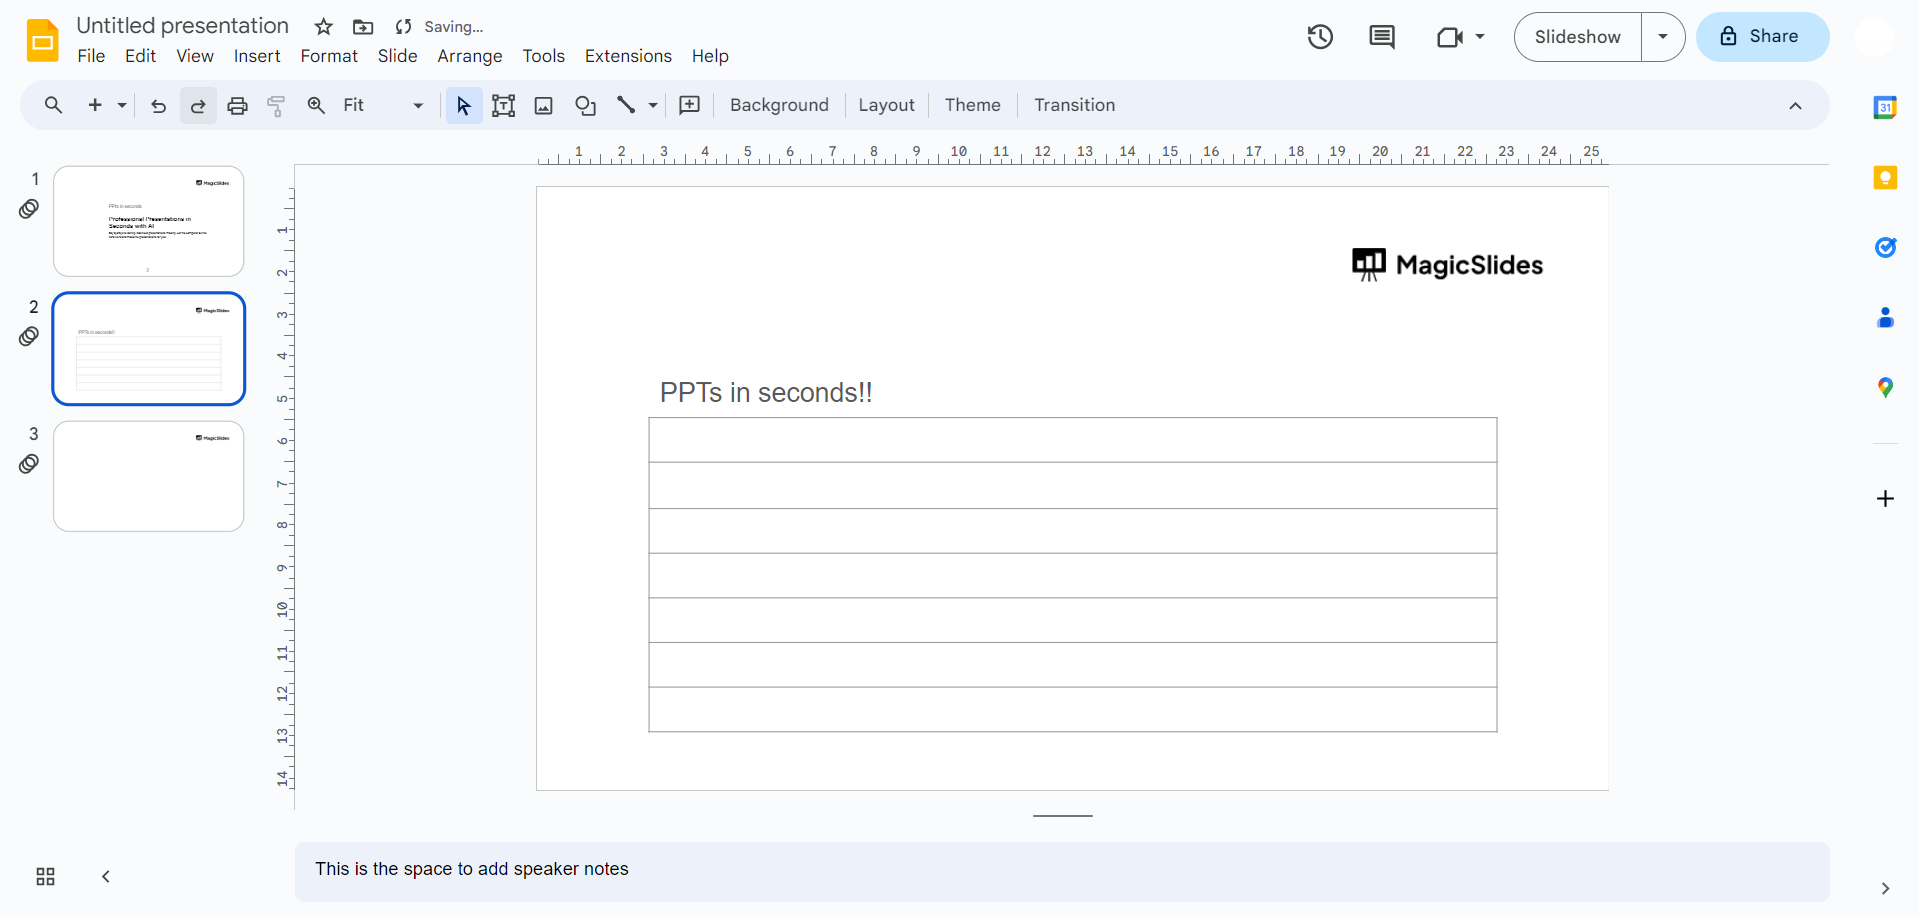
Step 2: Select the Text Box
Identify the slide or location where you want to incorporate columns. Click on the 'Text Box' option from the toolbar, usually denoted by a 'T' icon. This will be the container for your columns.
Step 3: Draw Your Text Box
Click and drag to draw a text box on the slide. This will serve as the foundation for your columns. Adjust the size and placement according to your design preferences.
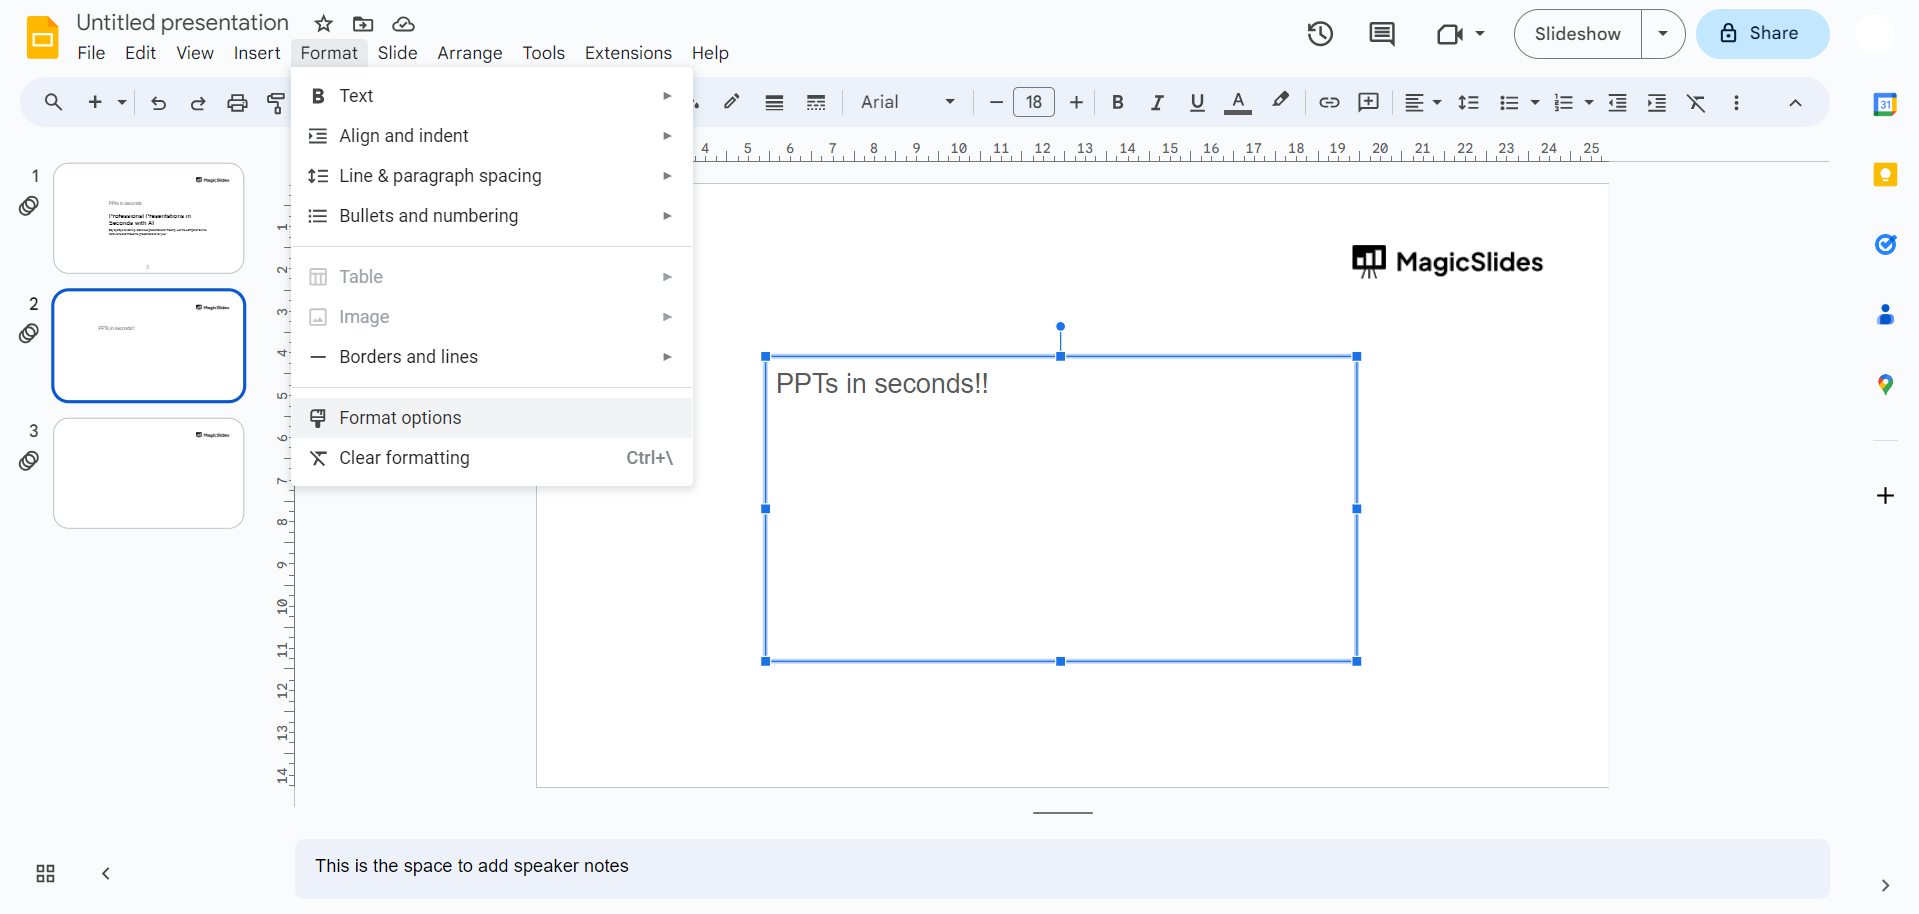
Step 4: Access the Format Options
With the text box selected, navigate to the upper toolbar and choose 'Format options.' This will open a sidebar on the right-hand side of your screen, providing various customization choices.
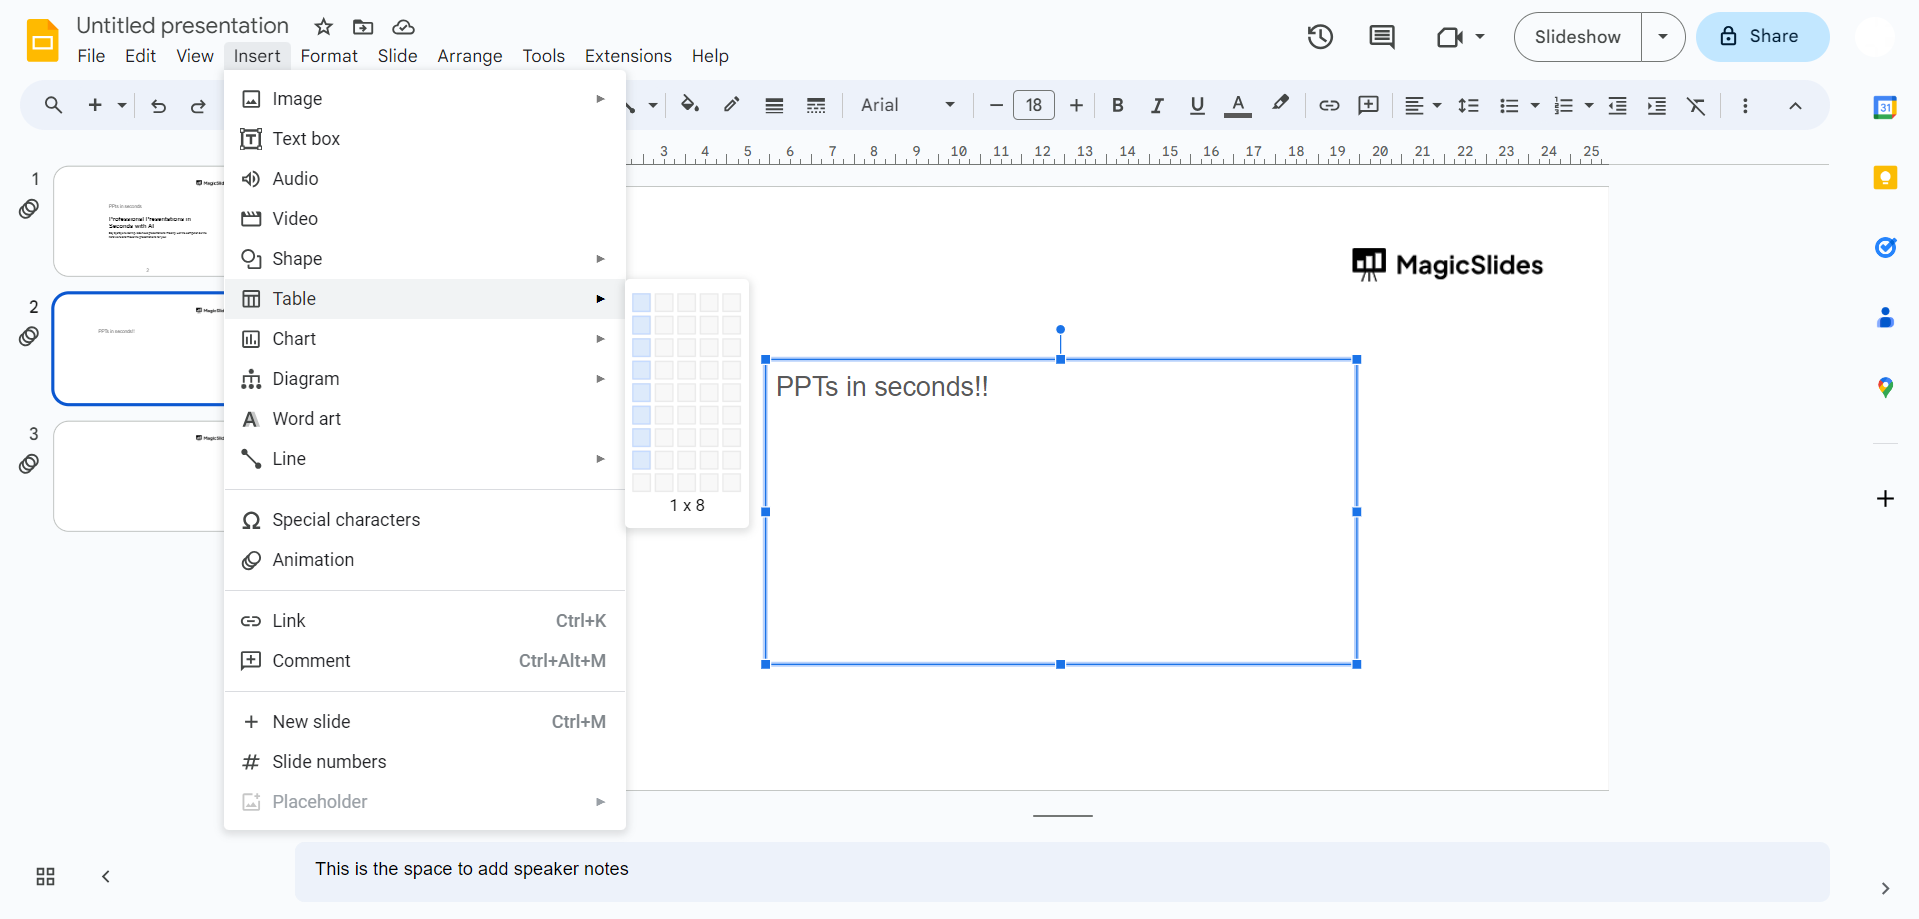
Step 5: Adjust Column Settings
Within the Format options, locate and click on 'Columns.' Here, you can specify the number of columns you want, as well as the spacing between them. Experiment with different configurations until you achieve the desired look. If that is not visible, you can choose table options in the insert tab.
Step 6: Fine-Tune Your Design
Google Slides offers additional formatting options like adjusting text size, font styles, and colors. Utilize these options to fine-tune the appearance of your columns and ensure a visually cohesive design.
Conclusion:
Creating columns in Google Slides empowers you to craft visually appealing presentations that effectively convey your message. By following these simple steps, you can add a touch of professionalism and creativity to your slides, making your content more engaging and memorable for your audience. Experiment with different column layouts and unleash your creativity to deliver impactful presentations.
Frequently Asked Questions:
Why should I use columns in Google Slides?
Columns provide a visually appealing layout, enhancing the overall aesthetics of your presentation. They help organize content and maintain a professional look, keeping your audience engaged.
Can I adjust the number of columns after creating them?
Yes, absolutely! Google Slides allows you to modify the number of columns and their spacing at any time. Access the 'Format options' sidebar and tweak the column settings to suit your preferences.
Will adding columns affect the text formatting in each column?
No, the text formatting within each column remains customizable. You have the flexibility to adjust font styles, sizes, and colors independently, ensuring a cohesive yet diverse visual appeal.
Can I use columns in specific slides or throughout the entire presentation?
Certainly! Columns can be applied to individual slides or across the entire presentation. This flexibility allows you to tailor the column layout based on the content and design requirements of each slide.


