How to Do Hanging Indent on Google Slides: Step-by-Step Guide


Learn how to do a hanging indent on Google Slides step by step. Format citations, references, and bibliographies easily with Google Slides.
If you need to format references, citations, or a bibliography in Google Slides, knowing how to do a hanging indent can make your presentation look much more professional.
A hanging indent keeps the first line of a paragraph at the left margin while moving the following lines slightly to the right. It is commonly used for APA references, MLA Works Cited pages, bibliographies, and other citation formats.
The good news is that Google Slides has a built-in hanging indent option. You can apply it through the Format options menu without manually adjusting every line. Google’s current instructions place the setting under Format → Format options → Text fitting → Special indent → Hanging.
What Is a Hanging Indent in Google Slides?
A hanging indent is a text format where the first line stays at the left margin while the lines that follow are slightly indented. This creates a clear visual separation between different entries and makes longer blocks of text easier to scan.
Hanging indents are especially useful in Google Slides when you need to add references, citations, bibliographies, or Works Cited entries to a presentation. Instead of manually adding spaces to each line, you can apply a hanging indent to the selected text and keep the formatting consistent.
For example, a reference without a hanging indent may look like this:
Smith, J. (2025). Introduction to digital learning. Academic Press.
Educational Research Journal, 12(3), 45–58.
With a hanging indent, the first line remains aligned with the left margin while subsequent lines move inward:
Smith, J. (2025). Introduction to digital learning. Academic Press.
Educational Research Journal, 12(3), 45–58.
This simple formatting change can make a reference slide look cleaner and more professional, particularly when you have several sources to display.
Now that you know what a hanging indent does and when to use one, let’s look at how to add a hanging indent in Google Slides step by step.
How to Do Hanging Indent on Google Slides?
Adding a hanging indent in Google Slides only takes a few steps. You can use the built-in formatting options to indent the lines that follow the first line of your text without manually adding spaces.
1. Open Your Google Slides Presentation
Open the Google Slides presentation where you want to add a hanging indent.
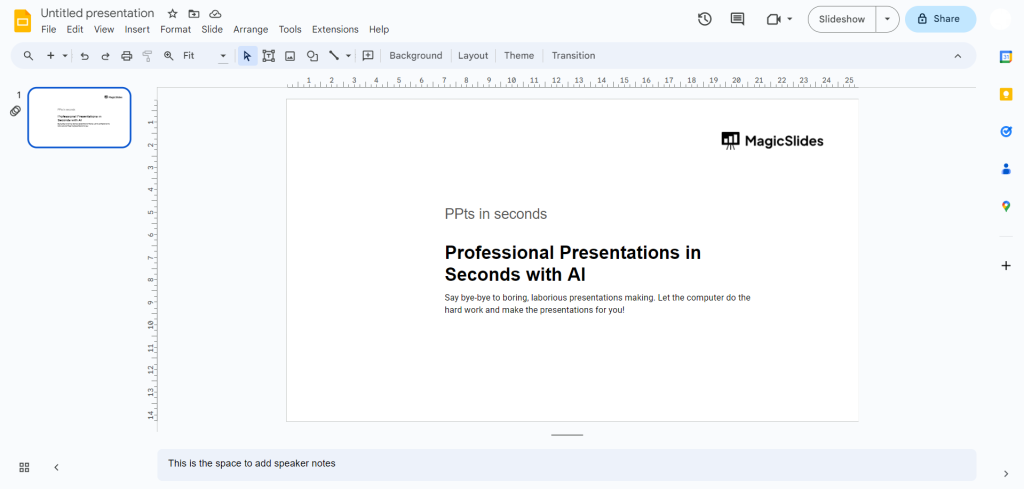
You can use an existing presentation or create a new one. If you’re formatting citations or references, add the text to your slide before applying the indentation.
2. Select the Text
Highlight the paragraph, citation, or reference that you want to format.
If you’re formatting multiple references, select all of the text that should have the hanging indent. This ensures the formatting is applied consistently across your reference list.
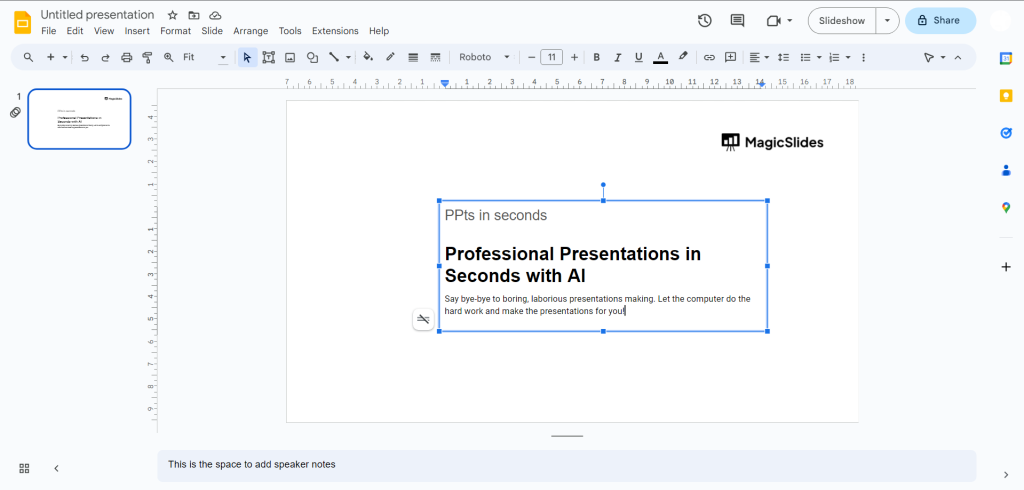
Tip: Make sure you’re selecting the text itself rather than only selecting the text box.
3. Open Format Options
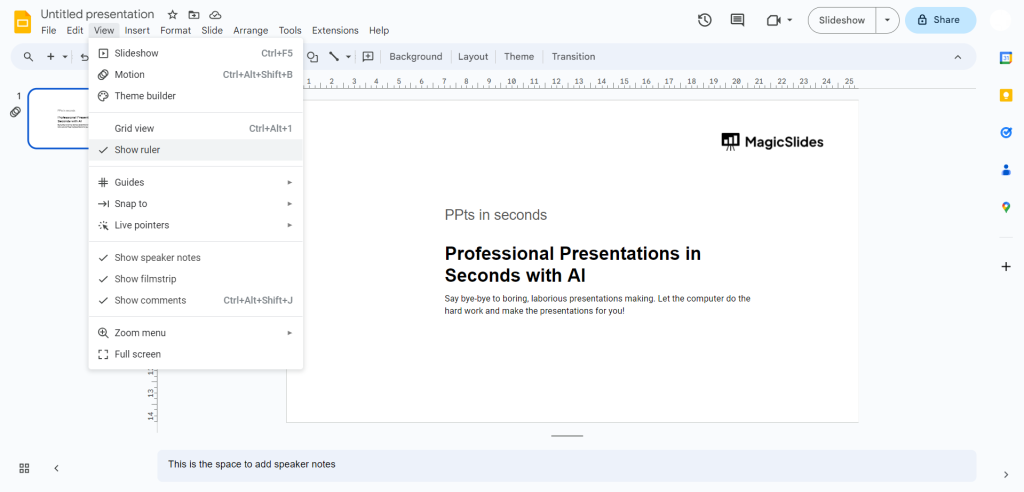
With your text selected, click Format in the top navigation menu.
From the dropdown menu, select Format options.
Google Slides will open a sidebar on the right side of your screen with additional formatting controls.
4. Open Text Fitting
In the Format options sidebar, look for Text fitting and click it to expand the available settings.
This section controls how text is positioned and displayed inside your text box.
5. Select Hanging Under Special Indent
Under Special Indent, open the dropdown menu and select Hanging.
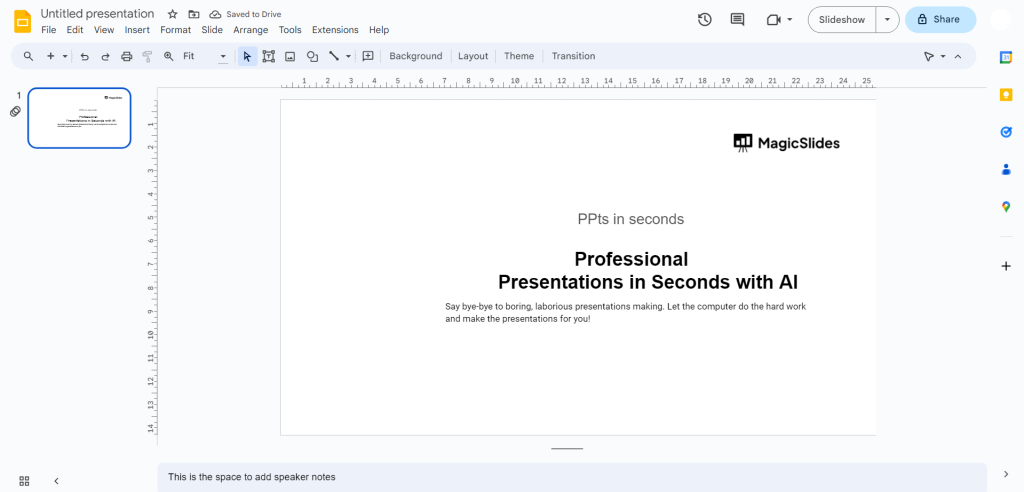
Google Slides will automatically apply the hanging indent to your selected text. The first line will remain at its original position, while the lines underneath it will move inward.
6. Adjust the Indent Size
After selecting Hanging, use the By option to adjust the amount of indentation.
Increase or decrease the value depending on how much space you want between the first line and the lines that follow.
Once you’re happy with the result, click anywhere outside the text box to see how the formatted text looks on your slide.
Your hanging indent is now ready.
Quick Recap
To add a hanging indent in Google Slides:
Select your text → Format → Format options → Text fitting → Special indent → Hanging
You can then adjust the By value to control the indentation.
This method is particularly useful for formatting reference lists, citations, and bibliographies without manually adding spaces to each line.
How to Use Hanging Indents for Citations in Google Slides
Hanging indents are especially useful when you’re adding citations or references to a Google Slides presentation. Academic presentations often include a final slide for sources, and a hanging indent can make multiple references easier to read and organize.
For example, an APA reference can span two or more lines when the citation is long. A hanging indent keeps the beginning of the reference aligned while moving the additional lines inward.
Format APA References
If you’re creating an APA-style references slide, apply a hanging indent to each reference so that the first line remains aligned with the left margin and subsequent lines are indented.
This makes it easier for viewers to distinguish where one reference begins from the next.
Format MLA Works Cited Entries
Hanging indents are also commonly used for MLA Works Cited entries. The same Google Slides formatting method can be applied to your selected citations.
Instead of manually inserting spaces before the second and third lines, use the Hanging option under Special indent. This keeps the formatting consistent even when you edit the citation later.
Keep References Easy to Read
While hanging indents improve organization, avoid putting too many references on a single slide. Long citation lists can make the text too small and difficult to read.
If your references don’t fit comfortably, consider:
- Splitting the references across multiple slides
- Increasing the text box width
- Removing unnecessary spacing between entries
- Using a readable font size
- Keeping the hanging indent consistent across all references
If you also need to add citations to your presentation, see our guide on how to add citations in Google Slides.
A well-formatted references slide should make your sources easy to identify without overwhelming the audience with too much text.
Hanging Indent Not Working in Google Slides?
If your hanging indent isn’t displaying correctly, try these quick fixes:
- Select the complete text: Make sure the entire citation or paragraph is selected.
- Adjust the indent size: Go to Format → Format options → Text fitting and change the By value.
- Widen the text box: A narrow text box can cause awkward line breaks.
- Remove manual spaces: Delete spaces you’ve added manually before applying the built-in Hanging option.
- Check text size: Make sure the font isn’t too large for the available space.
These simple adjustments should help you get a clean, consistent hanging indent.
How to Remove a Hanging Indent in Google Slides?
If you no longer need a hanging indent, you can remove it in just a few steps.
- Select the indented text.
- Go to Format → Format options → Text fitting.
- Under Special indent, change Hanging to the default option.
The text will return to its regular alignment. You can also adjust the By value if you only want to reduce the amount of indentation rather than remove it completely.
Create Presentations Faster With the MagicSlides
Formatting citations and hanging indents is just one part of creating a polished presentation. If you’re starting with a topic, research, PDF, or document, building every slide from scratch can take a lot of time.
The MagicSlides Google Slides Add-on helps you create presentations directly inside Google Slides using AI. You can turn your ideas or existing content into a structured presentation, customize the slides, and continue editing everything in Google Slides.

Whether you’re creating a school project, research presentation, business pitch, or work presentation, the MagicSlides AI Presentation Maker can help you get your presentation started faster without constantly switching between different tools.
Try the MagicSlides Google Slides Add-on.
Conclusion
Learning how to do a hanging indent on Google Slides is simple once you know where to find the formatting option. Select your text, open Format → Format options → Text fitting, choose Hanging under Special indent, and adjust the indent size as needed.
Hanging indents are particularly useful for citations, references, bibliographies, and Works Cited slides because they keep multi-line entries organized and easy to read.
And when you need to create the presentation itself, the MagicSlides AI can help you turn your ideas and existing content into polished presentations faster right within Google Slides.
Also read: How to Save an Image from Google Slides? Top Method Explained
Frequently Asked Questions
Q1. How do I do a hanging indent on Google Slides?
Select your text and go to Format → Format options → Text fitting. Under Special indent, select Hanging, then adjust the indent using the By option.
Q2. How do I add a hanging indent in Google Slides?
Highlight the text you want to format, open Format options, select Text fitting, and choose Hanging under Special indent.
Q3. Can you do a hanging indent on Google Slides?
Yes. Google Slides has a built-in Hanging indentation option that you can use to format citations, references, and other multi-line text.
Q4. How do I make a hanging indent for citations?
Select your citation and apply Format → Format options → Text fitting → Special indent → Hanging. Adjust the indentation size to fit the text neatly on your slide.
Q5. How do I remove a hanging indent in Google Slides?
Select the formatted text, open Text fitting, and change the Special indent setting from Hanging to the default option.
Also read: How to Do Hanging Indent on Canva in 3 Simple Methods?


