Addon google slides iconPPT with AISlide TemplatesPPT TemplatesPricingBlog
    PPT with AISlide TemplatesPPT TemplatesPricingBlog
    1. Home
    2. Blog
    3. How To Group On Google Slides

    How To Group On Google Slides

    magicslides app

    Published By

    magicslides app
    Sanskar Tiwari

    Approved By

    Sanskar Tiwari

    Published On

    September 28th, 2024

    Reading Time

    2 min read

    Grouping can be one of the most useful feature while using slides, here let’s see how to group on google slides

    Google Slides is a powerful tool for creating visually appealing presentations, and one of its features that can significantly enhance your presentation design is the ability to group objects.
    Grouping allows you to treat multiple objects as a single unit, making it easier to manipulate and manage elements on your slides. In this step-by-step guide, we'll walk you through the process of grouping objects in Google Slides, ensuring your presentations are well-organized and visually compelling.
    Step 1: Open Your Google Slides Presentation
    Start by opening Google Slides and the presentation you want to work on. If you're creating a new presentation, go ahead and add the objects you want to group.
    notion image
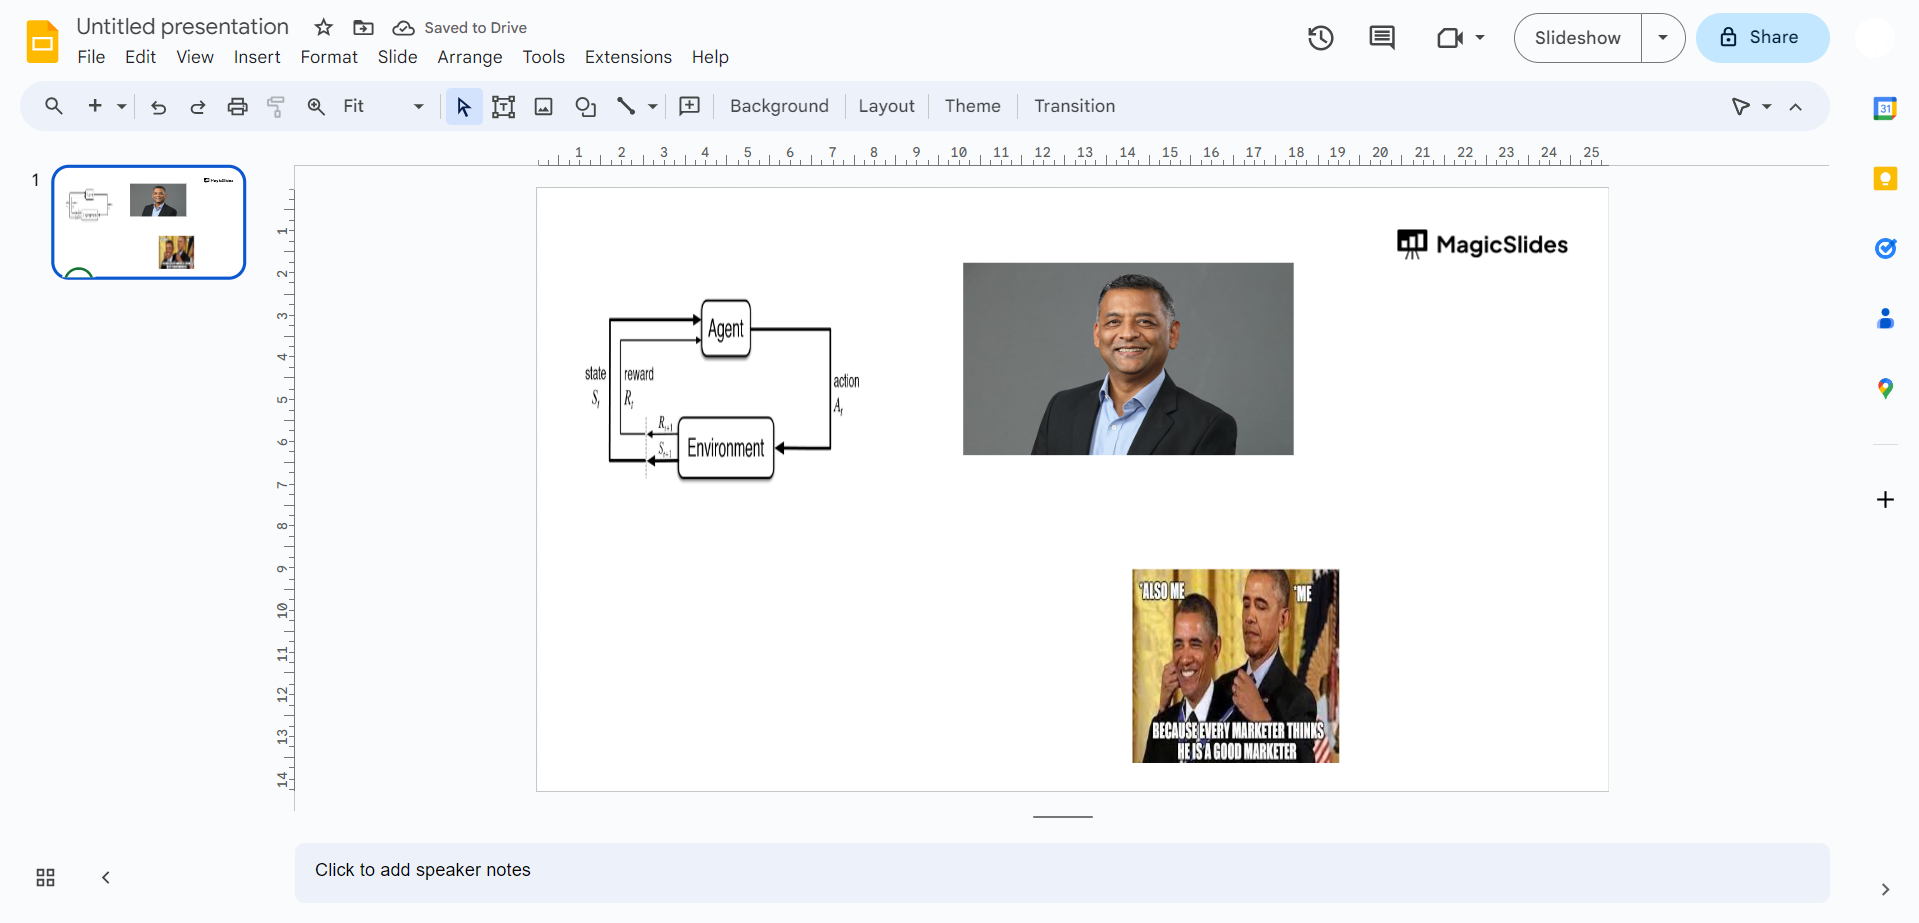
    Step 2: Select the Objects to Be Grouped
    Click and drag your cursor to select the objects you want to group together. You can select multiple shapes, images, or text boxes at once. To select more than one object, hold down the "Shift" key on your keyboard while clicking each item.
    notion image
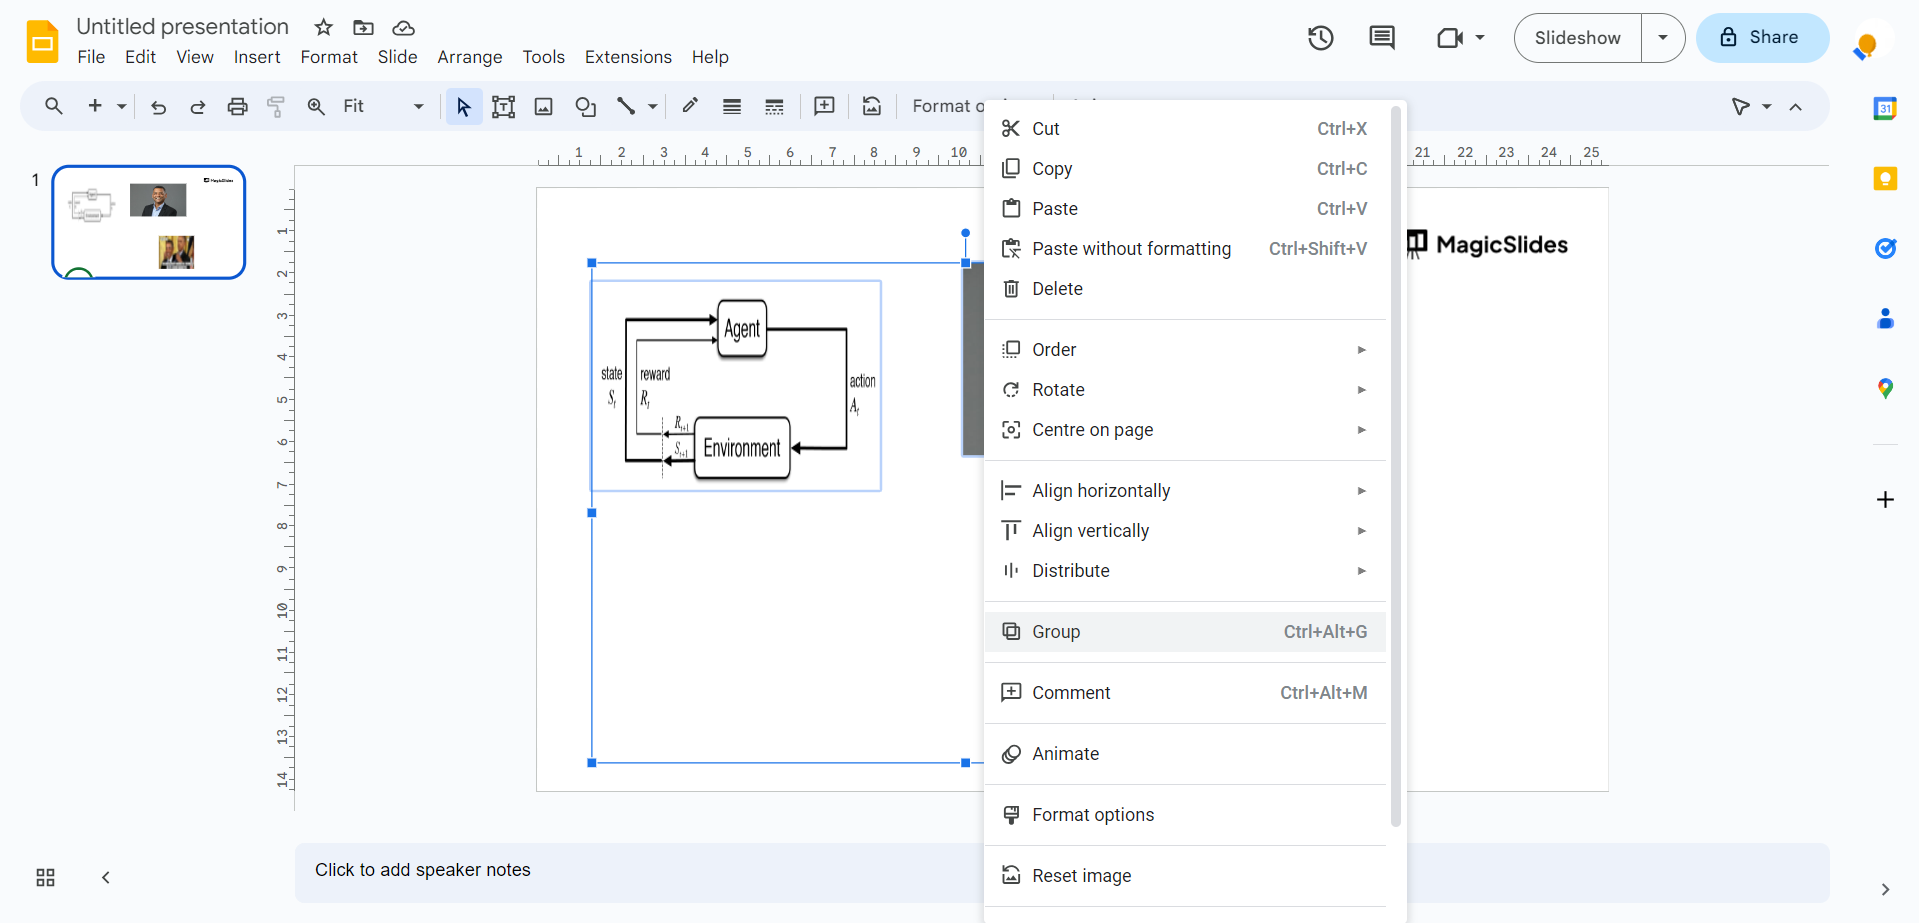
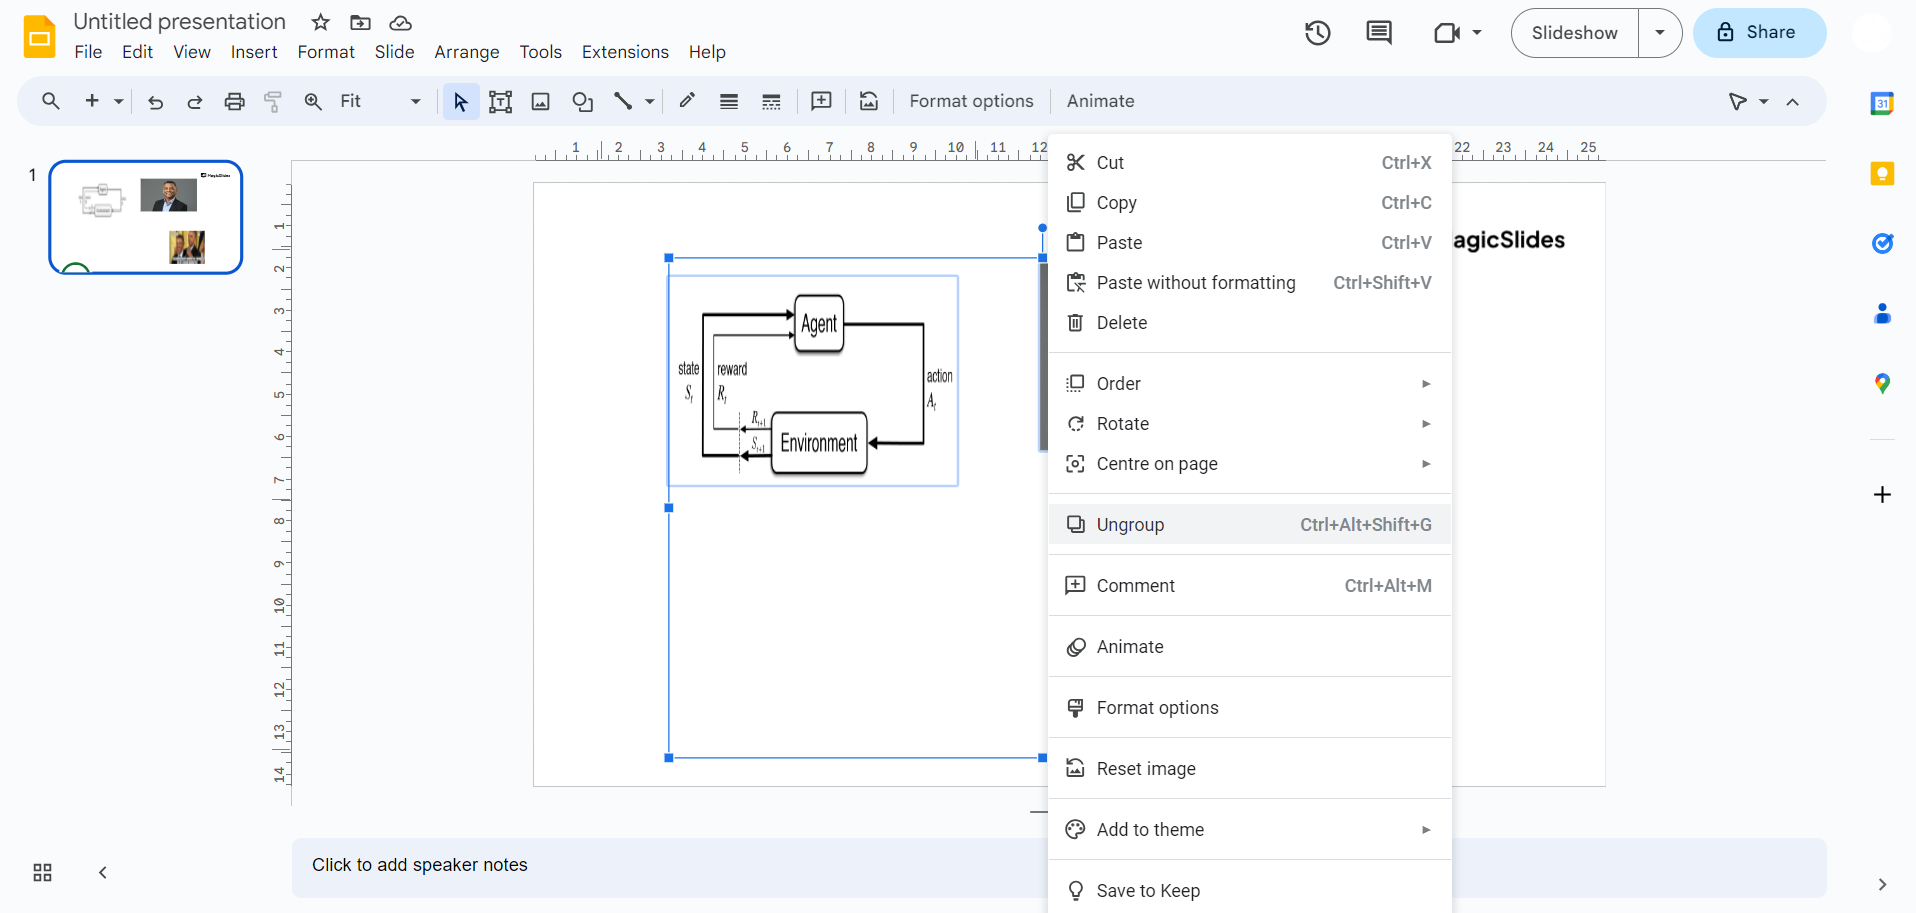
    Step 3: Access the "Group" Option
    With the objects selected, right-click on one of them to open a context menu. From the menu, scroll down and find the "Group" option. Click on it, and your selected objects will be grouped together into a single entity.
    notion image
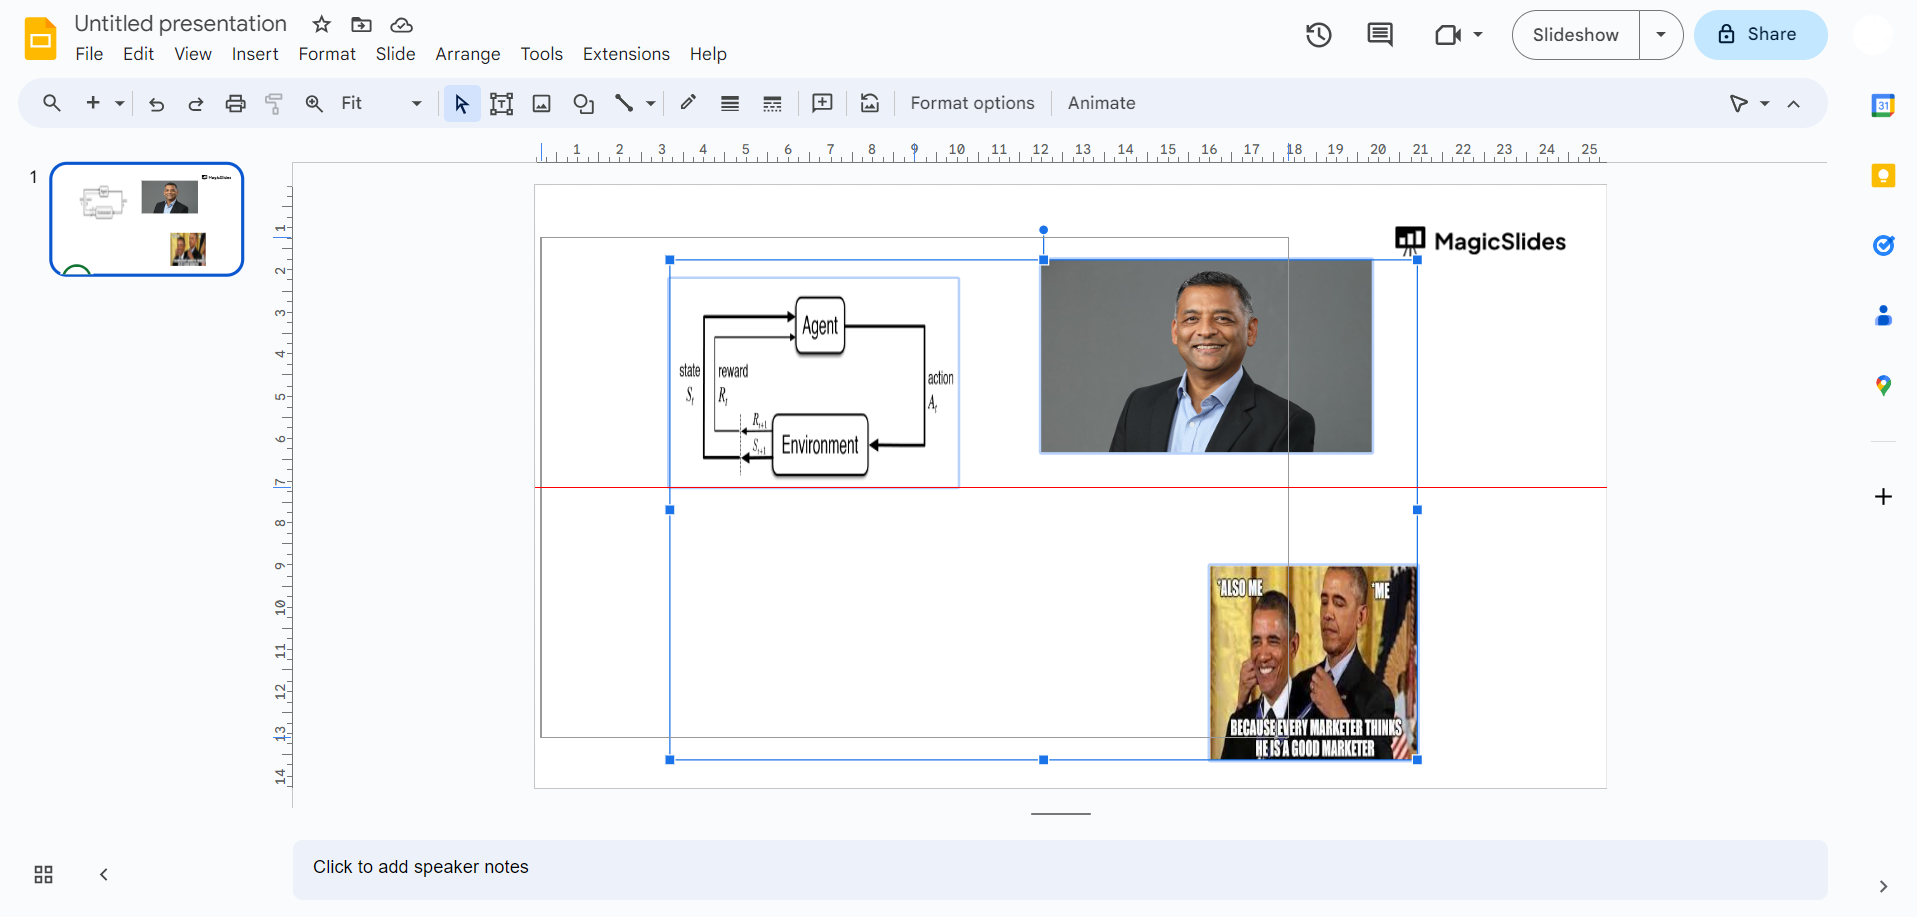
    Step 4: Editing Grouped Objects
    Once the objects are grouped, you can easily move, resize, or rotate them as a single unit. Any edits you make to the grouped objects will apply uniformly to all items within the group.
    notion image
    Step 5: Ungrouping Objects
    If you ever need to make changes to individual objects within the group, simply select the grouped object, right-click, and choose the "Ungroup" option from the context menu. This will break the objects apart, allowing you to edit them individually.
    notion image
    Step 6: Regrouping Objects
    After making any necessary changes to individual objects, you can regroup them by selecting them and repeating the "Group" process as described in Step 3.
    Conclusion:
    Grouping objects in Google Slides is a valuable feature for anyone looking to create well-structured and visually appealing presentations. It streamlines the design process, making it easier to work with complex slide layouts and ensuring your content is organized and visually coherent.
    Whether you're a seasoned presenter or just getting started with Google Slides, mastering the art of grouping objects will help you craft more compelling and professional presentations. So, the next time you're working on your slides, remember these simple steps to make your presentation creation process smoother and more efficient.

    Share on socials

    About the author

    Mehjabi Khan profile photo
    Mehjabi Khan— Writer

    Mehjabi Khan is one of our talented writers with a background in creating content for major companies like Mahindra and Suzuki. She has a knack for explaining complex ideas in a way that’s easy to understand and enjoyable to read. When she's not writing, Mehjabi loves to cook, bringing the same creativity to her recipes as she does to her articles.

    More from Mehjabi

    More from the blog

      250+ Good Morning Messages for Her (Romantic, Deep, Cute & Sweet)

      30 January 2026

      200+ Heart Touching Birthday Wishes for Sister (Short, Funny and More)

      29 January 2026

      50+ History Presentation Topics For 2026

      28 January 2026

      How to Add Music to Your Canva Presentation: A Step-by-Step Guide

      27 January 2026

      15 Quick Tips To Use ChatGpt At Work

      22 January 2026

      11 Best AI Tools for Business in 2025

      22 January 2026

      How to Create an Infographic That Clearly Communicates Your Message

      20 January 2026

      How to Create a Sales Presentation Template in Google Sheets

      20 January 2026

      How to Make a Pie Chart on Google Slides in Simple Steps

      19 January 2026

    Table of Contents

    Create Presentations in Seconds

    Transform your ideas into professional presentations with AI. No design skills needed.

    Try MagicSlides Free

    Create Stunning Presentations with AI in Seconds ✨

    Transform any topic, text, YouTube video, PDF or URL into beautiful presentations instantly with MagicSlides AI.

    Try MagicSlides AI Presentation Maker
    MagicSlides AI Presentation

    Footer

    Solutions

    • MagicSlides App
    • Google Slides Add-on
    • MagicSlides in Chrome
    • MagicSlides in Figma
    • MagicSlides in ChatGPT
    • MagicSlides in Telegram
    • MagicSlides in Zapier
    • MagicSlides in Figma Slides

    Tools

    • AI PPT Tools
    • QR Code Generator
    • Design Tools
    • PPT Templates
    • Slide Templates
    • PDF Tools

    Examples

    • AI Presentations
    • PPT by MagicSlides
    • Quizzes
    • Charts
    • Coloring Pages

    Resources

    • Changelog
    • Documentation
    • API Docs

    Top Blogs

    • How to Create Presentation Using ChatGPT
    • 100+ Best Seminar Topics for Students in 2025

    Company

    • Help
    • MCP
    • Blog
    • Pricing
    • Affiliate Program
    • Manage Subscription
    • Privacy Policy
    • Contact Us
    • Terms & Conditions
    • Refund & Cancellation Policy

    We also built

    • SheetAI - GPT For Sheets
    • MagicForm - GPT For Google Forms
    • SecondBrain.fyi
    • BlogBee - Free Blogging Platform

    © 2026 IndianAppGuy Tech Pvt Ltd. All rights reserved.