How to Make a Comparison Slide in PowerPoint


Create an effective comparison slide in PowerPoint with these simple steps to highlight key differences.
Creating a comparison slide in PowerPoint is an effective way to highlight differences and similarities between two or more items, ideas, or concepts.
Whether you're comparing products, services, features, or strategies, a well-designed comparison slide can make your information clearer and more impactful.
Here’s a step-by-step guide to help you create a compelling comparison slide in PowerPoint.
How to Make a Comparison Slide in PowerPoint
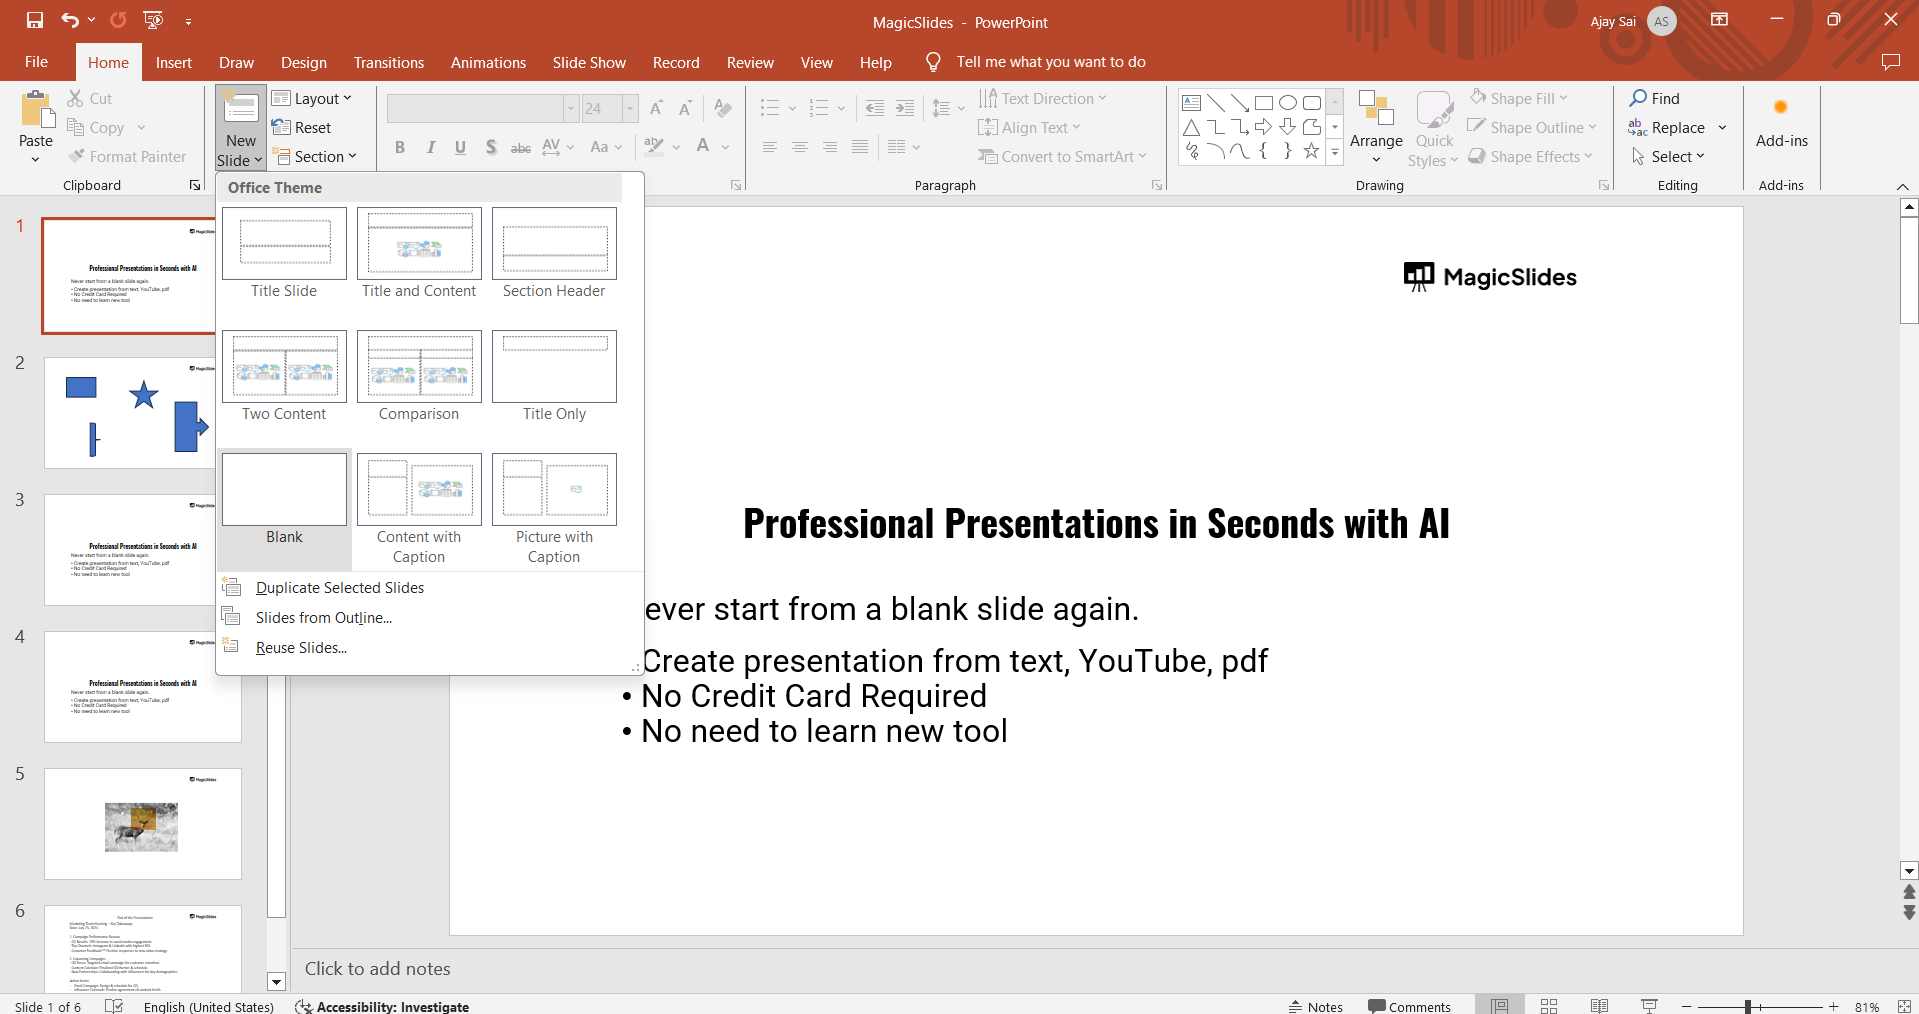
Step 1: Add a New Slide
Open PowerPoint: Launch PowerPoint and open your presentation.
Go to the Desired Slide: Navigate to the part of your presentation where you want to insert the comparison slide.
Insert a New Slide: Click on the "Home" tab in the Ribbon, then click on "New Slide." Choose a blank slide or a layout that suits your comparison needs.
Step 2: Insert a Title
Insert a Title Box: Click on the "Insert" tab, then select "Text Box." Click on the slide to place the text box.
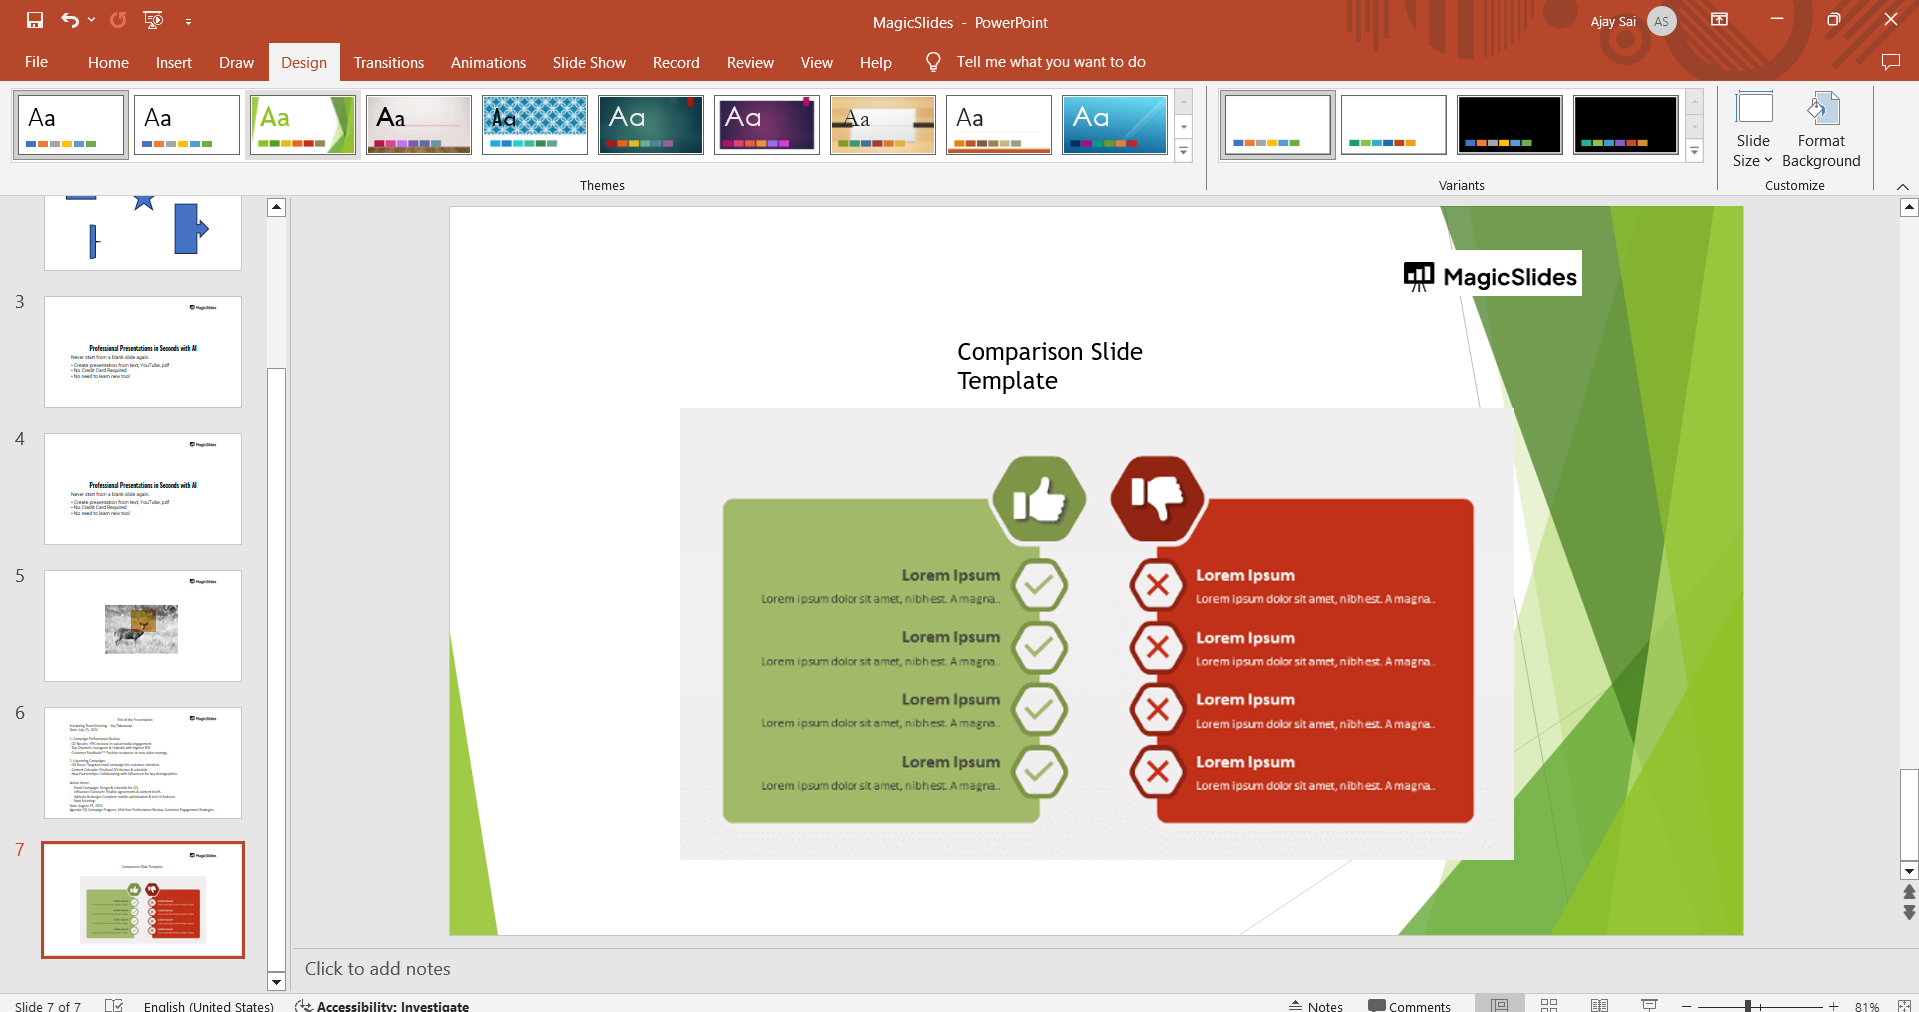
Enter Your Title: Type a title for your comparison slide, such as "Feature Comparison" or "Product Comparison."
Format the Title: Highlight the text and use the options in the "Home" tab to change the font, size, color, and alignment to make it stand out.
Step 3: Create a Table or Grid
Insert a Table: Click on the "Insert" tab, then select "Table." Choose the number of rows and columns you need for your comparison.
For example, if you are comparing two items across five criteria, you would need a table with six rows and three columns (one for criteria and two for the items).
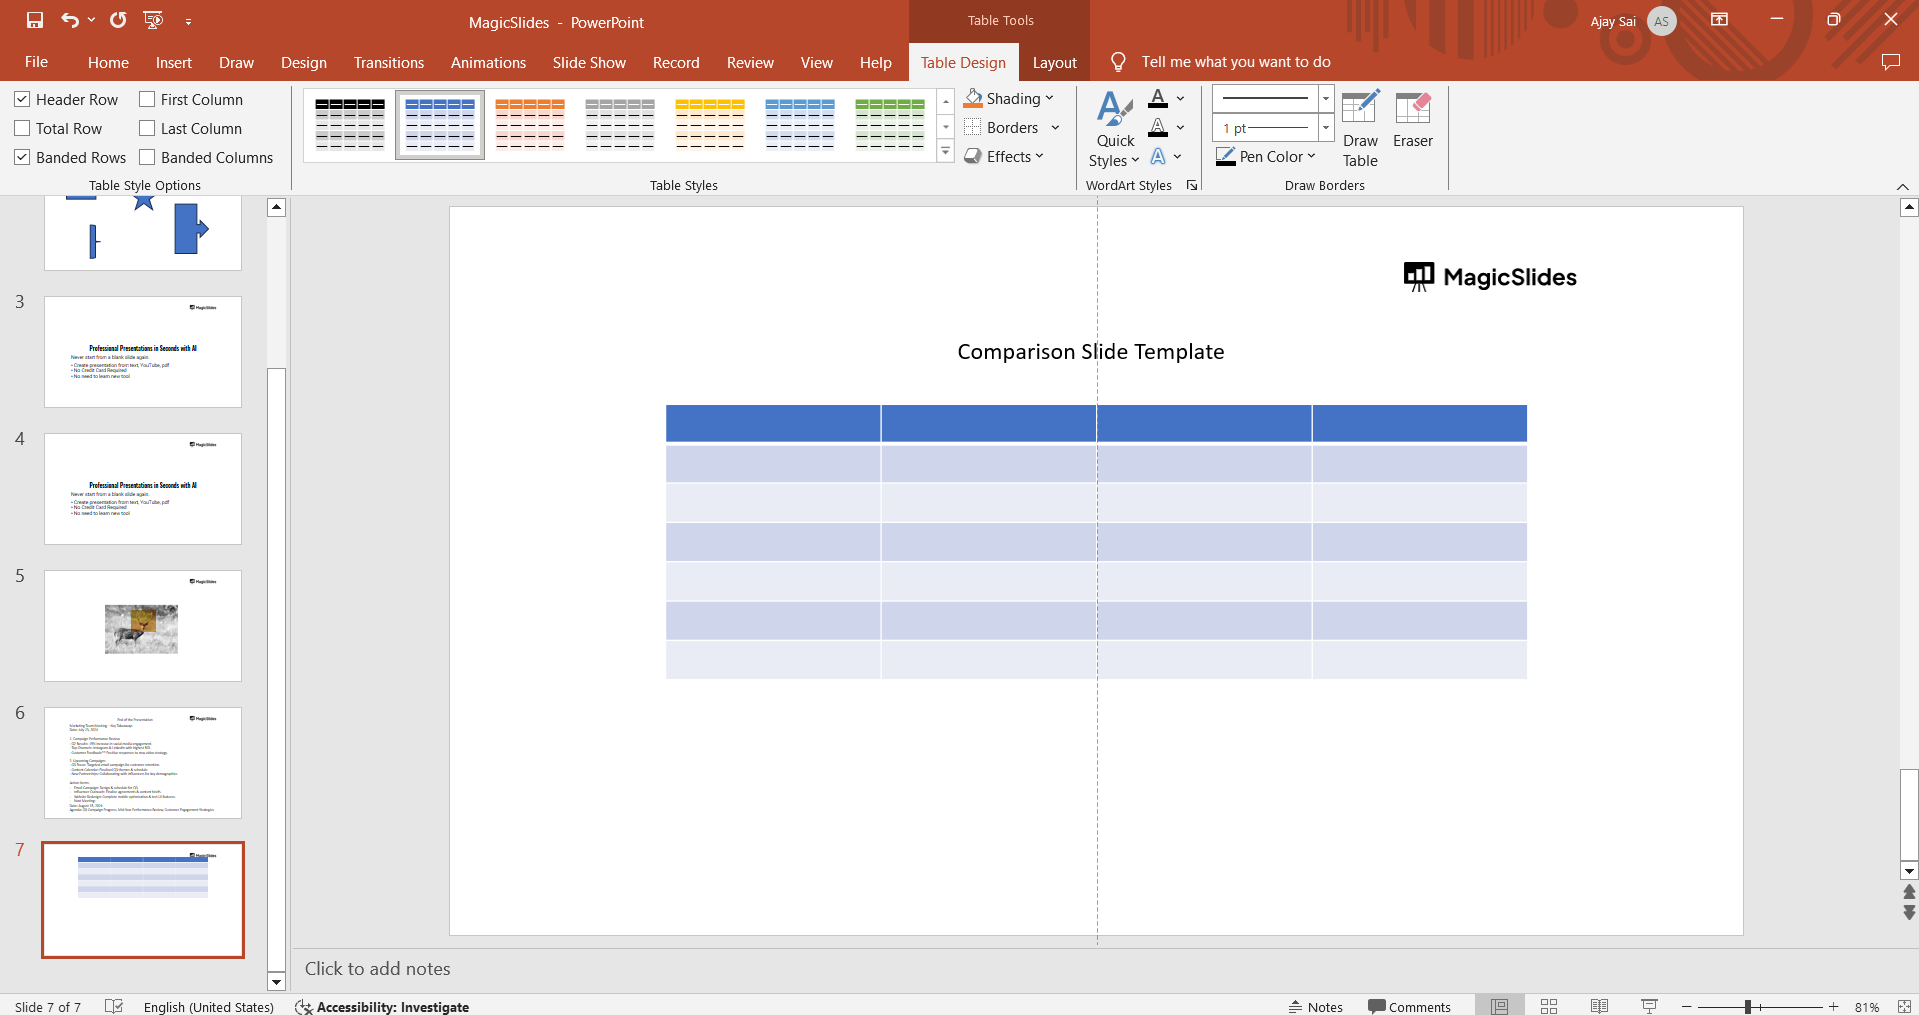
Fill in the Table: Enter the criteria in the first column and the items you are comparing in the header row. Fill in the corresponding data in the remaining cells.
Format the Table: Select the table and use the "Table Design" and "Layout" tabs to customize the appearance. You can adjust the border styles, fill colors, and text alignment to improve readability.
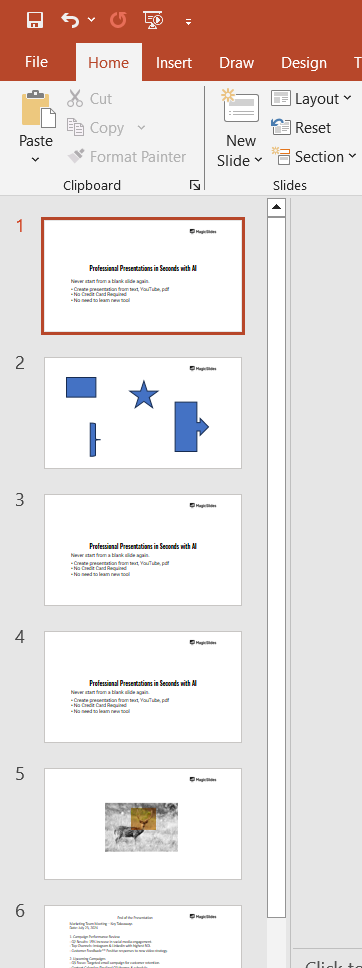
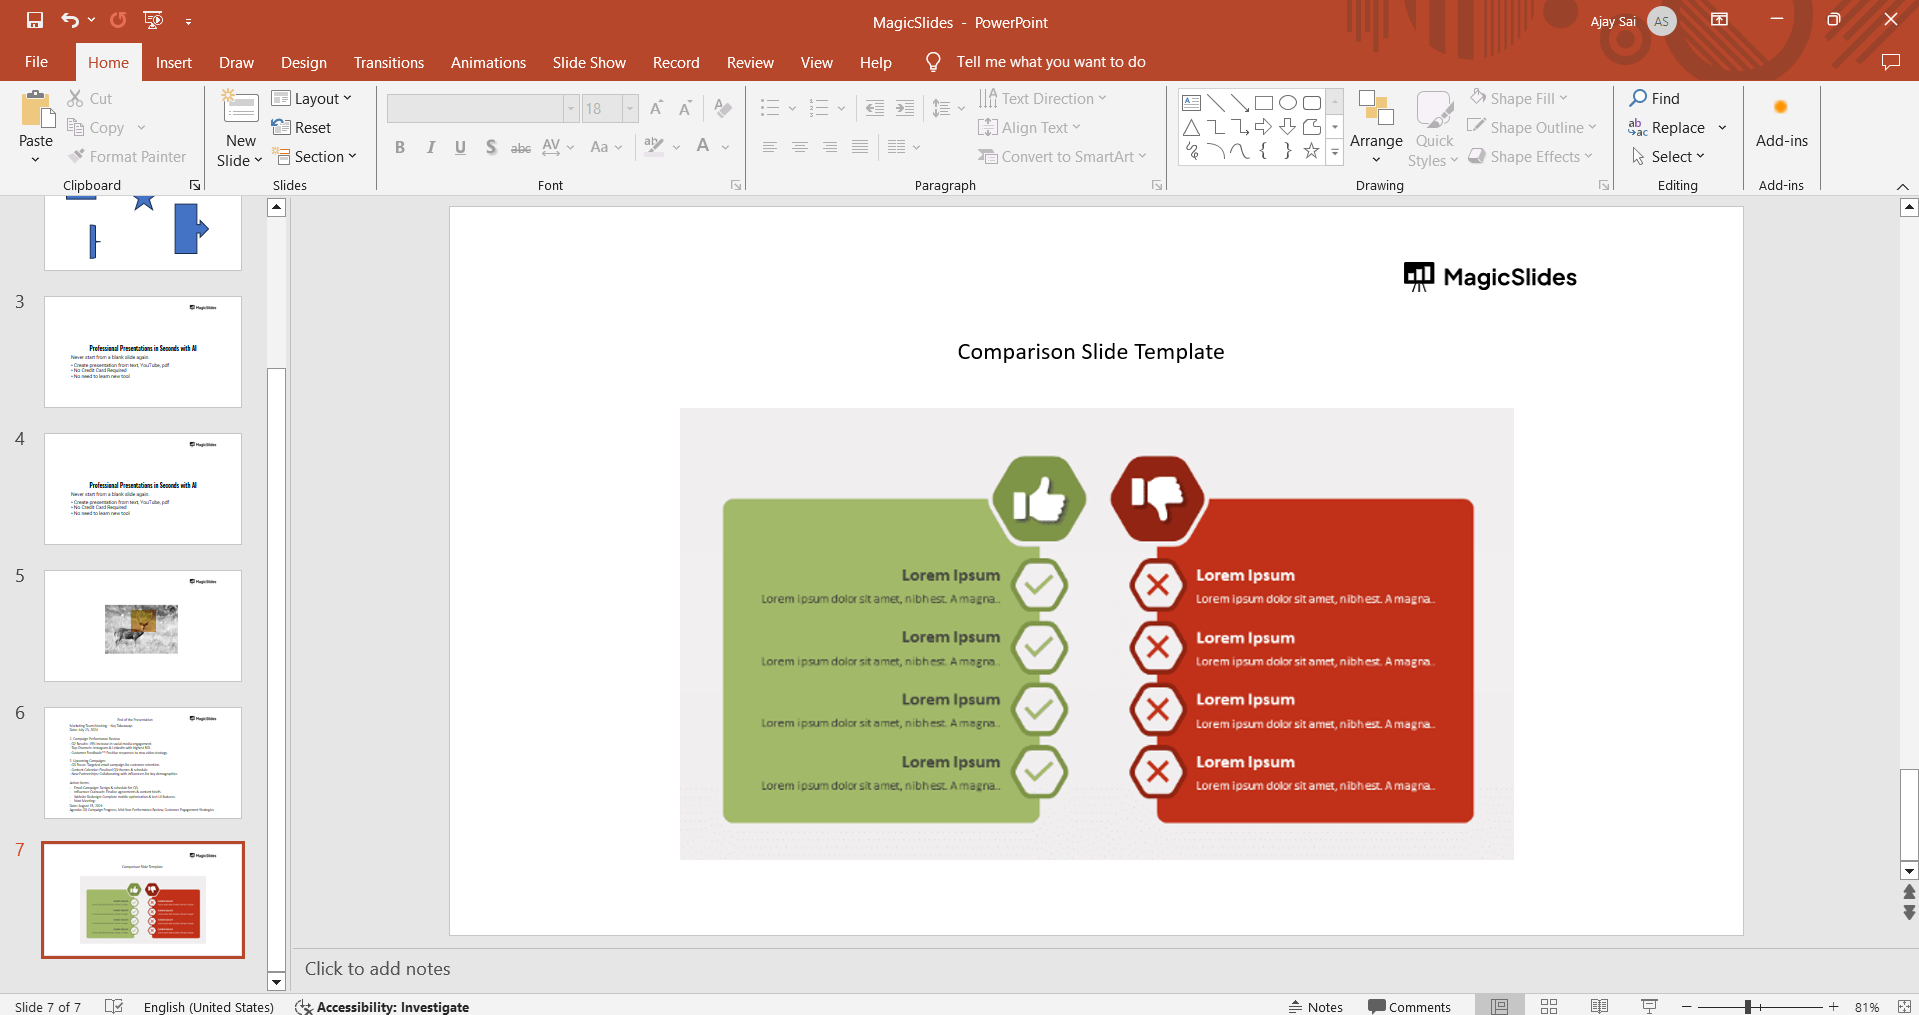
Step 4: Add Visual Elements
Insert Shapes or Icons: Click on the "Insert" tab, then select "Shapes" or "Icons." Choose relevant shapes or icons to represent each item or criteria visually.
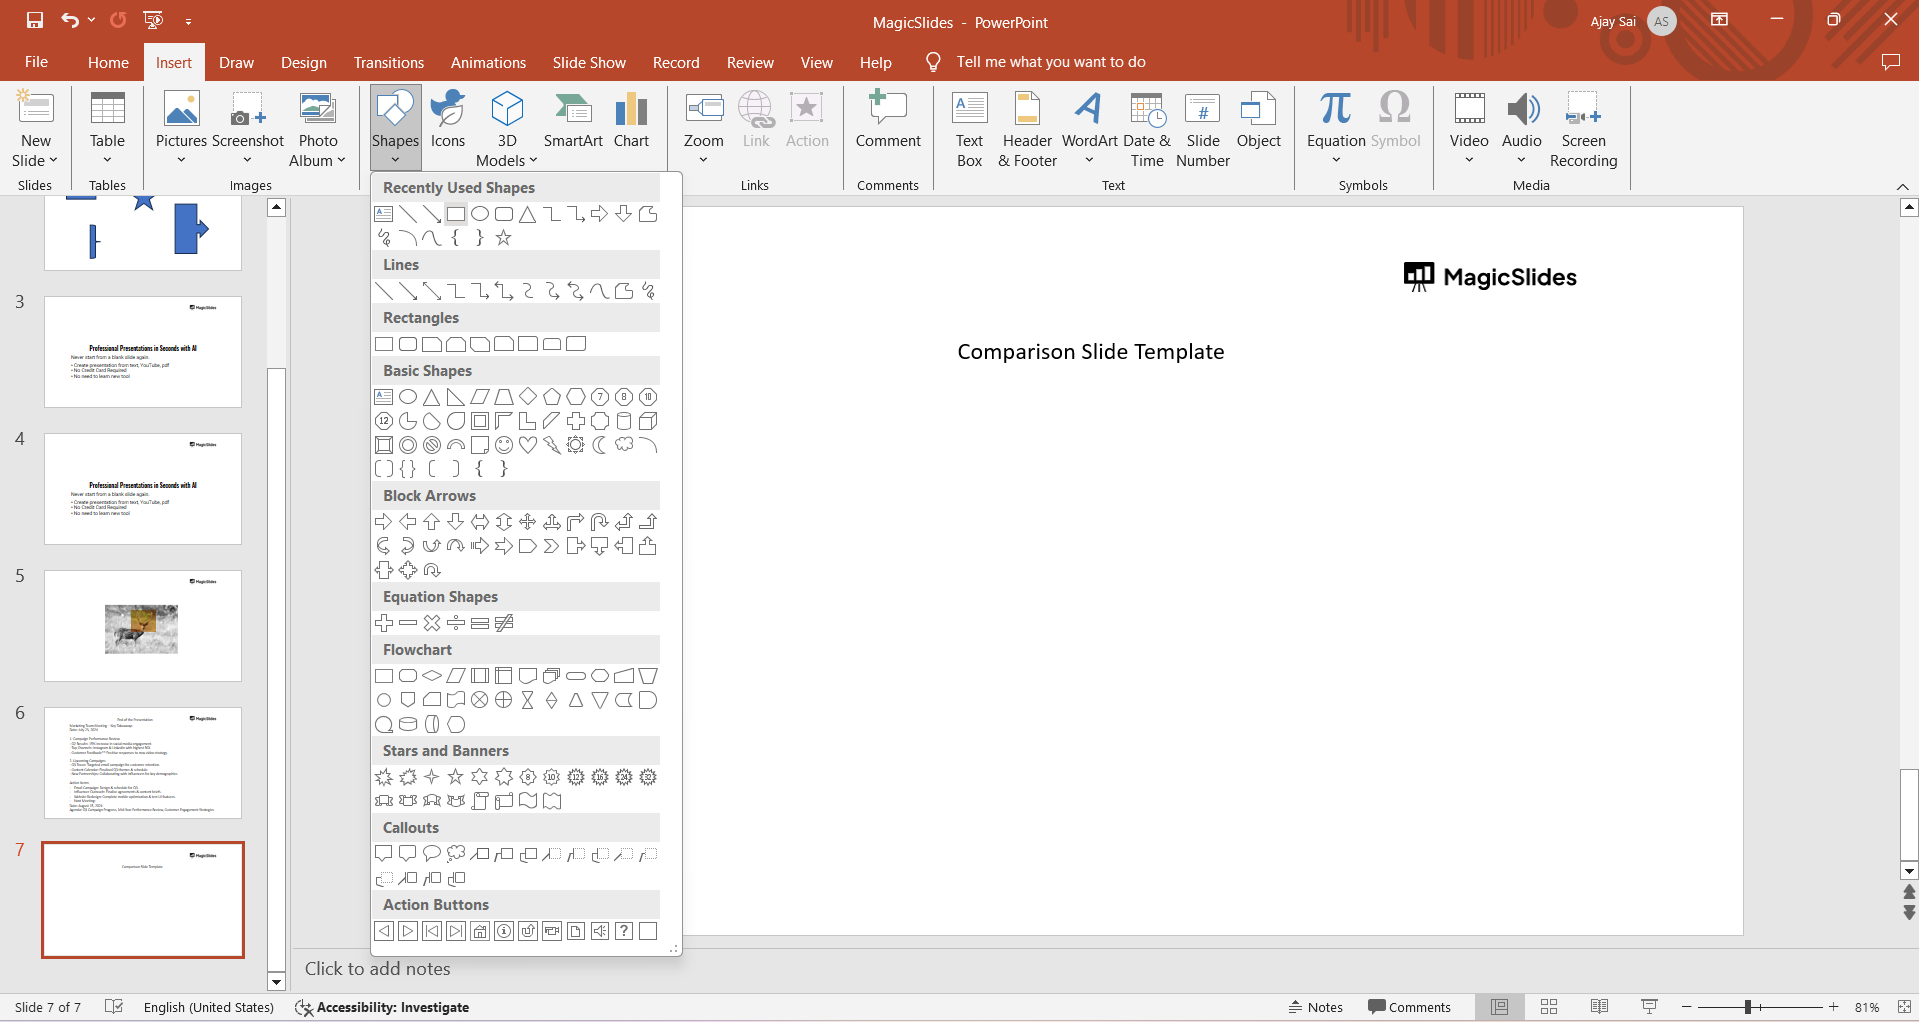
Add Images: If applicable, click on "Insert" and then "Pictures" to add images that represent the items you are comparing.
Position and Format Visuals: Arrange the shapes, icons, or images next to the corresponding text or data points. Use the "Picture Format" or "Shape Format" tabs to adjust the size, color, and effects of these elements.
Step 5: Highlight Key Differences and Similarities
Use Colors and Fonts: Use different colors or font styles to highlight key differences and similarities. For example, use bold text for similarities and different colors for unique features.
Add Callouts or Annotations: Insert callouts or text boxes to draw attention to important points. Click on the "Insert" tab, select "Shapes," and choose a callout shape. Place it on the slide and add your text.
Step 6: Customize the Background
Change Background Color: Right-click on the slide background and select "Format Background." Choose a solid color, gradient, picture, or texture fill that complements your comparison layout.
Apply Background Styles: Use the options in the "Format Background" pane to adjust the transparency, pattern, or style of the background. Ensure the background enhances the slide without overpowering the content.
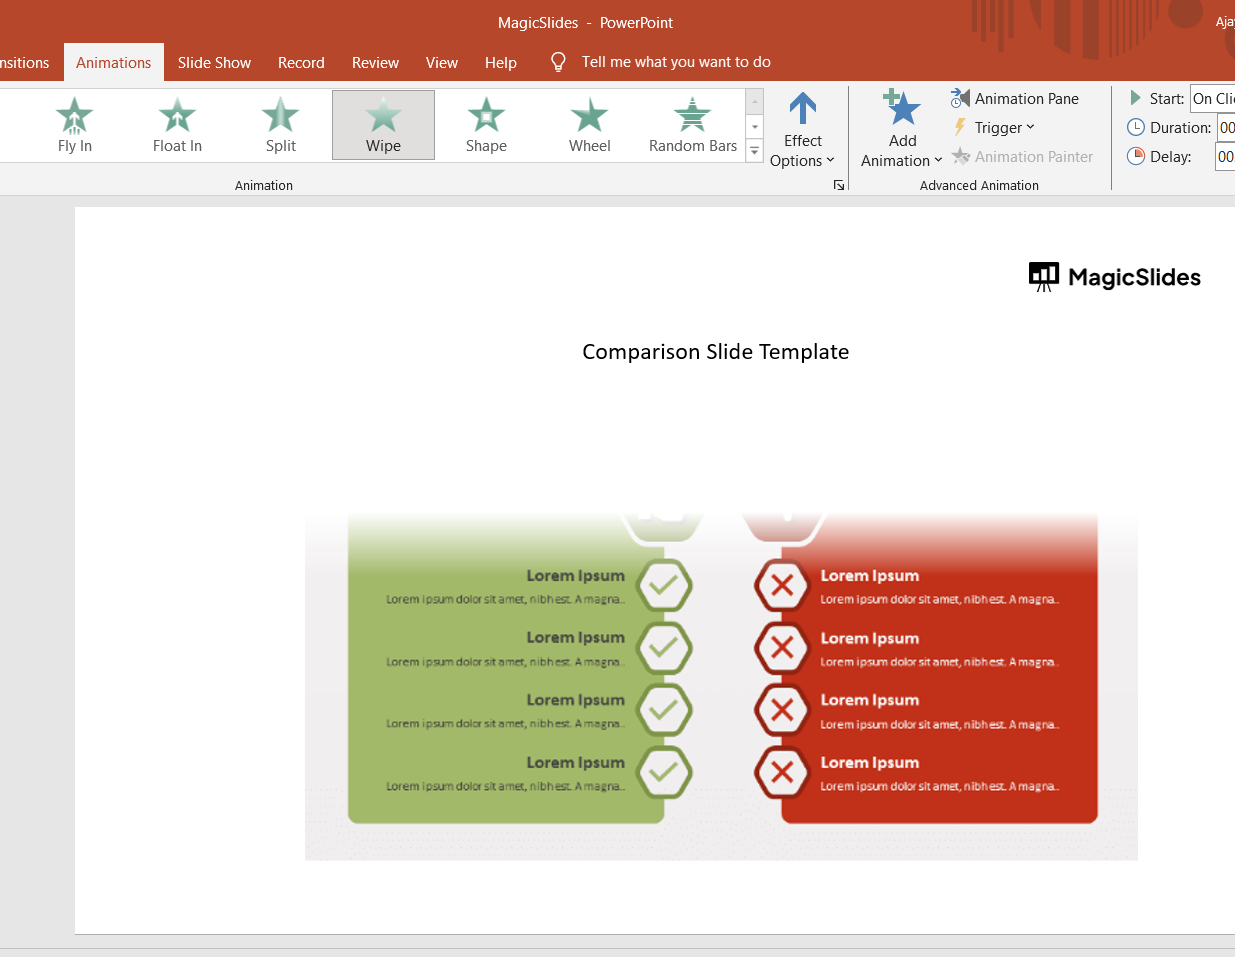
Step 7: Add Animations and Transitions
Select Content for Animation: Click on the text boxes, images, or shapes you want to animate.
Apply Animations: Go to the "Animations" tab and choose from the available animations. Adjust the timing and order of animations to create a smooth flow.
Add Slide Transition: Click on the "Transitions" tab and select a transition effect for your comparison slide. Adjust the duration and timing to create a seamless transition from the previous slide. For instance: Here we have Wiping up transition.
Conclusion
Creating a comparison slide in PowerPoint is a valuable skill for effectively conveying differences and similarities between items, concepts, or ideas.
By following these steps, you can design a clear and visually appealing comparison slide that enhances your presentation and helps your audience understand the key points.
Practice these steps to refine your skills and create powerful comparison slides for your future presentations.
Frequently Asked Questions
What is the best layout for a comparison slide?
The best layout depends on your needs. Common options include a table layout for structured comparisons, side-by-side columns for visual comparisons of two items, and a grid layout for comparing several items across multiple criteria.
How can I make my comparison slide visually appealing?
Use consistent design elements, incorporate visuals like images and icons, highlight key points with colors and bold text, and avoid clutter by focusing on the most critical information.
What is the best layout for a comparison slide?
The best layout for a comparison slide often depends on the complexity of the items being compared and the amount of information you need to convey. Common layouts include:
- Table Layout: Ideal for structured comparisons with multiple criteria.
- Side-by-Side Columns: Useful for visual comparisons of two items with accompanying text or images.
- Grid Layout: Effective for comparing several items across multiple criteria, similar to a matrix.


