How to make timeline on Google Slides


Transform your Google Slides into captivating timelines with these simple steps for engaging presentations.
Google Slides is a versatile tool that goes beyond simple presentations, allowing users to create interactive and engaging content. One such feature is the ability to design timelines that visually represent events and milestones. Whether you're a student working on a project or a professional presenting a historical overview, creating a timeline on Google Slides is a seamless process. In this guide, we'll walk you through the step-by-step process to craft a dynamic timeline that captivates your audience.
How to make timeline on Google Slides
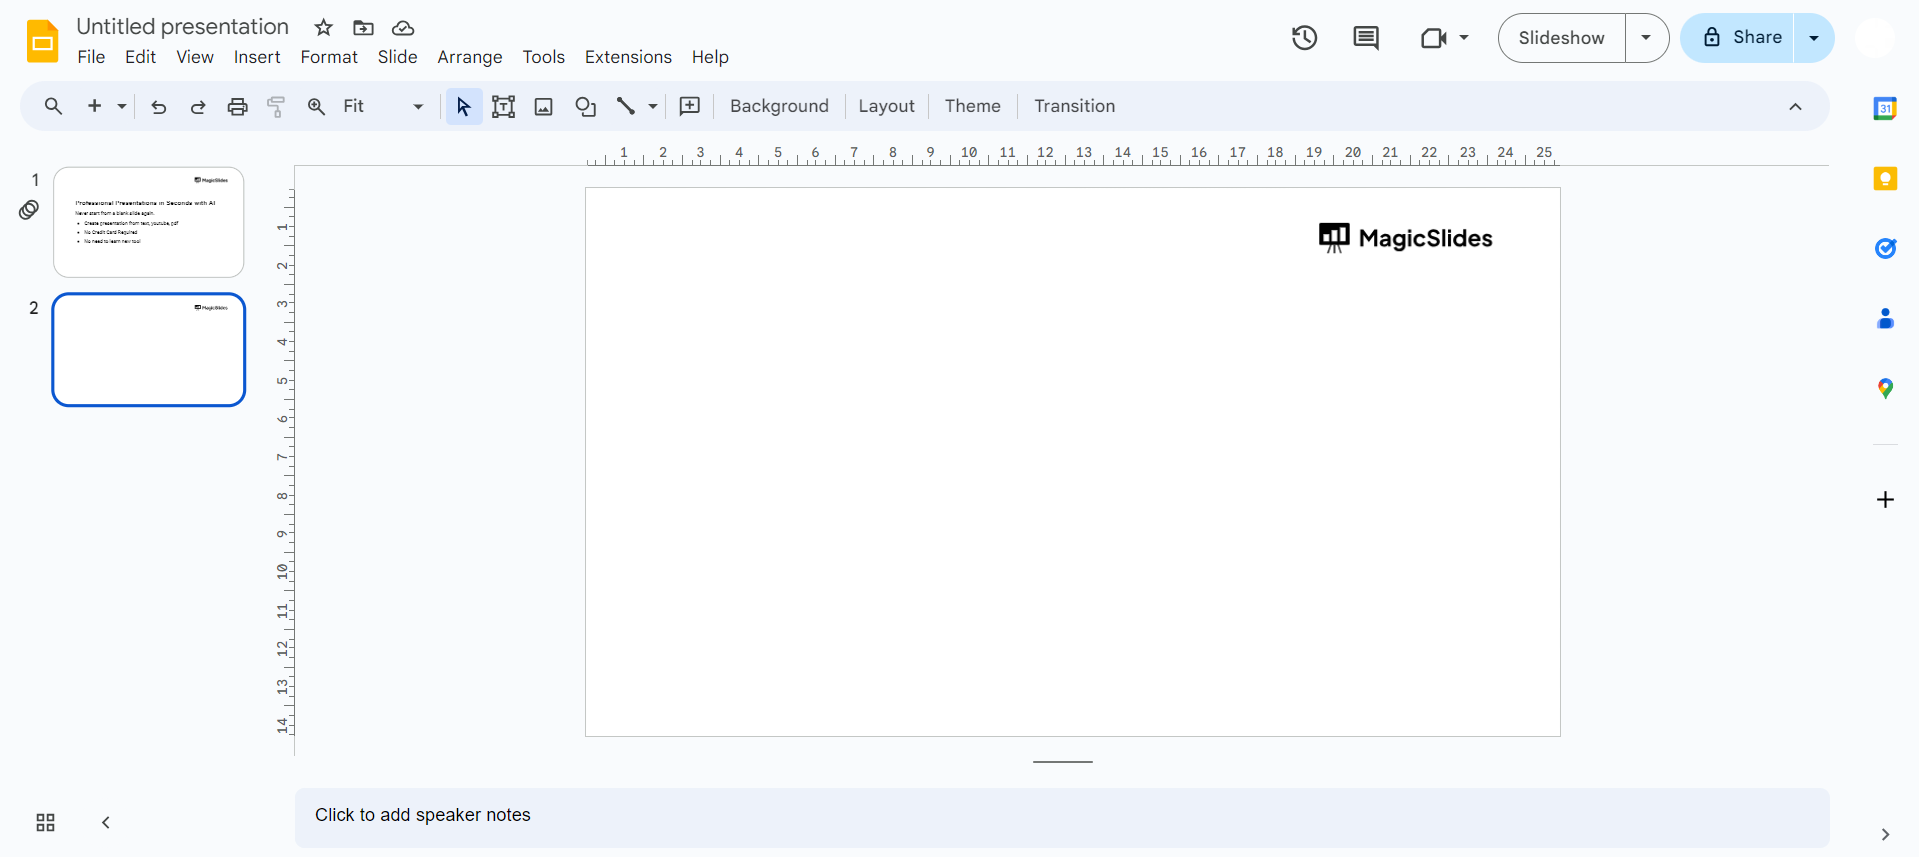
Step 1: Open Google Slides
To begin, navigate to your Google Drive and open Google Slides. If you don't have an existing presentation, start a new one by clicking on the "+ New" button and selecting "Google Slides."
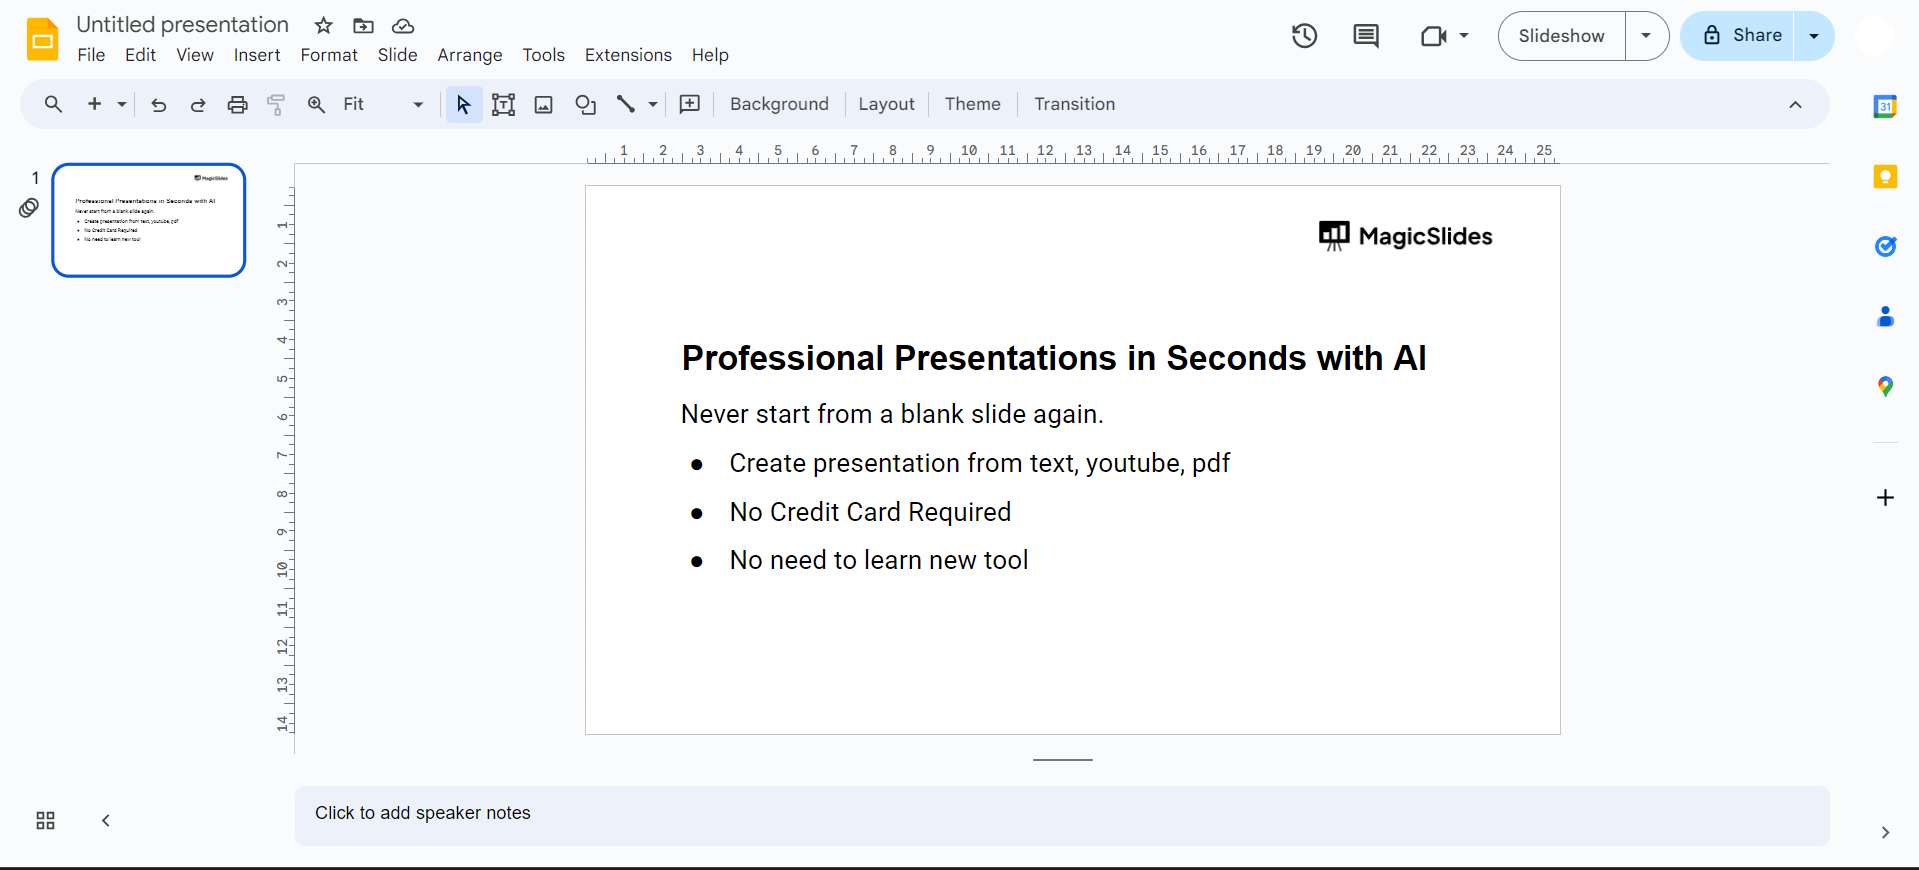
Step 2: Choose a Template or Blank Slide
Once in Google Slides, you can either select a timeline template from the template gallery or start with a blank slide. Choosing a template provides a quick start, but starting from scratch allows for complete customization.
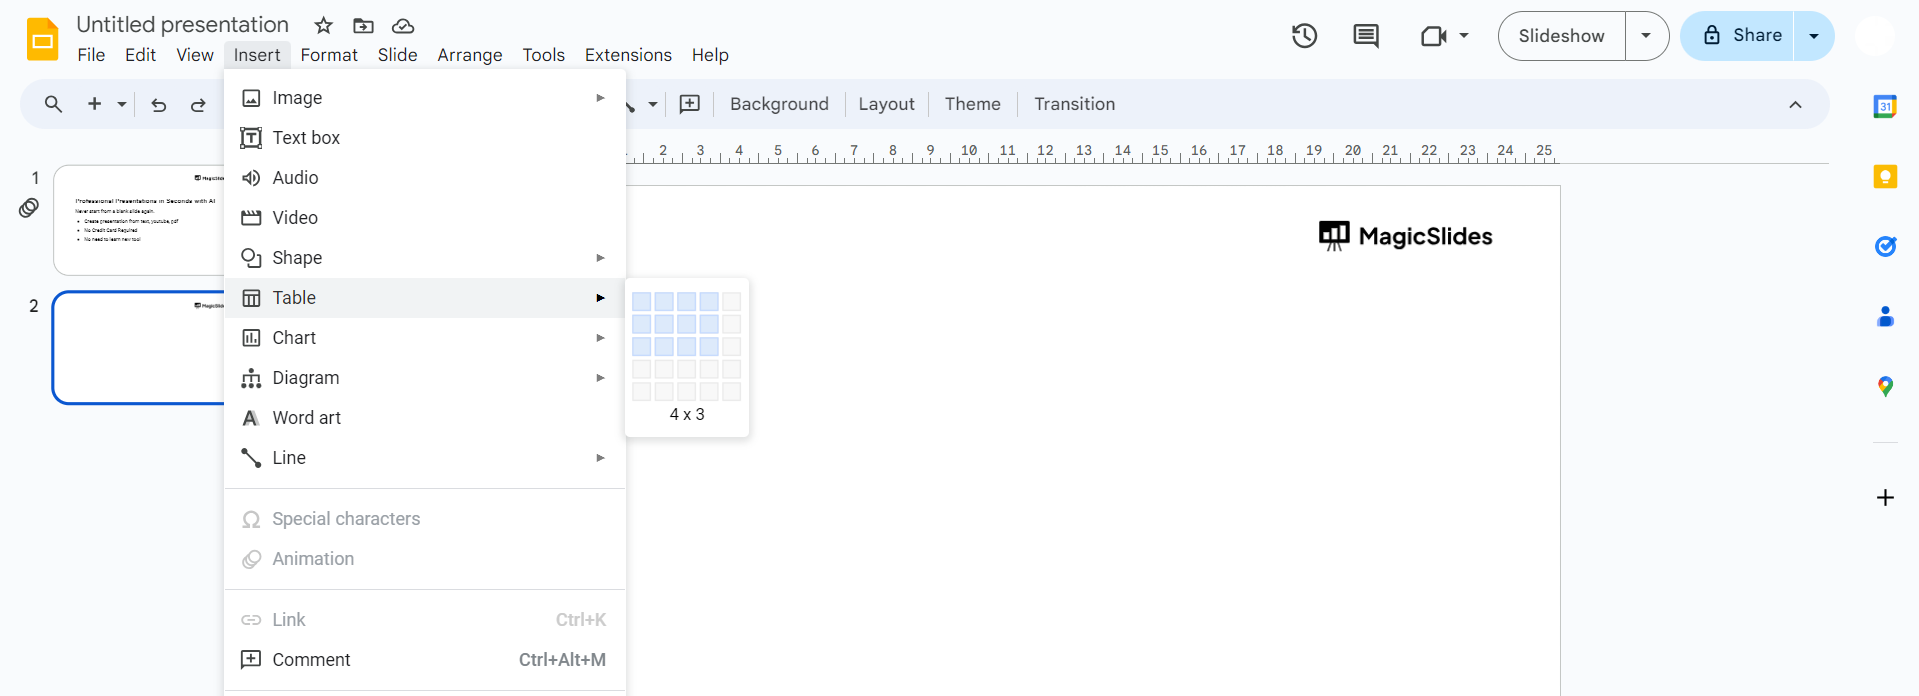
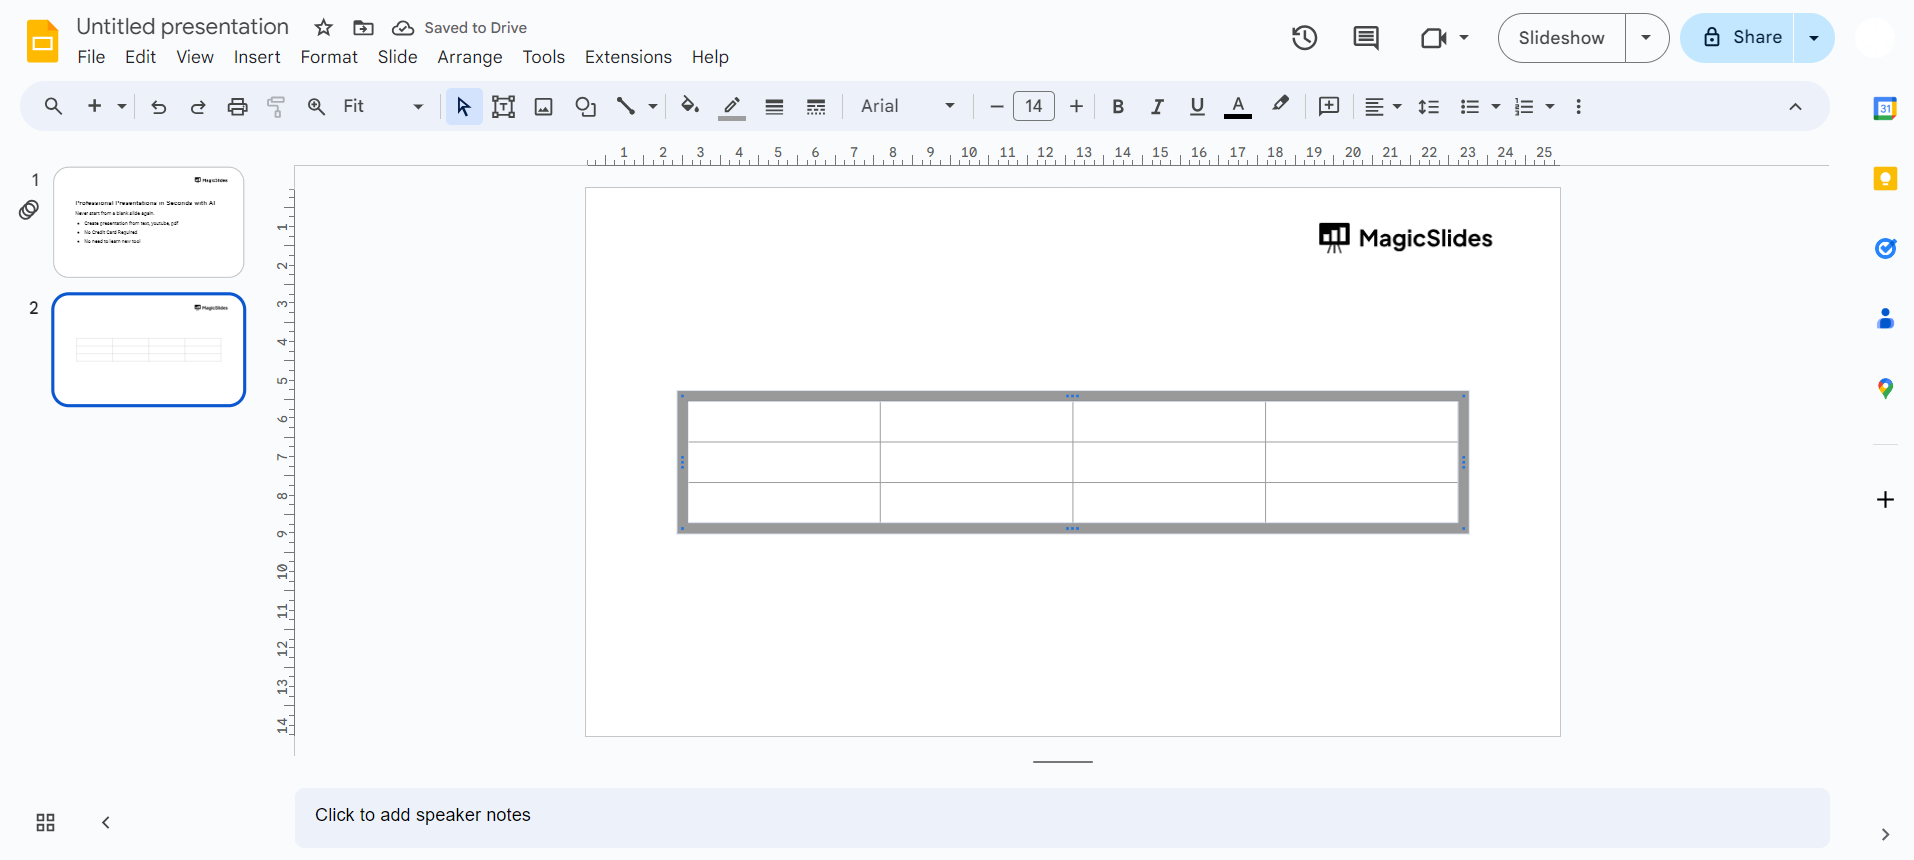
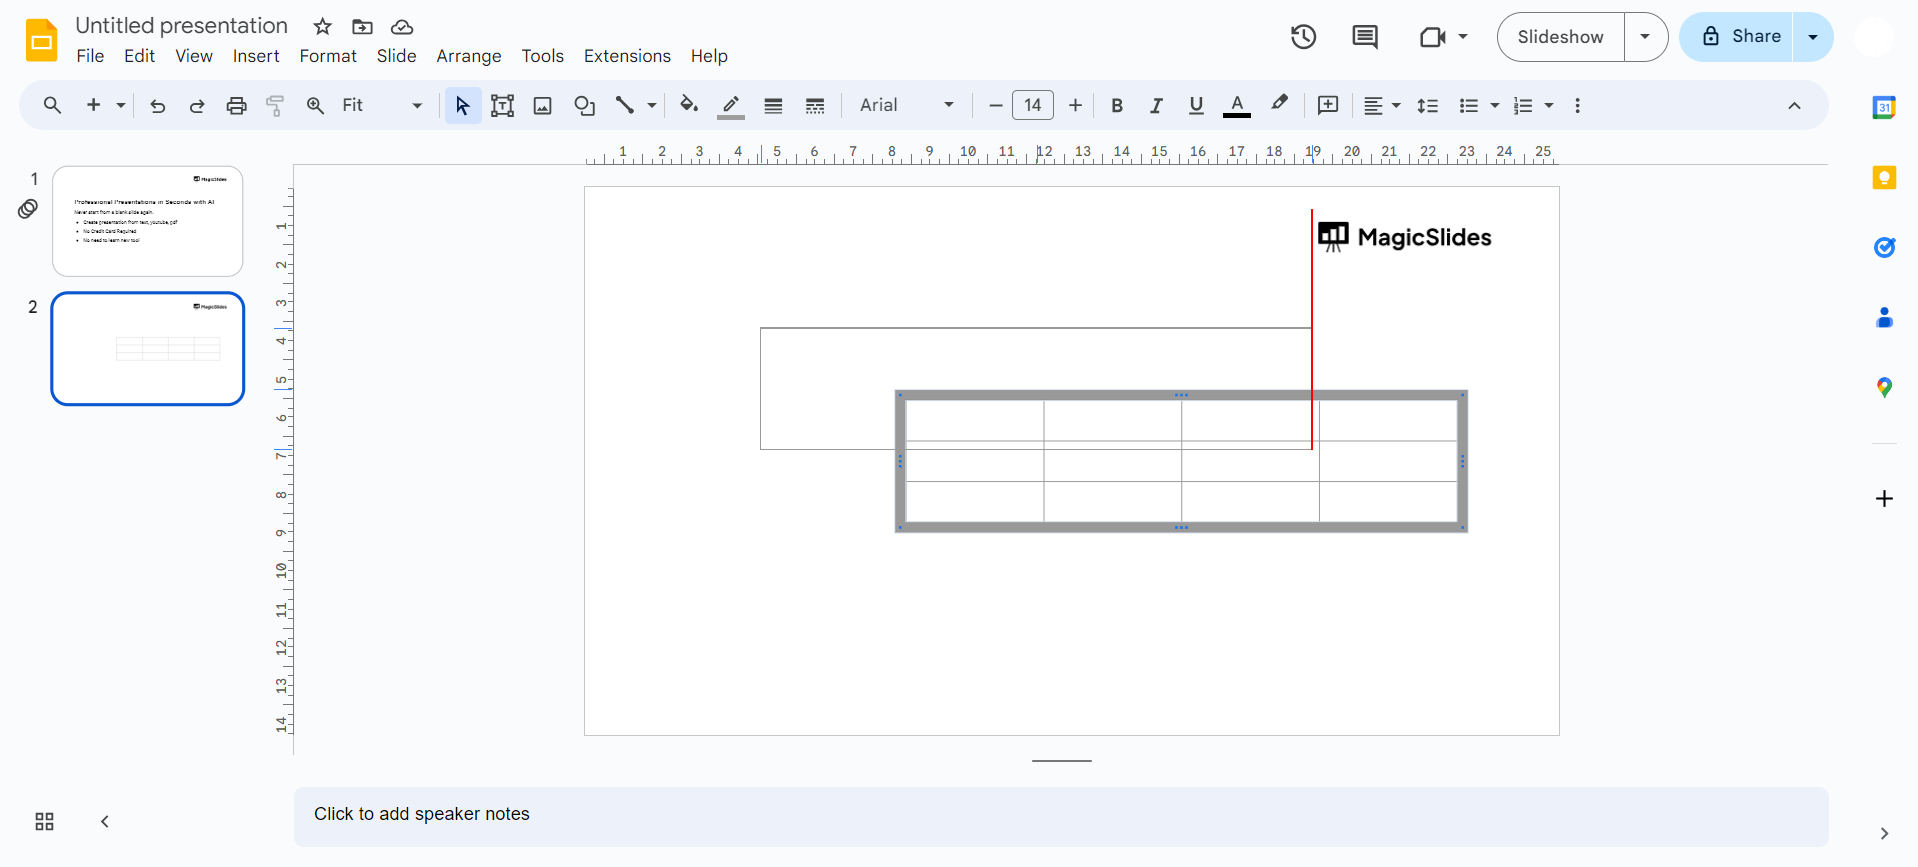
Step 3: Insert a Table
For a structured timeline, go to the "Insert" menu and select "Table." Choose the number of rows and columns based on the timeline's complexity. Adjust the table size and appearance according to your preferences.
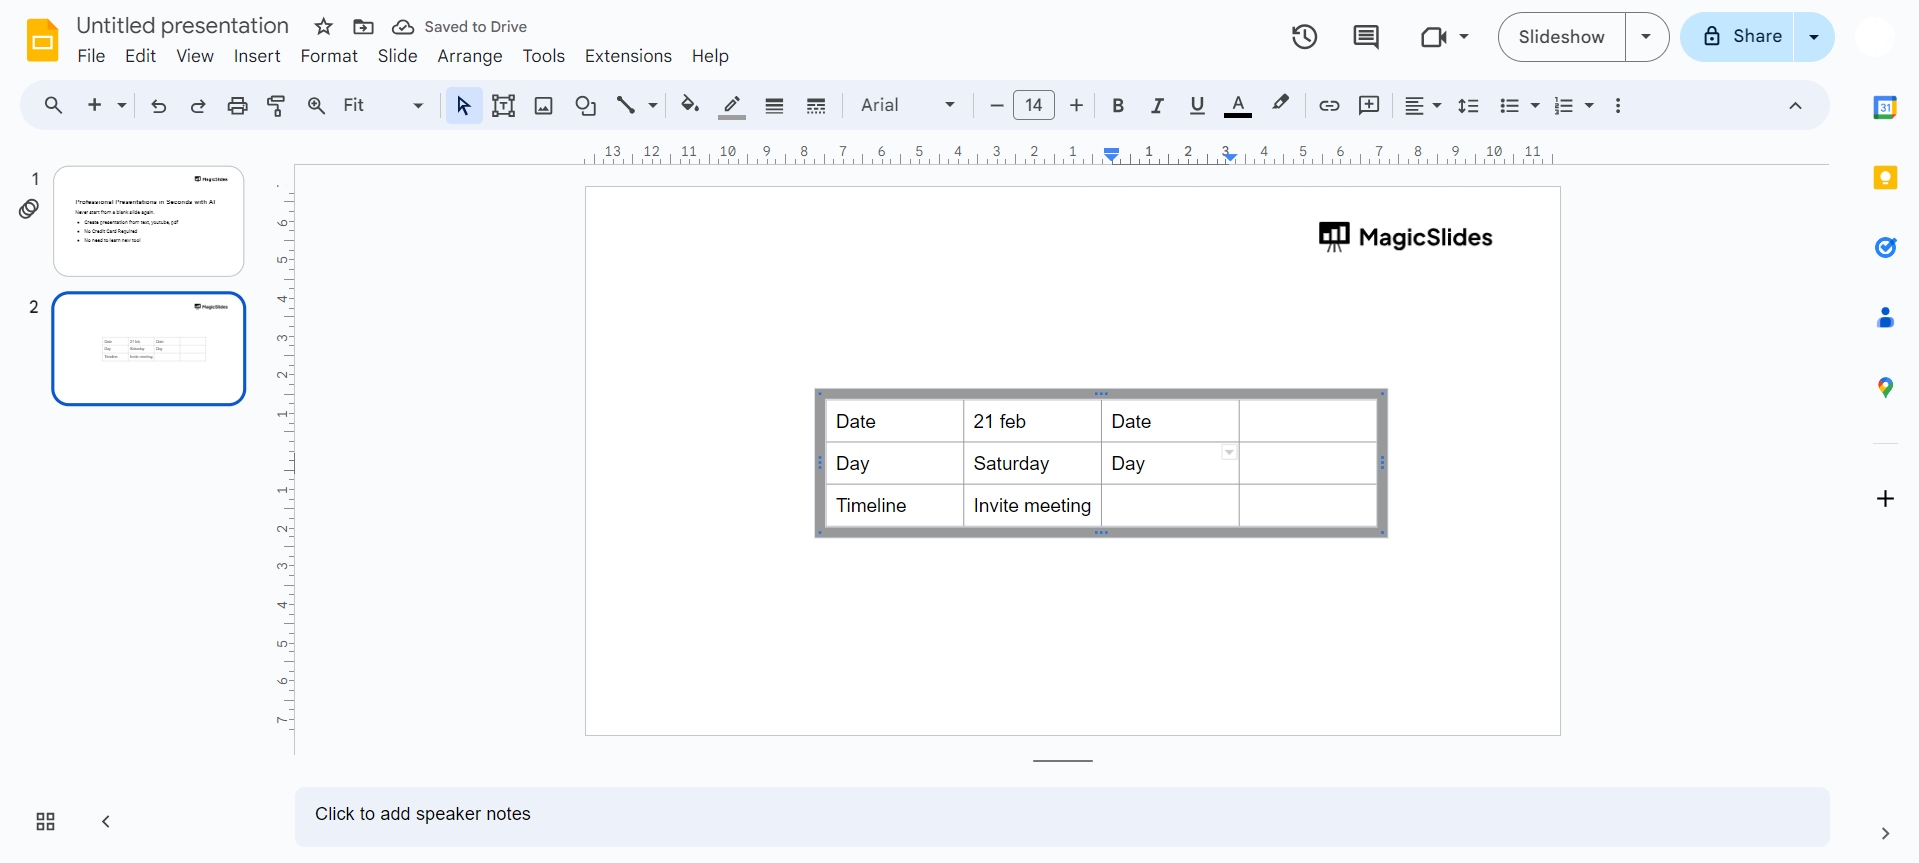
Step 4: Enter Timeline Information
Populate the table cells with relevant information such as event names, dates, and descriptions. Use separate rows for each timeline entry to maintain clarity and organization.
Step 5: Customize Design
Enhance the visual appeal of your timeline by customizing the design. Experiment with font styles, colors, and background images to match your theme and make the timeline visually appealing.
Step 6: Add Visual Elements
To make your timeline more engaging, text, insert images, icons, or graphics corresponding to each event. Use the "Insert" menu to add these visual elements, aligning them with the respective timeline entries.
Step 7: Connect Events with Lines
Create a clear flow between timeline entries by adding connecting lines. Use the "Line" tool to draw lines connecting the events in chronological order. Adjust line styles and colors for a polished look.
Conclusion:
Creating a timeline on Google Slides offers a dynamic way to present chronological information. Whether for educational, professional, or personal purposes, the steps outlined above empower you to craft visually appealing and informative timelines. Experiment with different design elements and customization options to make your timeline uniquely yours, capturing the attention and interest of your audience. With Google Slides' intuitive interface, you can turn historical data or project milestones into captivating visual stories, elevating your presentations to a new level of impact.
Frequently Asked Questions:
Can I create a timeline on Google Slides without a template?
Yes, you can start with a blank slide and customize the timeline to suit your preferences.
Is it possible to include images in my timeline on Google Slides?
Absolutely! Enhance your timeline's visual appeal by adding images, icons, and graphics to each event.
Can I customize the design of the timeline to match my theme?
Certainly! Experiment with fonts, colors, and background images to personalize the timeline and align it with your presentation theme.
Is it easy to connect events in chronological order on Google Slides?
Yes, use the Line tool to draw connecting lines between events, creating a seamless flow.


